
Bring your existing C++ Linux projects to Visual Studio
Visual Studio supports targeting Linux out of the box – you can edit, remote build and remote debug to a Linux machine (whether that’s a remote machine, a VM running locally or in the cloud, or WSL in Windows 10).
This article covers the high-level steps to bring your existing Linux projects to Visual Studio. You can read about other C++ project types in the guide for Bringing your C++ code to Visual Studio.
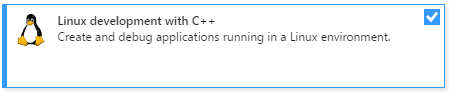
Step 1. Install: Just make sure that you select the C++ Linux workload as part of the VS installation.
Step 2. Generate VS project: The next step is to create a VS Linux makefile project
$ ./genvcxproj.sh ~/repos/preciouscode/ preciouscode.vcxproj Z:
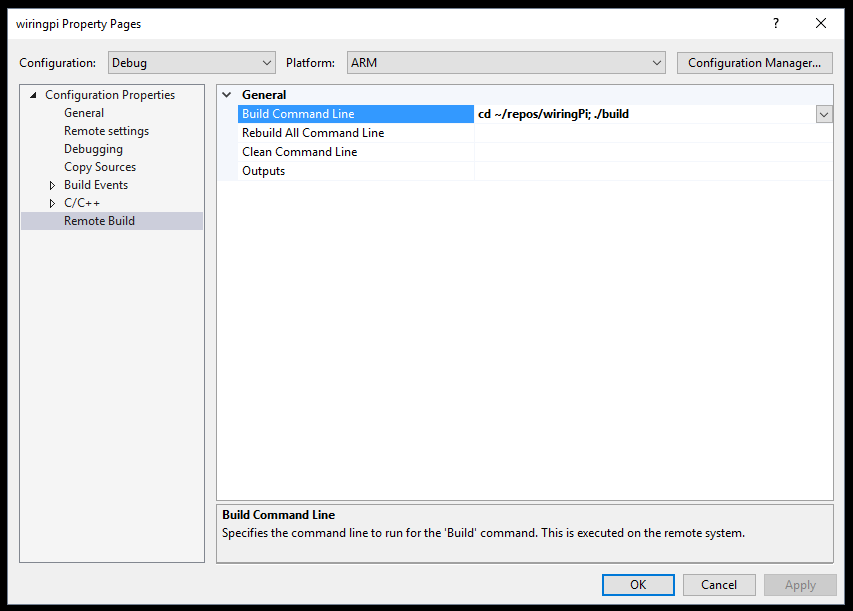
Step 3. Configure VS project properties: You will need to specify in Project Properties (right click on project in Solution Explorer) > Remote Build > Build Command Line the exact command you use on your Linux machine to build the sources. In addition, you will want to specify the additional include path that VS IntelliSense can use to properly aid when editing the code.
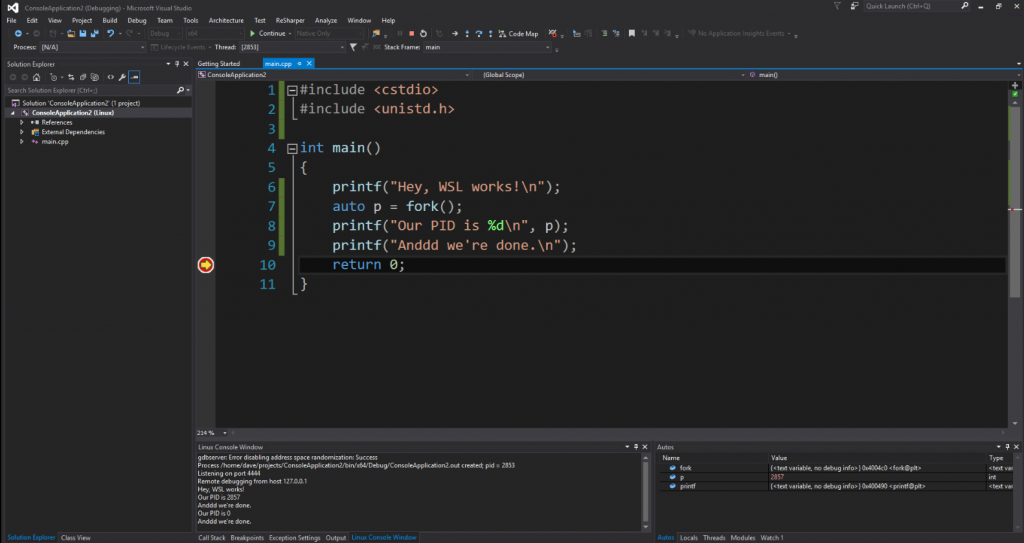
After these steps, you will be able to edit and browse your C++ code, build and debug remotely.
What’s next
Follow the links to learn more about Visual C++ for Linux development and Targeting the Windows Subsystem for Linux from Visual Studio.
If you’re new to Visual Studio, learn more by reading the Getting Started with Visual Studio for C and C++ Developers topic and the rest of the posts in this Getting Started series aimed at C++ users that are new to Visual Studio. Download Visual Studio 2017 today, try it out and share your feedback.
 Light
Light Dark
Dark
0 comments