Azure active directory Access panel – EMS
Following the previous blog posts on how
to add the users to your active directory directly from Azure and enabling
them the Multi factor authentication, in this blog post I will show you how
to add applications on the access panel for the users, so they can have single
sign on with most of your company applications.
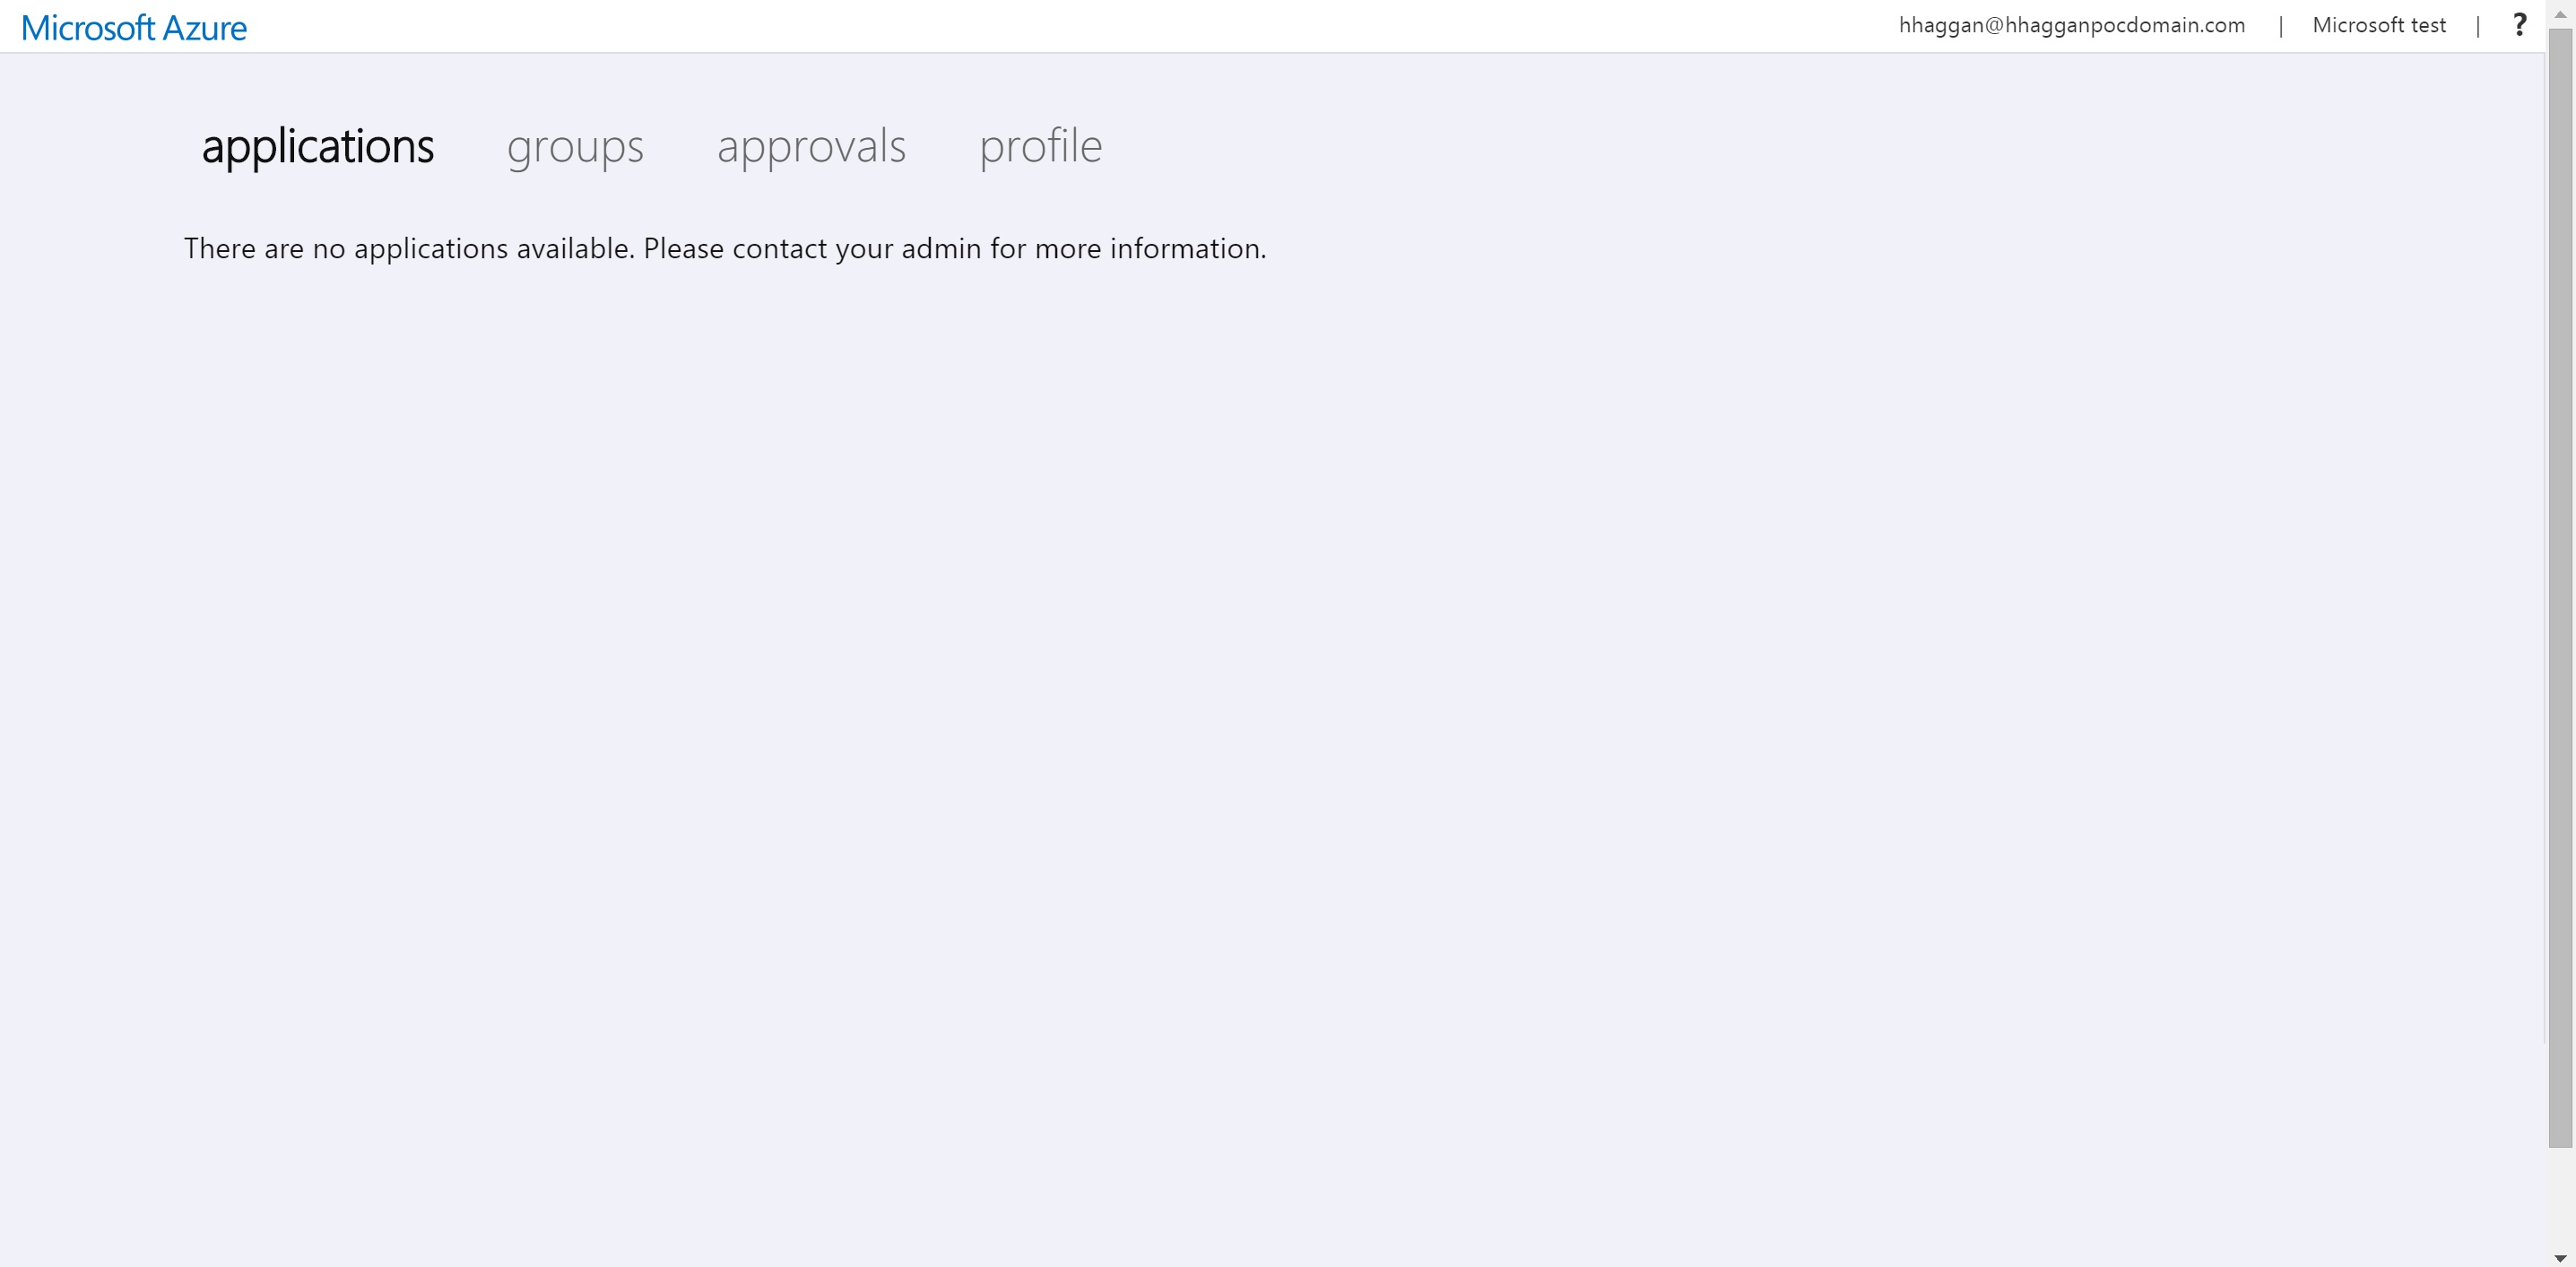
Before we dig in, the access panel can be accessed from any
browser https://myapps.microsoft.com
this is where the users can sign in to their access panel, where they can see
the applications you gave them access to. If they to the following link and after signing
in successfully, they will be able to see all the applications and with a
single click, they will be automatically navigated to the application.
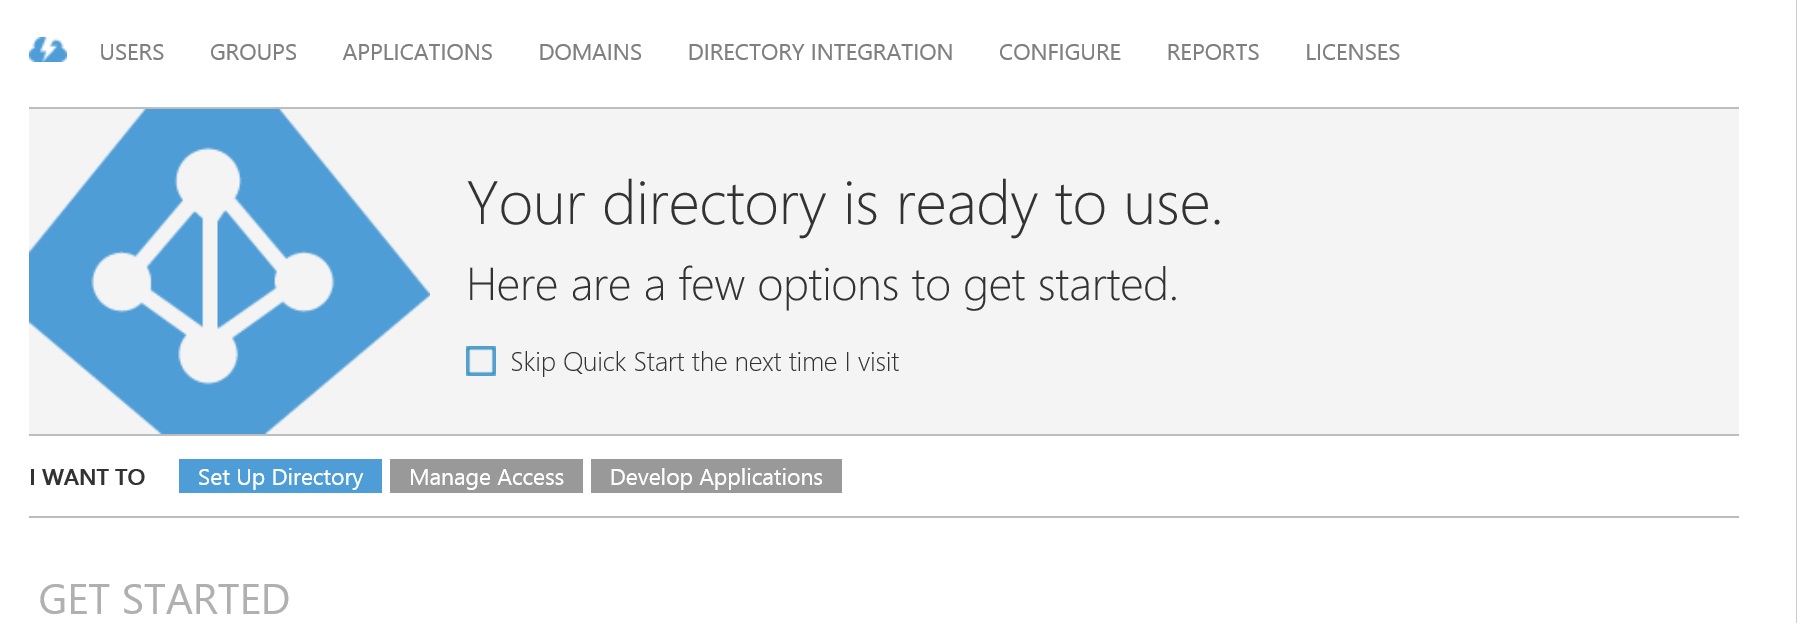
Now if you go to the access
panel, and log in with your Azure active directory global administrator,
you will be able to see the following page.
Now let me show you how to give access to the users for the
different applications. Azure active
directory now has more than 2400 application pre-integrated, whether it is a
Microsoft Service or application or even non Microsoft application. If you log in to your azure portal, scroll
down to the active directory services, kindly click on your active directory.
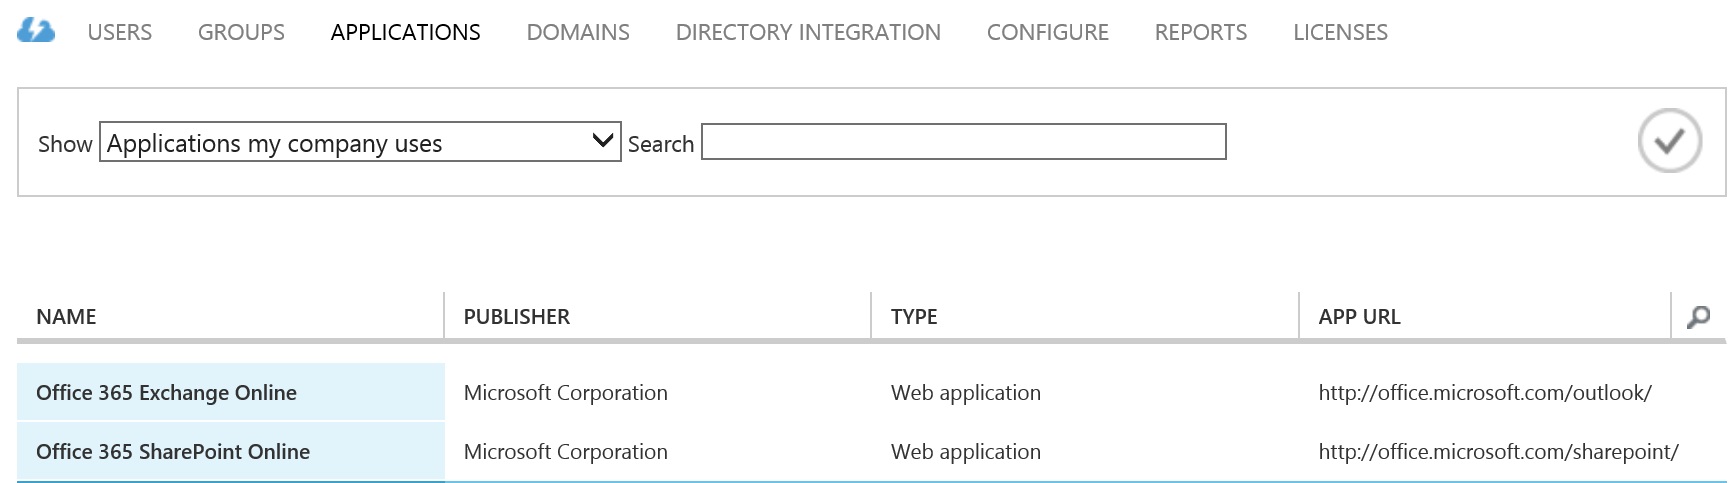
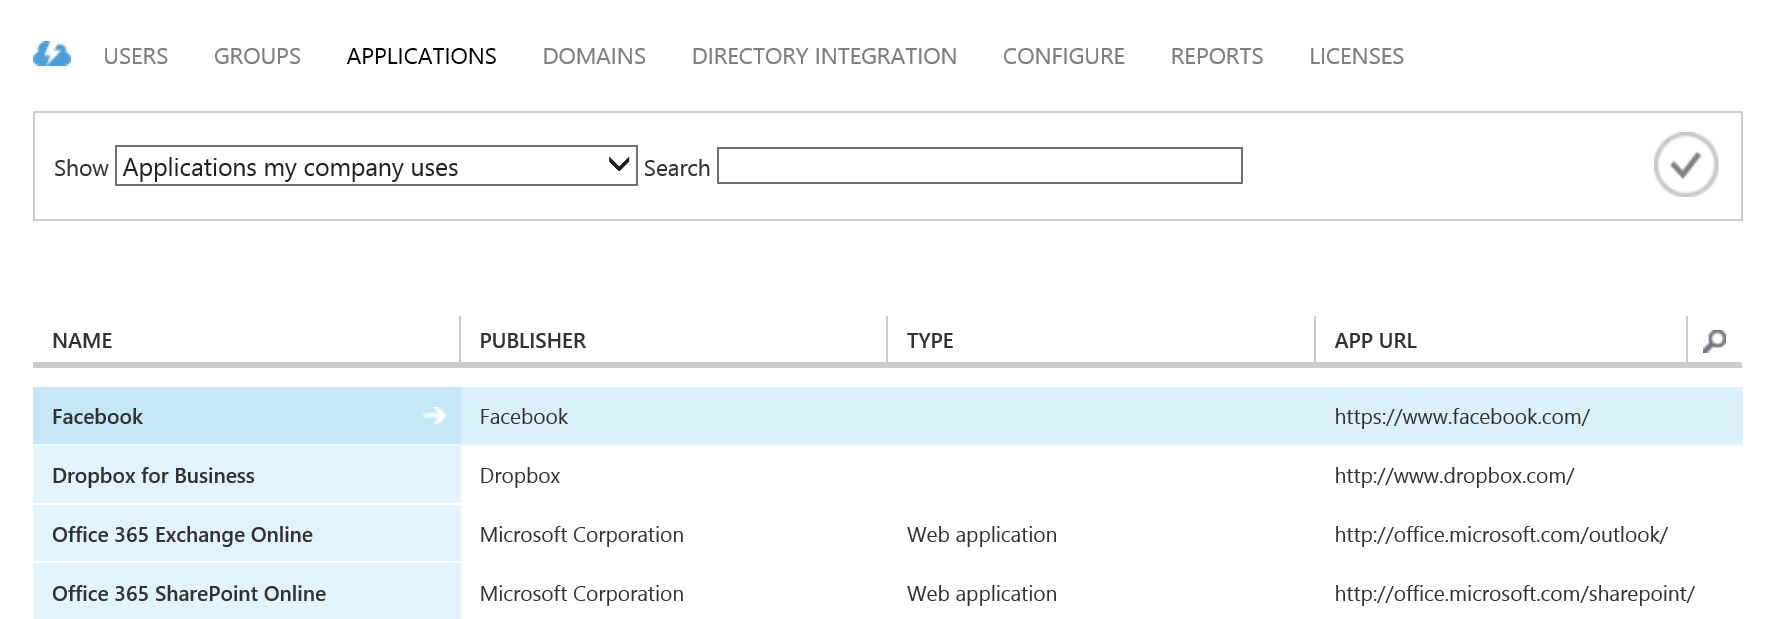
If you navigate to the APPLICATIONS link, you will be able
to see all the applications that are federated with your active directory on
Azure. For sure in the beginning you won’t
have any applications existing, except if your active directory is being used
with the office 365, than automatically you will find the Office 365 exchange
and SharePoint available as shown in the following snapshot.
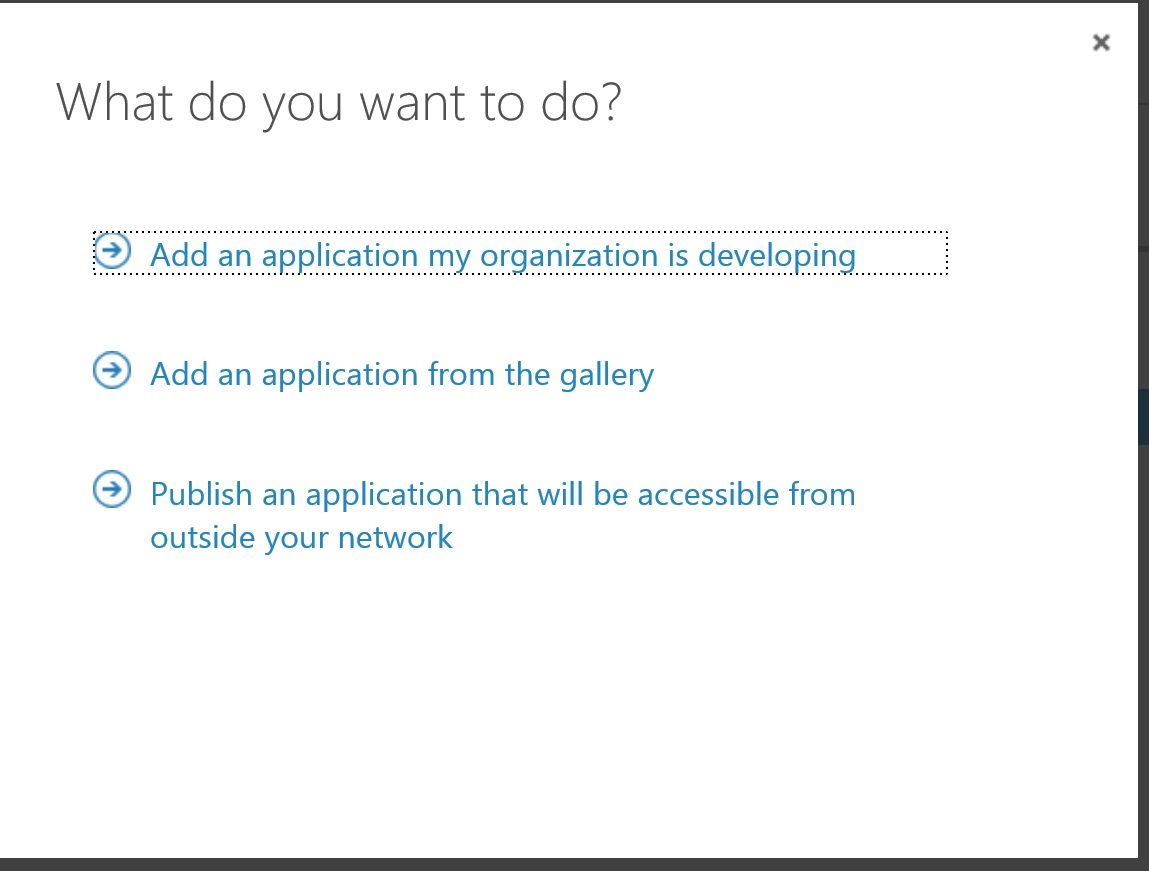
At the bottom of the page you will be able to see the button
“Add” where you can add other applications for your users. Once you click on it, a pop-up window will
open, with 3 options. The first option
is adding an application that you are currently developing, I will not cover
this in this blog post. The second option
is to add applications from the pre integrated applications (Gallery). The third
option is to add application that is hosted on premises to give access to your
users without publishing it.
Now if you click to add an
application to your active directory, you will see all the applications
available, just click on the one of your choice and click on the finish button.
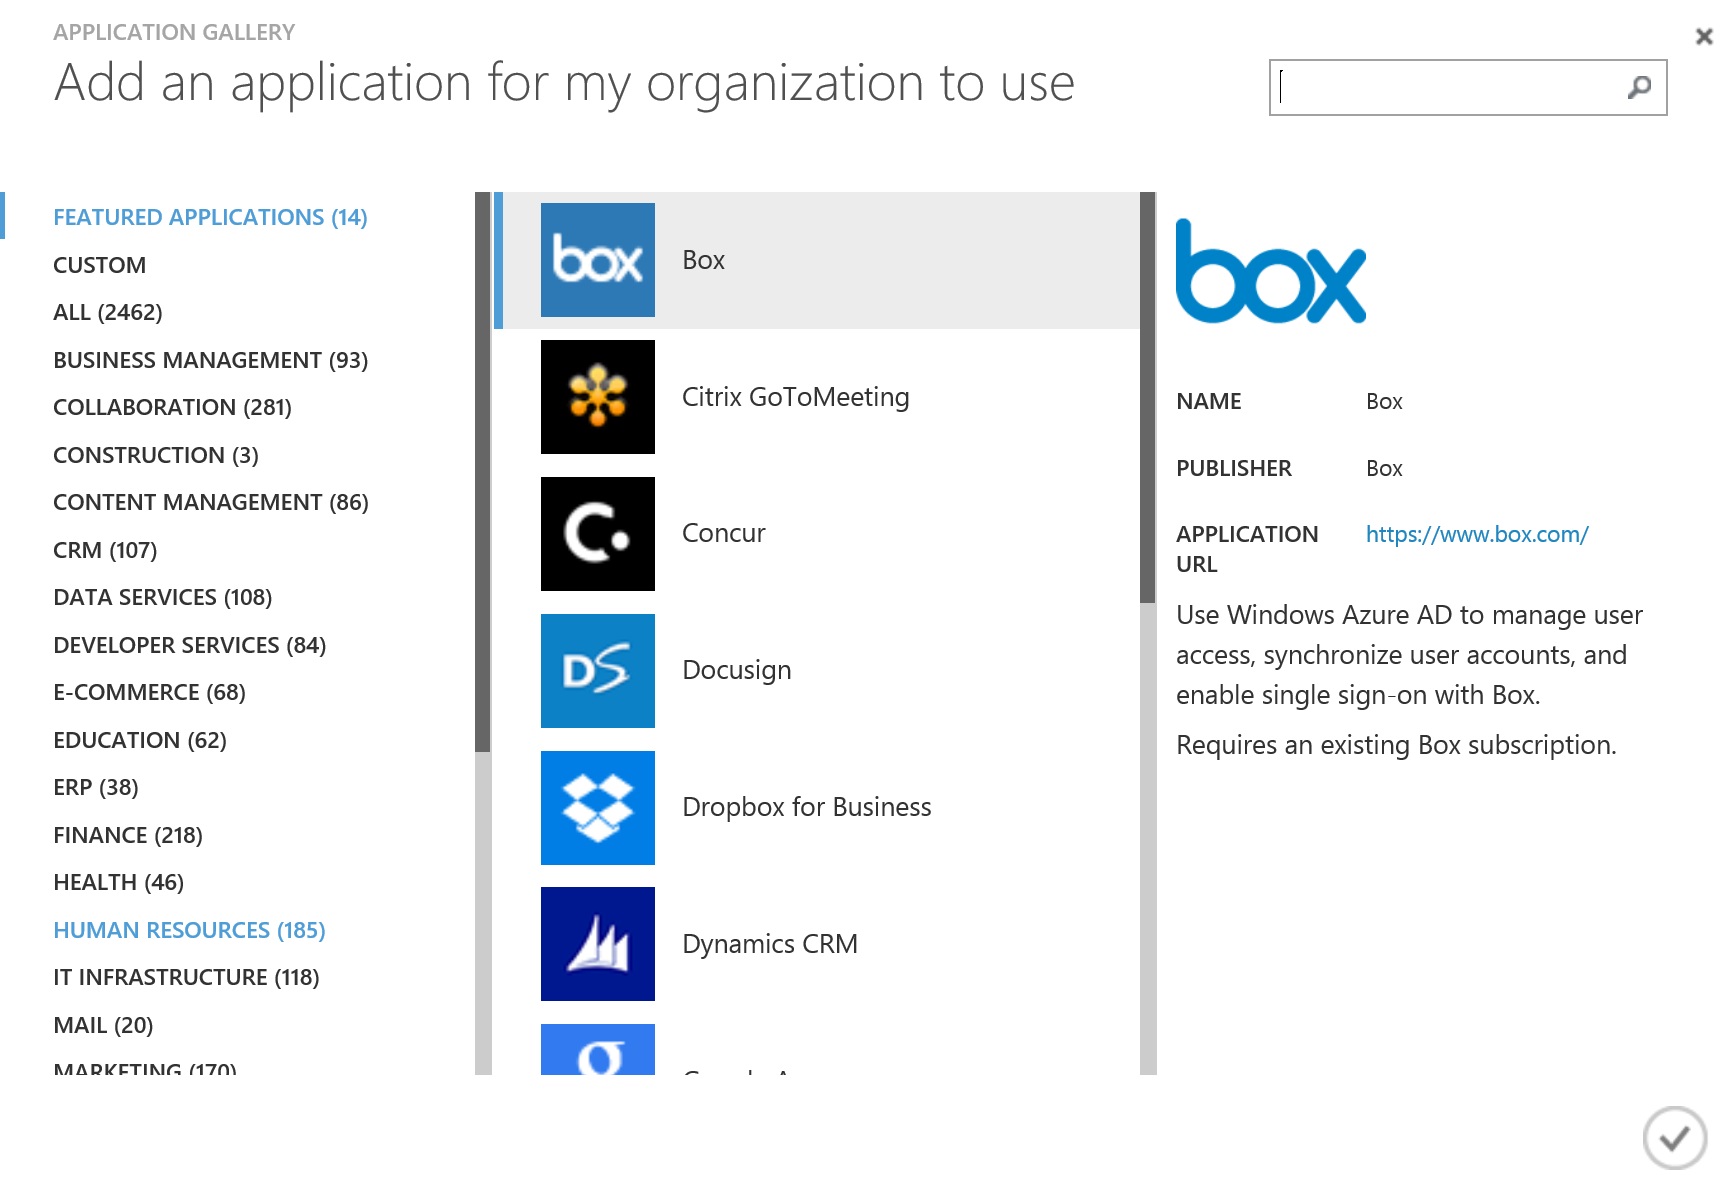
For the sake of the demo I will
add two applications, one is the “Dropbox for business” and the second one is “Facebook”. If you go back the APPLICATIONS page you will
see the applications have been added, however that doesn’t mean that your users
have access to it right now, if they go to their access panel they will see
nothing.
Now let’s configure each
application on its own, starting with Facebook.
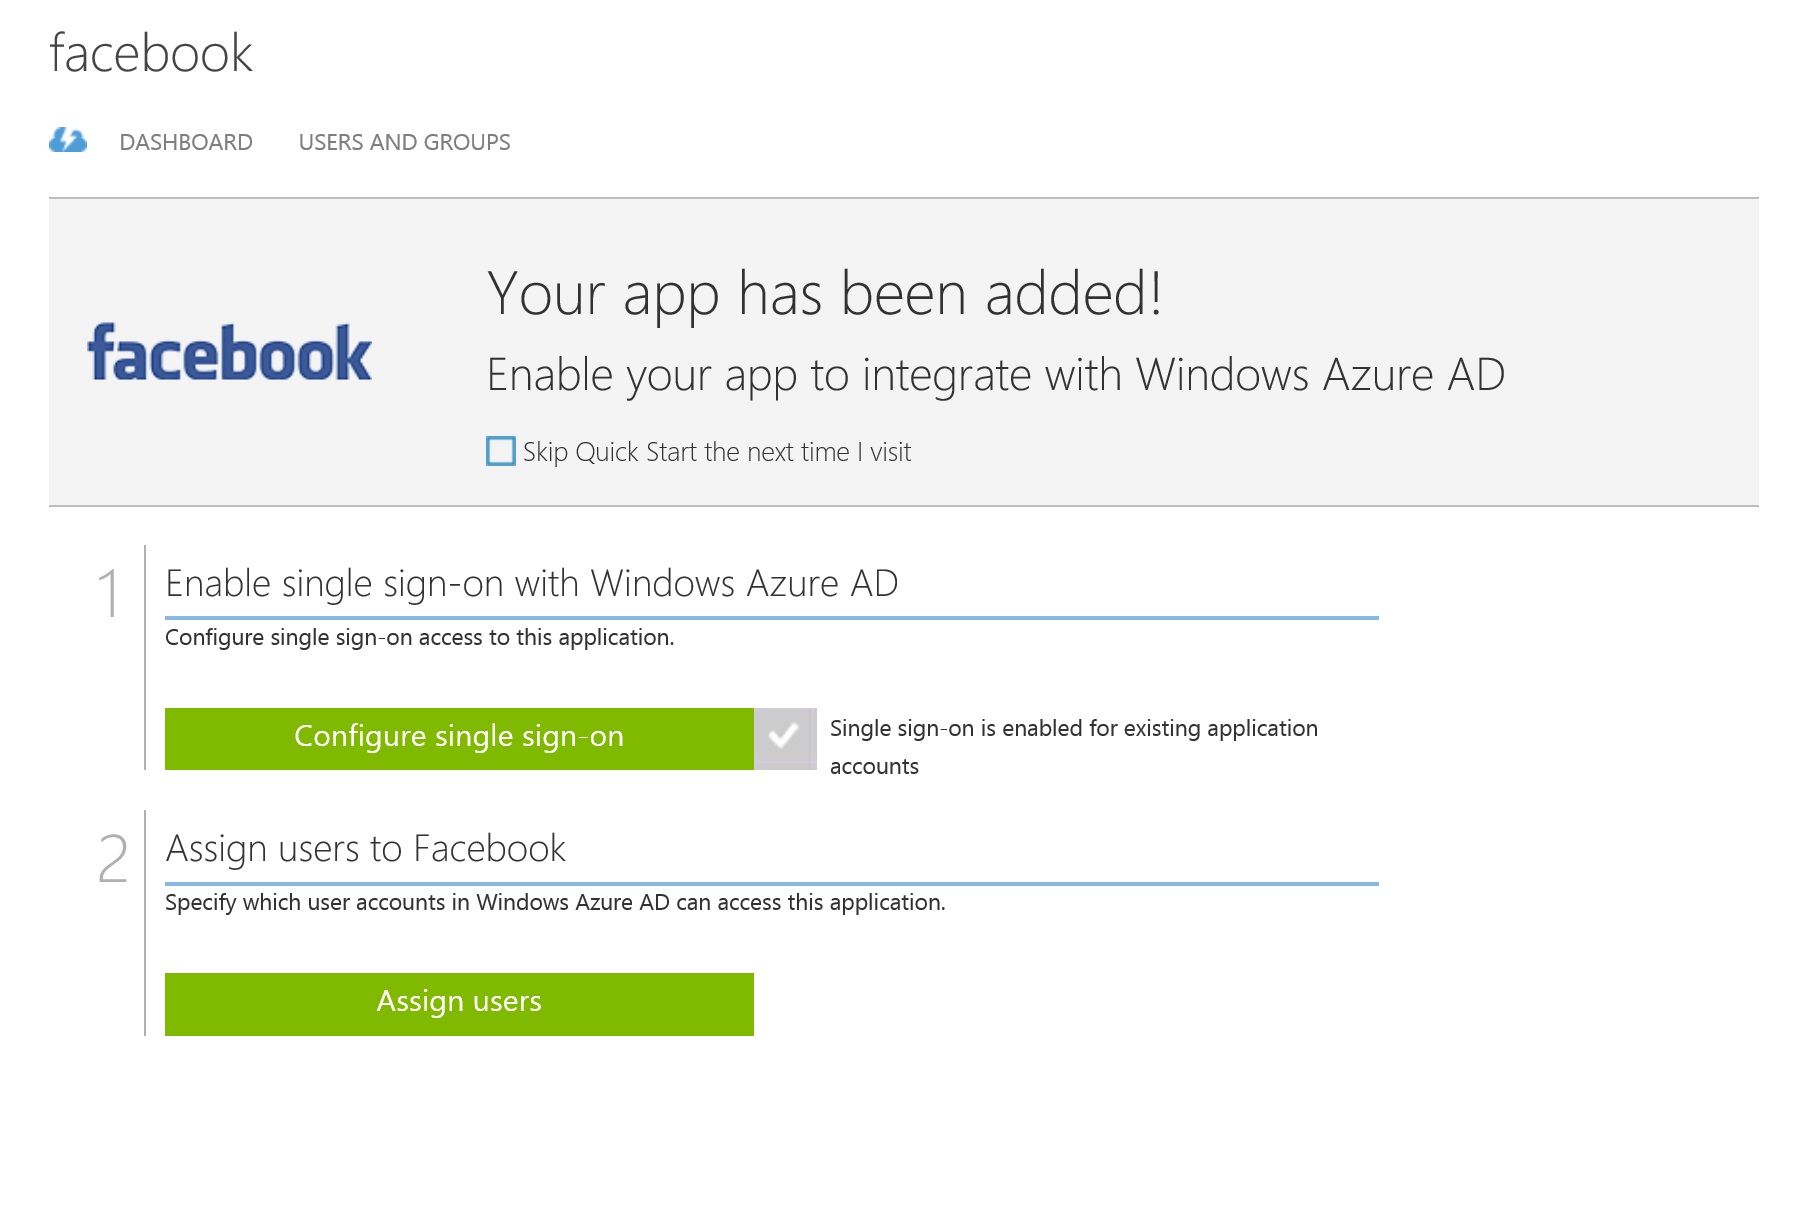
If you click on the Facebook, application, you will be navigated to the
facebook application configuration where you can add users and configure the
single sign on if required.
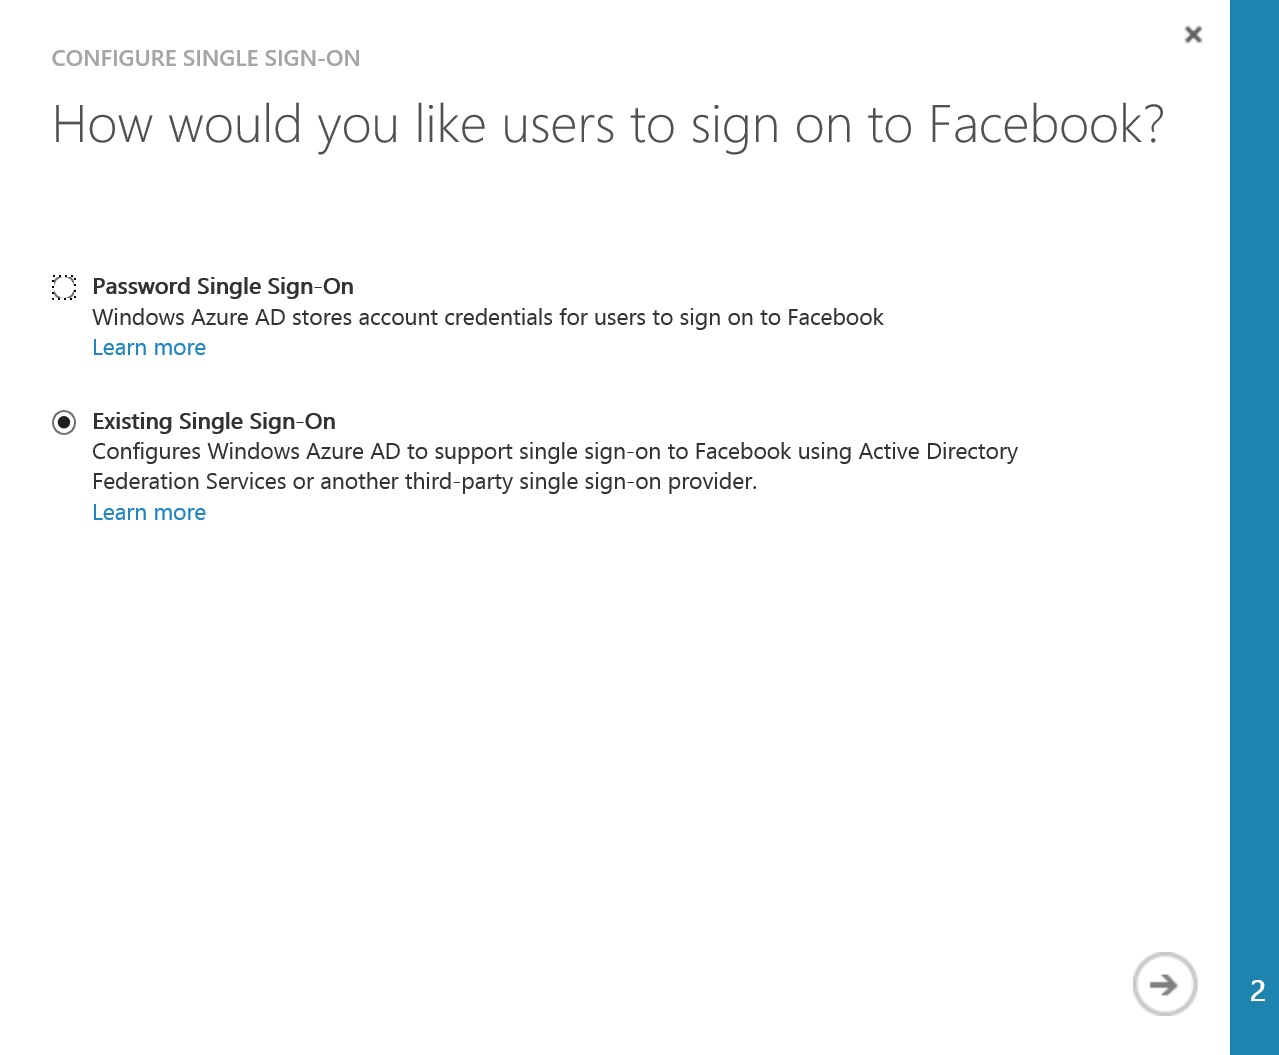
Clicking on Configure Single
Sign-on, you will see multiple options for the enabling the single sign on, the
first one, is the password-based single sign on, where the administrator has
the privilidge to enter the credentials himself, without letting the user know
it or he can let the user enter the credentials himself.
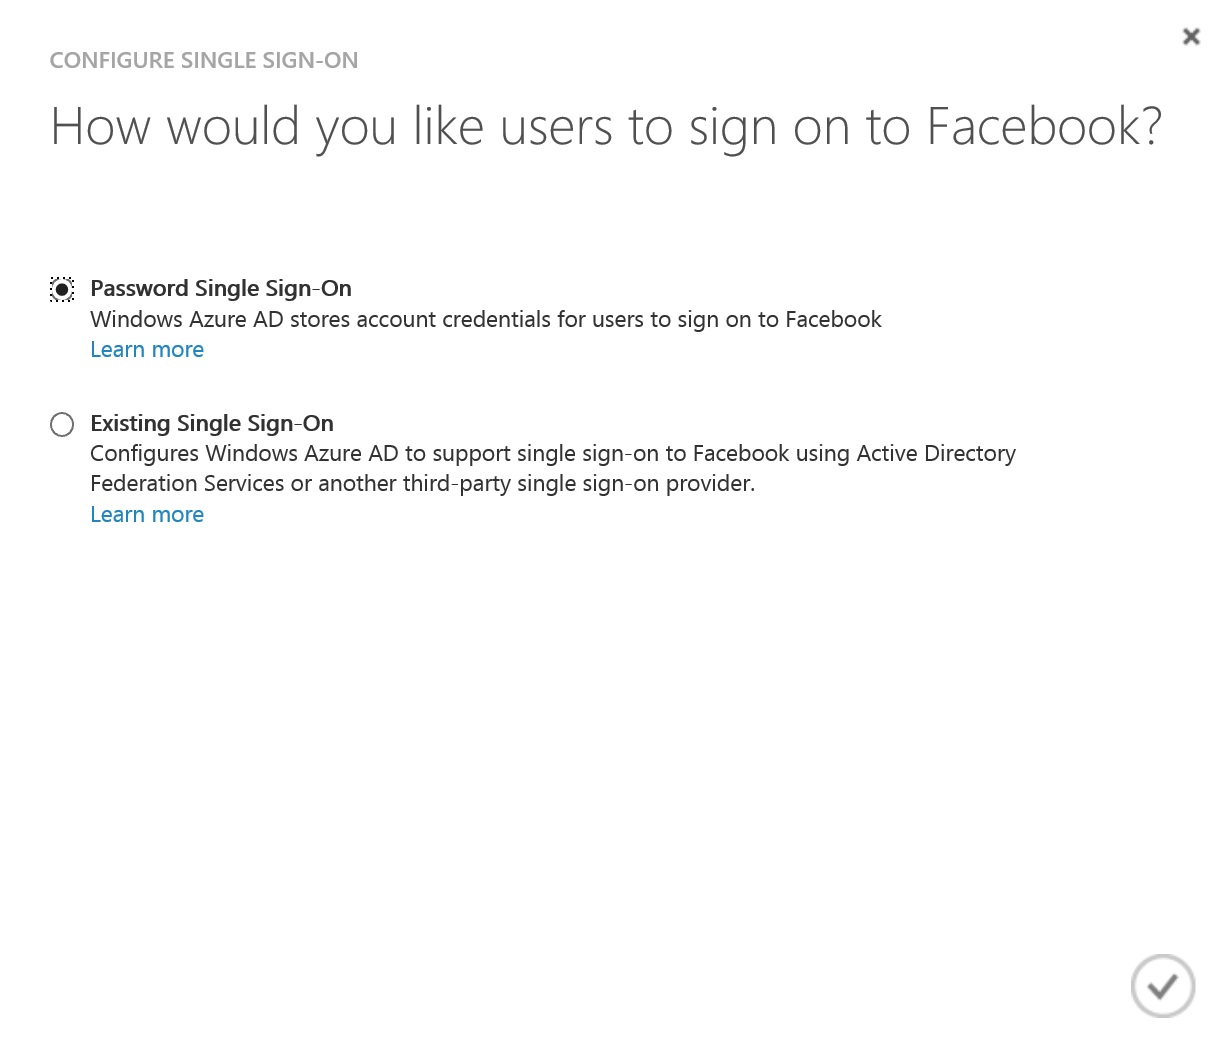
The second option is by using
an exisiting Single Sign on, the administrator only provides the link for the application
to link it to the access panel and the user use his credentials in this case. if you choose this option you will be required to enter the link for the application.
For more information about
the configuration of the single sing on please visit the following
link.
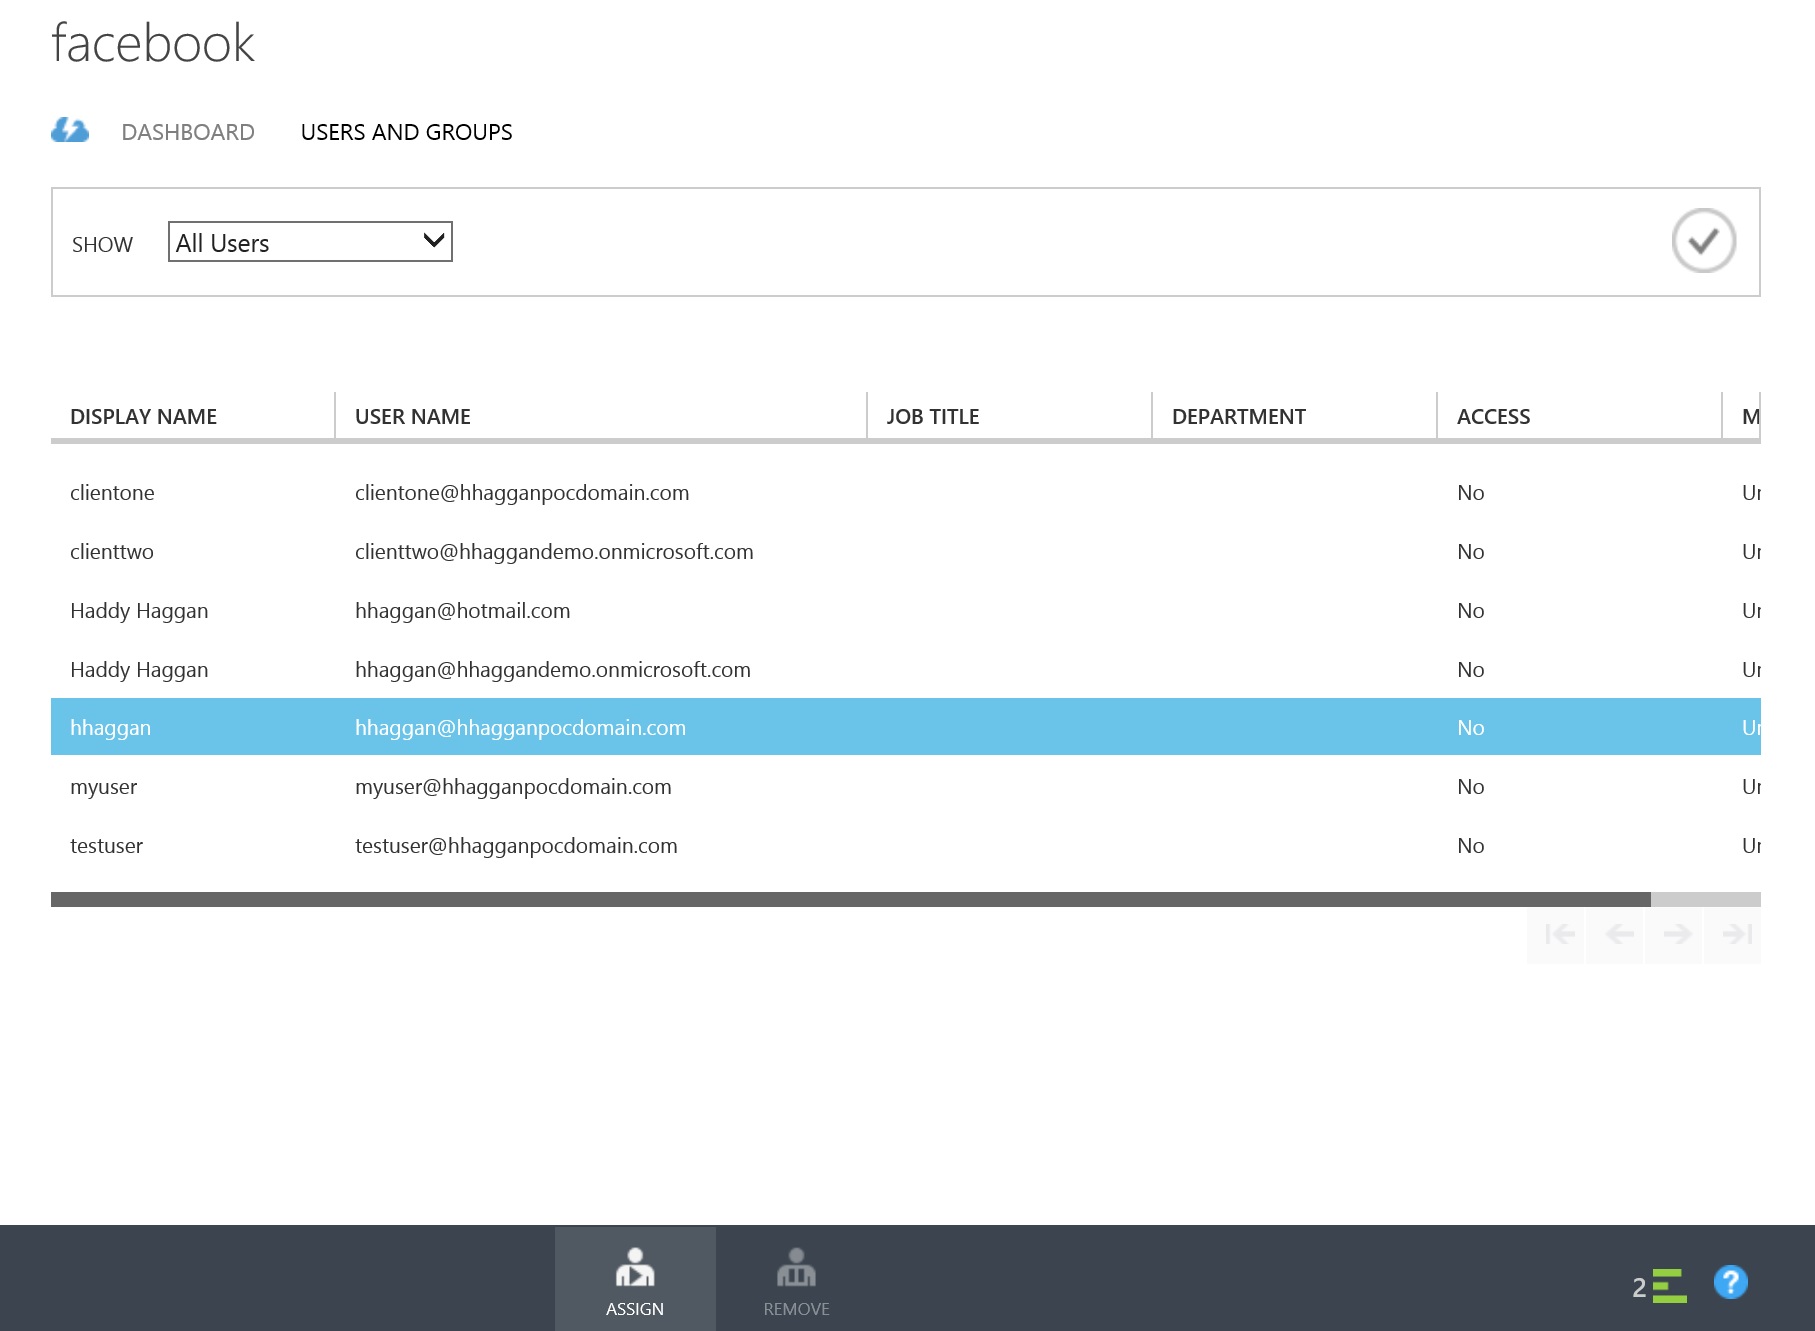
Now back to the facebook
configuration, and Clicking on Assign users, you will be navigated to the users
and groups page where you can assign the application to the specified users.
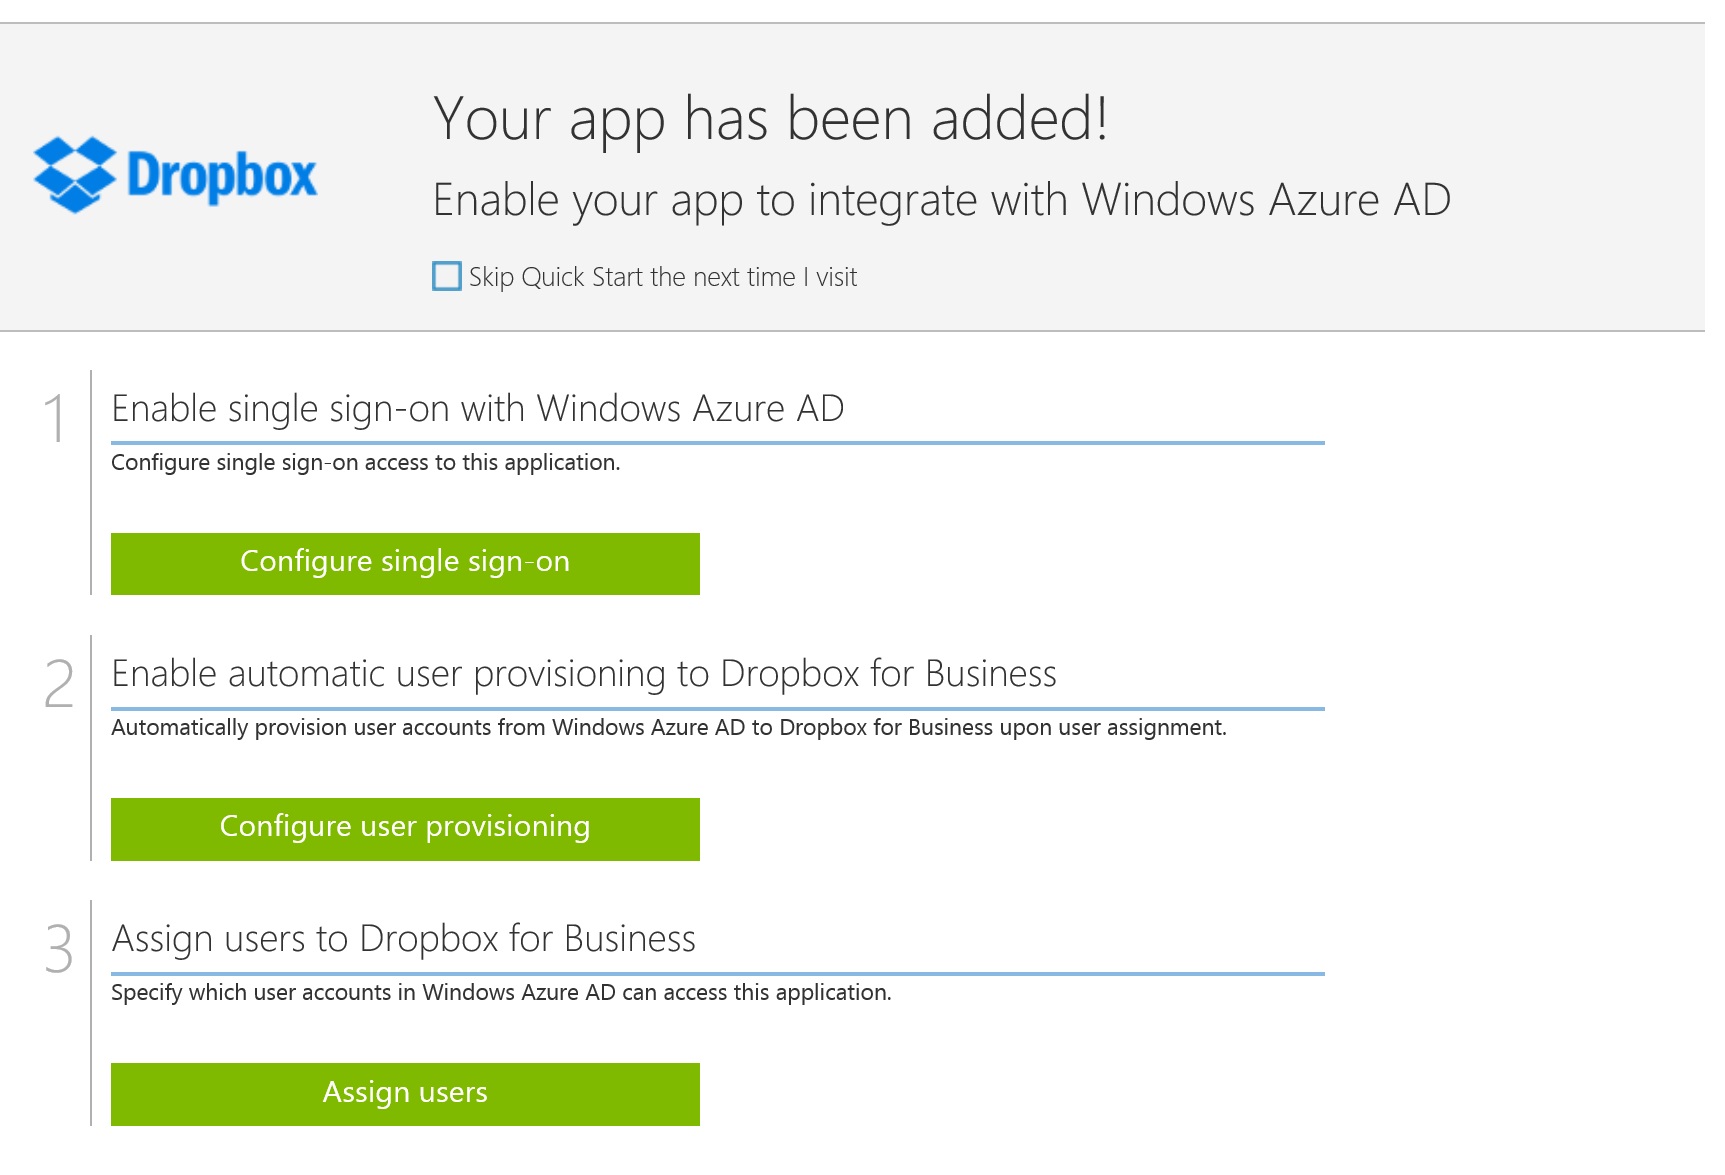
For the
Dropbox application, it is nearly the same however, there are some additional configuration
required. As you can see from the
following snapshot, you can automatically enable user provisioning to DropBox.
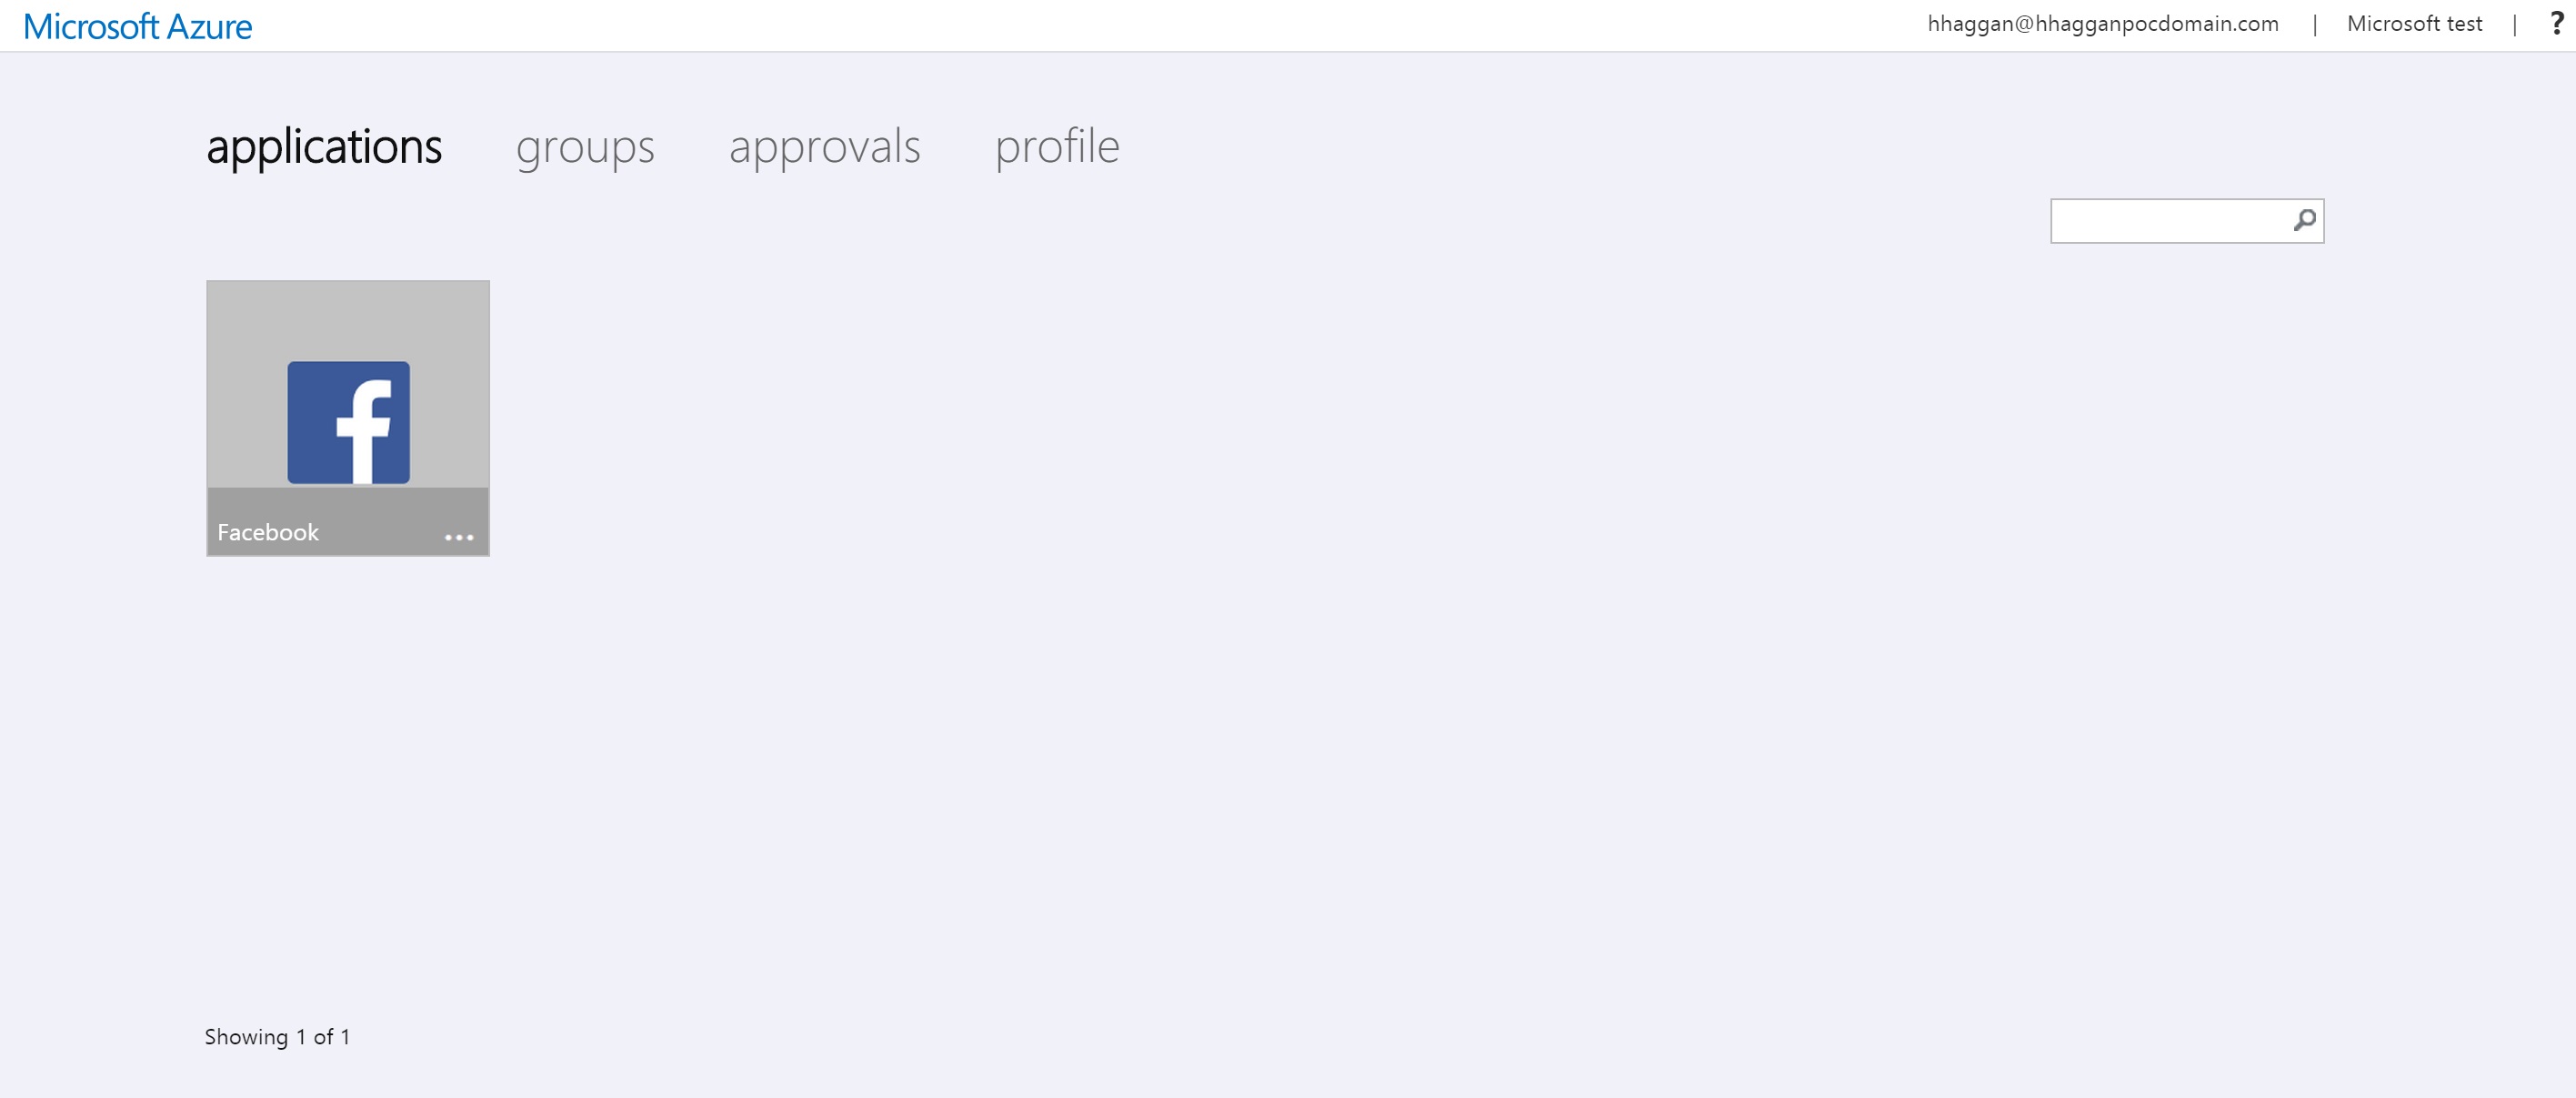
Now after finalizing the
configuration for the applications required, and assigning the users, open the
access panel and from there you will be able to see all the kind of applications
available for the user.
In the next blog post I will cover how to add application that
will be accessible outside of your network without publishing it. Stay tuned J