WebMatrix: Add Contact Us Page with Email to your Orchard Website
Orchard is one of popular content management system (CMS) site templates available in WebMatrix’s web gallery. As I discussed in a previous post, you can easily create a CMS website based on Orchard. You can use themes to change the look and feel of the site, and use modules to extend or enhance functions of the site. This post will discuss how you can add a Contact Us page that allows users to create a request and submit it (via email behind the scenes). For more info on themes and modules, check Orchard documentation here.
If you don’t have WebMatrix yet, you can download and install it from here.
First, log in to the admin dashboard, e.g. http: //yoursite/admin.
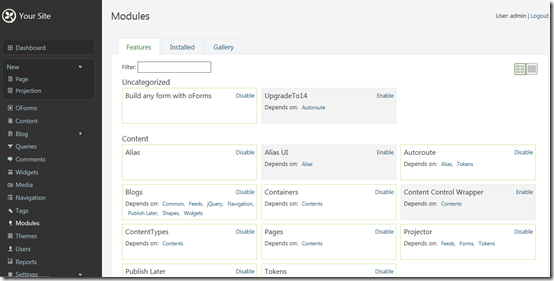
Click on Gallery, and search on “Messaging” and “Contact Form” to find and install the following three modules: Messaging, Email Messaging, and Build any form with oForms. The oForms, created by a firm based UK, is very easy to use and yet flexible. To install a module, select “Installed Modules” and click on Install a module from your computer. Enable the modules you just installed from the Features screen.
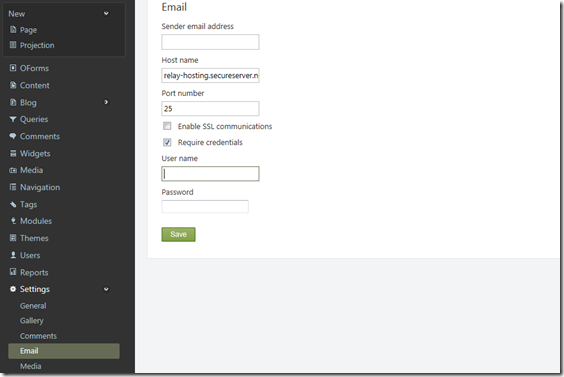
Select Settings from the left panel of the dashboard. If the modules have installed and enabled, you should see Email from the list. Click on Email, and fill in the fields on the Email screen. The user name and email should be your email account credentials. For GoDaddy, the host name should be relay-hosting.secureserver.net. Save the setting.
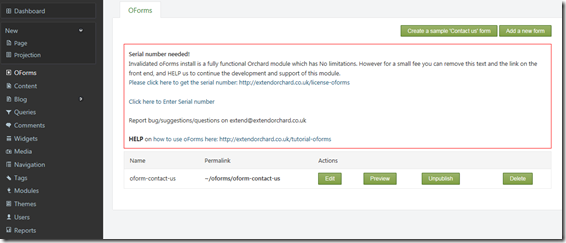
Then, select oForms from the left panel. Create a new sample contact us form.
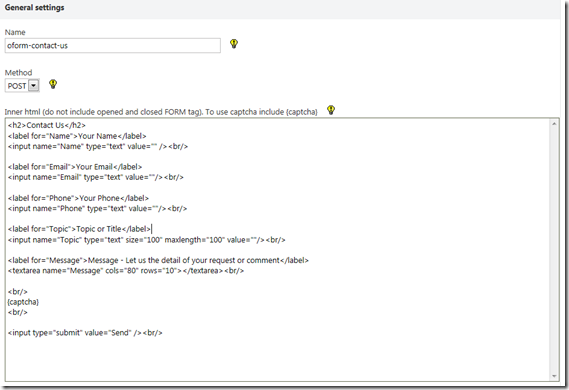
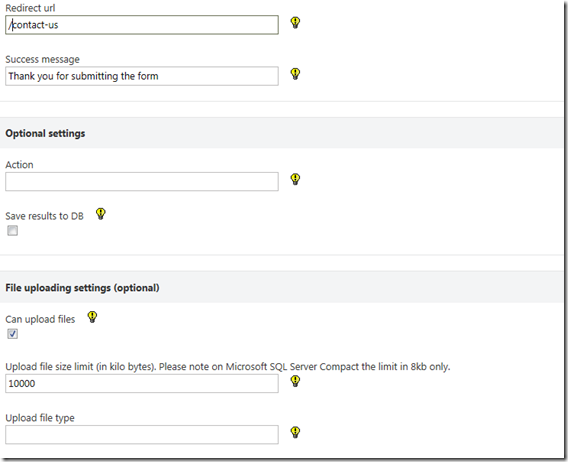
Fill in the general settings. You can customize the fields on the screen by modifying the inner html code.
If you want to redirect the user to a different page after the user submits the request, you must first create a custom page and then enter the page’s url. You can specify whether file upload is permitted and the max file size.
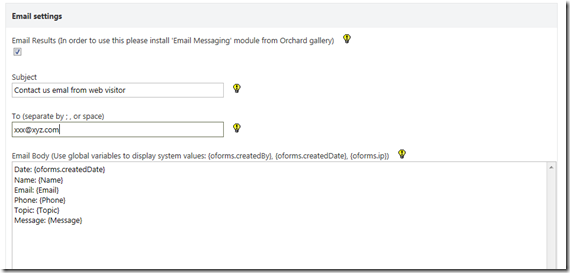
You can customize the email message by completing the email settings. For example, if you want to include date, name, topic, and message in the email, you can add the following text in the email body, as shown below.
Date: {oforms.createdDate}
Name: {Name}
Email: {Email}
Phone: {Phone}
Topic: {Topic}
Message: {Message}
Finally, check “Show on Main Menu" and enter “Contact Us” in the menu text field.
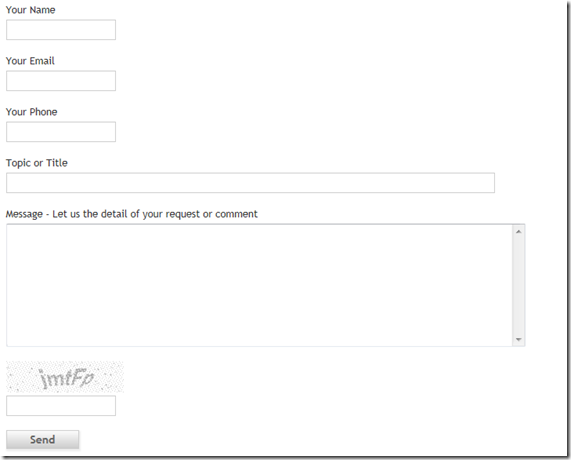
Now, go to the site and click on Contact Us. You should see a web page that looks like the one below.
If everything is done properly, you should be able to receive email from your website visitors. Try it to see if it works for you.
