WebMatrix: Creating CMS Websites is Easy with the Orchard Template
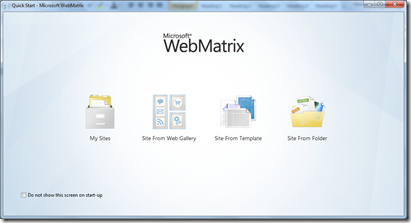
WebMatrix is a free web development tool from Microsoft that includes everything you need for website development. Whether you are a hardcore developer or a novice developer, you can create a web application rather quickly and easily. Start from open source web applications, built-in web templates or just start writing code yourself. To begin, you can download and install it using Web Platform Installer. During the installation, a local web server IIS Express is also installed, which supports PHP applications.
Creating a content management website (CMS)
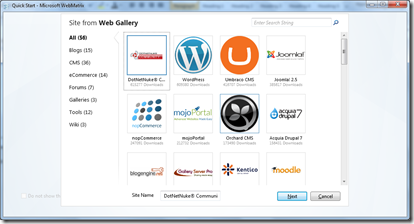
You can select Orchard CMS from Web Gallery to create a content management site that allows authorized users/administrators to manage web content, including web site pages, navigation and themes. More info on Working with Orchard in WebMatrix.
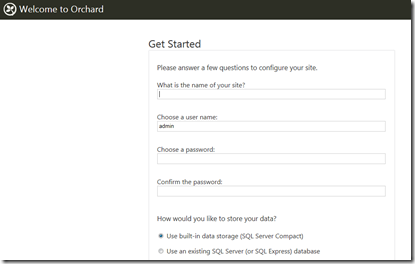
When launching the website first time, you will be asked to name the website, create an administrator account, and choose a database. You can use built-in storage if you just want to see how the CMS site works. If you plan to publish the site to a hosting account, I’d suggest that you use a SQL Server database (the second option). This will make it easy to publish the database schema and data later on.
If you choose to use a SQL Express or SQL Server database, you must specify a connection string. Check out a list of options here. For a SQL Express database:
Data Source=.\SQLExpress;Integrated Security=true;User Instance=false;Initial Catalog=MyWebsite
The Database Table Prefix is optional. If you’d like to name tables starting with “app123_” for example,, this is the right place to specify that.
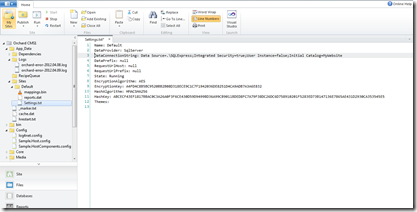
Note: If you’d like to use a SQL Server database or a SQL Azure database, you can test the website with a SQL Express or a local SQL Server database initially and then change the database connection string stored in the Settings.txt file under App_Data | Sites | Default. The connection string may look like this:
Server=xxx;User ID=xxx;Password=xxx;Database=xxx;Trusted_Connection=False;
Manage the CMS site using the administration dashboard
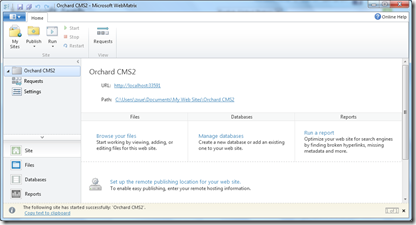
Launch the website (hosted by IIS Express) from within WebMatrix. Click on the link to admin/settings on the first web page or navigate directly to the site, e.g. https://localhost:47348/admin. Using the dashboard, you can create web pages, add a blog to the site, change the theme or add users for the website.
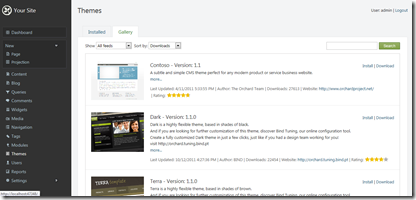
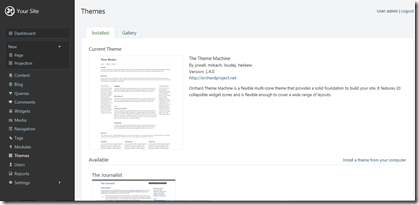
The current version of Orchard CMS comes with two themes. But you can download additional themes from Gallery and install them one by one from your computer.
Set up a Blog for your CMS site
You can refer to the Orchard documentation about “Adding a blog to your site”. John Papa has a nice blog post “ Walking Through the Orchard Part 1 - Setting up a Blog” about creating a blog for your CMS site.
If you’d like to use Windows Live Writer to compose blog posts for the blog site, check out the detail on “Blogging with LiveWriter”.
Add Third Party Libraries through Package Manager
WebMatrix comes with a built-in web interface that provides support for package management the Package Manager (based on NuGet) that allows you to install helpers (components).
This feature is disabled for the Orchard CMS site. (You could enabled the feature by setting the webpages:Enabled value to true in appSettings in the web.config file. However, you should use Modules and Widgets to implement any custom functions to your site. For example, Writing an Orchard widget: LatestTwitter)
Navigate to the web interface by adding “/_admin” to the site url, for example, https://mysite:12345/_admin. Follow instructions on the screen to enter a password, rename the password file name, and then log in with the password. From there, you will be able to list packages from the Gallery and search specific packages you want to add to the site. Read Rachel Apple’s post here on how to install third party packages with WebMatrix and Visual Studio 2010.
You can enable or disable the feature by using a new asp:AdminManagerEnabled key is available for the <appSettings> element in the web.config file, which lets you completely disable the package manager. For more info on installing helpers with the administration tool, read the WebMatrix tutorial here.
