Connecting your Windows Phone 7 Device to PC
The process of connecting your Windows Phone 7 device to your computer (e.g. Windows 7) should be pretty straightforward. Microsoft Zune software is all you’ll need for making the connection and making the contents between your device and the PC. As you get started, you are likely encounter one of the two scenarios below:
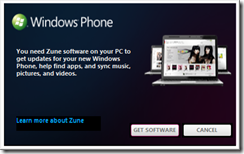
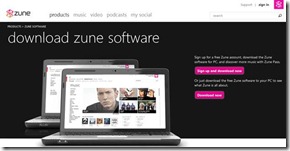
- If Zune software hasn’t already been installed, you will be asked to install Zune. Click the Get Software button, download and install it.
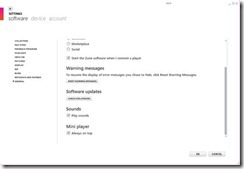
- If Zune software has already been installed but is not updated, go to Settings | Software | General, click Software Update to receive the update, if the update process doesn’t start automatically.
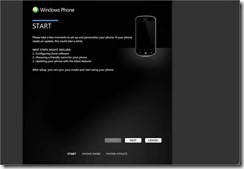
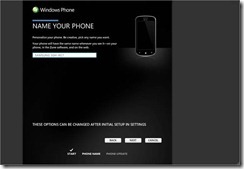
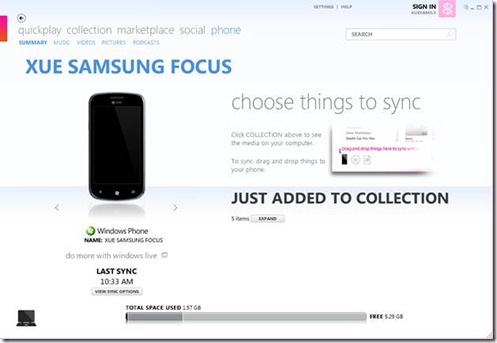
Make sure you disconnect your WP7 device before installing/upgrading Zune software. Upon completion of software update, connect your WP7 device, you should see a welcome screen. Follow the process to name your device and sync up contents between your WP7 and PC.
One interesting note about Internet sharing between your WP7 and PC. Normally you’d use your phone to act as a modem or a local web server to get your PC connected to the Internet. With Zune software, you can browse the Internet from your WP7 device when its airplane mode is activated. This feature may be useful if for example you need to run a WP7 application that’s not on your PC. You can find more details from the blog post, “Zune Software Shares Its Internet To Windows Phone 7 Devices”.
