Creating an ASP.NET Web Application and Deploying it to the Windows Azure Platform
I went through the process of creating an asp.net web application (without database) and deploying it to my Windows Azure account. I followed step by step instructions during the process but ran into a few minor issues. So I thought I’d share what I learned here.
1. Creating two services in Windows Azure account
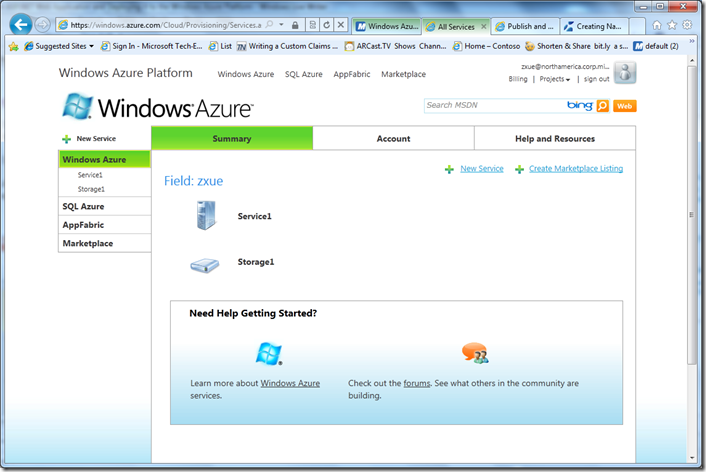
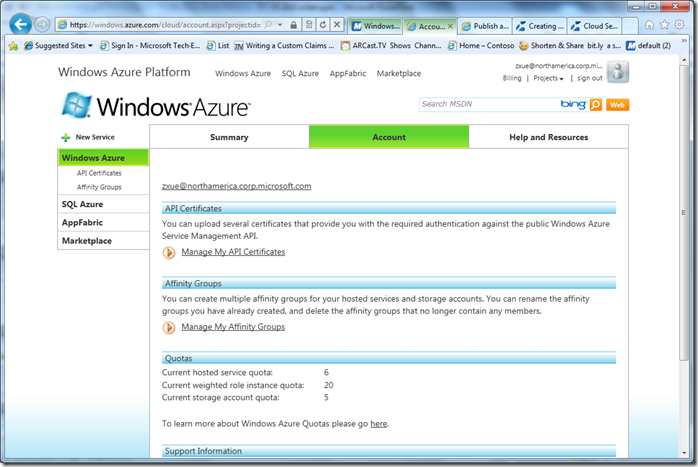
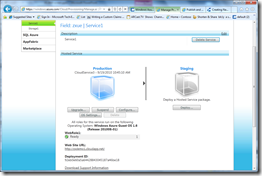
After purchasing a Windows Azure account, I logged in to my account and created two services: one hosted service (“Service1”) to run the asp.net web application, and one storage service (“Storage1”) to store the application package including a configuration file. While the concept of having the two services is not so intuitive (at least to me), the process of creating them is very straightforward. Once done, my Windows Azure account looks like the screenshot below.
2. Testing an ASP.NET web application in Local Azure simulation environment
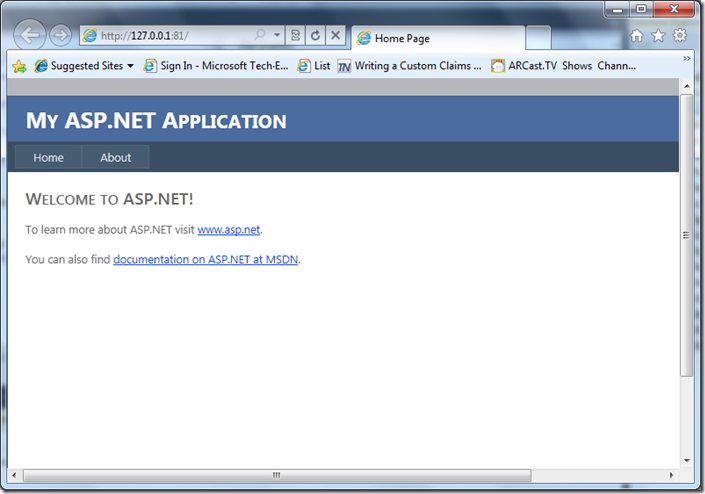
After installing Windows Azure Tools (version 1.2), I created an ASP.NET web role application and tested it in a local Azure simulation environment.
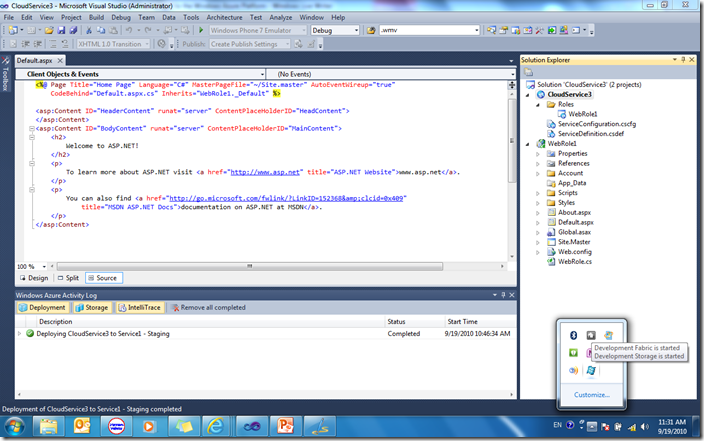
The local Azure simulation environment consists of Development Fabric and Development Storage. You can find it from your Windows tray.
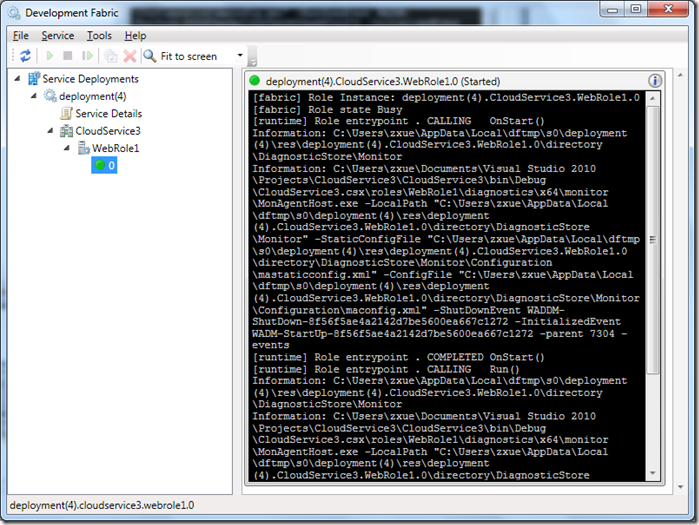
You can right click the Fabric Development UI icon and bring up the screen, shown below.
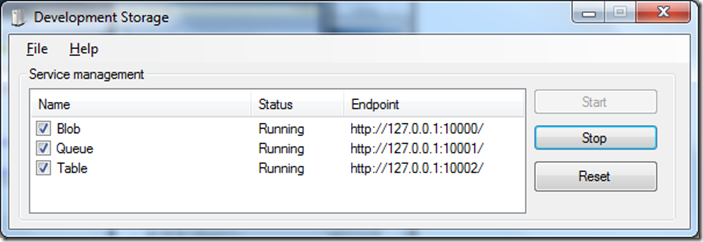
You can also right click the Storage Development UI icon and bring up the screen, shown below.
3. Setting up your deployment credentials from Visual Studio 2010
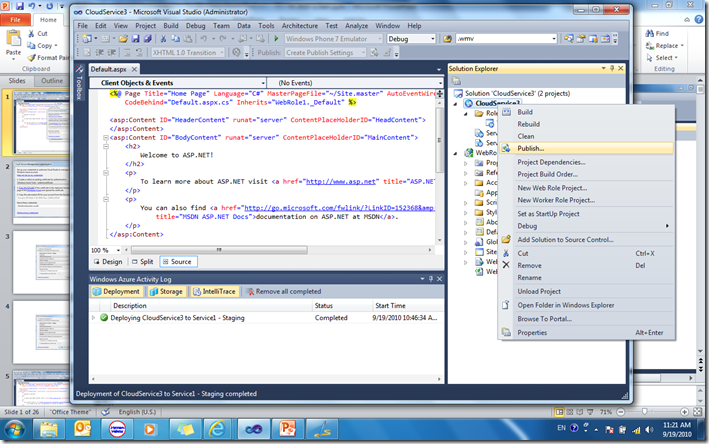
You can either create a deployment package for Windows Azure or deploy the application directly to Windows Azure. Right click the service role project (not the web role project) and select Publish.
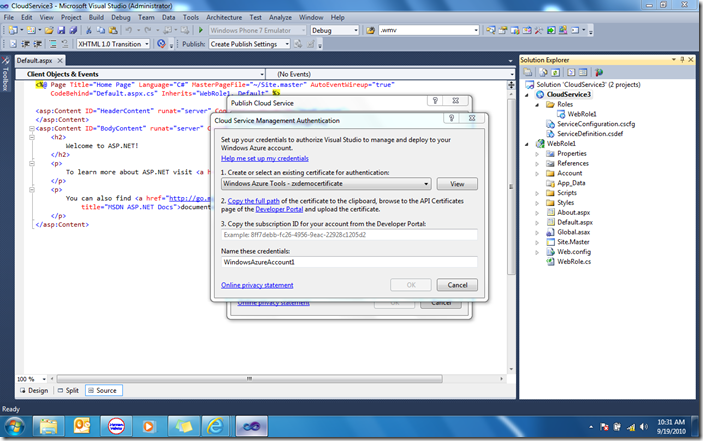
To deploy a hosted service to Windows Azure from Visual Studio or to monitor an existing deployment, you must provide credentials that Visual Studio can use to authenticate requests to Windows Azure. See more detail here.
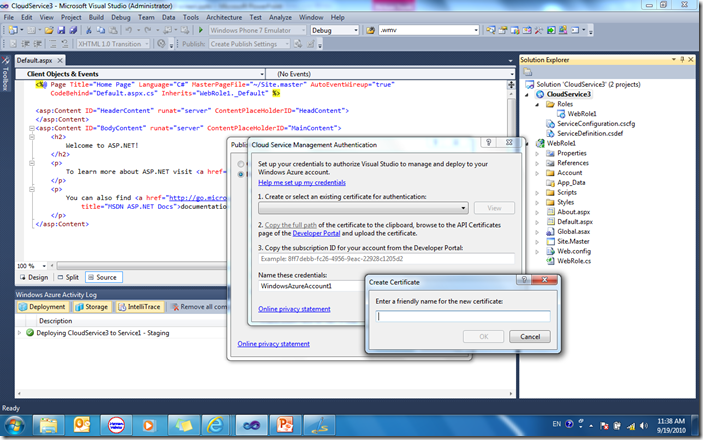
I created a certificate using Visual Studio and named it “zxdemocertificate”.
And then copied the path to the certificate (a file with extension “.cer”) on my local machine and uploaded it to my Windows Azure account.
There are two places where you can manage certificates. Use “Manage My API Certificates” under the Account tab.
Browse to the path you just copied, e.g., C:\Users\zxue\AppData\Local\Temp\rukbxh4v.j5t\PublicKey zxdemocertificate.cer and upload the certificate file.
Finally, on the Cloud Authentication Management dialog box in Visual Studio, copy and paste your subscription ID under the Account tab.
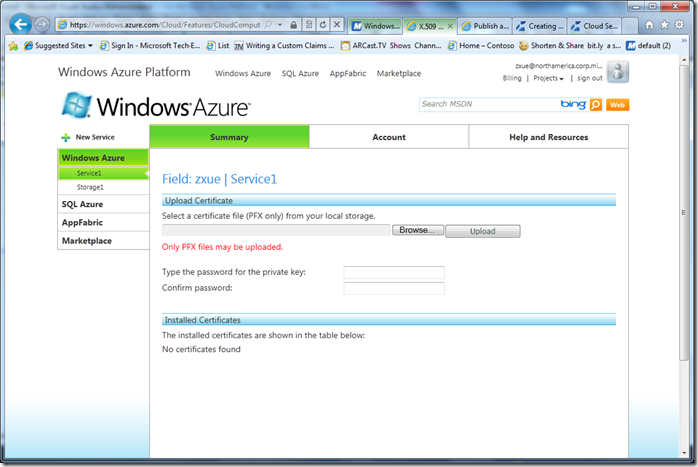
Note: If you try to upload the certificate file using the user interface with a service under the Summary tab, you will get an error: Only PFX file may be uploaded." See more detail in this post.
4. Deploying the web application Visual Studio 2010
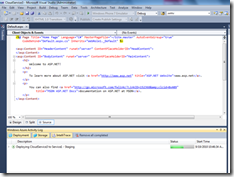
Once you press the OK button, the deployment process to the Staging environment starts. The entire deployment process takes quite some time (more than 15 minutes) to complete. In Visual Studio, the status of the debugging screen changes from a green bar and “Completed”. In Windows Azure, the status of Web Role changes from “Initializing” to “Busy” to “Ready”.
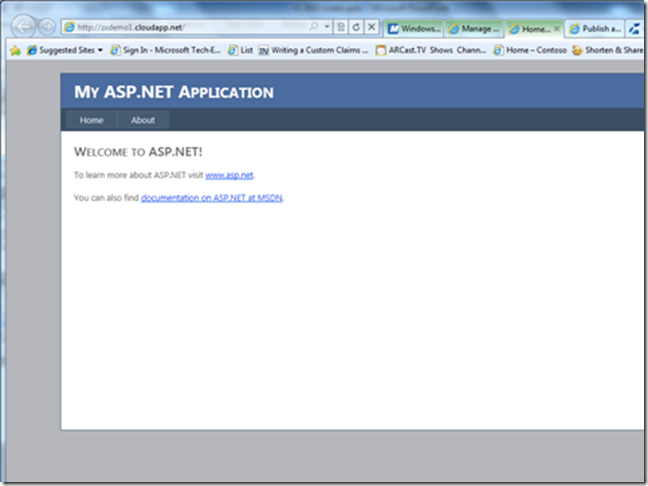
Before moving the web application from Staging to Production, you can preview the application using the URL listed under “Staging”. When ready, you can push the application to production, which is instant.
