Visual Studio 2012 Color Theme Choices
The other day I had a customer complain about not liking the Light and Dark color themes that come out of the box with VS2012. I’m always up for more choices with color schemes so thought I would make sure you all knew about the options for color schemes. There are actually many, many ways you “could” change your fonts and colors but I’ll show you what I consider to be the top two methods in no particular order.
Visual Studio Color Theme Editor
https://visualstudiogallery.msdn.microsoft.com/366ad100-0003-4c9a-81a8-337d4e7ace05
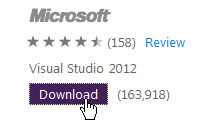
One of the more popular extensions we created after VS2012 launched was the Color Theme Editor. it comes with pre-set themes as well as the ability to customize your themes any way you see fit. Since it is an extension, you can obtain this feature quickly by following the link to the extension and then clicking the Download link:
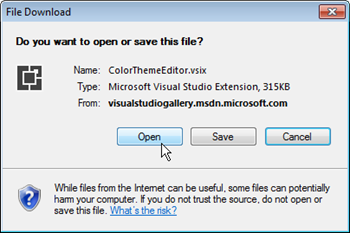
Next just click the Open button to install the extension:
Now just follow the on-screen instructions to finish the installation.
Using the Theme Editor
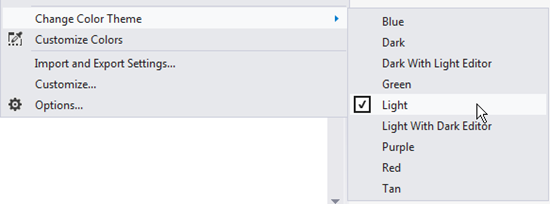
To use the editor you can simply choose a theme by going to Tools | Change Color Theme and selecting a pre-set theme:
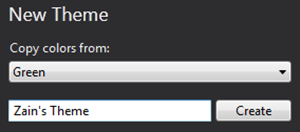
Notice that just below Change Color Theme is Customize Colors which allows you to create custom color sets as well. It’s not very intuitive so let me walk you though a little bit of it. First you have to pick an existing theme to copy from and then give the custom theme a name and click the Create button:
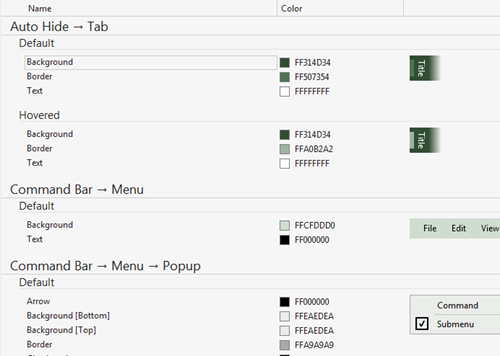
Now you will be presented with a dizzying array of options you can modify to create a custom look and feel to your environment:
DANGER: It appears that the Color Theme Editor doesn’t like it when you import settings through the IDE and will use the imported settings instead of the expected settings when changing themes. My advice is to create a custom theme and set it as the current theme then import settings as desired (shown below) so you don’t get messed up themes.
StudioStyles
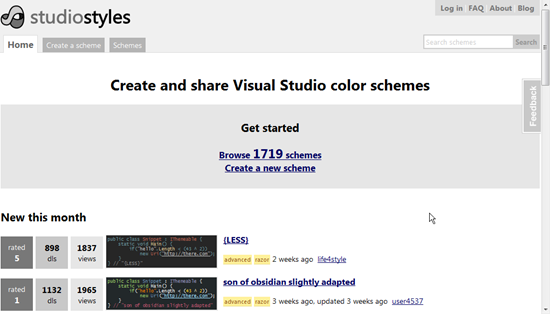
If you haven’t been to https://studiostyl.es/ yet then you have missed out on some seriously cool styles:
Getting a Style
Let me walk you though how to use one of these styles. First, you need to find a style you like. I suggest you pick from the All-Time Favourites section. My personal favorite for quite some time has been WekeRoad Ink:
Once you select the style you want then select the proper version of Visual Studio and click the download button:
This will give you a .VSSETTINGS file with just font and color information that you can import into the IDE by going to Tools | Import and Export Settings:
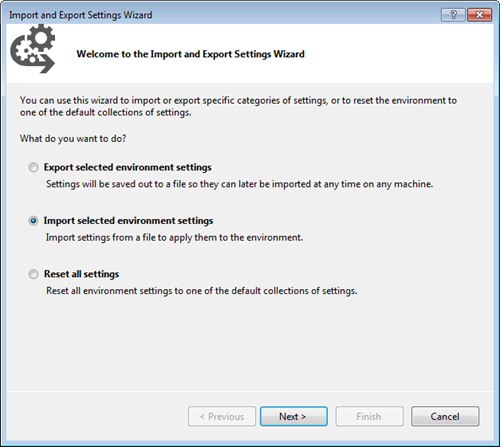
Choose Import Selected Environment Settings then click the Next button:
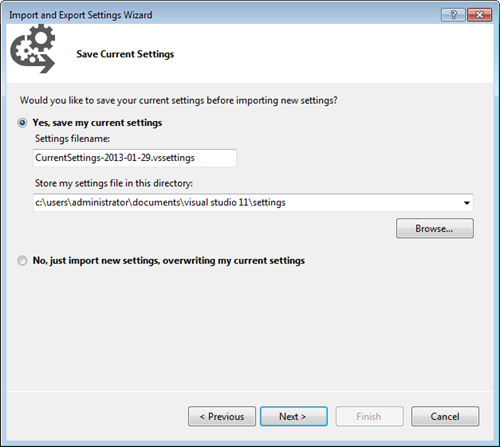
You should absolutely make sure you BACK UP YOUR CURRENT SETTINGS then click Next:
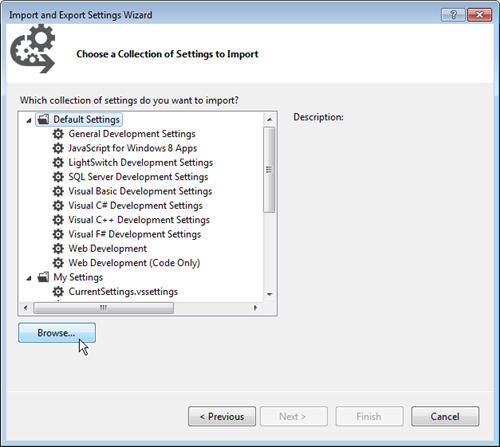
Use the Browse button to find the .VSSETTINGS file you found then click Next:
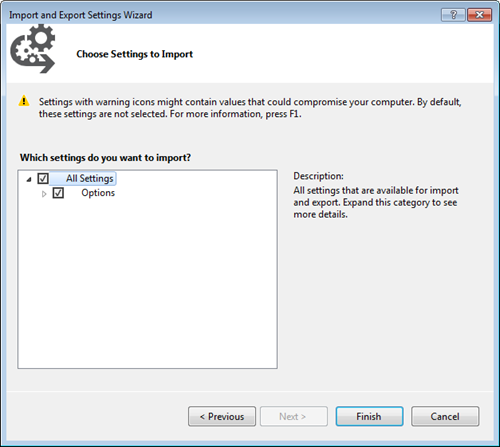
Click the Finish button on the current screen:
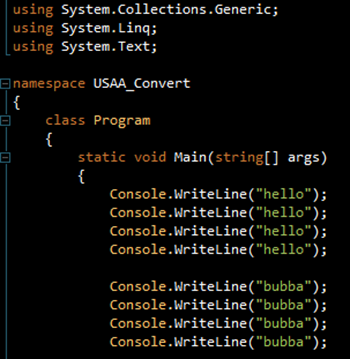
Choose Close on the last screen and you should have your new color theme:
Undoing Any Changes
You can import your previous settings to change the theme back to any colors you had before. For more information see my previous post here:

