Organizing Your Custom Project Templates
Versions: 2008,2010
Published: 11/8/2010
Code: vstipProj0019
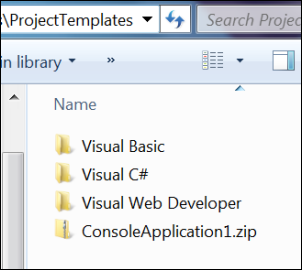
In vstipProj0004 (https://blogs.msdn.com/b/zainnab/archive/2010/02/22/roll-your-own-project-or-item-with-the-export-template-wizard-vstipproj0004.aspx) I showed you how to create custom project templates. What I didn't show you was how to organize them. It's actually pretty easy. Once you have created your template go to C:\Users\<user>\Documents\Visual Studio <version>\Templates\ProjectTemplates. In my case, I'm going to "C:\Users\zainnab\Documents\Visual Studio 2010\Templates\ProjectTemplates":
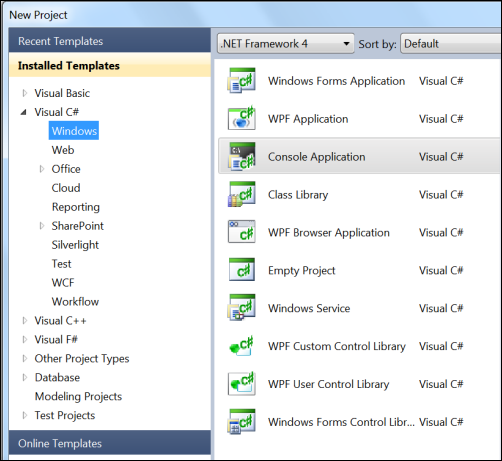
Notice I created a custom Console application for this example with the very cool name of ConsoleApplication1. By default custom project templates don't show up in the project folders:
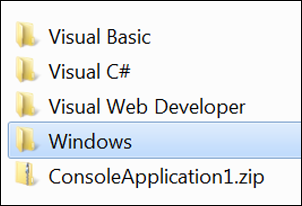
But if we create a new folder in our directory that matches where we want our template to show up then they will go in these areas. So go back to your C:\Users\<user>\Documents\Visual Studio <version>\Templates\ProjectTemplates directory and let's create a new folder called "Windows" to match the area we want our new Console template to go into:
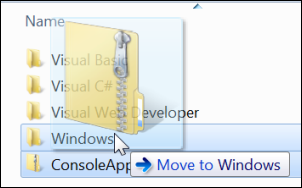
Move your template into the new folder. In this case I will move ConsoleApplication1.zip into the Windows folder:
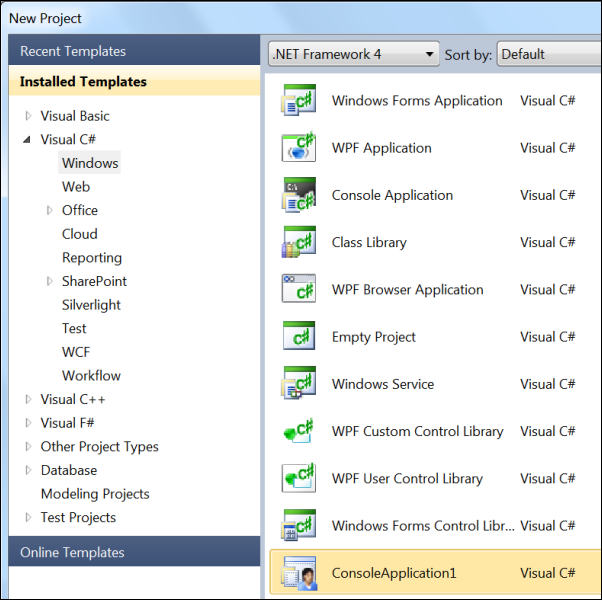
That's it! The next time you open up the New Project dialog (CTRL + SHIFT + N) it will show the project template in the proper area:
