LINQ and Joins
Once again I was asked about LINQ and whether it supports joins or not. The answer is NO. Just kidding. Of course it is YES. We at Microsoft want to show you some LINQ Love (new term I have coined) and demonstrate how to do joins! Yea!!!!! (and there was much rejoicing)
Here's what you need to get started:
Visual Studio 2008 Beta 2
SQL Server (any version, I'm using SQL Server 2005)
An ant eater (okay, this last one is optional but they are really great if you have ants)
Let's get started...
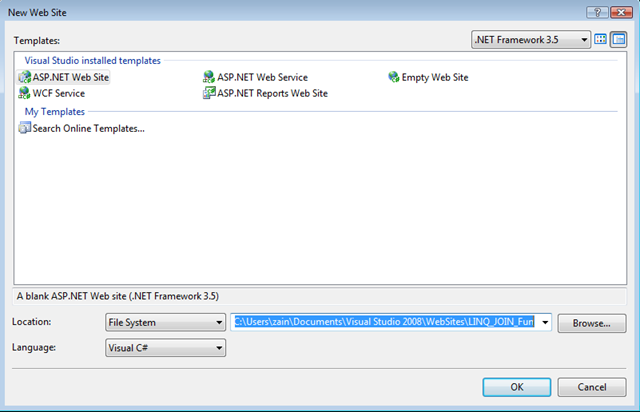
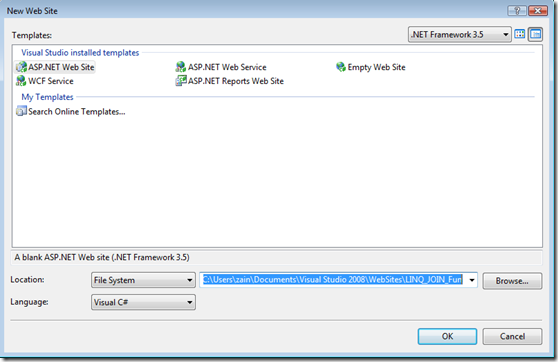
Crank out a new web site and call it LINQ_JOIN_Fun.
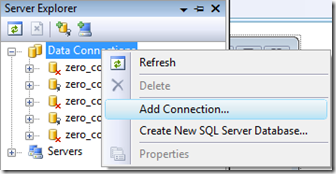
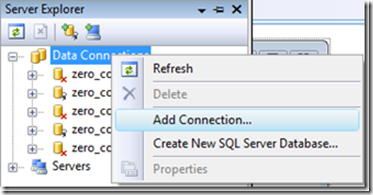
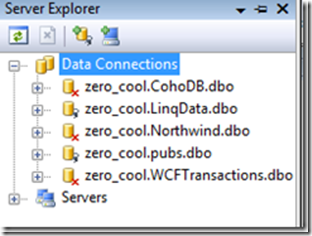
Next, make sure you have a connection to some data source in your Server Explorer. You may need to add a new connection.
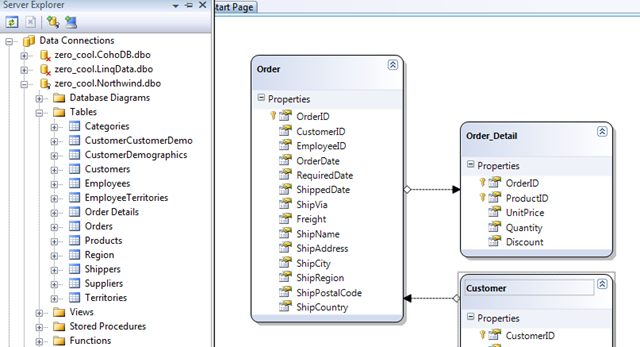
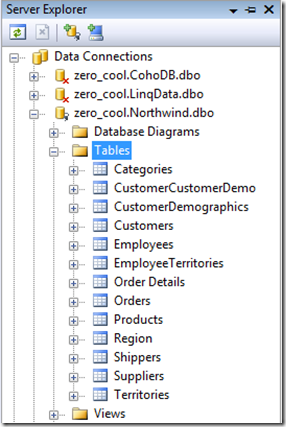
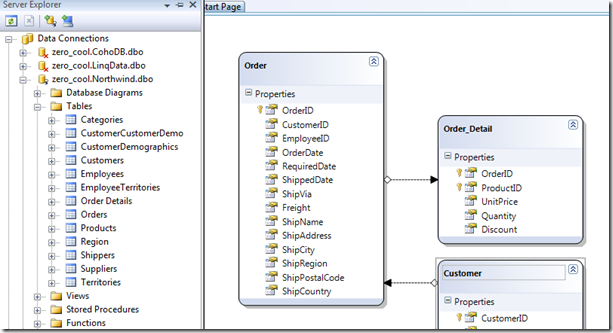
For the purposes of this discussion I am using the Northwind Database on SQL Server.
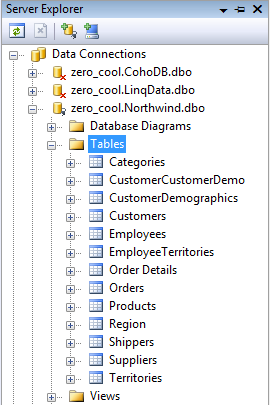
Expand out the Northwind database and take a look at the tables.
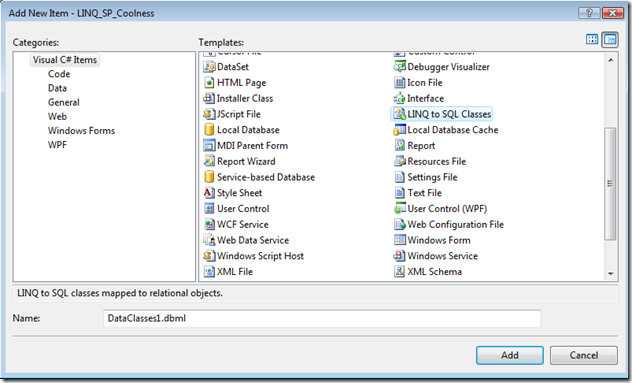
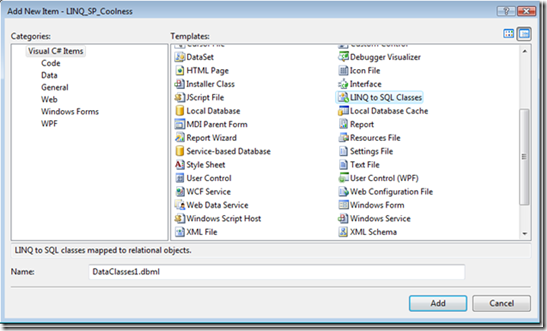
So now we need to have our classes and mappings in place for using LINQ. Fortunately, this is a VERY easy thing to do. Just right-click your project, choose Project...Add New Item from the Menu Bar. Let's add a "LINQ to SQL Classes" item with the default name of "DataClasses1.dbml". If you get a funky message about putting it in the App_Code Folder just say yes.
Click and drag the Customers, Orders, and Order Details tables from Server Explorer on to the LINQ design surface.
Rebuild the solution just to be safe so we are sure Intellisense is aware of what we just did. Stirctly speaking this isn't required but it certainly helps sometimes.
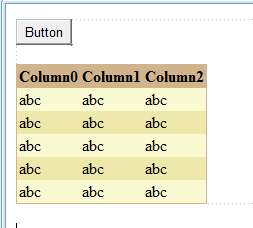
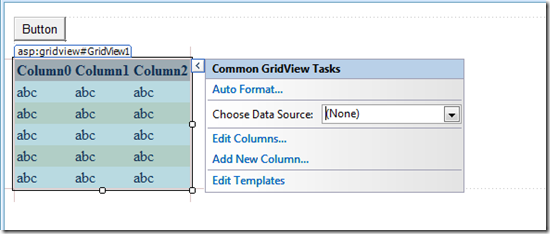
Now let's add a button and a GridView Control to our WebForm. Don't worry about the colors just yet on the GridView we are going to be doing that next.
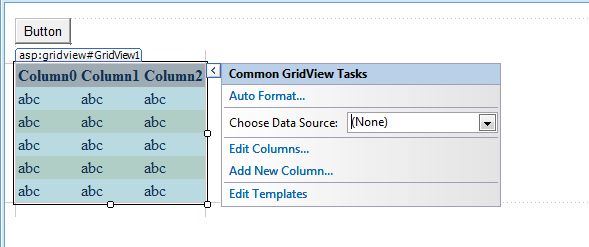
Configure the GridView (in this case I'm assuming it is called GridView1) so that the DataSource stays at the default setting of "none" and then choose an AutoFormat that you like. I am using "Sand & Sky" in this example.
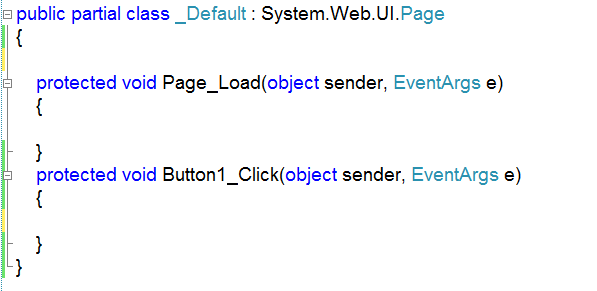
Now comes the fun part. We need to add some code in order to play with the data. Double-click on the button to auto-magically wire up an Click Event. You should see something like this:

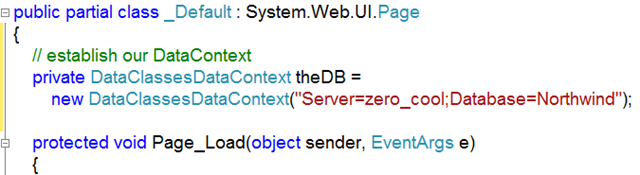
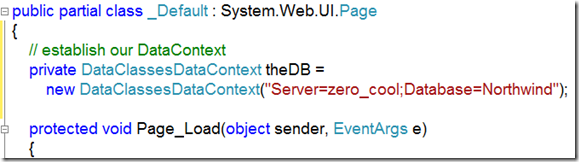
The first thing we want to do is create our DataContext. Since we may decide to use the same DataContext throughout the project, let's make it accessible to all the methods:
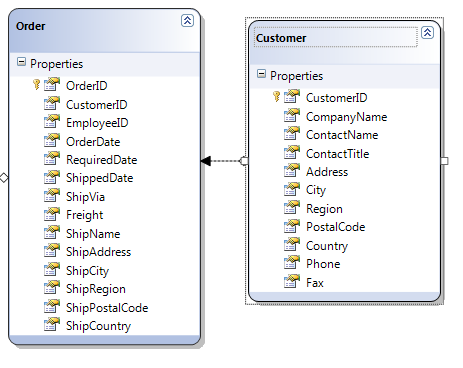
Inside our Button1_Click Event (or whatever your Click Event is called) we need to start building the LINQ query that will show us each OrderID from the Orders Table and the CompanyName of the company placing the order from the Customers Table. The following figure shows all the columns from the Orders and Customers Tables:
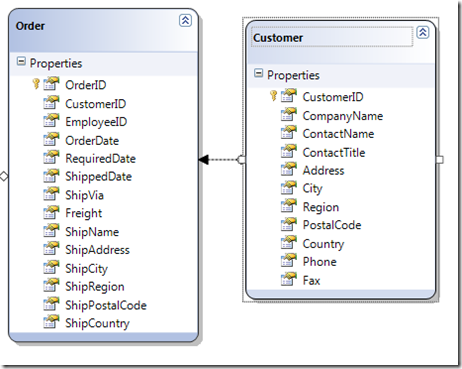
Special Note: In the NorhtWind Database these tables are called Orders and Customers respectively but when we put them on our LINQ-To-SQL design surface they are auto-magically made singular to bring them inline with common naming conventions used by developers.
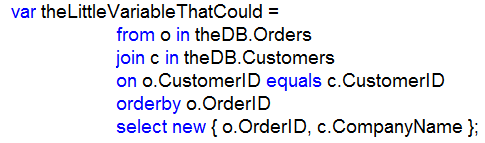
Let's begin building our query expression. We need to get our variable to hold the results out there and while we are at it let's identify the first table we want to pull data from (Orders in this case):

Next we need to join the Orders Table to the Customers Table. Notice in Step 12 that they both have the CustomerID Column in common. Here is how we would join Orders and Customers on CustomerID:
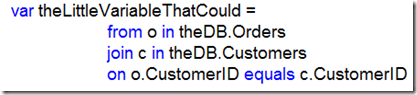
Special Note: For the record, I am only showing an Inner Join here but LINQ is very capable of doing Outer Joins as well.
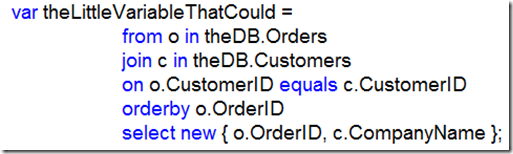
Now let's put on the finishing touches to our expression. We will most likely want to sort by OrderID and we will definitely need to indicate which pieces of information we want. The following code uses an orderby to sort the info and the "new" keyword to create an anonymous object for each row. Each object will contain the OrderID and the CompanyName:
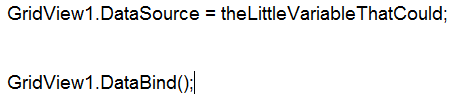
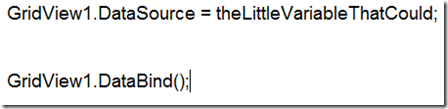
Last, but not least, we need to set the DataSource of our GridView and then bind it:
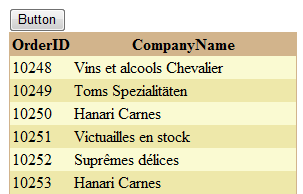
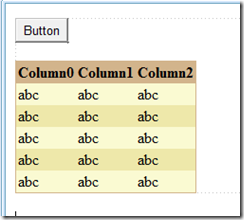
That's it! Run that puppy and see what happens. If all is well, you should get some thing like this when you click on the button:
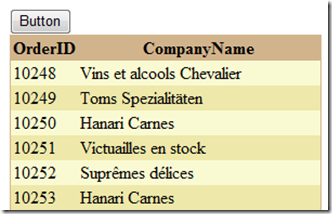
So that's how you do a simple join using LINQ Query Expressions. Stay tuned for more exciting adventures on this blog.
RESOURCES
LINQ Project on MSDN: https://msdn2.microsoft.com/en-us/netframework/aa904594.aspx
LINQ-to-SQL Samples: https://msdn2.microsoft.com/en-us/vbasic/bb688085.aspx
Technorati Tags: LINQ to SQL , Joins , inner , outer , coolness , LINQ , database , query expression