How to register your custom Site Template with Expression Web 1,2 or 3
A few months ago, I went to Paul, who is one of our Lead Developer to suggest, what I thought is a great new feature, that we should enable our users to register their own Site Templates so that they will be available on the New Site dialog.Then Paul kindly told me that I can do that today. I was pleasantly surprised. But when he patiently walked me through the process, I thought "How would anyone, like me, know how to do this without any instruction?".
After doing some searches online, I noticed that some of you already figured this out. But for others I hope these insights help. It requires you to do many steps manually and you have to have administrator rights to your machine. Hopefully, in future versions of Expression Web, we are able to improve the experience.
So here it is:
The Site templates shipped with Expression Web can be found in a folder like this, depending where it is installed. C:\Program
Files\Microsoft Expression\Web 3\en\WEBS. Out of the box, the folder has the following contents.
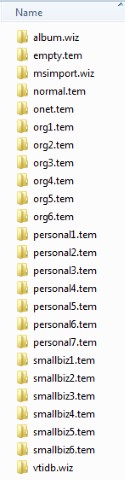
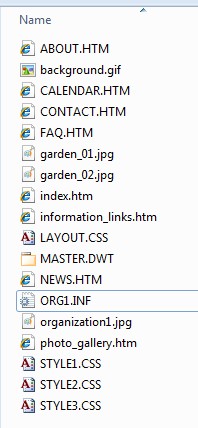
Here's an example contents of a template (*.tem) folder:
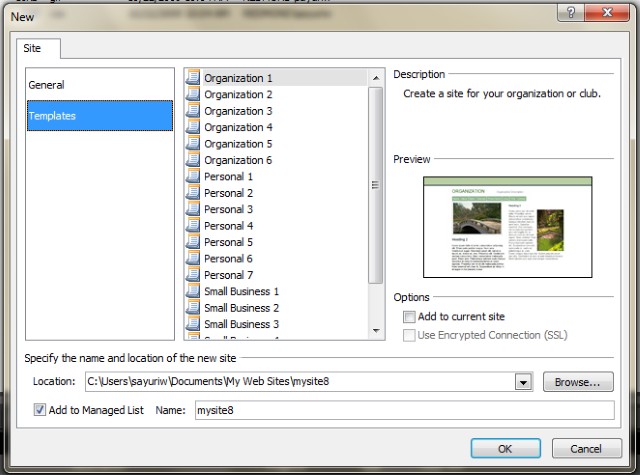
On the New Site Dialog, you can see the list of out-of-the-box Site Templates:
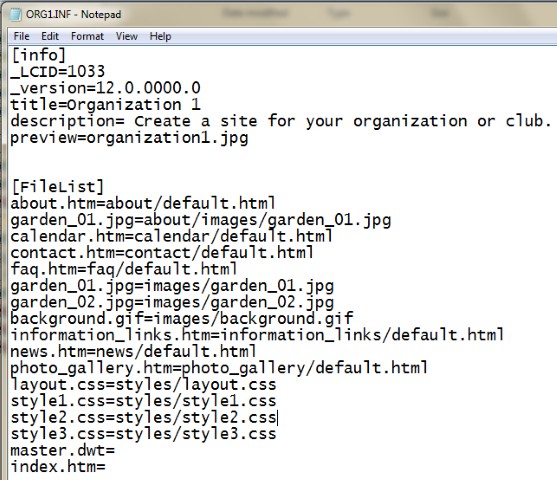
Here's the contents of the ORG1.INF file:
So, here's the workflow to register your custom Site Templates in Expression Web 1, 2 or 3:
- Create a folder in C:\Program Files\Microsoft Expression\Web
3\en\WEBS folder for your template. Your folder must have a suffix
".tem" for template. - Drop the files for your Site template into the folder you just created. The file structure should be flat and should have any sub-folder.
- Note that the image files will be created inside a sub-folder named
"Images" when a Site is created based on your template so adjust the
code for your files accordingly. - Create an INF file using notepad or other program with the format like the above ORG1.INF example.
- Specify the template name, description and the thumbnail image to display on the New Site Dialog.
- List out all the files in your Site template and for each file, specify its destination folder.
- If your Site template is in a language other than US English, you
can also change the LCID from 1033 (for en-us) to the appropriate Language ID. See LCID chart on MSDN. - Take a screen capture of the home page of your template Site and save it in this folder as well. This image will be use as the preview thumbnail for your Site template in the New Site dialog. Specify the name of this image in the preview field in the INF file as well.
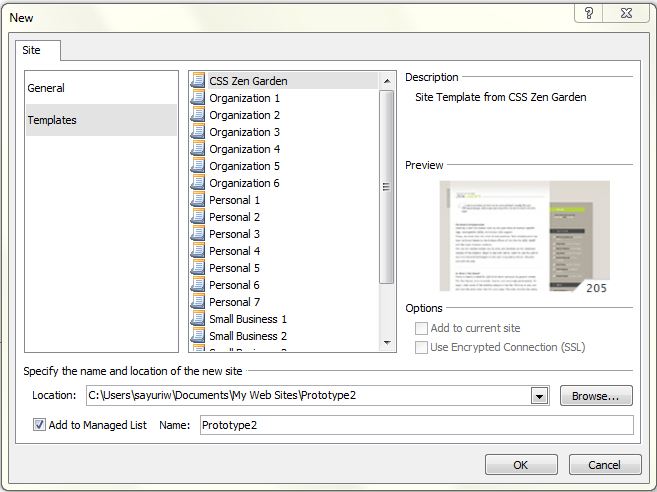
To test this out, I added a Site template I downloaded from Zen Garden and here's how my New Site dialog looks like:
Sayuri Wijaya Gould
sayuriw@microsoft.com
Expression Web Program Manager