Working with hand-drawn art in Expression Design
It's just as easy to work with your hand-drawn art in Expression Design as it is any other well-established vector drawing program. Perhaps more so with Expression Design because of the simplicity of the user interface. In this blog entry I'll go through a step by step process of bringing a piece of my hand drawn art into Expression Design 2, then flesh it out using Design's tools.
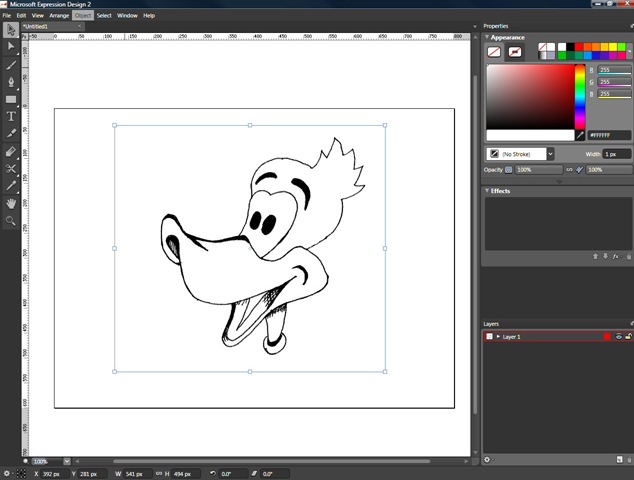
To start, I scanned in a piece of art I drew. The art started out as pencil art and then was fleshed out in black pen. I then imported the art into Expression Design from the File, Import ... menu.
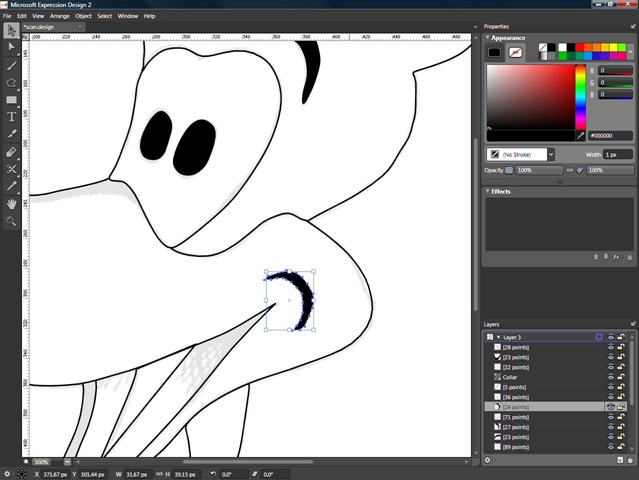
There are a couple of ways to go about the next part. One way is to auto-trace the image (Object, Image, Auto Trace Image) and then convert the auto-trace to a guide (Object, Guide, Make). With Snap to Guides turned on (View, Snap to Guides) you can use a tool such as the B-Spline tool to easily trace the guide paths and make your lines. But that's not what I did and here's why. When the auto-trace is made, you wind up with two lines, one outside, one inside, of the originally drawn line, as shown in the picture below.
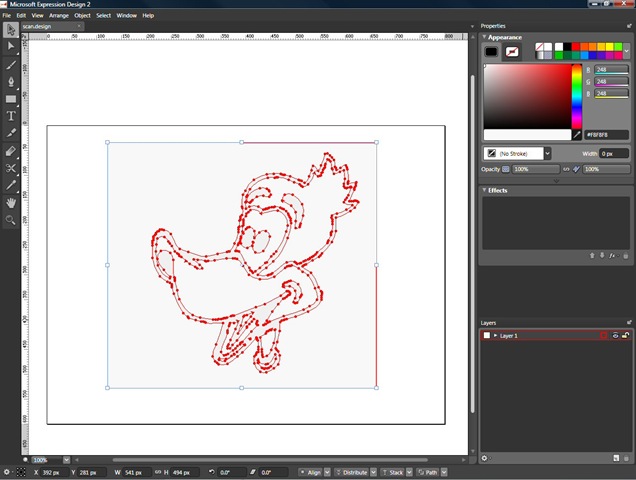
Because the auto-trace represents one contiguous line, it would be difficult to break it apart and then rejoin only the sections that I need so that I can apply fills. In this case, it seems like a much easier way would just be to manually trace the scanned image, which is what I ended up doing. I put the scanned image into its own layer and set the opacity to 10%, then locked the layer. Then I created a new layer on top of that one and using the B-Spline tool  , I began tracing.
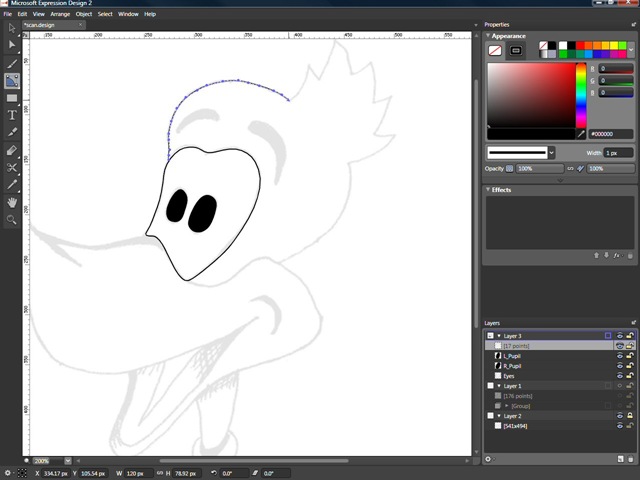
Note that I traced areas that I could close-in. This is because I am going to assign color fills to them later.
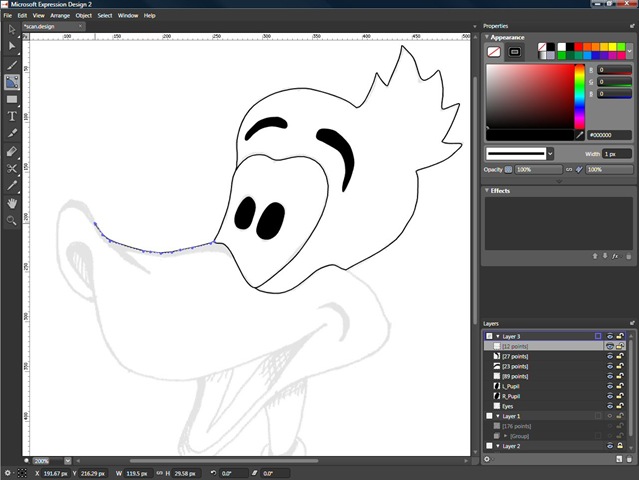
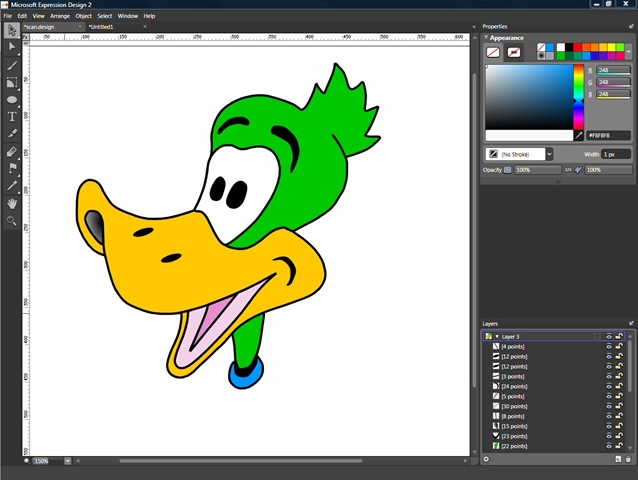
Until we finally end up with a collection of shapes that make up our image, which is the true definition of vector art. Each shape can then be applied a fill.
And what we wind up with is the final image, shown below. The only tool I used for tracing was the B-Spline tool. I used 3 point strokes for the art outline and I used one gradient fill at then end of the beak.
Here is the final file, available for download.