Let's walkthrough some paths
In the last regular blog I mentioned that we would examine some pathing operations in Expression Design. As you probably already know, pathing is just a means of combining, transforming, negating, spindling and mutilating vector objects. You 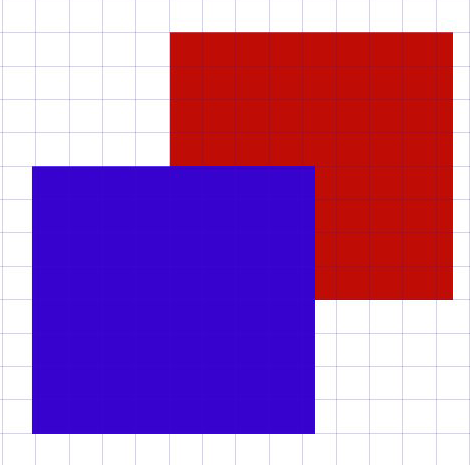 can end up with some pretty interesting designs by using a path or combining a number of paths to your vector objects. Let's take a look at the basic path operations available in Design and then get creative.
Remember, in order to create a path you need two or more objects selected. When selected you will see the Path drop down control appear at the bottom of the user interface as shown in the image to the left.
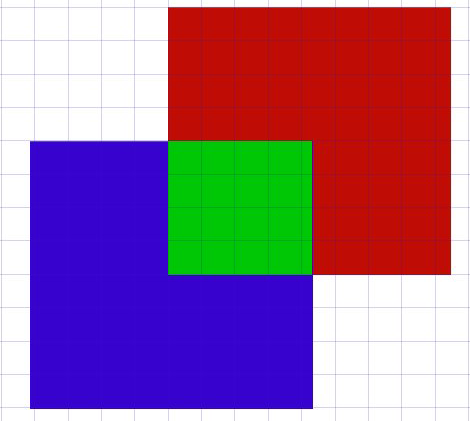
There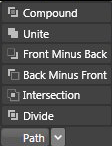 they are, but what do they mean? What do they do? What will my pathed image look like? That's what I'm here to show you. In the examples below, I'll be using two different colored rectangle objects. The blue object is stacked in front of the red object. Let's path these objects and see what they look like!
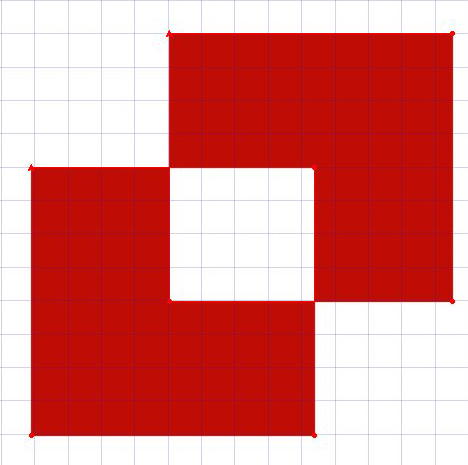
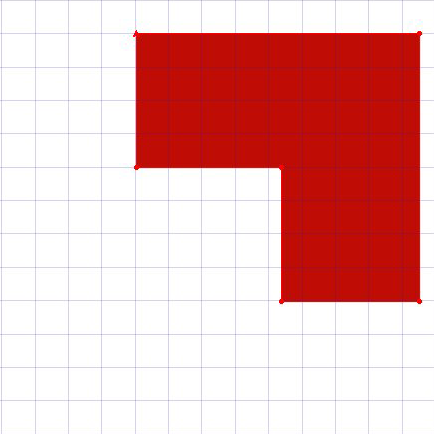
Compound - When applying the compound path, the properties of the image in the back overtakes the image in the front to become one solid image. Where the two images intersect is "cancelled out" so that the object behind the red and blue objects becomes visible. In this case there is no object behind the red and blue objects aside from the artboard. Though it may not look like it, the merged object is a single path object.
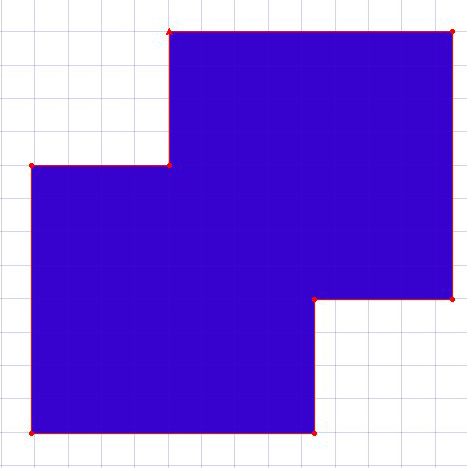
Unite - Nope, this isn't the name of an old football hero. This path operation takes the front object in your selection and merges it with the rest of the selected objects. Think two drops of water merging into a bigger drop and you get the idea. The merged object becomes a single path object.
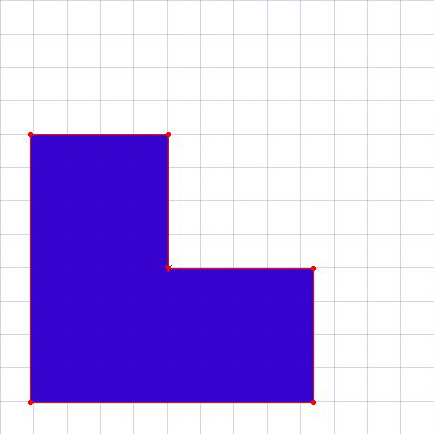
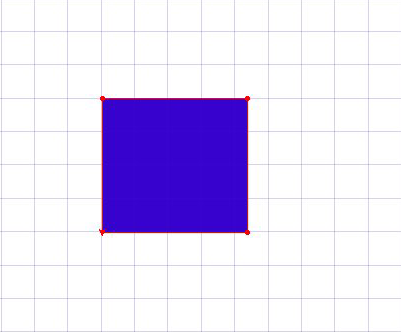
Front Minus Back - You got it. The object in the front remains while the rest of the objects go away. However, where the objects intersect also disappears. In this case, the blue object is all that's left and it is a single-path object.
Back Minus Front - If you understood the concept behind Front Minus Back then Back Minus Front should be a no-brainer. The object in the very back remains and any place the objects intersected becomes electron vapor. The remaining object is a single-path object.
Intersect - When objects collide at this intersection, only the space where they overlap remains. To illustrate the point, the first image below shows our red and blue objects. The green rectangle in the middle depicts the area where the two overlap. When you apply the intersect path, the area of overlap relative to the object in front is all that's left, thus the second image below. The remaining object is a single-path object.
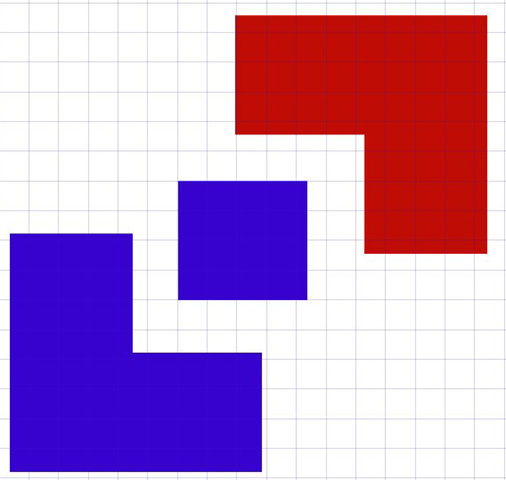
Divide - Our last path divides our objects along their selections. What does that mean? Well, when you first apply the divide path to your selections it may look like nothing happens. But click on the Direct Selection arrow and move the objects apart. They are now individual objects, including the area of overlap. Think of this path operation as making jigsaw puzzle pieces from your selections. Nothing goes away and each of the created objects are single-path objects. The area of overlap remains and takes on the properties of the object in front.
So there you have it. Pathing operations in Expression Design demystified. You can make some really interesting shapes when you get creative.
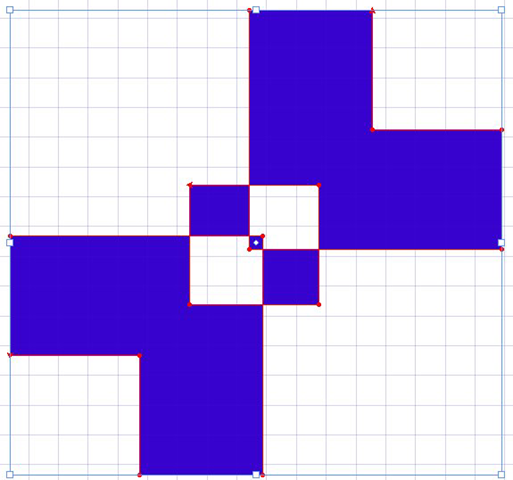
The below picture on the left is our red and blue object with the Divide path applied; the outer red and blue shapes switched places and intersected the middle blue object and then the Compound path was applied. The resulting object is a single, selectable object.
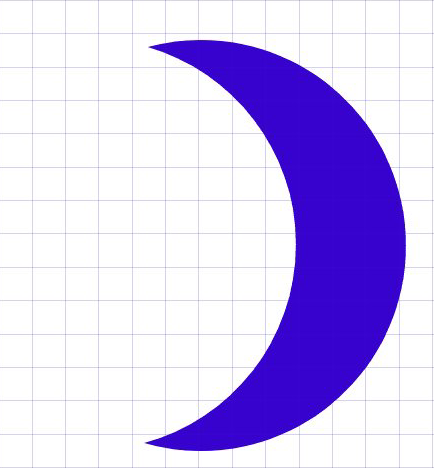
The below middle pic is a simple crescent created with two identically sized circles, slightly offset from one another yet still overlapping, with the Front Minus Back path operation applied.
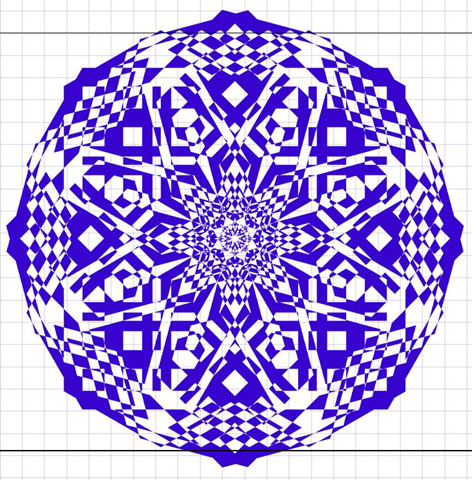
The below right pic is also a single object, believe it or not! It started out as two hexagons and involved multiple Compound and Unite paths along with rotating the resultant shapes and copying them. I don't remember the sequence exactly and it gave me a headache when I tried to remember it so you will just have to take my word for it. Until next time! :)