How To Create a Photo Gallery And Connect It To a Live Tile
How to create a picture gallery and live image tiles with Windows App Studio
Here are the simple steps to create a picture gallery in Windows App Studio:
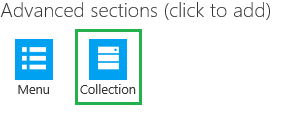
Click on Collection
Enter the name of the picture gallery
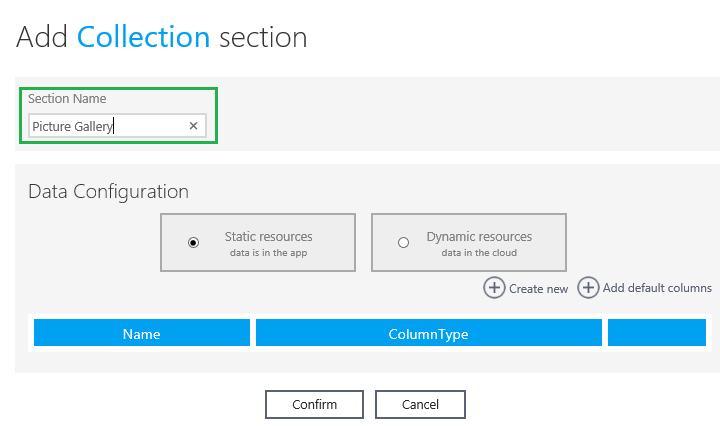
Select either Static or Dynamic resources. Static images are hard-coded into the app and your users can view them offline. Dynamic images are hosted in Windows App Studio. They require a connection for users to view them; however, you can update images in Windows App Studio that will be pushed out to users without you having to update the app in Dev Center.
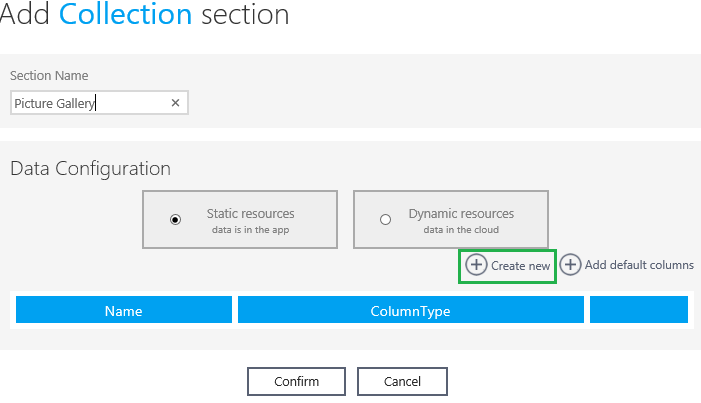
Click on ‘Create new’
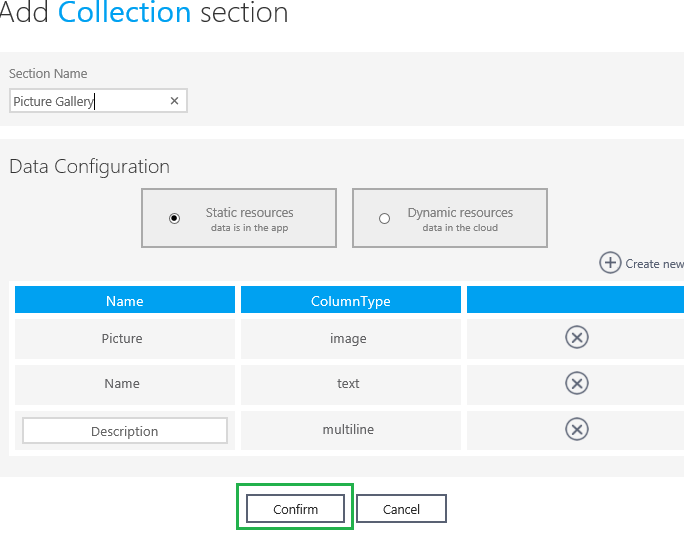
Enter the desired column names and column types and click on ‘Confirm’
You will see a new Data Source in the Application Section:
Click on ‘Save’ in the upper right corner of the screen to save the changes.
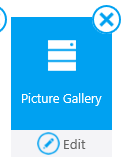
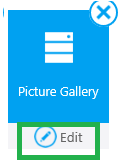
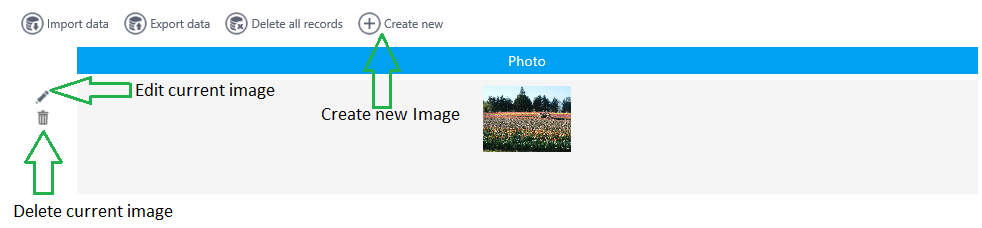
Now the picture gallery template is ready. To add pictures to it, click on ‘Edit’
Next, click on ‘Data’ and click on ‘Edit Data’

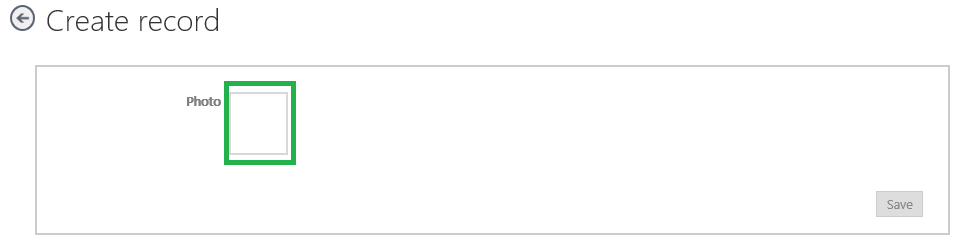
Click on ‘Create New’

Click on ‘Photo’
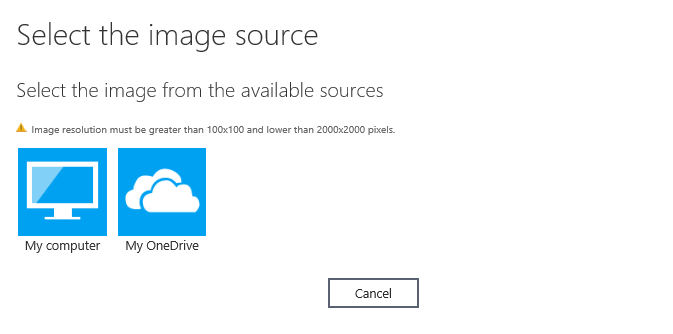
Choose the source. You can upload pictures from your local computer or from OneDrive
Once the images are uploaded click on ‘Save’

There are buttons which allows you to add new image, edit or delete current ones.

map the data to the correct fields
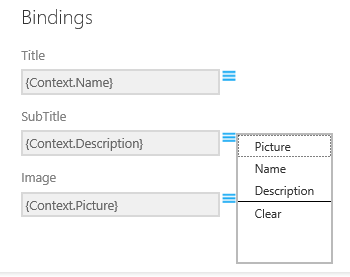
Map the fields to its field types
Click on ‘Save‘ and you will be able to view your pictures in the simulator.
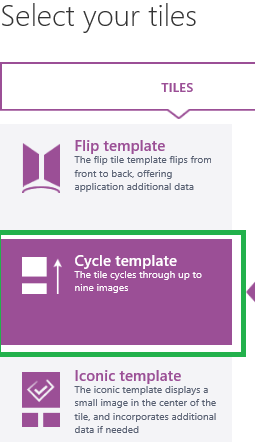
The next step is to use this image gallery as images in your live tile.
Go to ‘Tiles’ and select ‘Cycle Template’

The ‘Cycle’ template cycles up to 9 images.
Click on ‘Cycle Template’
Select the Image Source from the drop-down menu.
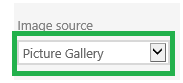
Click on ‘Save’. The picture gallery with Cycle template is ready.