How to add a Facebook Data Source in Windows App Studio
Here are the simple steps to add a Facebook Data Source in Windows App Studio:
- First Click on
 and then click on the
  Data Source.
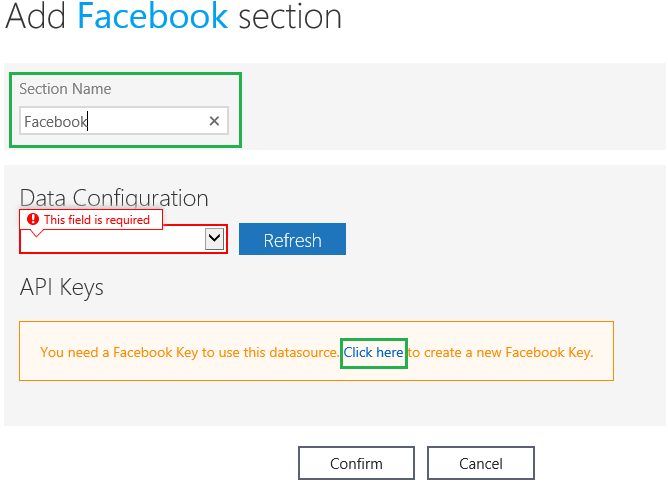
 - You will see the screen below.
- Change the Facebook section name if required.
- Create a new Facebook key by following the steps below:
3. This will take you to a new screen as shown below:
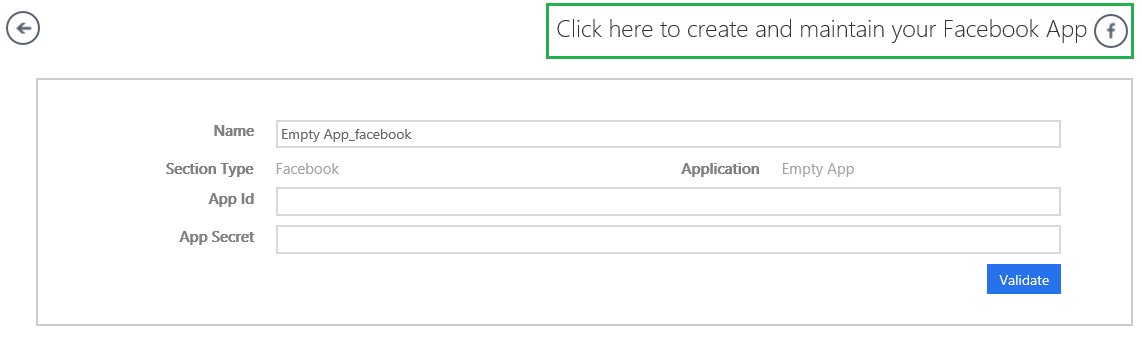
Click on the highlighted section. Completing this process will
connect your free Facebook developer account with your Windows App Studio app.
4. Login with your Facebook user name and password.
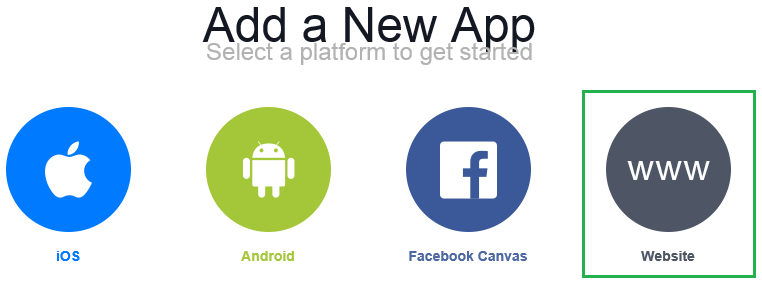
5. Click on ‘Add a New App’.

6. Select the platform as ‘Website’
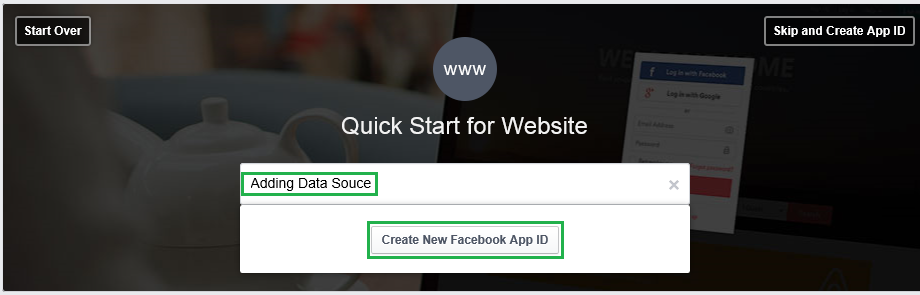
7. Type in the Facebook app name and click on ‘Create New Facebook App ID’
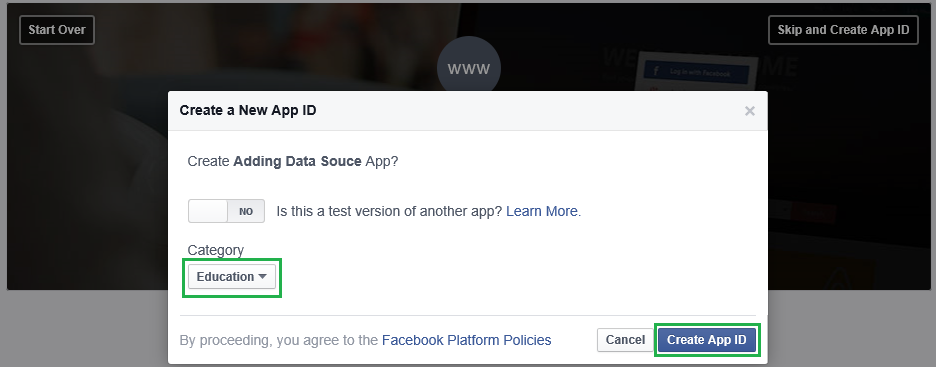
8. Choose a ‘Category’ and click on ‘Create App ID’.
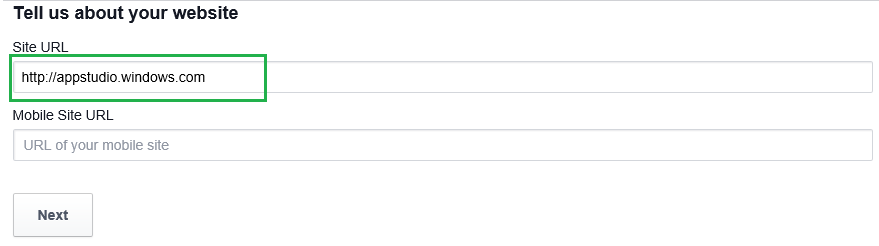
9. Type in the Windows App Studio URL on the following screen and click on ‘Next’.
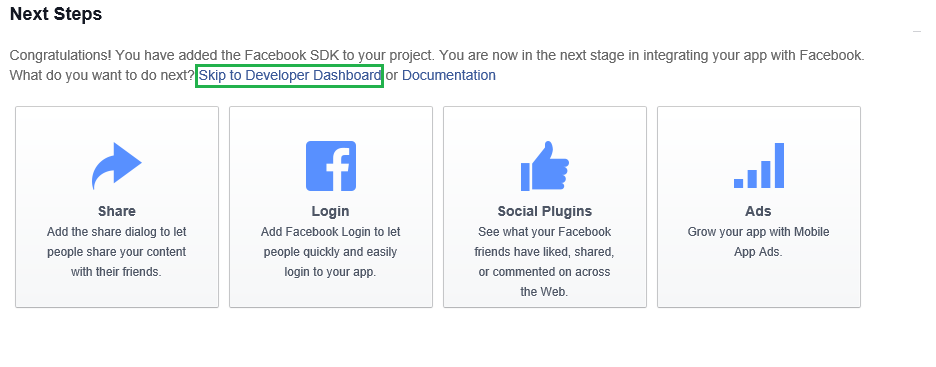
10. Scroll down and click on “Skip To Developer Dashboard”.
11. Click on ‘Show’ so that the App Secret key is visible.
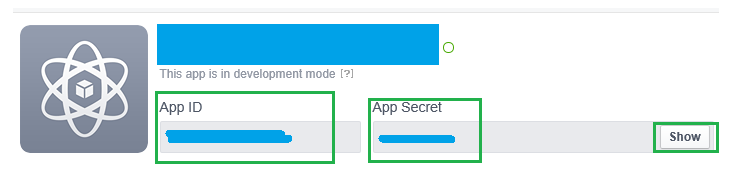
12. Copy the App ID and App Secret on the Facebook DataSource page and click on ‘Validate’. Make sure there aren’t additional spaces before or after your App ID and App Secret. This is a very common issue that will cause errors.
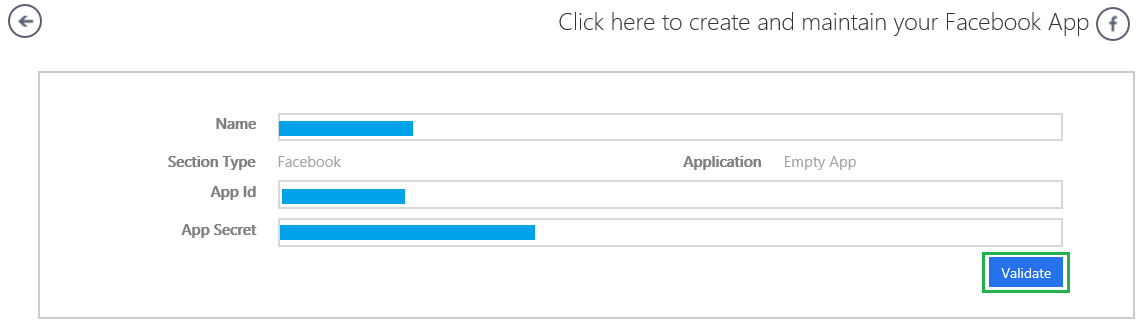
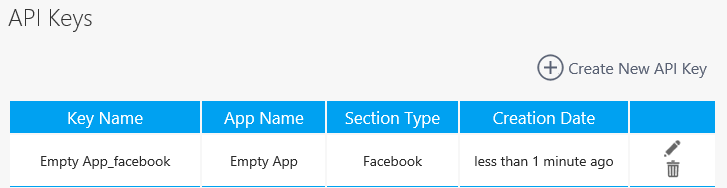
13. This will take you to the below screen and the FB app key will be visible
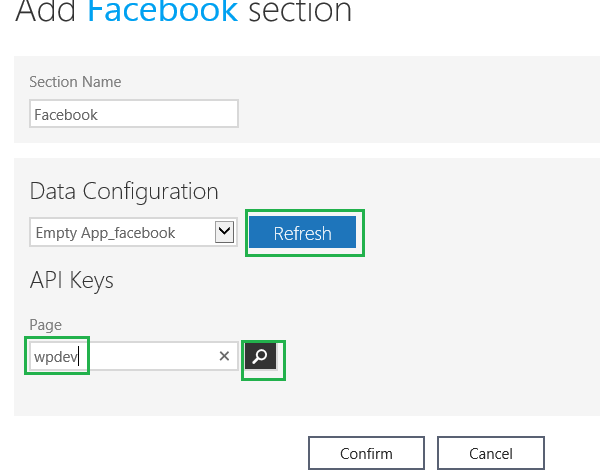
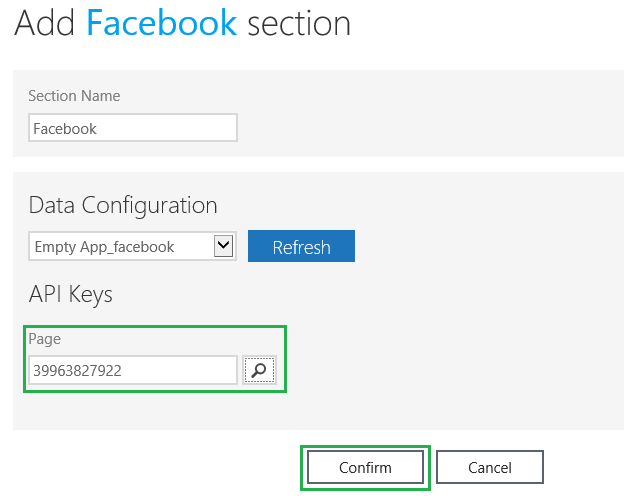
14. Click on ‘Refresh’ and you will be able to see the Data Configuration drop down menu updated with the newly created Facebook DataSource name. Type the page name and click on the Search icon.
15. Select the correct page and click on ‘Select’.
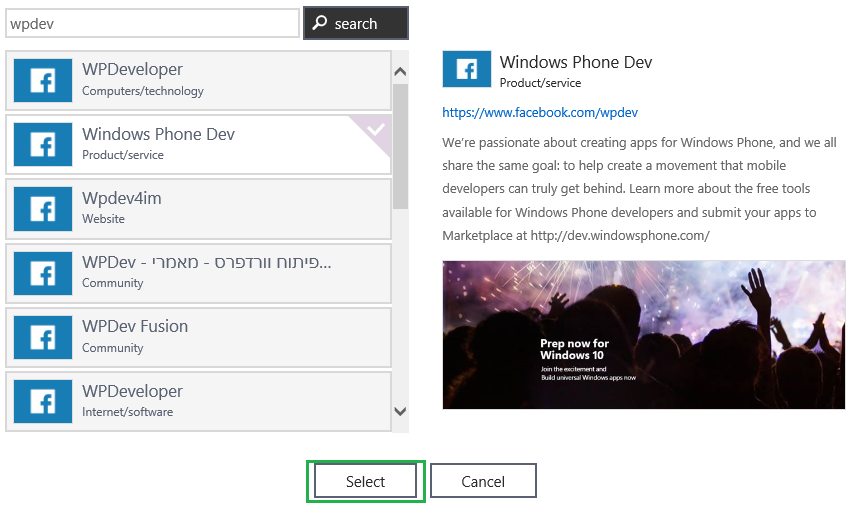
16.The page field will get updated. Now click on ‘Confirm’.
17. You will be able to see the Facebook page updated in the Preview screen.