Image generation tutorial for app creation & publication
In this tutorial I will describe all of the images required to create an app with Windows App Studio and publish it using Dev Center .
Whats up everyone, Jon from the Windows App Studio Team here to try and simplify Images for app creation and publication. Lets jump in!
First let’s look at what is required and what is optional for app creation and publication:
WAS = App Studio
WSIG = Windows Store Image Generator
*Required Images
Used To Create: App Studio |
Windows |
Windows Phone |
*Main App Image 300x300 - 1000x1000 |
Required |
Required |
Background 1366x768 |
Optional |
Optional |
Tile 160x160 |
Optional |
Optional |
Tile 340x340 |
Optional |
Optional |
Tile 715x340 |
Optional |
Optional |
Splash Screen 1366x768 |
Given by WSIG |
|
Splash Screen 620x300 |
|
Given By WSIG |
Lock Screen 1366x768 |
Given by WSIG |
Optional |
Used To Publish: Dev Center |
Windows |
Windows Phone |
Store Logo 50x50 |
Given by WSIG |
|
*Square App Title Icon 300x300 |
Given By WSIG |
Given By WSIG |
Square 150x150 Logo |
Given By WAS |
|
Square 30x30 Logo |
Given by WSIG |
|
Splash Screen 620x300 |
Given By WSIG |
|
*Screenshot 1366x768 |
Given By WAS |
|
*Screenshot 720x1280 |
|
Given By WAS |
Background 1000x800 |
|
Given By WAS |
Square Icon 358x358 |
|
Given By WSIG |
Wide Icon 358x173 |
|
Given By WSIG |
Now that we know what is required of us, and also, what is provided to us by App Studio we have a better
picture of how to prepare for our two stages of our app making process.
Now to talk about the WSIG Tool mentioned several times above:
Dave Voyles, Microsoft Sr. Tech Evangelist has pointed us to an amazing tool that will help you simplify this whole image process. In his
write up “Finishing the Web app template” he points us to the Windows Store Image Generator tool.
Visit this direct link to access the tool - https://wat-docs.azurewebsites.net/Tools
This is the tool we will be using to greatly simplify the whole image creation process.
Note** The WISG Tool will provide you with an acceptable method for publication. It provides all the necessary sized images to pass publication, which it does
so by resizing images and wrapping black boxes around any square images, to fit publication standards. We recommend creating images for each non-square size
using Paint or another tool; however, the images provided are a good starting point. Transparent PNGs are always preferred. **
Now, as you open the link you should see the following:
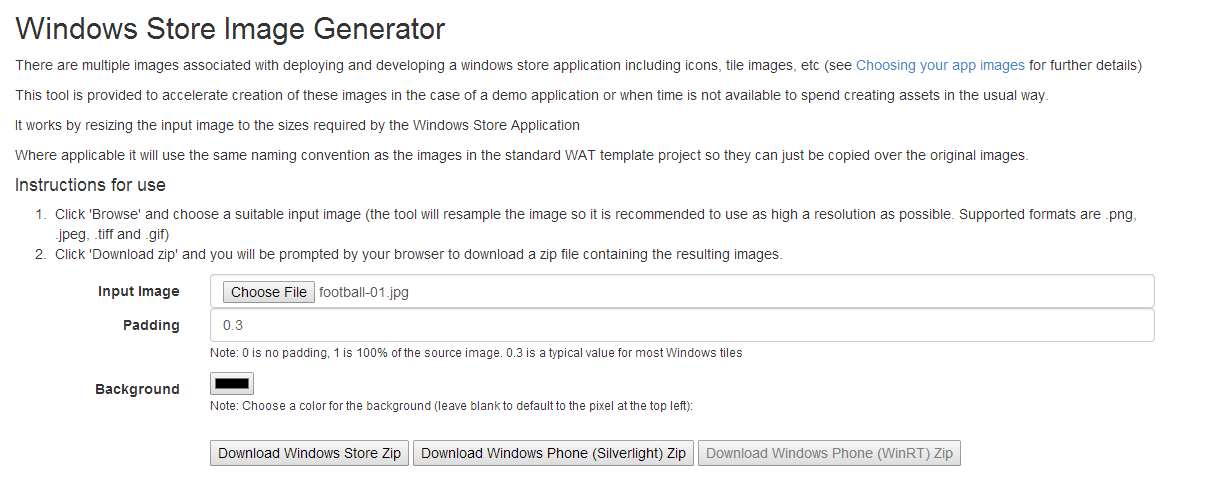
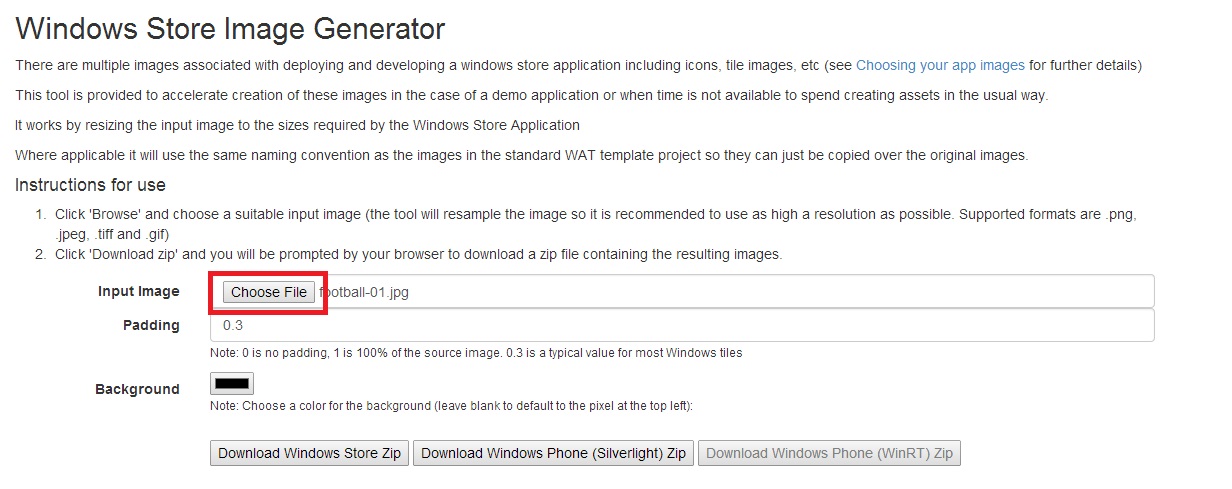
Go ahead and click on the choose file button:

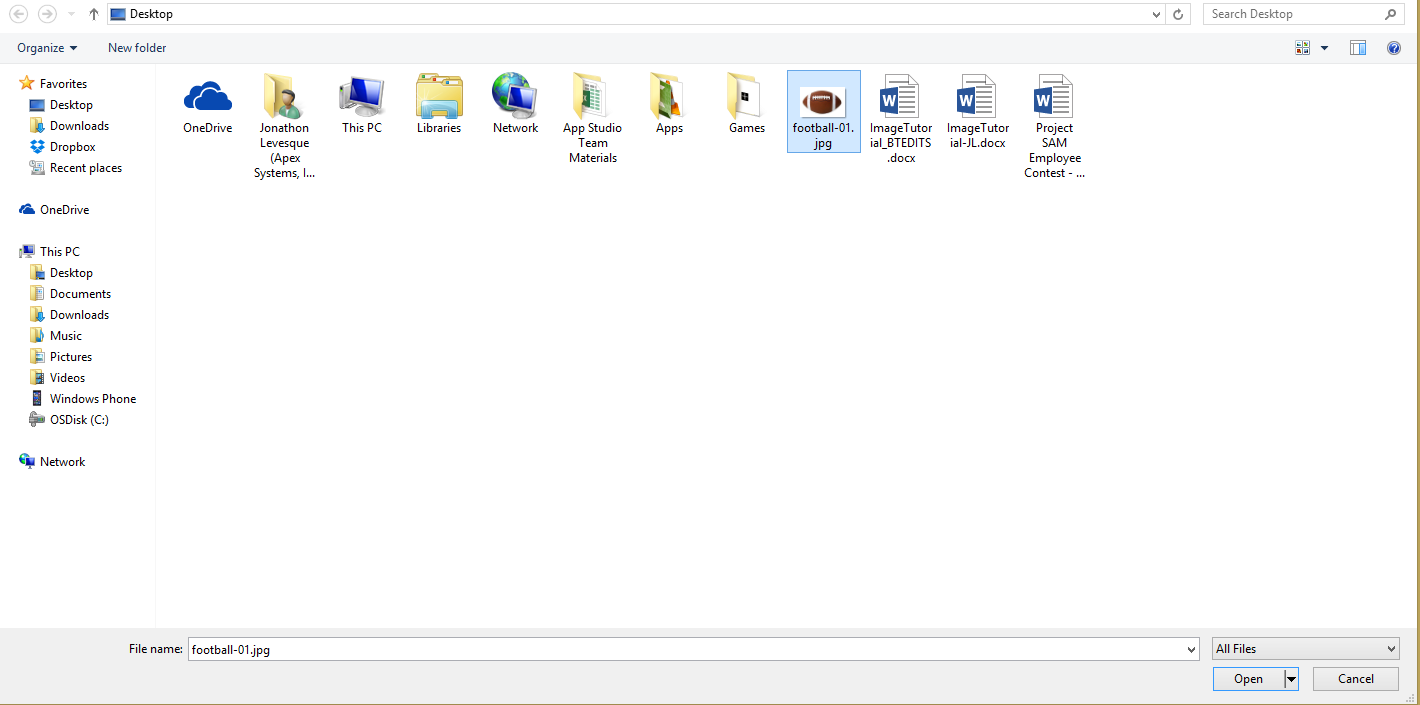
Navigate to Your image, Select the Image and click Open, Mine is on my desktop.

Now that our image is loaded we have a few options.
1. Padding
– I would recommend you leave this option blank.
2. Background
– This is to set the border that will be around your image. If you want to sync
with the color scheme of your app, this is the place to do it.
3. Package Type
– This is the most important of all the options. Be sure to choose the package that
lines up with the type of app you want to create.
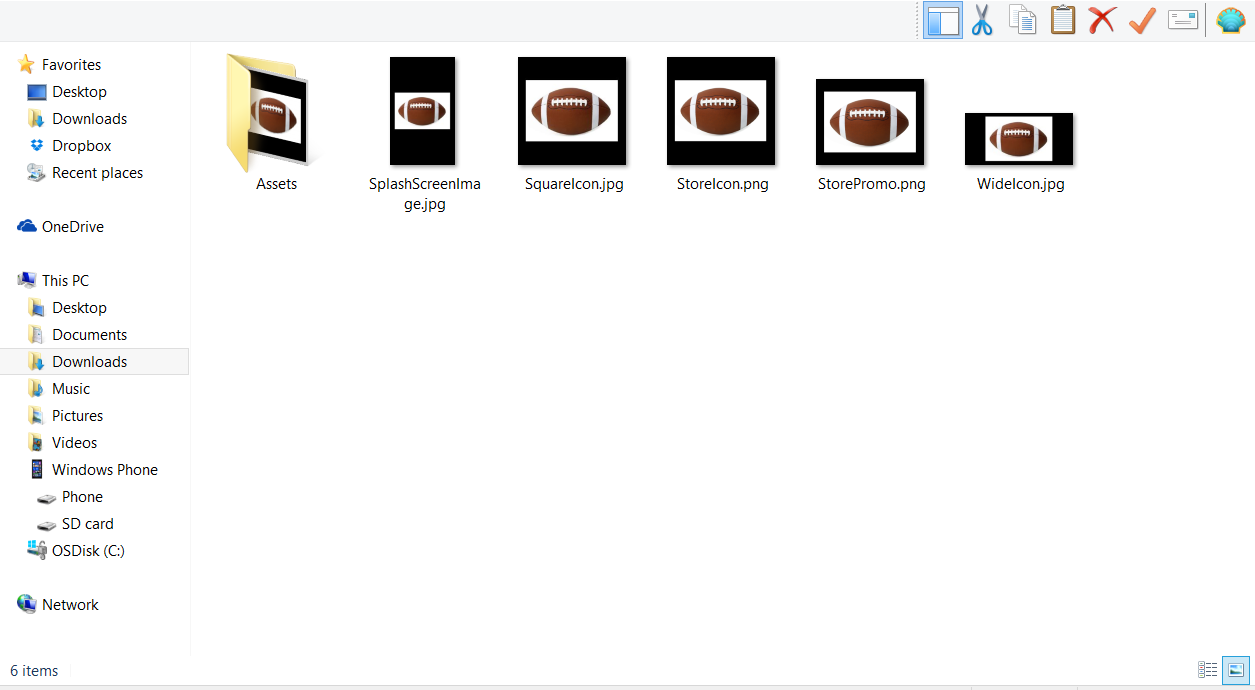
When you have set all of your options, go ahead and click the Package type button of which you want to create. I will choose “Download Windows Phone (Silverlight) Zip” to generate a Windows Phone Publish Package.
After the package downloads, navigate to it, extract its contents and open the folder. You should see something like below.

As noted above, the WSIG tool will give you acceptable images for publication, but for non-square images, if you would like to have proper full width images instead of images
wrapped in a black box, you must use Microsoft Paint or a third party tool like picmonkey or an Adobe photo manipulation product.
To Learn how to resize images with Microsoft Paint, check here: https://www.c-sharpcorner.com/UploadFile/93126e/how-to-resize-the-image-using-paint-in-windows-8/ )
The key to having proper images is starting with a wide image instead of a square image. A good size to start with would be 1920x1080 for full HD Resolution.
For comparison, here is a full resolution Wide Tile at 358x173 vs the one provided to us by the WSIG tool
Here is the Imageprovided by the WSIG Tool

Vs the Full Resolution Wide Tile

As you can see, building all of your icons from scratch will produce a different image, but both are the right sizes you need for app generation and certification.
And again Transparent PNG is the best.
From here we have all the images we need to publish our app in Dev Center! Good luck!