
ASP.NET Core 2.1.0-preview1: Getting started with SignalR
Since 2013, ASP.NET developers have been using SignalR to build real-time web applications. Now, with ASP.NET Core 2.1 Preview 1, we’re bringing SignalR over to ASP.NET Core so you can build real-time web applications with all the benefits of ASP.NET Core. We released an alpha version of this new SignalR back in October that worked with ASP.NET Core 2.0, but now it’s ready for a broader preview and built-in to ASP.NET Core 2.1 (no additional NuGet packages required!). This new version of SignalR gave us a chance to significantly redesign some elements and learn from the lessons of the past, but the core APIs you work with should be very similar. The new design gives us a much more flexible platform on which to build the future of real-time .NET server applications. For now, though, let’s walk through a simple Chat demo to see how it works in ASP.NET Core SignalR.
Prerequisites
In order to complete this tutorial you need the following tools:
- .NET Core SDK version
2.1.300-preview1or higher. - Node JS (just needed for NPM, to download the SignalR JavaScript library; we strongly recommend using at least version 8.9.4 of Node).
- Your IDE/Editor of choice.
Building the UI
Let’s start by building a simple UI for a simple chat app. First, create a new Razor pages application using dotnet new:
Add a new page for the chat UI:
You should now have Pages/Chat.cshtml and Pages/Chat.cshtml.cs files in your project. First, open Pages/Chat.cshtml.cs, change the namespace name to match your other page models and add the Authorize attribute to ensure only authenticated users can access the Chat page.
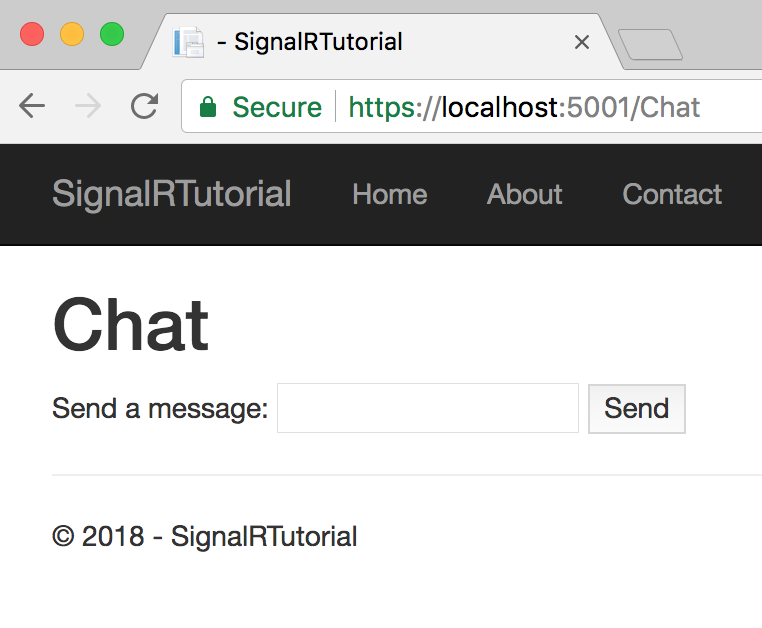
Next, open Pages/Chat.cshtml and add some UI:
The UI we’ve added is fairly simple. We’re going to use ASP.NET Core Identity for authentication, which means the user will be authenticated, and will have a username when we get here. To try it out, use dotnet run to launch the site and Register as a new user. Then navigate to the /Chat endpoint, you should see the following UI:
Writing the server code
In SignalR, you put server-side code in a “Hub”. Hubs contain methods that the SignalR Client allows you to invoke from the browser, much like how an MVC controller has actions that are invoked by issuing HTTP requests. However, unlike an MVC Controller Action, SignalR allows the server to invoke methods on the client as well, allowing you to develop real-time applications that notify users of new content. So, first, we need to build a hub. Back in the root of the project, create a Hubs directory and add a new file to that directory called ChatHub.cs:
Let’s go back over that code a little bit and look at what it does.
First, we have a class inheriting from Hub, which is the base class required for all SignalR Hubs. We apply the [Authorize] attribute to it which restricts access to the Hub to registered users and ensures that Context.User is available for us in the Hub methods. Inside Hub methods, you can use the Clients property to access the clients connected to the hub. We use the .All property, which gives us an object that can be used to send messages to every client connected to the Hub.
When a new client connects, the OnConnectedAsync method will be invoked. We override that method to Send the SendAction message to every client, and provide two arguments: The name of the user, and the action that occurred (in this case, that they “joined” the chat session). We do the same for OnDisconnectedAsync, which is invoked when a client disconnects.
When a client invokes the Send method, we send the SendMessage message to every client, again providing two arguments: The name of the user sending the message and the message itself. Every client will receive this message, including the sending client itself.
To finish off the server-side, we need to add SignalR to our application. We do that in the Startup.cs file. First, add the following to the end of the ConfigureServices method to register the necessary SignalR services into the DI container:
Then, we need to put SignalR into the middleware pipeline, and give our ChatHub hub a URL that the client can reference. We do that by adding these lines to the end of the Configure method:
This configures the hub so that it is available at the URL /hubs/chat. You can use any URL you want, but it can’t match an existing MVC action or Razor Page. NOTE: You’ll need to add a using directive for SignalRTutorial.Hubs in order to use ChatHub in your MapHub call.
Building the client-side
Now that we have the server hub up and running, we need to add code to the Chat.cshtml page to use the client. First, however, we need to get the SignalR JavaScript client and add it to our application. There are many ways you can do this, such as using a bundling tool like Webpack, but here we’re going to go with a fairly simple approach of copying and pasting. First, install the SignalR client using NPM:
You can find the version of the client designed for use in Browsers in node_modules/@aspnet/signalr/dist/browser. There are minified files there as well. For now, let’s just copy the signalr.js file out of that directory and into wwwroot/lib/signalr in the project: 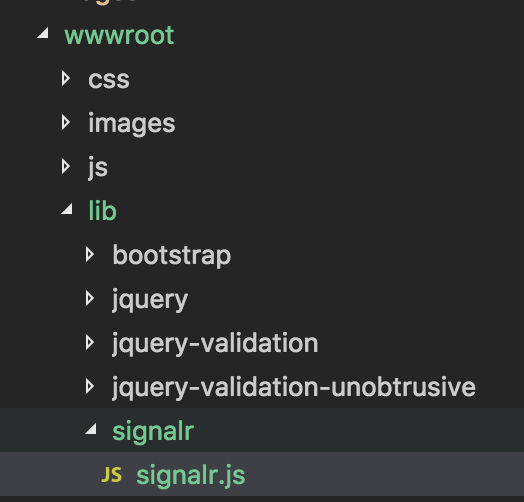
Now, we can add JavaScript to our Chat.cshtml page to wire everything up. At the end of the file (after the closing </ul> tag), add the following:
We put our scripts in the Scripts Razor section, in order to ensure they end up at the very bottom of the Layout page. First, we load the signalr.js library we just copied in:
Then, we add a script block for our own code. In that code, we first get references to some DOM elements, and define a helper function to add a new item to the messages-list list. Then, we create a new connection, connecting to the URL we specified back in the Configure method.
At this point, the connection has not yet been opened. We need to call connection.start() to open the connection. However, before we do that we have some set-up to do. First, let’s wire up the “submit” handler for the <form>. When the “Send” button is pressed, this handler will be fired and we want to grab the content of the message text box and send the Send message to the server, passing the message as an argument (we also clear the text box so that the user can enter a new message):
Then, we wire up handlers for the SendMessage and SendAction messages (remember back in the Hub we use the SendAsync method to send those messages, so we need a handler on the client for them):
Finally, we start the connection. The .start method returns a JavaScript Promise object that completes when the connection has been established. Once it’s established, we want to enable the text box and button:
Testing it out
With all that code in place, it should be ready to go. Use dotnet run to launch the app and give it a try! Then, use a Private Browsing window and log in as a different user. You should be able to chat back and forth between the browser windows.
Conclusion
This has been a brief overview of how to get started with SignalR in ASP.NET Core 2.1 Preview 1. Check out the
full code for this tutorial if you’d like to see more details. If you need help, post questions on StackOverflow using the signalr-core tag. Finally, if you think you’ve found a bug, file it on our GitHub repository.
 Light
Light Dark
Dark
0 comments