Creating New Windows Azure Web Site from Visual Studio 2013 RC
We are now making it easier to create a new Windows Azure Web Site from Visual Studio 2013 RC. This feature can be accessed from the Web Sites sub node under the Windows Azure node in Server Explorer. You would need to install Azure SDK 2.1 before you can use this feature. You can follow these steps to create a new Windows Azure Web Site.
1. Import your Windows Azure subscription. You can do this by right-clicking on the Windows Azure top node in Server Explorer, then select Import Subscriptions…. Find your Windows Azure subscription file and click Import. If you don’t have your subscription file yet, look at the blog in http://blogs.msdn.com/b/avkashchauhan/archive/2012/05/10/downloading-windows-azure-publish-settings-subscription-configuration-file.aspx to download it.
2. Once you have your subscription imported, if you already have web sites in Windows Azure, they should show up under the Web Sites node. To create a new Windows Azure Web Site, right click on the Web Sites node, then select Add New Site…
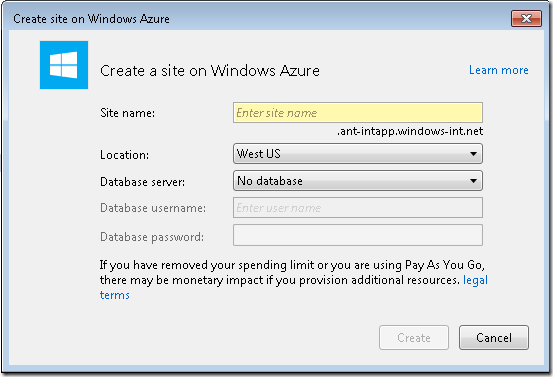
3. The “Create site on Windows Azure” dialog box will appear. You can create a new web site without a database, or a new web site with a new database on an existing database server, or a new web site with a new database on a new database server. Fill in all the required information and voila… your new Windows Azure Web Site is ready and you can deploy your web site project there.
This feature can also be accessed from the Publish dialog box. To do this, follow these steps.
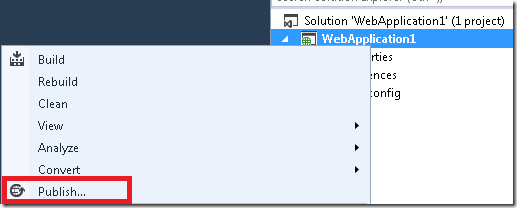
1. From an existing or a new web project, right click on the project and select Publish…
2. In the Publish dialog box, click Import….
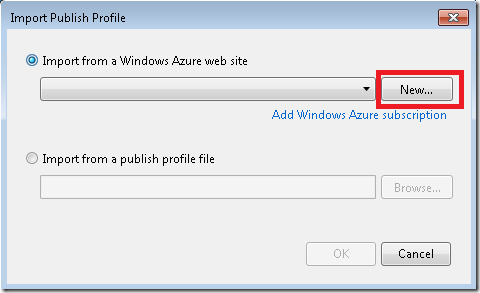
3. Select “Import from a Windows Azure web site”
4. If you don’t have your Windows Azure subscription imported to Visual Studio yet, click on the “Add Windows Azure subscription” link and follow the instructions.
5. Once you have your subscription imported, click the New… button. The same “Create site on Windows Azure” dialog box will appear. Once the new site is created, the new site will be selected. Click OK and it will download the publish profile for you.


 Light
Light Dark
Dark
0 comments