TFVC Source Code Control in Visual Studio Code
In this post I will be walking you through the Team Foundation Version Control (TFVC) support within Visual Studio Code. I will assume that you are running on a windows machine and thus I will be using the TF executable that comes with Visual Studio 2017 (there is also a free, standalone "Visual Studio Team Explorer 2017" version that contains TF.exe). If you are running on a Mac OS or Linux you can use the Team Explorer Everywhere Command Line Client (TECLC). Regardless of which OS you are running on you should expect the same experience.
First, ensure that you have the Visual Studio Team Services (VSTS) extension installed:

In order to setup TFVC support we need to add one setting in the VS Code settings called "tfvc.location" and set it to the full path of the tf executable which is installed in Visual Studio. Here is the path setup on my machine:
"tfvc.location": "C:\\Program Files (x86)\\Microsoft Visual Studio\\2017\\Enterprise\\Common7\\IDE\\CommonExtensions\\Microsoft\\TeamFoundation\\Team Explorer\\TF.exe"
With TFVC, the extension uses information about the current workspace to determine how to connect to Team Services. Workspaces can be created using the Visual Studio IDE, Eclipse or with the JetBrains IDEs. Note: At the time of writing this post, you will need to have a local TFVC workspace already available on your local machine. Support for Server Workspaces will be added in future updates. More information about the difference between the two types of workspaces can be found here.
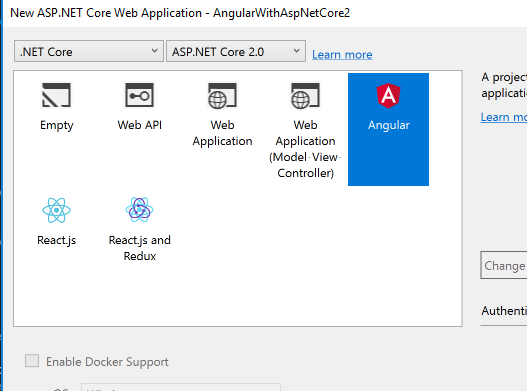
I will start by creating an Angular application hosted within an Asp.Net Core 2 application using the newly introduced Angular template with Asp.Net Core 2 SDK under VS 2017.
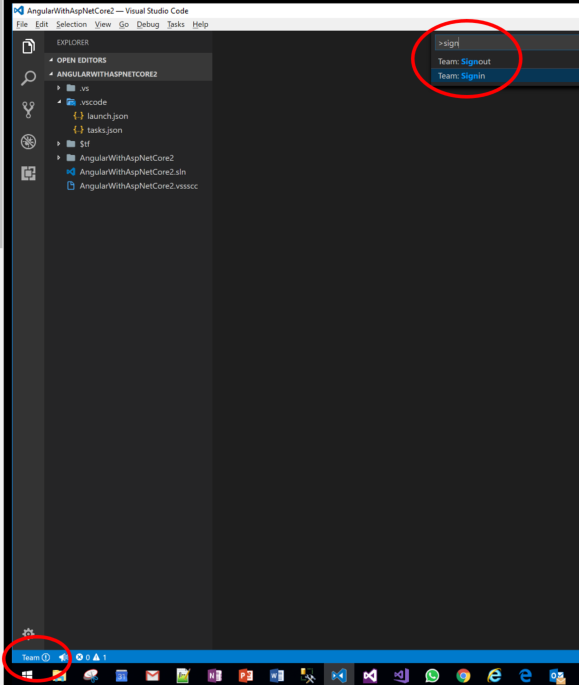
Now that the application is created and checked into your VSTS/TFS using VS 2017 we are ready to start working with the application from VS Code. The first time you load the project with VS Code you will prompted to run the signin command as you are not connected to Team Services yet:
You can run the signin command by either pressing F1 and typing in the signin command or clicking on the Team button on the lower left hand side as shown below:
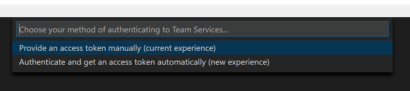
Here you will be prompted with two options to sign in. I highly recommend using the new authentication experience which will automatically generate an access token on your behalf under your account which covers all scopes and is valid for one year. More information about the new authentication mechanism can be found here.
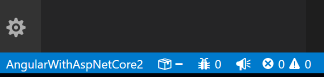
If you are signed in successfully, VS Code should display the following icons in the lower left corner:
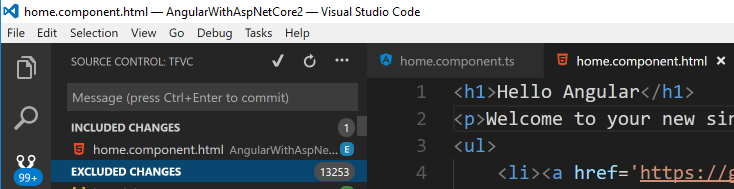
Now if you select the source control tab under VS Code you will notice that the source code control system is TFVC and the included/excluded changes are shown as well. At this point you are ready to check in your changes into your TFVC repository.
Congratulations as you have now setup VS Code to check in your code into a TFVC source code control system. If you are interested in some of the other features that are supported by the extension you can follow this link.