Enabling Drive Sharing with Docker for Windows
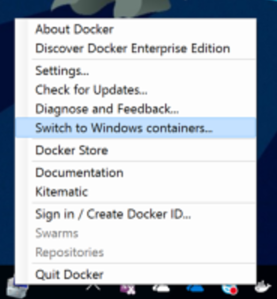
During Build 2017 the Asp.Net team shared with the world some cool features that Visual Studio 2017 has to offer in terms of Docker support. Naturally I was excited to start coding and trying some of these new features. Like any sane developer I decided to start with a hello world application as from humble beginnings come great things. I started by creating an Asp.Net Core application targeting .Net Core as I wanted to target a Linux container to try the cross-platform capabilities of Asp.Net Core. As shown in the figure below you can always switch Docker to Windows containers if you wanted to target the full .Net framework with your Asp.Net Core application. We will stick with Linux containers as the concept of sharing a drive is not even available in Windows containers mode.
So after creating the project I tried running the application inside my Docker container and out of the gate I was welcomed with the following error message which is related to not sharing the drive where the project resides with Docker for Windows. Here is a sample of the error you may get:

At this point I thought the fix should be straight forward as all I had to do was head to the Docker settings and share the drive with Docker (C drive in my case) as shown below:

But what I noticed is that each time I try to apply the changes the share the drive the checkbox would be unselected automatically. Upon further investigation, it turned out that I was logged into my machine using an Azure AD account. To successfully share my drive, I had to create a local account. Here are the steps that I followed:
- Create a local account that can be used to share the drive. I created a local admin account for this (e.g., adm_yourusernamehere) and added the account to the administrators group. I would assume you could easily do the same using a user with less privileges.
- Right click the Docker icon in the task tray and select “Settings”.
- Click on the “Shared Drives” section and choose the drive(s) to be shared.
- You will be asked to provide a username / password. Use the adm_yourusernamehere account you created earlier.
- That’s it!