Publishing widgets
In the previous post, you saw how we resolved some of the issues that we stumbled upon whilst developing the widget. In this post we'll explore how to publish the widget.
The process to publish an extension is well documented here. Here are the major steps to go through (see the MSDN article for the details):
- Create a publisher.
- Package the extension.
- Upload the extension to VS Team Services.
- Share and install the extension.
As an option you can automate this using the Grunt task included in the project when it was created from the VS Team Services extension project template.
If you don't want to publish from the command line, you can also navigate to your publisher page on the market place and manually upload the package.
The publish Grunt task
Publishing your widget is made easy by the Grunt task supplied by the extension template. In the gruntfile.js is a task named publish:
publish: {
command: "vset publish -s settings.vset.json",
stdout: true,
stderr: true
}
This task calls a command named vset which is installed by the Node Package Manager (npm) . The publish command first packages your extension. The created package is a vsix file. This is the format that's used by both Visual Studio Team Services and Visual Studio extensions. A vsix file is actually a ZIP file. If you rename the extension to .zip you can then view the content of the ZIP archive. In the file you'll find all the files that you referenced in your manifest and a couple of XML files that contain the meta data of your extension.
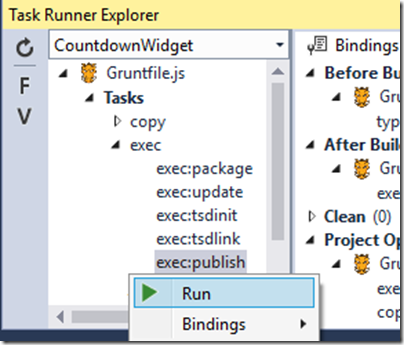
You can also create the package file by running the package Grunt method through the Task Runner Explorer. By binding this method to build, you will build the package each time you hit compile. While creating the package, some basic validation rules run so you get immediate feedback if a file is missing or a setting is invalid.
When you run the publish task, your extension is packaged and the resulting vsix file is uploaded to your publisher account (which you configured with the settings file). VS Team Services then checks if the extension exists. If not, it's created, otherwise updated. Your package is also validated. After a successful publish, you can navigate to your publishers page at the Marketplace, you see the new extension:
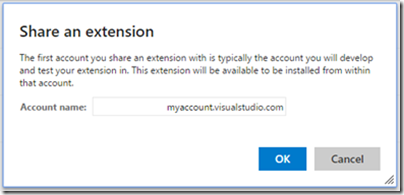
At the moment, this extension is private and isn't shared with anyone. To install the extension into your account, click the Share button, type in your account and press ok.
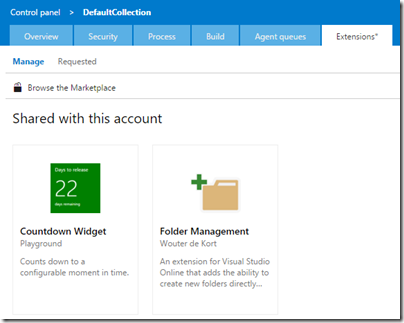
When the extension has been shared with your Team Services account it will show in the list of installed extensions:
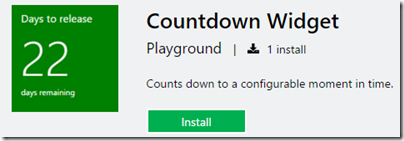
Click on the widget to activate it in your account.
Note: that the installer will prompt you for your account and it will also show the permissions (Scope) that the extension requires:
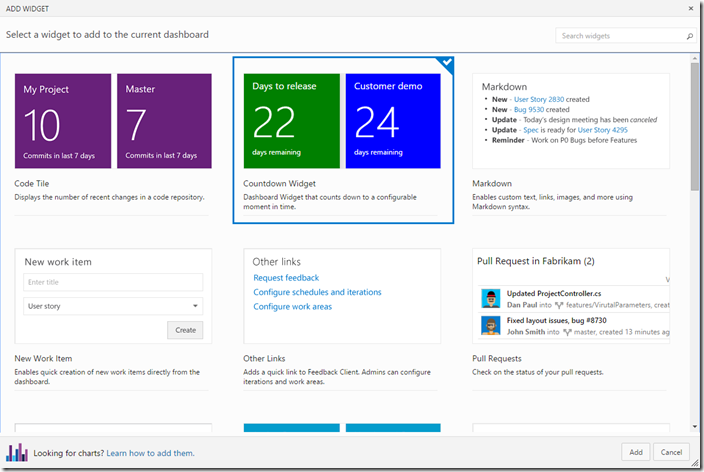
Now the extension is ready to use. If you navigate to the Overview dashboard in your account, you can see your new widgets in the widget Catalog and you can add them to your dashboard.
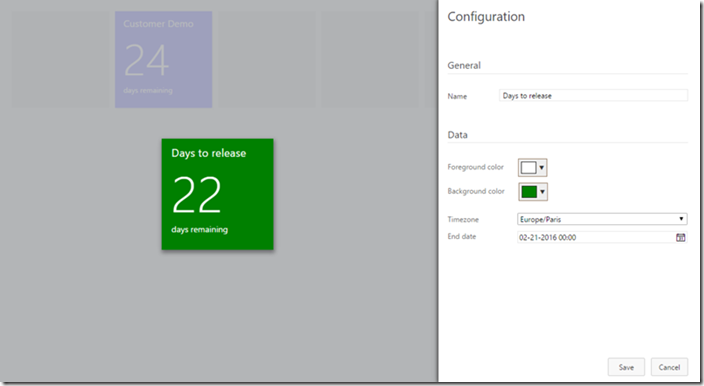
After you have added the extension you can click on is configuration button and configure it to set the properties you want:
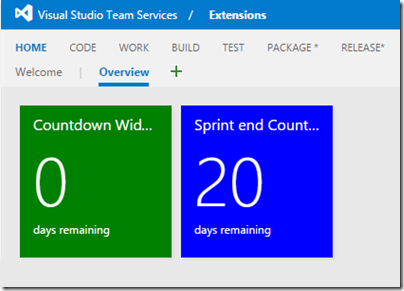
That's it, you have now added and configure the countdown widget in your dashboard!
Summary
And that's it for this blog post. You've now seen how you can create and publish a widget using modern techniques like TypeScript, Unit Tests and local debugging. When developing the Countdown widget we've used several advanced concepts including widget configuration and hosting multiple widgets inside a single extension. If you want more information on developing widgets, you can find the documentation at https://aka.ms/widgetsdk.
Check out the Countdown widget on the marketplace.
If you have questions or other feedback, feel free to leave a comment!
Reference URLs
Below is a summary of useful resources for Visual Studio Team Services extension development:
- Official documentation
- TypeScript
- Extensions
- Visual Studio Team Services REST API
- Visual Studio Team Services Extension Template
- Definitely Typed
- Chutzpah JavaScript test runner
About the team
| Wouter de Kort works as the Principal Expert DevOps at Ordina where he runs a team of DevOps Consultants. He helps organizations to stay on the cutting edge of software development on the Microsoft stack. Wouter focuses on Application Lifecycle Management and software architecture. He loves solving complex problems and helping other developers to grow. Wouter authored a couple of books, is a Microsoft Certified Trainer and an ALM Ranger. You can find him on Twitter @wouterdekort and on his blog or at the various conferences where Wouter speaks. | |
| Mathias Olausson works as the CTO at Solidify, specializing in DevOps and application lifecycle management practices. With over 15 years of experience as a software consultant and trainer, he has worked on numerous projects and in many organizations. Mathias has been a Microsoft Visual Studio ALM MVP for eight years and is active as a Microsoft ALM Ranger. Mathias is a frequent speaker on Visual Studio and Team Foundation Server at conferences and industry events, and he blogs at https://blogs.msmvps.com/molausson. |
