Installing the Hyper-V Beta in a Core configuration
Today I would like to talk about installing Hyper-V on a Windows Server Core configuration. All you need to do is:
Follow steps 1 to 4 from Installing the Hyper-V Beta.
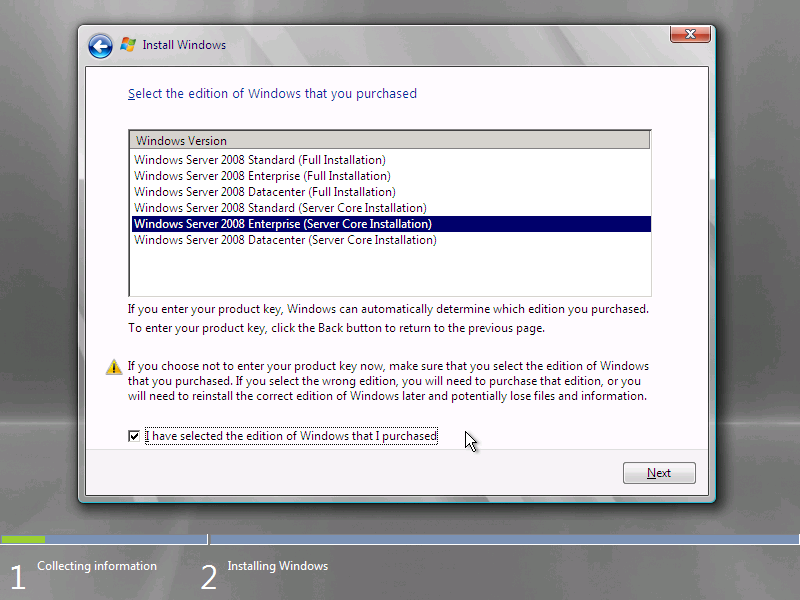
Proceed through the installation screens and select to do a "Server Core Installation"
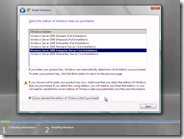
(Note that this screen shot shows all the installation options for Standard / Enterprise / Datacenter as I am being lazy and did not provide a product key while doing this installation).
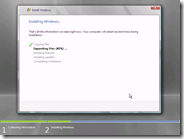
Continue through the OS installation, agreeing to the EULA (after reading it thoroughly), partitioning your disk as you desire, and then walk away for a while Windows does it's install thing:
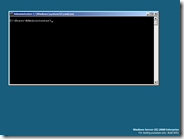
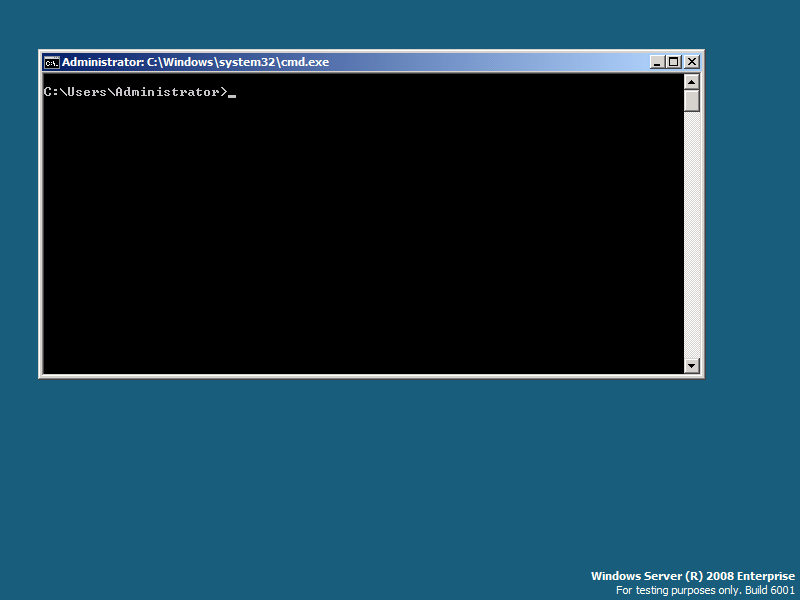
When installation is finished try to login as Administrator (with a blank password) - this will force you to provide a password for the Administrator account, and then you can login for the first time. After that you will be presented with a command prompt. This is all that you are ever going to see with a Server Core installation:
Now type in the following commands:
bcdedit /set hypervisorlaunchtype auto
start /w ocsetup Microsoft-Hyper-VAfter you have done this, reboot the computer.
Note that the first command is not strictly necessary - but if you do not run it you will need to reboot the computer twice. The reason for this is that we are only able to change this setting in our installation process after the first system reboot, and this setting needs to be present during system boot for the hypervisor to be loaded.
At this stage everything is up and running - but you have no user interface to manage things with. What you need to do is to go to a full installation of Windows Server 2008 with Hyper-V and use the management UI from there. You can select the 'Microsoft Hyper-V Servers' node under MMC and choose to 'Connect to Server...' in order to control the system remotely.
Before you start screaming at me - we will be providing a version of our management user interface that can be run on Vista computers / non-Hyper-V servers to allow for remote management of Hyper-V Core Server installations. It is just not available today.
Since you did not have a beautiful user interface for installation - no virtual networks will have been created by default - so you will need to go and create them. You should be aware that if your create a virtual switch associated with the network adapter that you are using to control the Core Server remotely - connectivity will be disrupted and you will have to reconnect after creating the switch.
While not strictly related to installing Hyper-V - here are some other commands that I have found useful for setting up a Core Server installation (note, values in angled brackets <> need to be replaced with the value you want. Values in percentage marks are environment variables that you do not need to change):
Join a domain:
netdom join %ComputerName% /domain:<DomainName> /userd:<domain\user> /passwordd:*
Change the computer name before joining a domain:
netdom.exe renamecomputer %computername% /NewName:<newComputerName>
Change the computer name after joining a domain:
netdom.exe renamecomputer %computername% /NewName:<newComputerName> /userd:<domain\user> /passwordd:*
Add a domain user to the local administrators group:
Net localgroup administrators /add <Domain\UserName>
Enable Remote Desktop:
Cscript %WinDir%\System32\Scregedit.wsf /ar 0
Cscript %WinDir%\System32\Scregedit.wsf /cs 0Activate Windows:
Cscript %WinDir%\System32\slmgr.vbs -ato
Reboot Windows:
Shutdown -r -t 0

Cheers,
Ben