Installing Windows Server 2008 on the Hyper-V Beta
So once you have the Hyper-V Beta installed and up and running you will probably want to start making virtual machines and playing with them. Of all the possible guest operating systems - Windows Server 2008 is the 'premier' one, in both performance and ease of installation.
To install Windows Server 2008 on the Hyper-V Beta you will need to:
Open the Hyper-V Management MMC UI (either from the start menu - under Administrative Tools, or through the Server Manager UI), click on 'New' from the Action pane (on the right) and select 'Virtual Machine...'
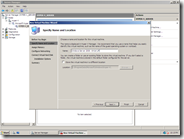
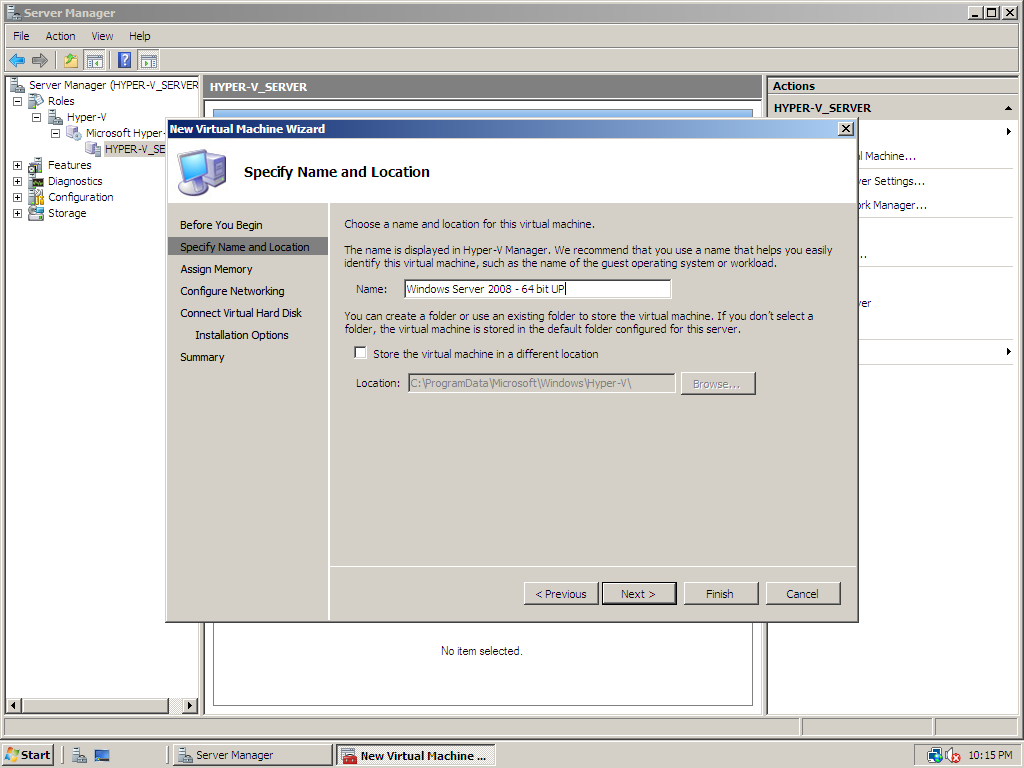
This will start the new virtual machine wizard. After going past the introduction page you need to specify the virtual machine name, and possibly the location. I will post more details about all the implications of the location later - for now just go with the default option for the location.
Next configure the amount of memory for the virtual machine (I went with 1024mb. Be careful to assign at least 512mb or else you will hit problems during installation) and which virtual network to connect the virtual machine to (I selected the single virtual network that I created during installation).
The next page allows you to configure a virtual hard disk for the virtual machine. I went with the default option of creating a new 127GB virtual hard disk - though you can feel free to change the size and location of the virtual hard disk if you want.
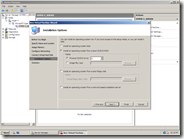
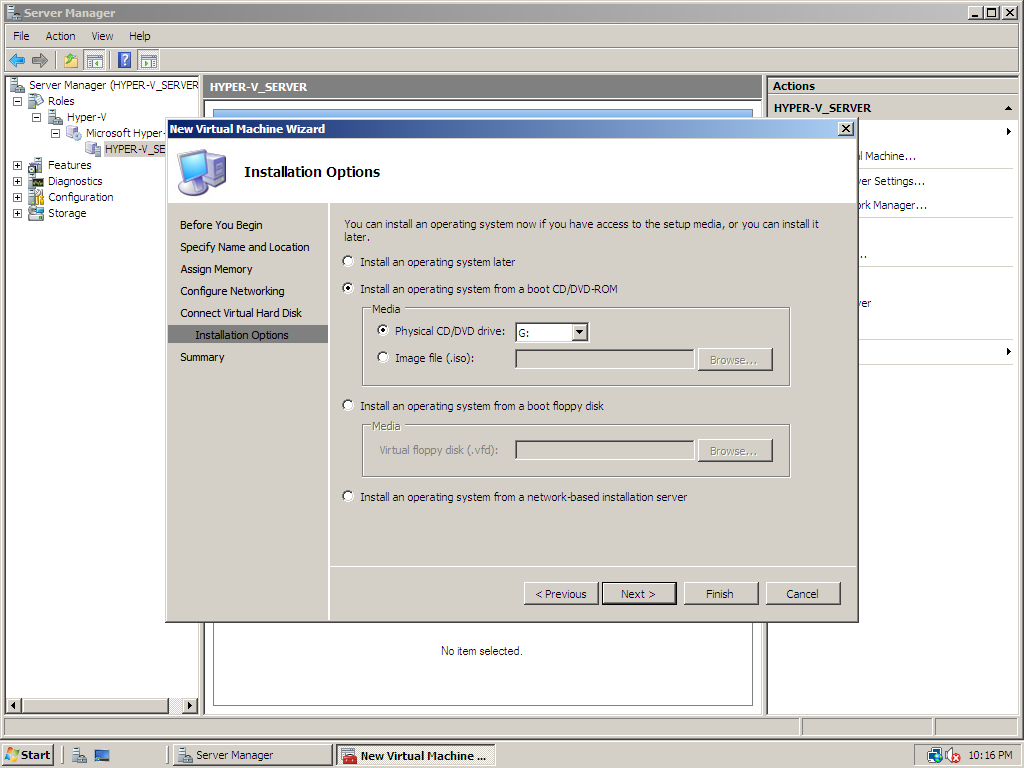
If you choose to create a new virtual hard disk - you will then get to configure the installation options - where you can specify how you will be installing an operating system. You could use the ISO that you downloaded of Windows Server 2008 RC1 with Hyper-V Beta - or you could use the physical CD that you used to install the Windows Server 2008 on your physical computer (this is what I did).
Attention! You should only use the same version of Windows Server 2008 in the virtual machine that you did on the physical computer. Using a different version can cause compatibility issues later on.
At the end of the wizard you can confirm the settings - and select to start the virtual machine automatically if you want. Since I know that I do not want to change any settings before starting the virtual machine - I checked this option. If you do not check the option to start automatically you can select the virtual machine after it is created and select 'start' and then 'connect' from the action pane on the right hand side of the MMC snap in.
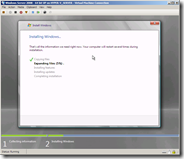
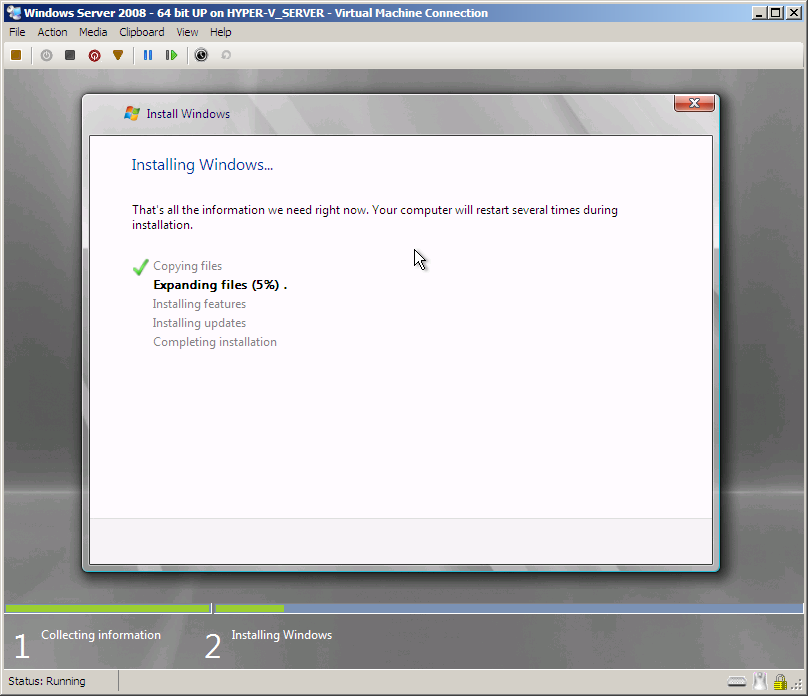
Either way you will soon get a Virtual Machine Connection window and see that Windows Server 2008 is booting off the CD. Proceed through the initial setup pages giving the answers that you would for a physical computer (I selected to do a full installation of Windows Server 2008 Enterprise in English (United States) and created a single partition that used all the space on the virtual hard disk. Once you have finished this you can go away for a while while the operating system installs.
In my case I went and played a mission or two on Project Sylpheed on my XBOX 360.
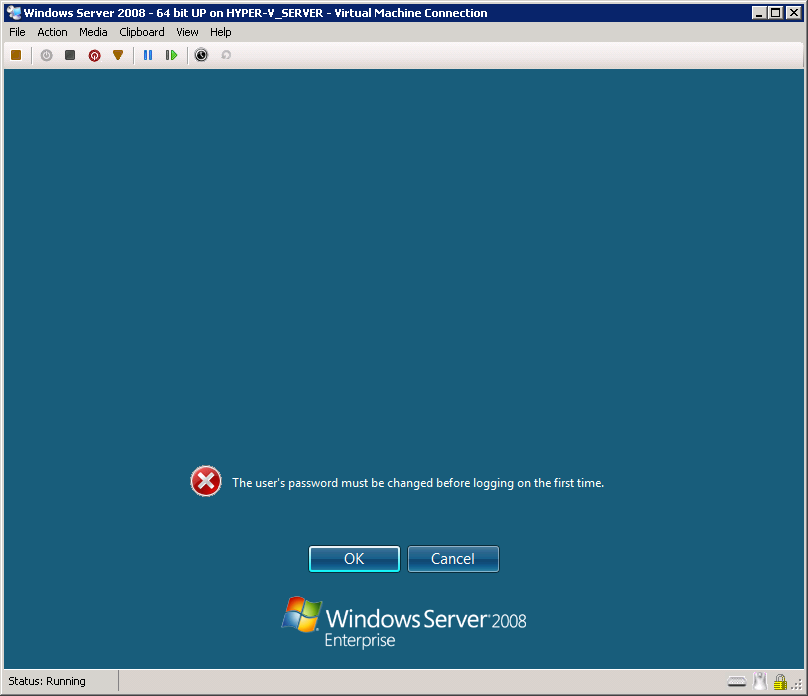
When the installation is done Windows Server 2008 will prompt you to provide a password for the administrative account.
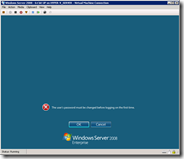
When you go to enter your administrative password you should notice that you already have an integrated mouse cursor! Yup - all of the integration services and high performance drivers are already loaded with no need for interaction from you. Once you have entered a password for the administrative account you are completely done and are ready to configure the virtual machine for whatever role you want.
Cheers,
Ben