Installing the Hyper-V Beta
A couple of people have already posted on how to get going with the Hyper-V beta - but I thought I would try and do a detailed step-by-step guide. So here we go:
The first thing to do is to make sure you have the right hardware. To quote from the release notes:
"Hyper-V requires an x64-based processor, hardware-assisted virtualization, and hardware data execution protection."
But on top of this you also need to have a motherboard / BIOS that "does the right thing". Generally speaking if you have an x64 Intel processor that supports hardware virtualization you are good to go.
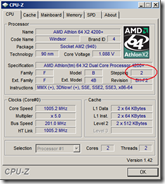
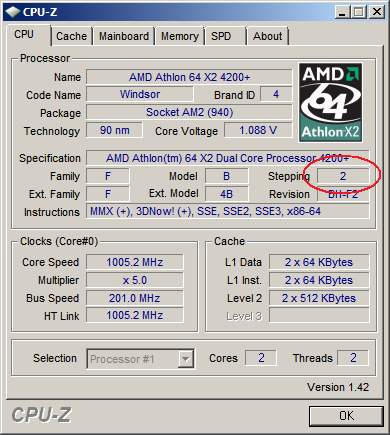
If you have an x64 AMD processor you need to be aware of this issue: https://techreport.com/discussions.x/13721. Unfortunately this requires a BIOS update and it is hard to tell if your motherboard manufacturer has addressed this issue or not. If you already have a system you can run the tool from here: https://www.cpuid.com and look at the "Stepping" value on the CPU page. If the "Stepping" is 2 you need the BIOS fix. If it is 3 or higher then you are good to go. Here is a screen shot to show you what you are looking for:
You can also check out systems that have been tested and confirmed good from here.
Download the installation DVD image for the Hyper-V beta from here, and burn it to a DVD using your favorite burning software (my favorite is DVDBurn from the Windows Server 2003 Resource Kit Tools).
Boot your machine off the DVD.
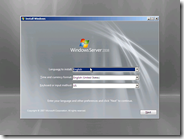
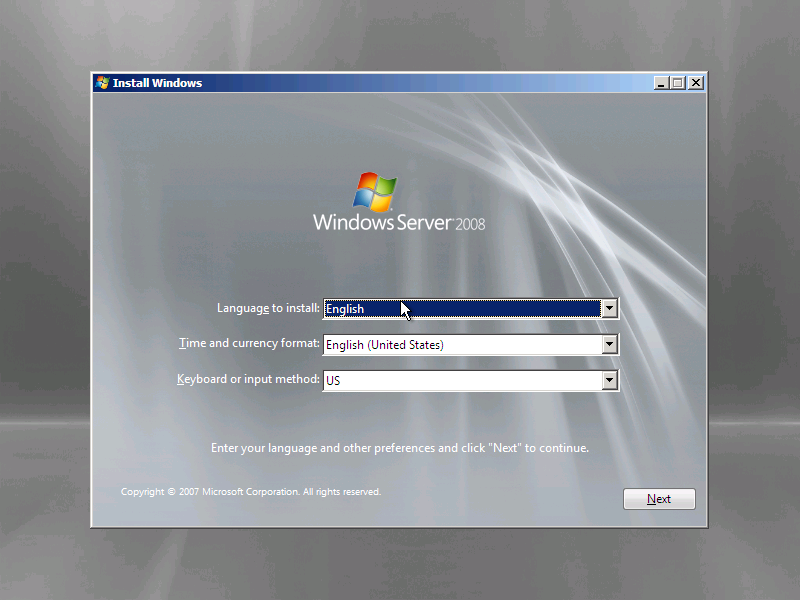
The first screen you see will ask you what language you want to use. It is key that you select "English (United States)" as any other setting will cause problems with Hyper-V (after you have installed Hyper-V you can change the locale and keyboard information for your user without affecting the system):
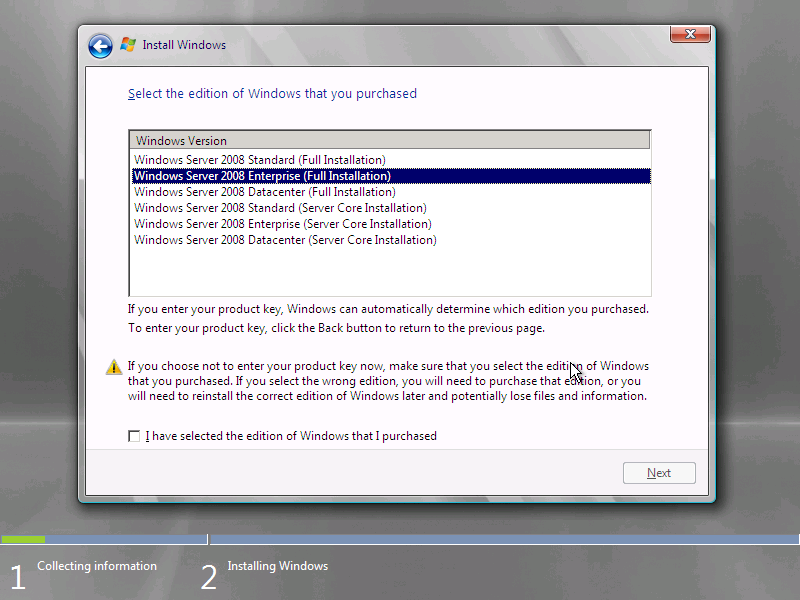
Proceed through the installation screens and select to do a "Full Installation" (I will do a post later this week about installing Hyper-V on a "Server Core Installation"):
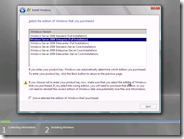
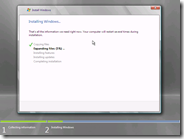
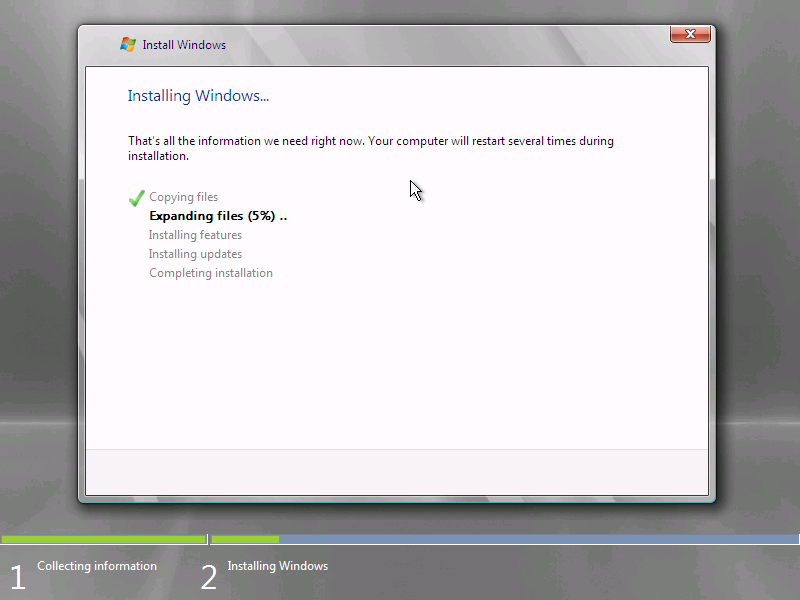
(Note that this screen shot shows all the installation options for Standard / Enterprise / Datacenter as I am being lazy and did not provide a product key while doing this installation).Continue through the OS installation, agreeing to the EULA (after reading it thoroughly - right?), partitioning your disk as you desire, and then walk away for a while Windows does it's install thing:
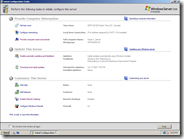
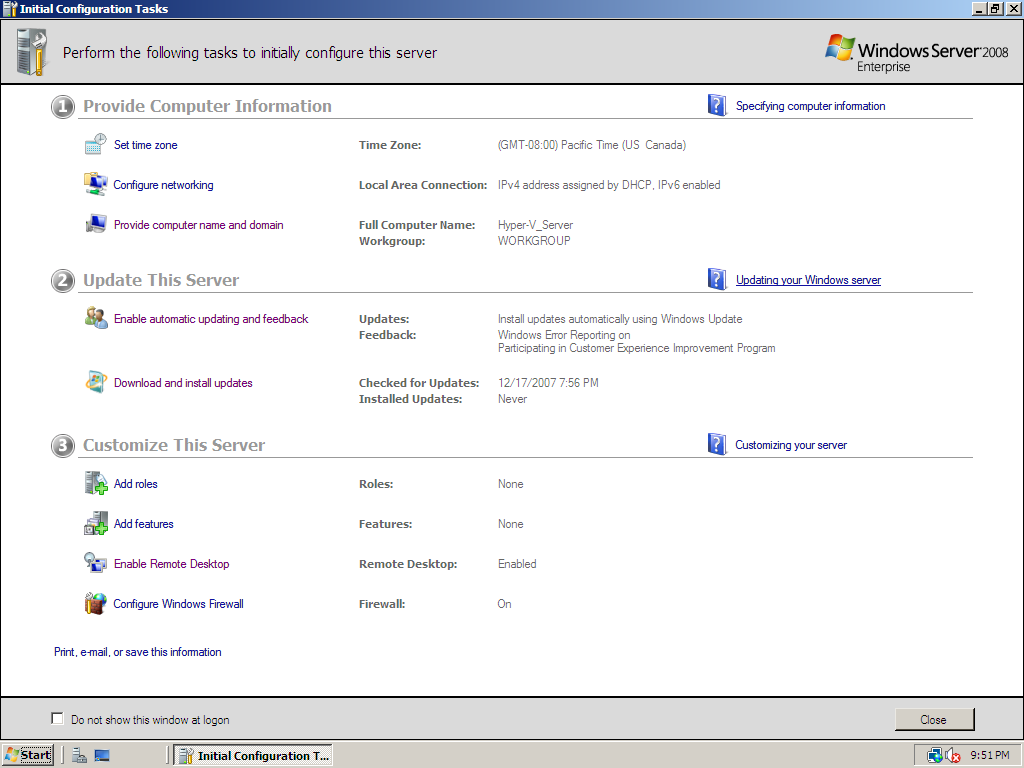
When installation is finished - provide a password for the Administrator account and login for the first time. You will be presented with the "Initial Configuration Tasks" dialog. I recommend that you take the time to configure networking / change the computer name / configure updates / configure remote desktop / change the desktop resolution first before you jump into installing Hyper-V:
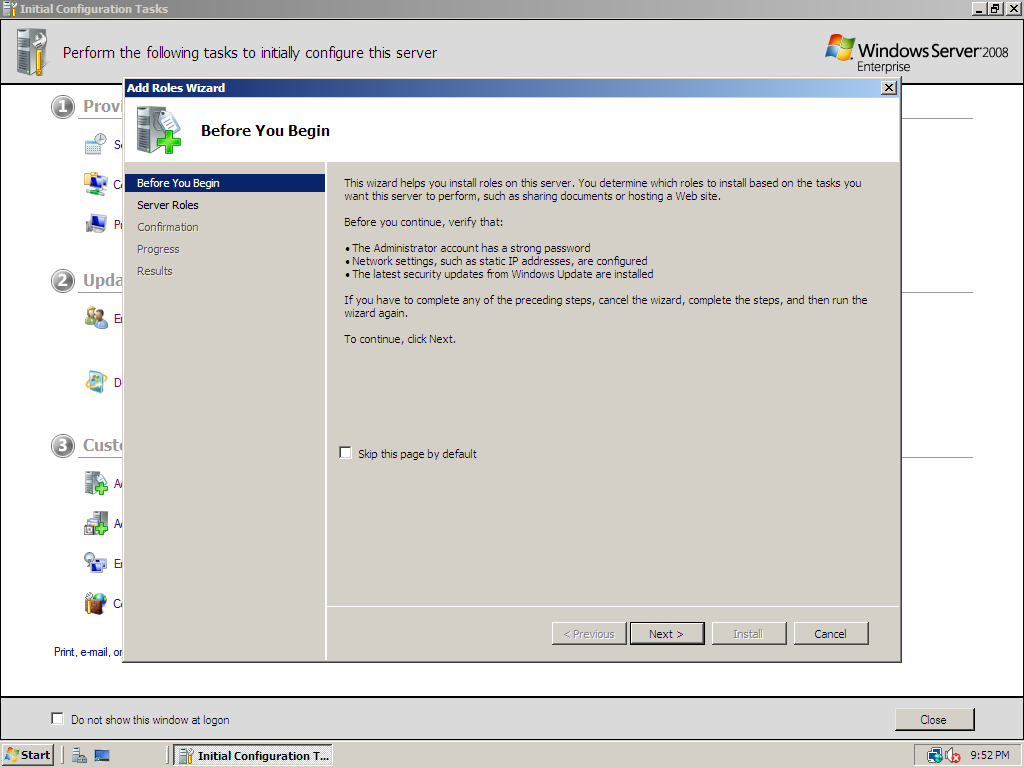
After doing this (and probably rebooting the computer for things like the computer name change to take effect) click on the option to "Add roles", this brings up the "Add Roles Wizard":
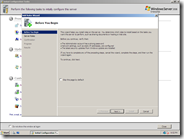
Going past the introductory "Before You Begin" page you should arrive at the "Server Roles" page. Here "Hyper-V" is already listed as a role. If you select / check it you will see some descriptive text on the side that highlights the fact that Hyper-V is a prerelease technology (you will see this mentioned half a dozen times by the time you have finished installation - so just to be clear - this is *beta* software).
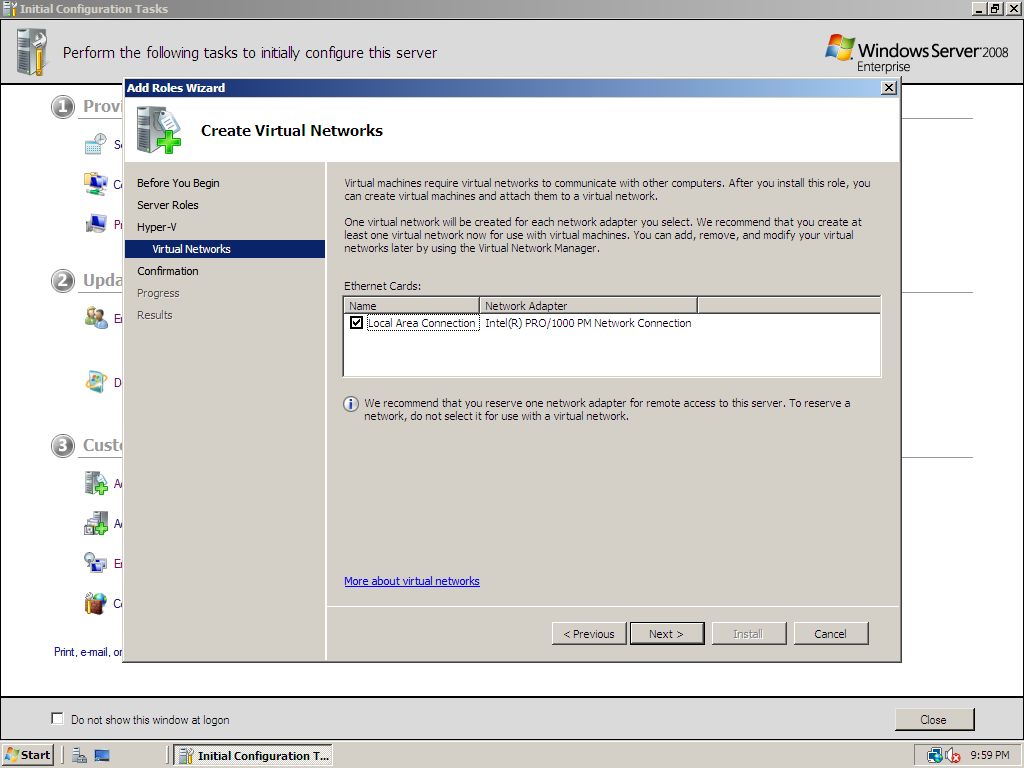
After you select the Hyper-V role, go through the Hyper-V Introduction page you will get to the virtual network configuration page:
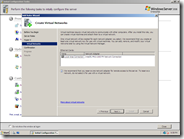
Here you need to check the network adapters that you want to create virtual networks for. Note that you should leave one network adapter free for remote administration (if that is possible for your configuration). Also note that we only support the use of Ethernet (802.3) network adapters.
Now you can complete the wizard and let the computer reboot at the end. It is necessary to reboot the computer at this stage because the next time Windows loads it will be loading on top of the hypervisor as the parent partition.
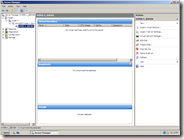
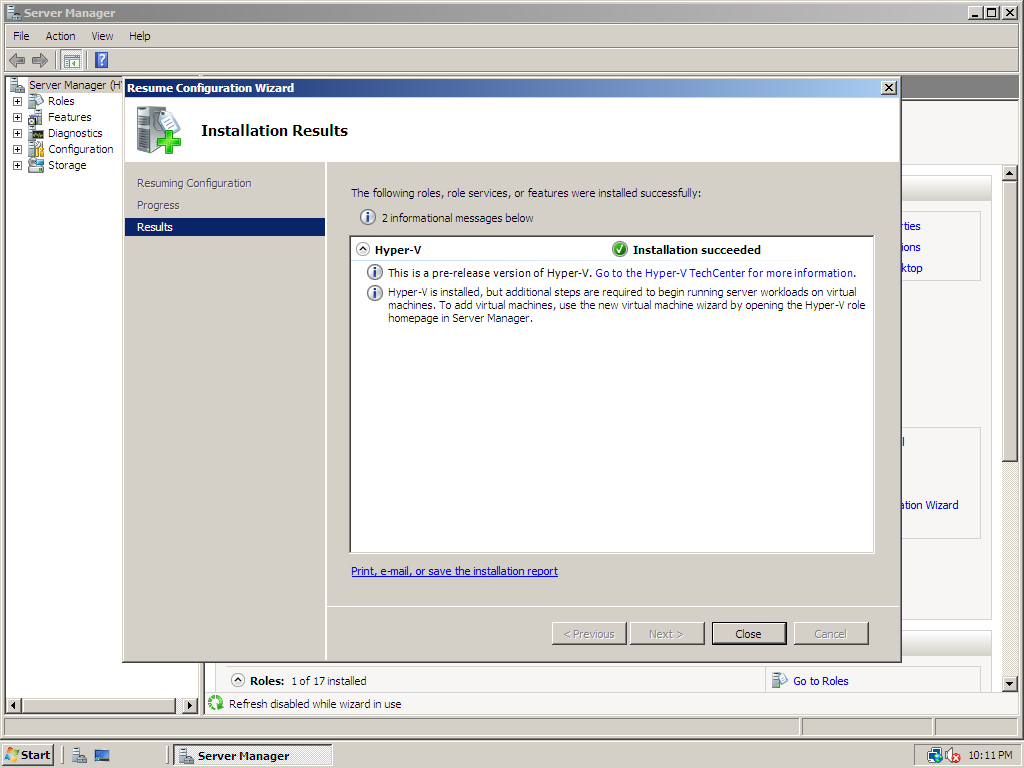
When you login again you will be taken directly to the Server Manager UI and the "Resume Configuration Wizard" will be displayed:
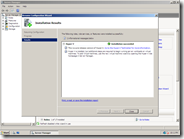
Once this wizard is completed and dismissed you can expand the "Roles" node of the Server Manager, then the "Hyper-V" node and finally select the "Microsoft Hyper-V Servers" node. Here you will be presented with a EULA that states once more that this is prerelease software. Agree to the EULA (after reading thoroughly) and you should be able to select the node for your server:
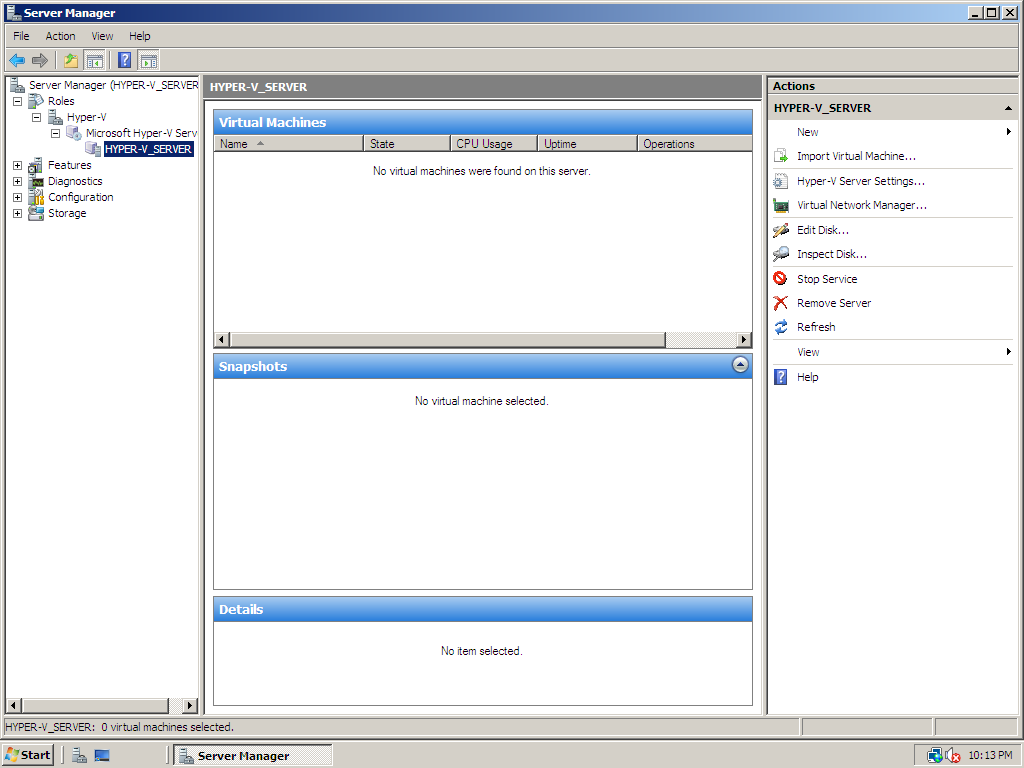
Now you are ready to start using Hyper-V, but I will stop there for today.
Cheers,
Ben