
C++ Core Guidelines Checkers are now in a single NuGet package
Update: The C++ Core Guidelines Checkers are now included in-box with Visual Studio 2017. See this post for details: https://blogs.msdn.microsoft.com/vcblog/2016/10/12/cppcorecheck
It has been an exciting year since the C++ Core Guidelines and checkers were announced starting with Bjarne Stroustrup’s opening keynote at CppCon 2015. We’ve shipped multiple releases of our CppCoreCheck analysis tools through NuGet. The Clang community has kept up the pace implementing the C++ Core Guidelines checks in Clang-Tidy. And we’ve seen a steady stream of commits to our implementation of the Guidelines Support Library on GitHub.
The most exciting thing is the amount of feedback and engagement we’ve seen from our developer community. Lots of you have sent suggestions, feedback, and bugs to us at cppcorecheck@microsoft.com. It’s really helpful to have your feedback and contributions to this work while it’s still in the early stages. Thank you!
When we released the first preview of the lifetime checker we put it into a separate DLL. The complex analyses in the lifetime checker makes it slower than the regular core checkers, and the early state of the work means that there are more bugs. Separating it into its own DLL allowed you to install the bounds and type checkers without the lifetime checker. But we heard from you that you want to choose when you run each checker without having to go back to NuGet.
We’re now shipping both the experimental checkers, including the lifetime checkers, and the regular checkers in one NuGet package (the GSL is still installed as a dependency.) New MSBuild scripts allow us to extend project settings so that you can select specific extensions during code analysis. This means that you can enable or disable either of the checkers individually in your project settings. You can have the release checkers run during debug builds, for example, and turn on the experimental checkers for your release builds. Or you can create a custom configuration that runs the code analysis checkers.
Want to try it out?
Just install the checkers as you always have from NuGet. (Detailed instructions are in the first blog post about CppCoreCheck.) If you’ve got the separate ExperimentalCoreCheck package installed, you should uninstall that first–all of its functionality is now in the regular CppCoreCheck package. See below for instructions on installing and uninstalling NuGet packages.
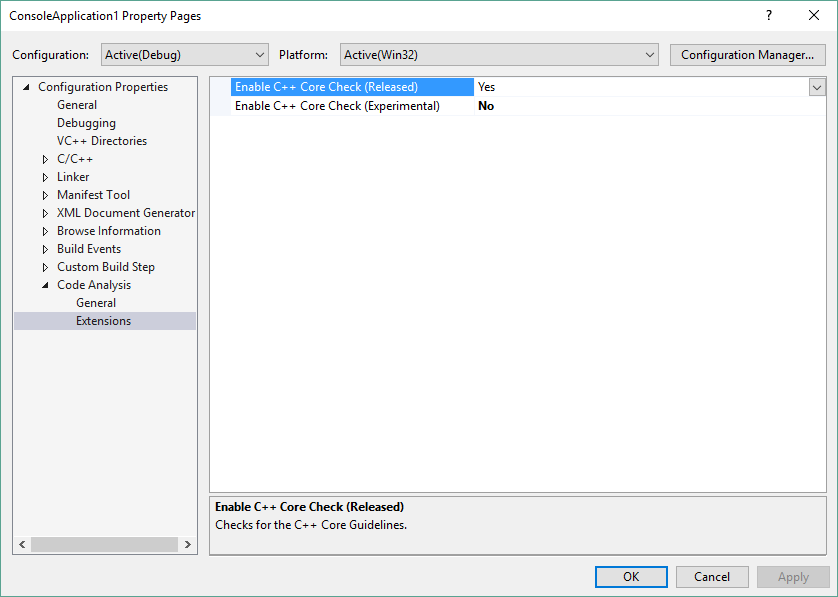
The new MSBuild scripts included allow you to separately configure what checkers run. Just go to the project’s properties dialog and select “Configuration Properties\Code Analysis\Extensions”. Here you can select the rules checkers you want to run for that configuration. You can select a different set of checkers for each configuration.
Uninstalling (and installing) NuGet packages
If you need to uninstall the old ExperimentalCppCoreCheck package you can do so in the Manage NuGet Packages console. Pull up the Manage NuGet Packages by right clicking on your project or solution, or by typing in the QuickLaunch box:

Click on the “Installed” tab and select the Experimental package. Click the Uninstall button on the right to uninstall it.
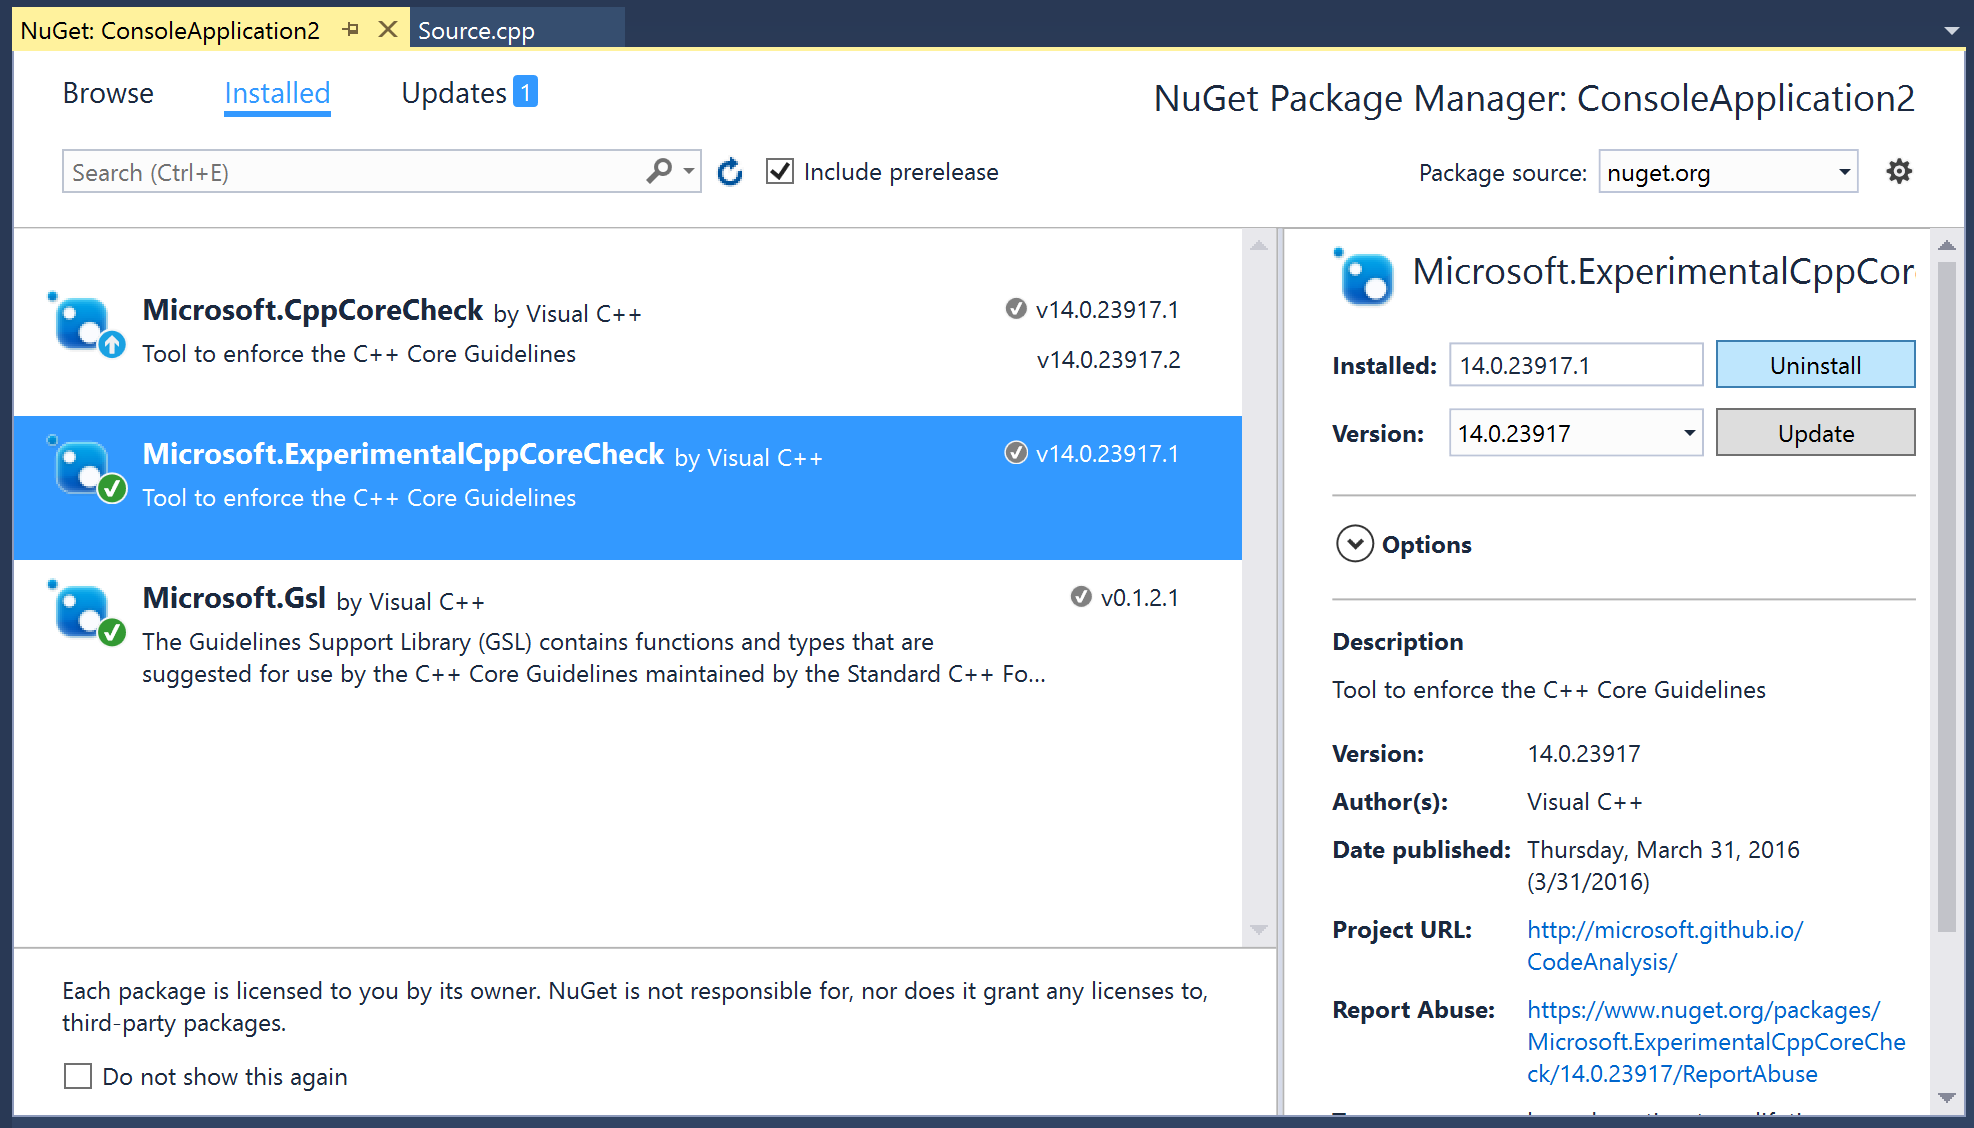
Notice that there’s an Update indicated on the Manage Packages window. If you click on that tab you can update the CppCoreCheck package right in the same window.
Send us your feedback!
As always, we want to hear your thoughts. The experimental checkers are still in early development, so we’re not looking for standard bug reports on anything that’s in the experimental set. But if you run into issues on the release checkers, or have thoughts about the design direction of the experimental rules, please send us your feedback at cppcorecheck@microsoft.com. And we love to hear from you through any of the usual channels: User Voice, Suggestions, Connect (for bugs), or even Send-A-Smile.
 Light
Light Dark
Dark
0 comments