Create a quick search field in USD
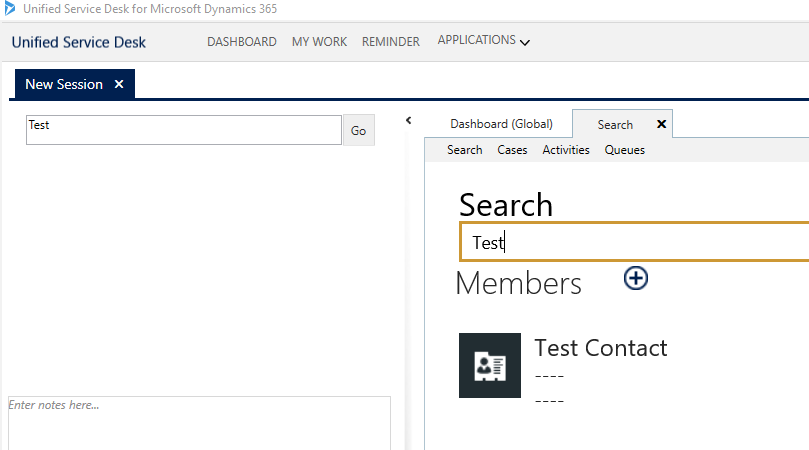
Some customers find it helpful to make search front and center in their Unified Service Desk implementations. Often this is implemented simply as a button on the main toolbar to display the CRM search page but this article illustrates another technique that utilizes a few components in USD and the open source, USD Component library, to display a conveniently accessible search capability right at the top left of USD. Here is a picture of the final product...
Create the Search Box
The first logical step to setting this up is to create the search box that accepts input from the user. While you could create a custom hosted control for this, if you are using the USD component library, you can do this without any specific custom code. So for this exercise, start by downloading and building the USD component library at the above link.
Once you have that compiled and either uploaded to the Customization Files section or installed in the application folder for Unified Service Desk, go ahead and configure the SearchBox hosted control as follows.

In addition, once you save the control definition above, add 3 UII Actions to this control, ShowForm, ReadForm, and ClearData. These are all the UII Actions implemented by this control. We will use these later.
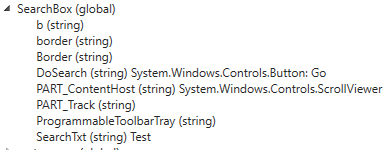
I will point out the Assembly Type, which is the USD Component Library's FormViewer control. This control takes as input a form configured in USD's Forms section. So next, lets go ahead and setup the form.
Setup the Form
Go to Unified Service Desk admin section and click on Forms. Then click on New to add a new form. We will call this form, "SearchBox". The markup would be as follows...
<Border xmlns="https://schemas.microsoft.com/winfx/2006/xaml/presentation"
xmlns:x="https://schemas.microsoft.com/winfx/2006/xaml"
xmlns:USD="clr-namespace:Microsoft.Crm.UnifiedServiceDesk.Dynamics;assembly=Microsoft.Crm.UnifiedServiceDesk.Dynamics"
BorderThickness="0">
<Grid Width="350">
<Grid.Resources>
<USD:CRMImageConverter x:Key="CRMImageLoader" />
</Grid.Resources>
<Grid.ColumnDefinitions>
<ColumnDefinition Width="*" />
<ColumnDefinition Width="auto" />
</Grid.ColumnDefinitions>
<TextBox Grid.Column="0" Margin="1" x:Name="SearchTxt" />
<Button Height="32" Width="32" Grid.Column="1" x:Name="DoSearch" IsDefault="True" Content="Go" />
</Grid>
</Border>
Show the Form on Startup
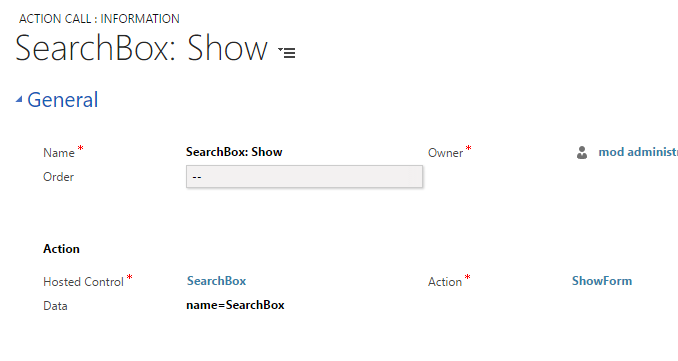
Now that we have a form defined and the control configured where we would like to display the form, we need to tie the two together. Since we would like to display the form when USD is started, we will add an action call to the DesktopReady event of CRM Global Manager.
Now if you wish to try it out, when you start USD, the search box will show up in the top left corner. If you have your session explorer panel used by session overview control, you may want to modify your panel layout to accommodate the search box above here. In my setup, I simply eliminated the session overview as it was unnecessary in my case.
Handling the Search
Now that we have a search box and a search button, we want to wire it up. What we would like to have happen in this case is for the following steps to occur when the user hits enter or clicks the go button...
- USD to create a new session
- Read the text field from the search box
- open the search results in CRM and display the results
USD to create a new session
When the user clicks the Go button or hits enter in the search text box, an event is automatically fired in USD. you can use the USD debugger to see this event and it's name if you wish. We want to add action calls to this event. You should now create a new event with the name, DoSearch, because that is what we saw in the debugger, and Hosted Application, "SearchBox," since that is the hosted control that fires the event.
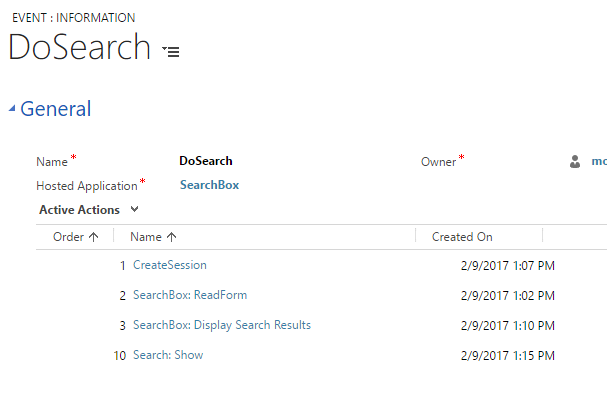
Once we save that, we should add 4 action calls as seen in the screenshot.
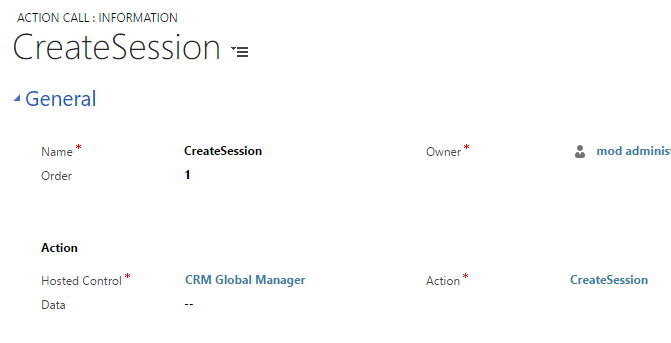
To create the session, the action call is very simple. Select CRM Global Manager from the Hosted Control selection and CreateSession from the Action. Add the CreateSession action, if needed. There is no data parameter.
Read the text field from the search box
Fortunately the FormViewer makes reading data from a textbox very easy as well. Create an Action Call that calls ReadForm action on it.
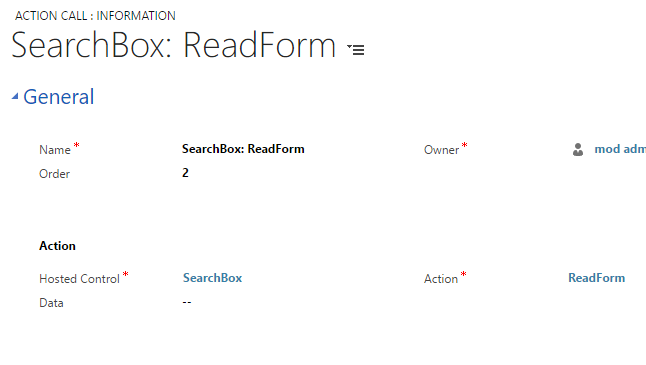
This action call will read the values of certain types of controls into the data parameters for the session.
The one we care about is SearchBox.SearchTxt.
Open the search results in CRM and display the results
Now that we know that, we want to use it to initiate the search page in the main frame. If we drill into the quick find a little bit in CRM, we see that it is URL addressable...
/multientityquickfind/multientityquickfind.aspx?sitemappath=Settings%7cSystem_Setting%7cnav_administration&text=Test
Where Test is my search query. That makes our life very easy as all we need to do is navigate the browser to this URL and pass the Data Parameter to the end of the URL in place of the word, Test.
We will want to create a simple Search hosted control, if we don't already have one that is setup as CRM Page. We will use it to display our search results.
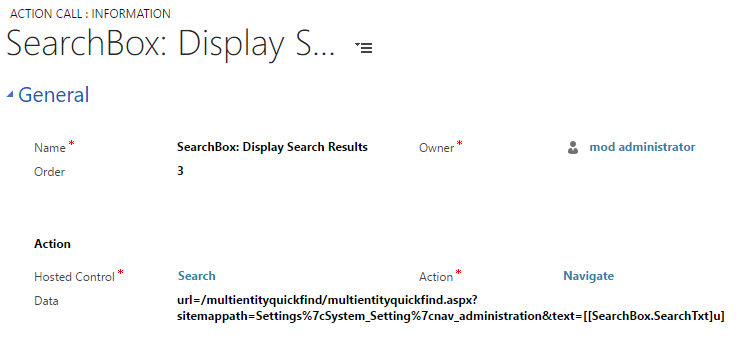
Note that when we put the replacement parameter in there, we need to specify the "u" option. This tells the system to escape the string since it is being used inside a URL.
Finally, we can add an action call to set the focus to the new search tab, which is simply a matter of calling ShowTab of the CRM Global Manager control.
Finishing Touches
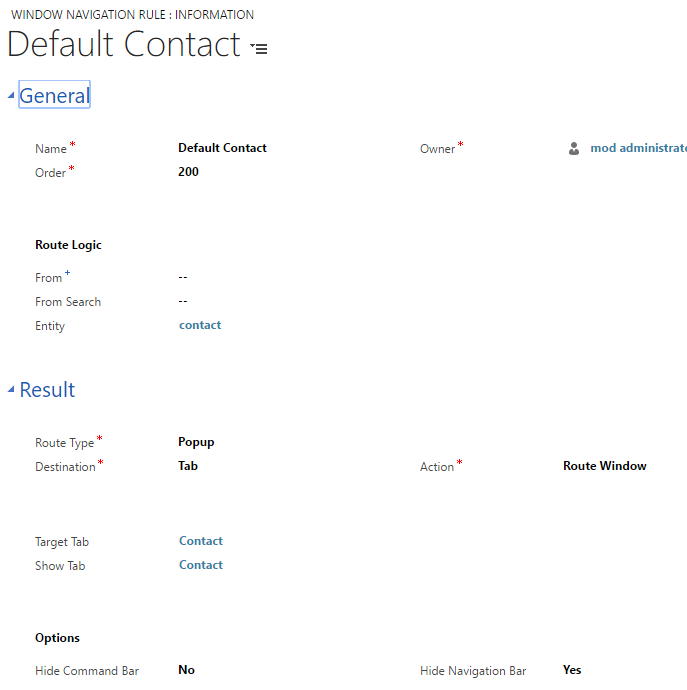
The last thing we need to do is to handle the clicks on the search page. We need to add a Window Navigation Rule for this.
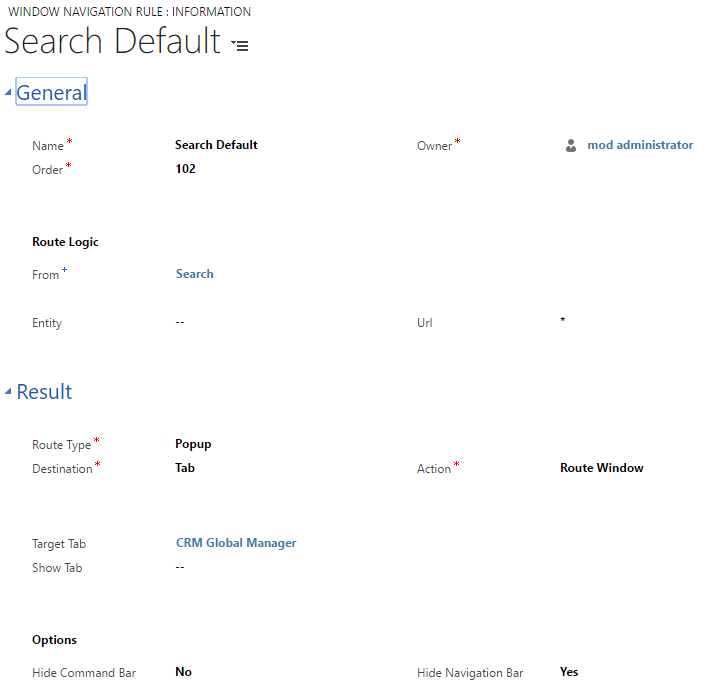
It is pretty straight forward. I don't want to add separate rules for each possible entity type, so I am adding a generic rule that sets the target tab to CRM Global Manager. This has the effect of telling USD to look for a rule with a blank "from" field, a default rule, to determine the target of the popup. We will want to make sure we have rules like the following, to handle the different entity types.
Now that we have these fundamentals in place, we can use this pattern for all sorts of interesting applications. In particular, we have found the FormViewer to be particularly helpful with avoiding custom controls and even allowing us to create different data collection forms for different users in the system or even different forms for different interactions or calls, depending on the department or needs. I have found these forms to be particularly useful in eliminating the need for people to keep notes on notepads or free text fields and driving system behavior.
Some other uses for these forms:
- Collecting Standard validation fields and even validating those fields
- Collecting callback numbers. The form itself can have a replacement parameter in it to pick up the CTI ANI field. The user can then modify this field, if this is not the callback number of the caller. A button next to it can be tied to CTI for calling out for rapid callback of customers in case they are disconnected.
- Collecting input that is used for automations of LOB and CRM later on
- Displaying hybrid Session Overview style data
- Display different data collection forms for different types of calls or different types of interactions.