Overview of the Azure Resource Manager Template Development Workflow
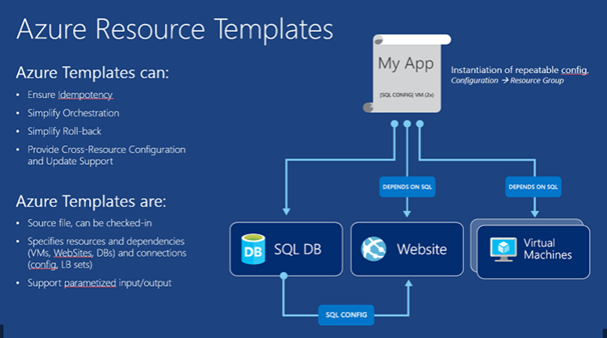
So at present I'm supervising a number of industry student projects and the teams are now getting to deployment stage of the projects. We have been discussing with the teams the use of ARM templates to allow them to deploy their infrastructure via DevOps practices.
I have discussed ARM templates in a number of my previous blogs, one the key scenarios students need to understand is continuous integration.
So if you need to get up to speed with ARM templates here is a quick getting started guide.
Some really great resources for getting up to speed on ARM Templates are as follows:
- Tuesdays with Corey: Classic vs ARM – what up with that?
- Dr Graham Smith ARM Resources https://pleasereleaseme.net/
- Azure Resource Manager Documentation on Microsoft Azure
- Azure Resource Manager DevOps Jump Start
- Building Infrastructure in Azure using Azure Resource Manager
- Deep Dive into Azure Resource Manager Scenarios and Patterns
- Azure Quickstart Templates
- Azure Resource Explorer
I wanted to share a nice workflow how to get started with creating ARM templates.
A summary of the workflow steps are as follows:
- Create a Model VM via Azure Portal. Is always useful to create a model VM in the portal whose components you can then examine via the Azure Resource Explorer.
- Create a Visual Studio Solution. You will need the Azure SDK installed to see the Azure Resource Group project template – see here for more details. We will be using Visual Studio to deploy the templates using PowerShell and for that you’ll need the PowerShell Tools for Visual Studio extension. for source control you can you use Git in either Github or VSTS for version control.
- Perform an Initial Deployment. deploy early and that’s the purpose of this step to ensure the deployment actually works.
- Build the Deployment Template Resource by Resource Using Hard-coded Values. The Microsoft templates really go to town when it comes to implementing variables and parameters the focus is simply getting the template working and then refactoring later.
- Refactor the Template with Parameters, Variables and Functions. . There’s a wealth of programming functionality available in ARM templates – see here for all the details.
- Use the Template to Create Multiple VMs. using the template on Single and multiple VMs to build out your infrastructure
