Getting to grips with Git, Visual Studio Online & Visual Studio
Lets start with some basics
1. Git is an open source version control system
2. GitHub is a Git repository hosting service
So what are some of the common terms you will encounter
Terms
Clone – creating a copy of the central repository with version control.
Once a repo has been cloned you can manage versions of the files that are located there and you can also select a specific version.
Add – Adding a file to a repo means that the file is now managed with version control.
New files need to be added before they can be shared with the repository. The Add operation is performed locally so will not impact the central repository until one of the following operations are performed.
Commit – Simply commits files, files need to be added before they can be committed. The commit operation is also carried out locally.
Push – With the push operation, the changes made locally are committed to the local index and will be replicated to the central repository So Push is a way to synchronize and share code updates.
Pull – When a Pull command is used it synchronizes the changes made between the central version and the local version. You should always use a pull command before you use a push command to ensure consistency of the central repository.
Pull Request – A pull request allows you to propose modifications to the code that exists in an existing repository. The proposed changes will then be discussed by the owner of the code and potentially pulled into the central repository.
Setting up your Workstation
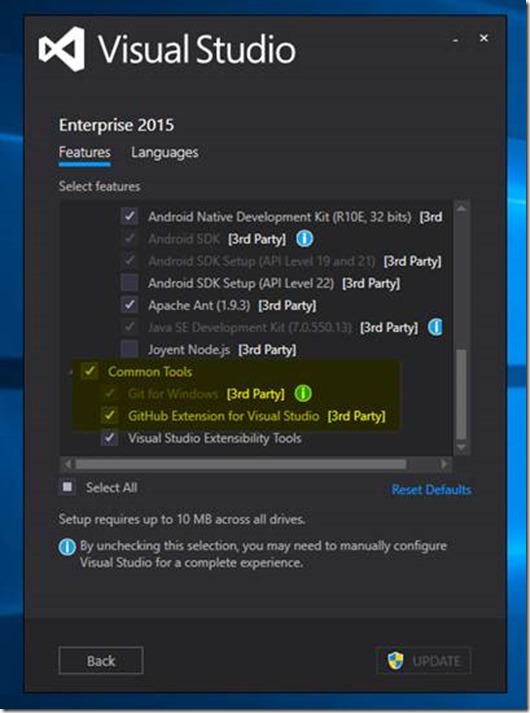
Visual Studio 2015 add/remove features simply select Git features
If your using a Mac or windows you can download Git from https://git-scm.com/downloads
You can also install GUI based Git at the following location https://git-scm.com/downloads/guis
Configure Git
from Git Bash use the following commands
    1: $ git config --global user.name "Your Name"
    2: $ git config --global user.email "Your Email Address"
1. Create a folder
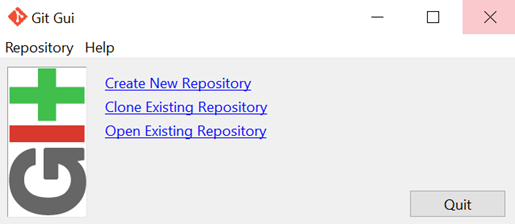
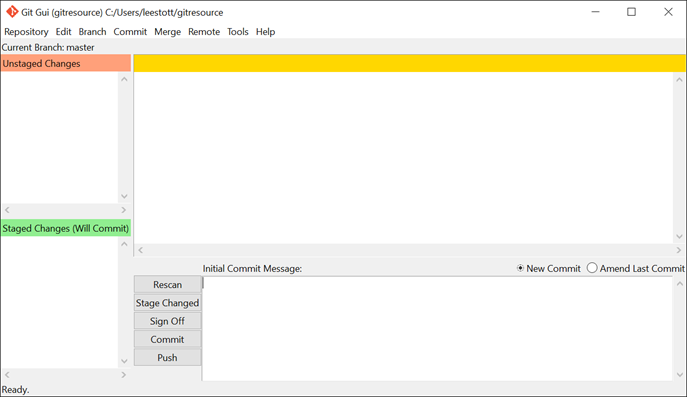
This can be done with Git Gui
You can now open the selected repository open with Git Bash
Cloning an existing repository
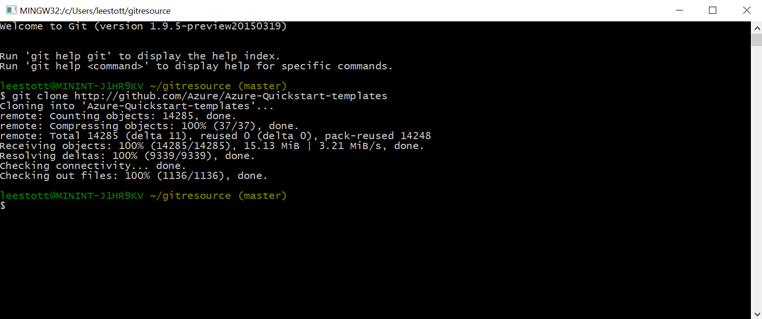
For this we will clone the Azure Quick Start Templates
Simply type
1: $ git clone https://github.com/Azure/azure-quickstart-templates
Uploading content to Visual Studio Online Account
Students can setup a FREE Visual Studio Online via DreamSpark https://www.dreamspark.com/Product/Product.aspx?productid=99
Configure your account in Visual Studio Online for secondary user
1. Login to Visual Studio online
2. Select your user account and then my profile
3. Select the security tab
4. Select Enable Alternate authentication credentials and create a new account.
Clone your Visual Studio Respoistry with Git
1. Create a directory that you want to use then go to that within Git Bash
2. Locate in your visual studio online url that you want to use to clone this repository
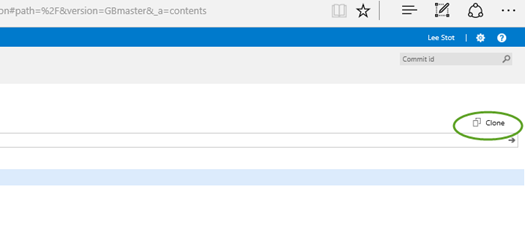
3. Simply select the clone button to show you the url
4. From a Git Bash prompt type the following command (replace the url with your url)
1: $ git clone https://yourvisualstudioonlineurl/defaultcollection/
Now you can modify the files from the copy
To Push the content to Visual Studio Online
To add and upload modified files to the Visual Studio Online repository
Create a new folder
1: $ git add.
Then commit the changes
1: $ git commit -m "my first commit, always document commits why"
Then upload the content to Visual Studio Online
1: $ git push
You can now verify the content has been uploaded to Visual Studio Online
You can alternatively do the code changes add, commit and pushes from directly within Visual Studio 2013 or 2015 see the following instructions
Clone your repository from Visual Studio
Clone the repository onto your dev machine with Visual Studio.
Store the repository locally.
Create a new app
If you don't already have an app in the repo, create one.
Create a new project.
Choose a template and add the new code project to version control.
Confirm your settings and add the app
On the changes page (Keyboard: Ctrl + 0, G), if you haven't already done it, confirm your user name and email address.
Add a comment and commit your app to version control.
Snapshot (commit) your code
With your code project stored in a local Git repository on your dev machine, you can commit as early and as often as you like.
As you write your code, your changes are automatically tracked by Visual Studio. You can commit one or more specific changes to your local repository from Solution Explorer (Keyboard: Ctrl + Alt + L).
On the Changes page, add a comment and then commit your changes.
These changes are now committed.
Pull changes from your team
Pull changes on a regular basis to ensure your code integrates well with the latest code from the team.
From the commits page (Keyboard: Ctrl + 0, O), fetch the commits to see any changes that your team has made.
When you're ready, pull these commits into your local repository.
The changes from your team are now integrated in your local repository.
Push your local commits to the server
When the code you've written on your dev machine is ready, you can push your changes from your local Git repository to the team project.
From the changes page (Keyboard: Ctrl + 0, G), make sure you've committed your changes.
Go to the commits page (Keyboard: Ctrl + 0, C).
Push your changes.
Q&A
Q: Why is my sign-in page different than when I sign in to Visual Studio?
A: Your sign-in page depends on whether you used a Microsoft account or work account with Visual Studio Online. So, sign in with the username and password that you used with Visual Studio Online.
Q: Why doesn't Visual Studio launch when I click "Open in Visual Studio" on my team project page?
A: This link requires Visual Studio 2013 or later. It doesn't launch earlier versions of Visual Studio.
Q: Can I use earlier versions of Visual Studio to connect to Visual Studio Online?
A: Yes, you can use Visual Studio 2013 or 2012. You can also use Visual Studio 2010, but you'll need to install Service Pack 1 and KB2662296 first. Or, you can use Visual Studio 2008 SP1, with this GDR update. Launch Visual Studio, then connect to Visual Studio Online using your account URL, and select your team project.
Q: How can I see what I've changed?
A: To see what you've changed, compare your changes with the last commit.
Q: How can I get more information about the commits from my team before I pull them?
A: Sometimes you need to see the details about incoming commits from your team. That way you can understand how a change will integrate with your work.
You can get details on the changes to each file.
Q: How do I associate my changes with related work items?
A: From the changes page you can run a query, and then drag a work item into the list of related work items.
Q: Can I use Git command-prompt tools?
A: Yes. See Use Git from the command prompt.
![image[42] image[42]](https://msdntnarchive.blob.core.windows.net/media/MSDNBlogsFS/prod.evol.blogs.msdn.com/CommunityServer.Blogs.Components.WeblogFiles/00/00/01/44/28/metablogapi/4617.image42_thumb_44C26DF3.png)
