Microsoft Azure FREE WebSites and Blogs via Microsoft Imagine & DreamSpark and setting up WordPress on Azure for Students
The Cloud” is a term that we use to describe a way of hosting and running websites and applications where we ship off our files and databases to whomever we choose and have all the worries of managing the details of hardware, operating systems, networks and datacentres managed for us by them. This way, the specialists at the cloud provider can focus on providing a high quality, scalable platform, and the customer can focus on developing and deploying their website or application.
There are many cloud providers and today we will look at the recently-refreshed Windows Azure from Microsoft.
Microsoft Azure
Azure is Microsoft’s cloud platform and runs on their datacentres all around the world.
Whats cools is Microsoft Azure supports all non-Microsoft technologies or frameworks such as PHP, Node.js, Python and Java – actually Azure supports all these and more; any operating system and any language.
For Cloud for Students
Microsoft Azure is now free under Microsoft Imagine and can be activated at Microsoft DreamSpark
Free Azure for students has consistently been one of the most popular requests fielded to us since the inception of Azure. Well, we are glad to announce that free Azure for students is now a thing! With a few simple steps, you should be able to activate your subscription in under 10 minutes. Once completed, you should be able to spin up a web app within seconds. Without further ado, let’s get started.
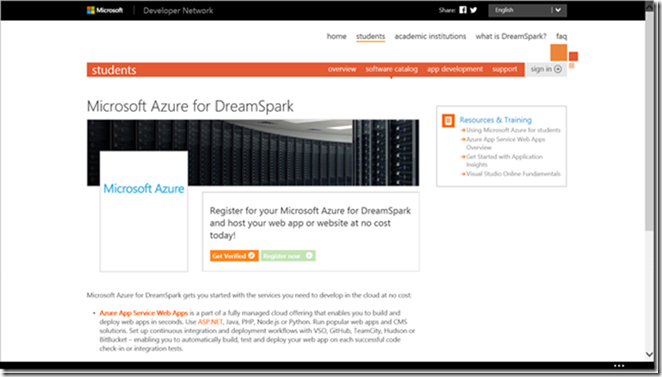
First, visit the Microsoft Azure for DreamSpark site.
If you don’t have a DreamSpark account already, you will need to activate it before you can have access to your Azure subscription. You’ll notice that the green “Register Now” option is disabled and that is why.
Setting up DreamSpark
DreamSpark (https://www.dreamspark.com/) is a program that provides students with free Microsoft software, the ability to try Azure cloud services without entering a credit card, and a store account. Chances are your college or Uni is already signed up for DreamSpark and all you need to do is create your own account to start reaping the benefits.
But even if your institution isn't signed up, if you are a student you can still get it. Here's how!
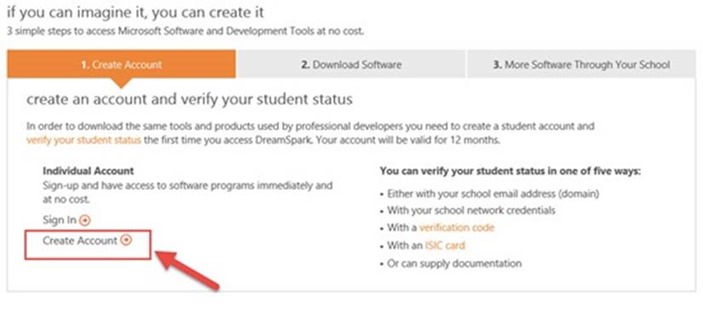
To create your DreamSpark account go here and select Create Account https://www.dreamspark.com or via Microsoft Imagine https://imagine.microsoft.com
You will be prompted to sign in with a Microsoft account (hotmail.com, live.com, outlook.com) if you don't have a Microsoft account you can create one here. You can use an existing email address for your Microsoft account.
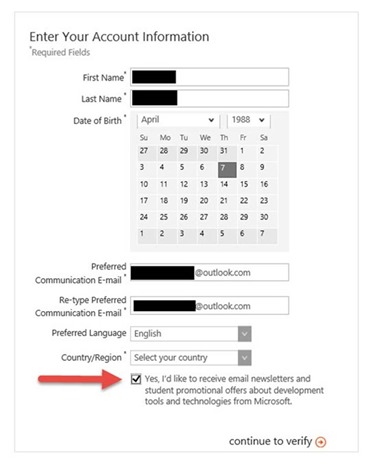
You will now see a screen where you specify your name, date of birth, preferred email, most of this is pre-populated based on the settings in your Microsoft account. Consider selecting the checkbox so Microsoft can let you know about programs and offers in your area. After you have completed all the required fields select continue to verify.
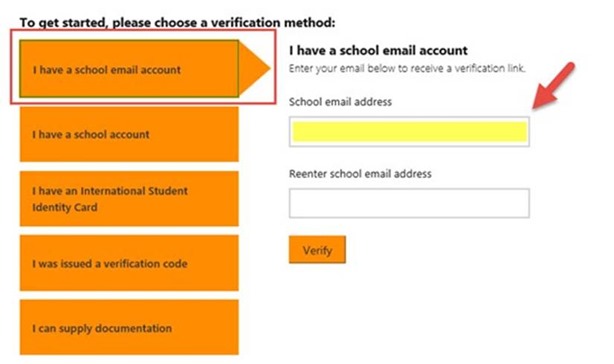
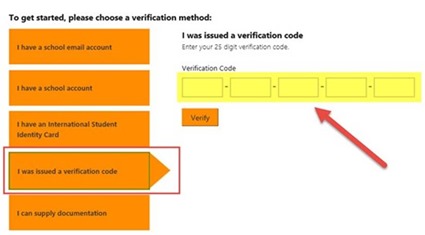
Now, DreamSpark wants to verify that you are in fact a student. There are five different ways to do this, pick the one that works for you!
1. I have a school email account – If your school has a DreamSpark subscription, you can just provide your school email address to get verified
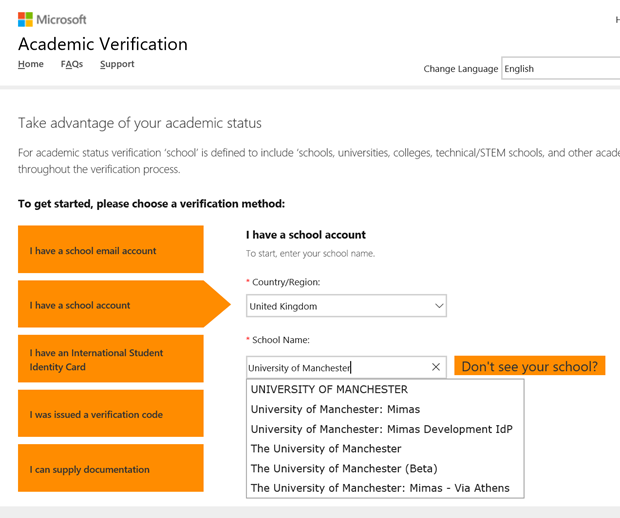
2. Get verified through my school account– If your school has a DreamSpark subscription, but validates DreamSpark through school accounts rather than email addresses you can select this option.
All Colleges and Unis in the UK use this authentication method, so if you don't see your school listed it doesn't necessarily mean your school does not offer DreamSpark to its students! It just means they have chosen another method for authentication, you may want to try the email address option instead. If you choose the school account you have to search for your school in the list.
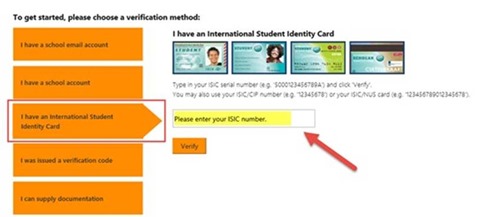
3. I have an International Student Identity Card – This is not your university or college student ID card. this is the international student card (you can apply for one here) if you pick this option you can type in your ISIC serial number or the ISIC/CIP number or your ISIC/NUS card number to prove you are a student.
4. I have a verification code – this option requires you to enter a verification code. But where do you get a verification code? You need to reach out to a Microsoft representative or possibly a school administrator. Attending a Microsoft hackathon or workshop is a great place to meet someone and find out how you can get a verification code. Entering a code will give you access to DreamSpark resources for one year. If you are a teacher, you can also reach out to a Microsoft representative to get verification codes for your students if your school does not have a DreamSpark subscription. You may also want to check out some of the material that helps you teach coding at aka.ms/learn2code
5. I can supply documentation – if none of the above options works, choose this option. You can provide a scanned copy of your school ID card, a current report card, or acceptance letter to a university or college as proof that you are a student to get validated.
Once you have created and verified your account, you can now download software, get a code that allows you to publish apps to the Windows store for free and get free cloud services on Azure including website hosting!
Creating Your Azure Account via DreamSpark
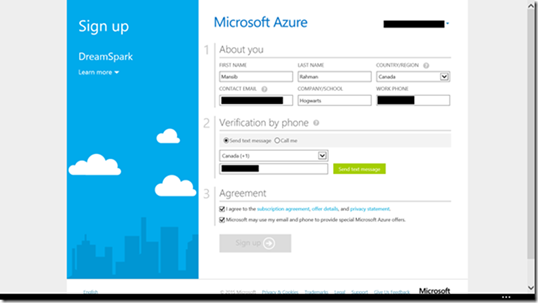
Head back to the Microsoft Azure for DreamSpark site. The register option should now be available and you should click on it. Make sure to be signed into your DreamSpark enabled Microsoft account before you do this (you can sign in on the top right).
A verification by phone is required. This is an important security measure that ensures that only you have access to your account in the event of a password reset, by tying your account to your cellphone or telephone number.
You’ll receive a text or a call at your number, depending on the option you chose. Enter the code to finish the sign up.
Congrats! This is probably the most tedious part of using Azure, so it should be smooth sailing from here on out.
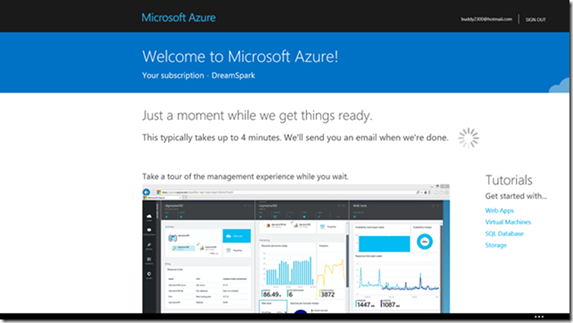
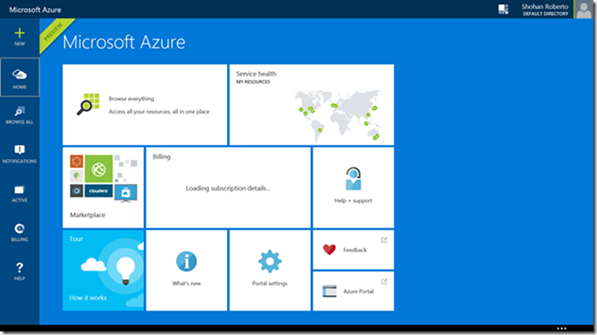
All you have to do now is wait for the Azure servers to provision your account, it shouldn’t take more than a couple of minutes you will be presented with the Azure Portal you may be presented with the new Preview Portal or Standard Portal.
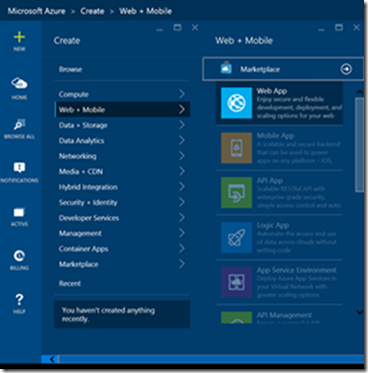
This is the new Preview portal
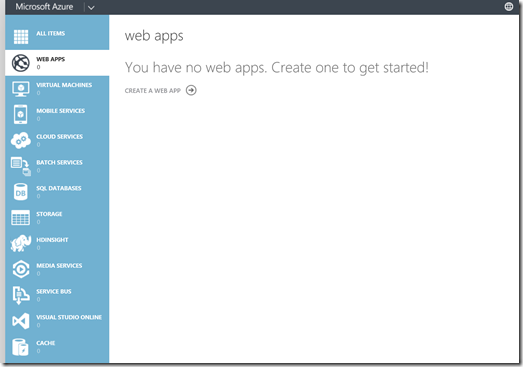
This is the standard azure portal
You now have access to your very own Azure account! To use a new service, go to “New” and search for whichever service you want to use.
New Portal
Standard Portal
If a service is greyed out, its because it’s not yet available for students. Stay tuned on our blog to hear about new service additions. Here are some specific resources you can check out to help you with some of the currently available Azure DreamSpark offerings:
Web Apps Overview
Application Insights Overview
Visual Studio Online Overview
So create a free web site and portfolio today using CMS such as WordPress
Getting a WordPress site up and running
Getting a WordPress website (build in PHP and usually run on Apache with MySQL) up and running on Windows Azure. Simply head over to https://www.dreamspark.com/Product/Product.aspx?productid=99
The first step is to set up an account on Azure so make sure you have followed the instructions above.
Sign into your Azure Portal https://manage.windowsazure.com/
From here, click on the “Sign in to the Management Portal” link
Select the “Manage” option in the navigation at the top of the screen and you’ll be taken to the page shown below.
The Azure management page
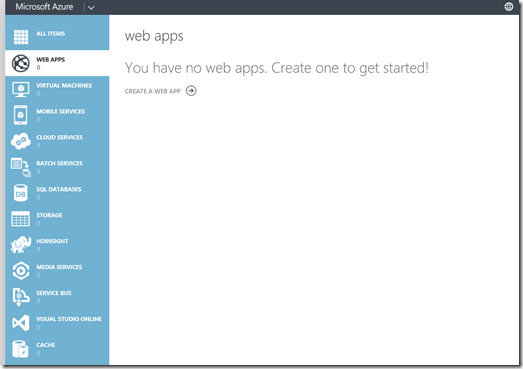
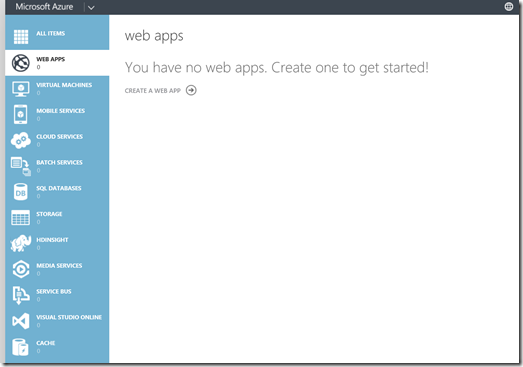
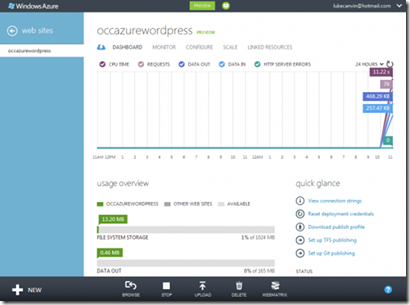
The first time you access it you’ll get a little tour, but eventually you’ll get to your dashboard, which will be empty and look something like this:
As you can see you Azure dashboard is empty
Just a side note: When I registered there was a short wait before the “web sites” option (which we will be using below) was available to me; just a couple of hours.
Choose the “Cloud Services” option on the left and click “create a cloud services”.
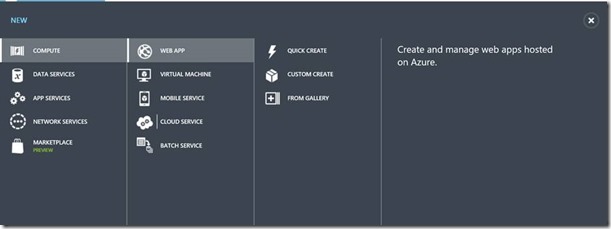
Choose “Compute” then “Web App”
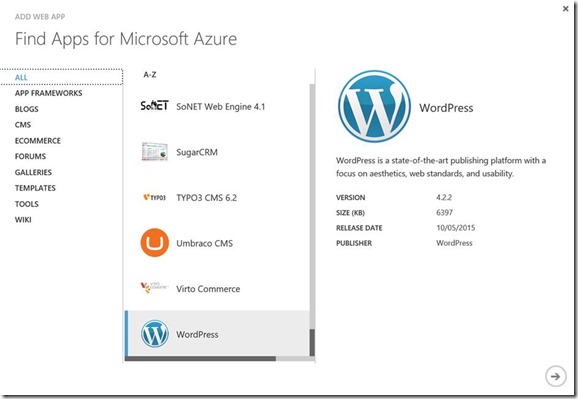
Choose the “from gallery” option, highlighted above, and then find the WordPress option in the list of apps available.
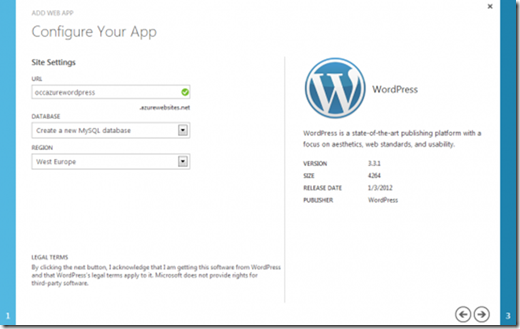
Click the “Next” arrow and choose your website’s URL; leave the database setting as “Create a new MySQL database”; and choose the region closest to you (or your audience).
Click the “Next” arrow and choose your website’s URL; leave the database setting as “Create a new MySQL database”; and choose the region closest to you (or your audience).
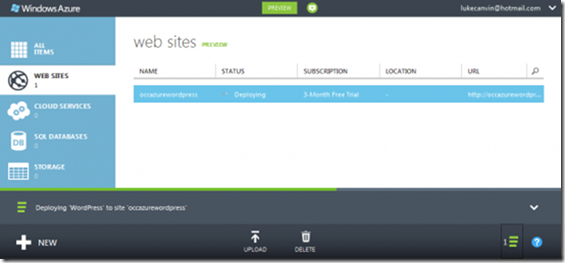
Click the “Next” arrow again and confirm your new MySQL database settings, then click the final “Next” icon to complete the process and Azure will begin deploying your new site.
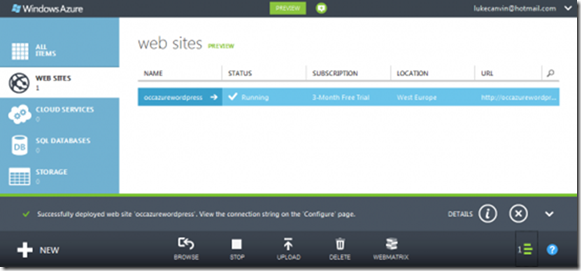
A few moments later and it will inform you that the deployment is complete, and the site is up and running.
That’s it! Your WordPress site is now live and can be accessed at the URL you configured in the setup earlier; you can get there nice and quickly by clicking the “Browse” icon in the toolbar at the bottom of the Azure portal.
Configure WordPress
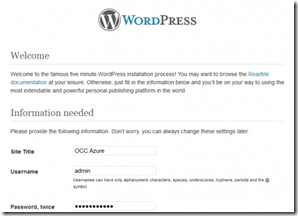
As this is WordPress, the first time you access it, it will ask you to complete the installation by making a few configuration choices.
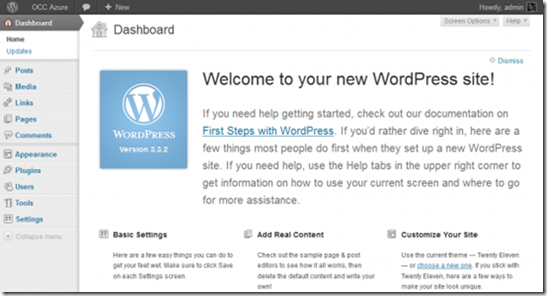
Click the “Install WordPress” button at the bottom to complete the setup and WordPress will show you a “Success!” message with a “Log In” button that will take you to your new WordPress admin login area. Enter your chosen WordPress username and password and log in to see your blog Dashboard.
You’ll want to visit the Settings section using the menu bar on the left to tweak any final settings, but you’re all ready to go!
Configure Azure
With any hosted service you’re likely to want to be able to view usage statistics, configure FTP and publishing access, etc. So let’s switch back to Azure.
Set up FTP access
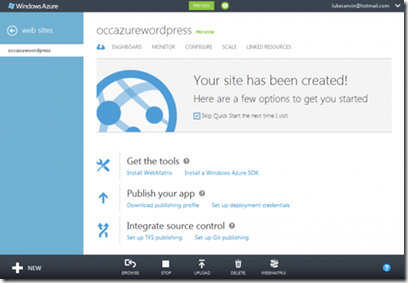
Click on the name of your new site in the Web Sites list and you’ll see a one-off startup page welcoming you and giving you some options for how to proceed.
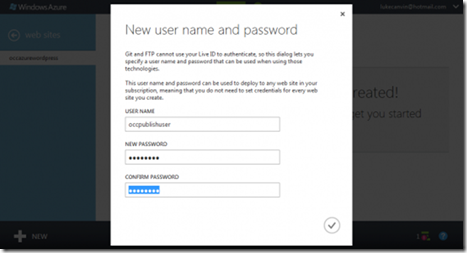
First off, let’s set up FTP access so that you can begin customising WordPress further with custom themes and plugins. Click on “Set up deployment credentials” under the “Publish your app” heading (if you’ve dismissed the welcome screen you can access this through the “Reset deployment credentials” option under the “quick glance” heading on the dashboard).
Choose your username and password, click the tick to confirm and you’ll be sent back to the welcome screen with a success message.
Click the “Dashboard” option at the top of the Welcome screen and you’ll see your Azure website dashboard (you can get back to the welcome screen by clicking the cloud with a lightning bolt icon on the left of the dashboard option).
Here you can see a wealth of usage information, as well as plenty of further configuration options. If you scroll down a little, you’ll find your FTP address on the right, under the “FTP hostname” heading. Use this along with the credentials you just set up and you can begin uploading to, and editing your, WordPress installation.
Publishing alternatives Git or Visual Studio Online
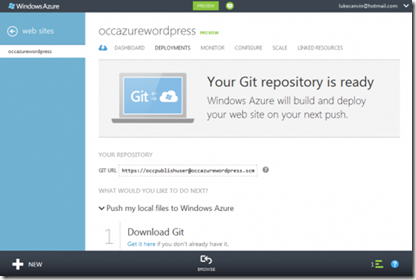
If you use git as your source control you can configure Azure to have its own git repository for your website, which you can push updates to and it’ll build and deploy your changes automatically. Click the “Set up Git publishing” option to be guided through that.
You also have the option of linking your site to Visual Studion Online for publishing via that code-base, or you can download a publishing profile to load into Visual Studio to allow direct publishing from there.
Other CMS on Azure
Azure also has off-the-shelf installations of Drupal, Joomla and Umbraco in its gallery and

![clip_image014[3] clip_image014[3]](https://msdntnarchive.blob.core.windows.net/media/MSDNBlogsFS/prod.evol.blogs.msdn.com/CommunityServer.Blogs.Components.WeblogFiles/00/00/01/44/28/metablogapi/6371.clip_image0143_thumb_1FEEFF3F.jpg)
