In-place upgrade to TFS 2017 RTW (Release To Web) with Reporting and SharePoint
We wanted to create a stand-alone, in-place upgrade documentation for TFS 2017 per many customer requests, in addition to the upgrade overview here.
This document gives detailed step by step procedure for the in-place upgrade from TFS 2015 update 3 to 2017 RTW with reporting and SharePoint.
Before you start the upgrade, please check the system requirements for TFS 2017.
This applied to: TFS 2015 update 3
Windows Server 2012 R2, TFS 2015 update 3, SQL 2016 RTM, SharePoint 2013 SP1
TFS 2017 RTM
Windows Server 2012 R2, TFS 2017 RTM, SQL 2016 RTM, SharePoint 2013 SP1
Note: Please review the licensing requirements from our Licensing Whitepaper (it has TFS 2017 information too)
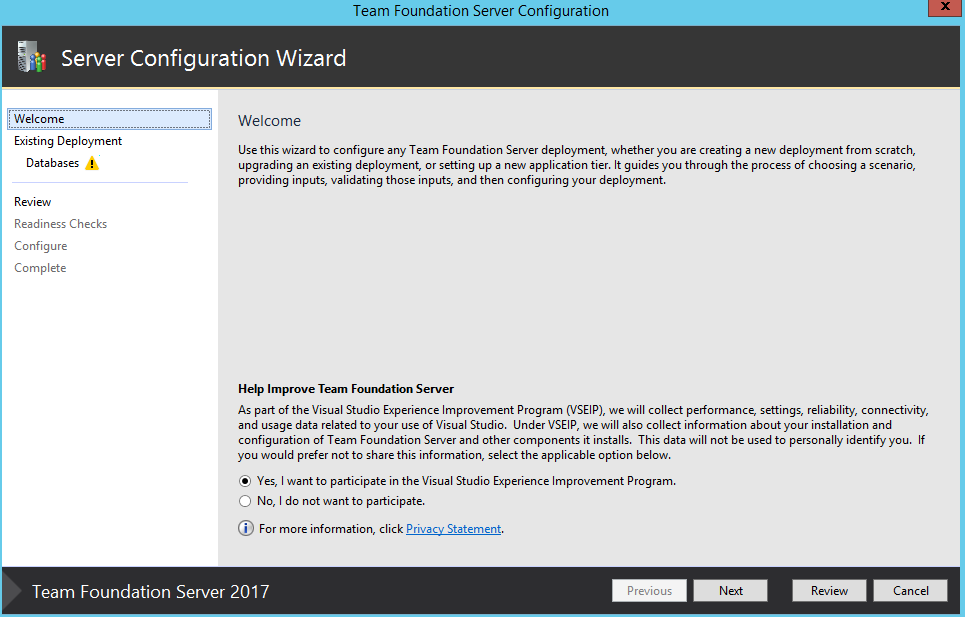
Step 1: Choosing between deployment type.
After installing TFS 2017 binaries, the server configuration wizard will open. We no longer get option to select deployment type like basic, advanced, Application Tier Only at the welcome screen. Instead it automatically detects and provide you upgrade option if you are doing in-place upgrade.
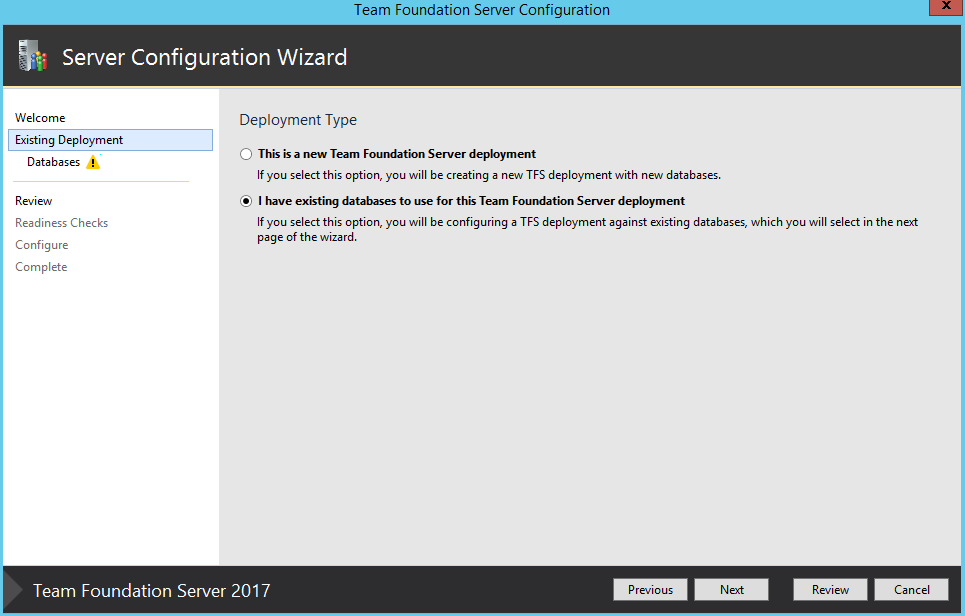
Step 2: Select deployment type.
Select “I have existing databases to use for this Team Foundation Server deployment”.
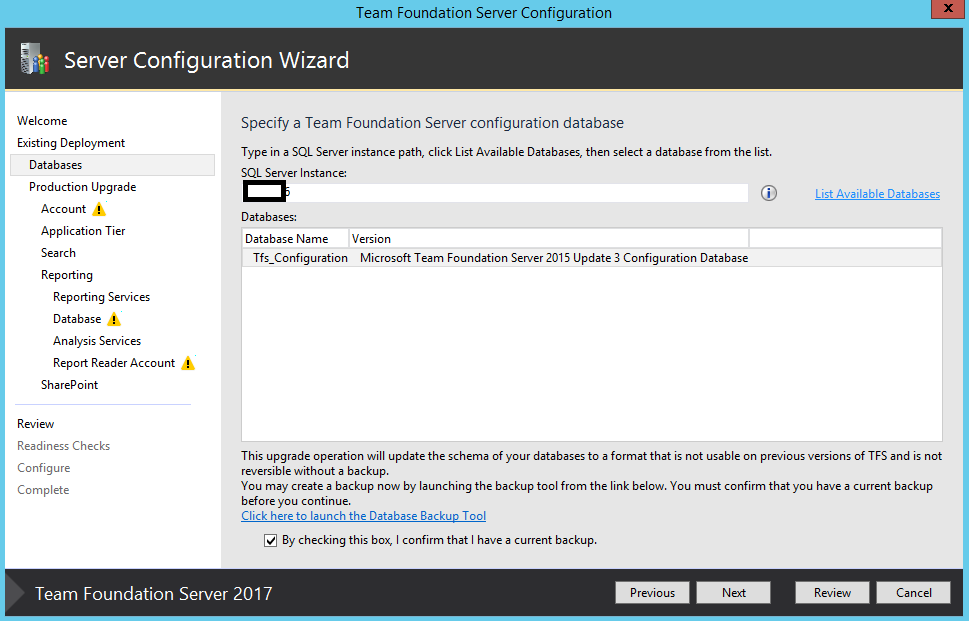
Step 3: Specifying TFS configuration databases.
Wizard will automatically pick the SQL server which host TFS 2015 databases. If the data-tier is changed you need to provide SQL server instance name.
Make sure that you have backups taken before you start the upgrade. Check the box and confirm that you have current backups.
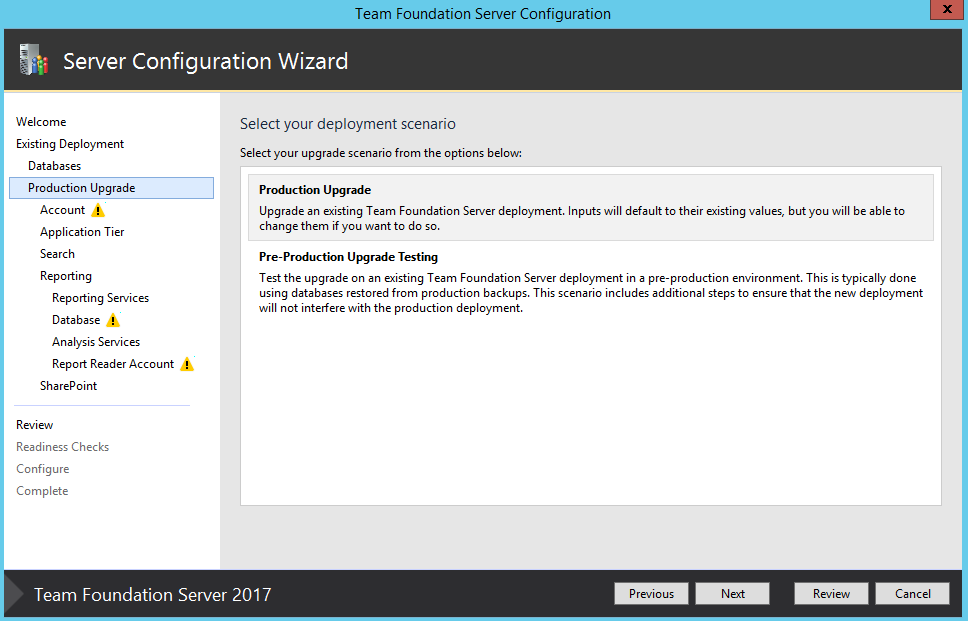
Step 4: Select Deployment scenario.
Upgrade scenario has 2 options: Product upgrade and Pre-Production Upgrade Testing.
Using Pre-Production upgrade option, you can test the upgrade before upgrading the product environment. This process takes care of cloning process, changing server IDs at all which ensures that this deployment will not interfere with the production environment.
In this document, we will proceed with the production upgrade scenario.
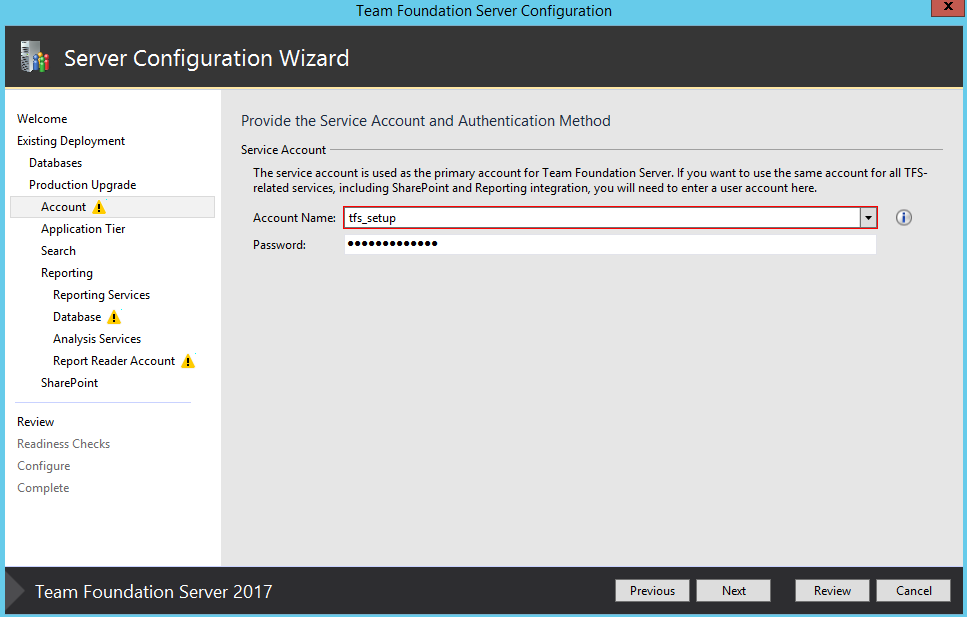
Step 5: Selecting TFS service account
Provide the service account. Service account can be Network account or user account
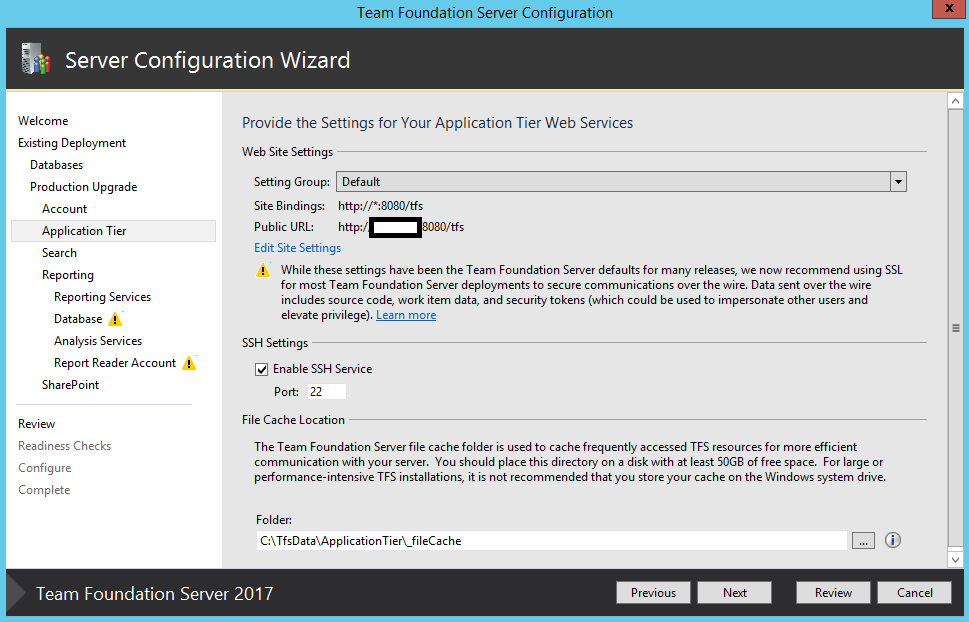
Step 6: Application Tier Settings
- Web site settings:
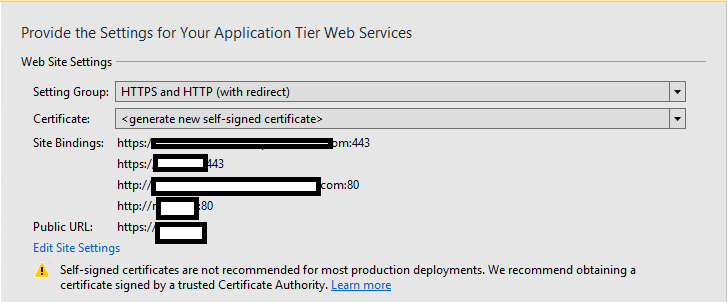
In TFS 2017, we have option to choose to specify default, HTTPS and HTTP (with redirect) and only HTTP.
- SSH settings
To support SSH Protocol for GIT, we need enable the SSH Service and choose the port. By default, port 22 will be used.
If you choose HTTPS and HTTP (with redirect), the wizard gives option to choose certificate or generate self-signed certificate.
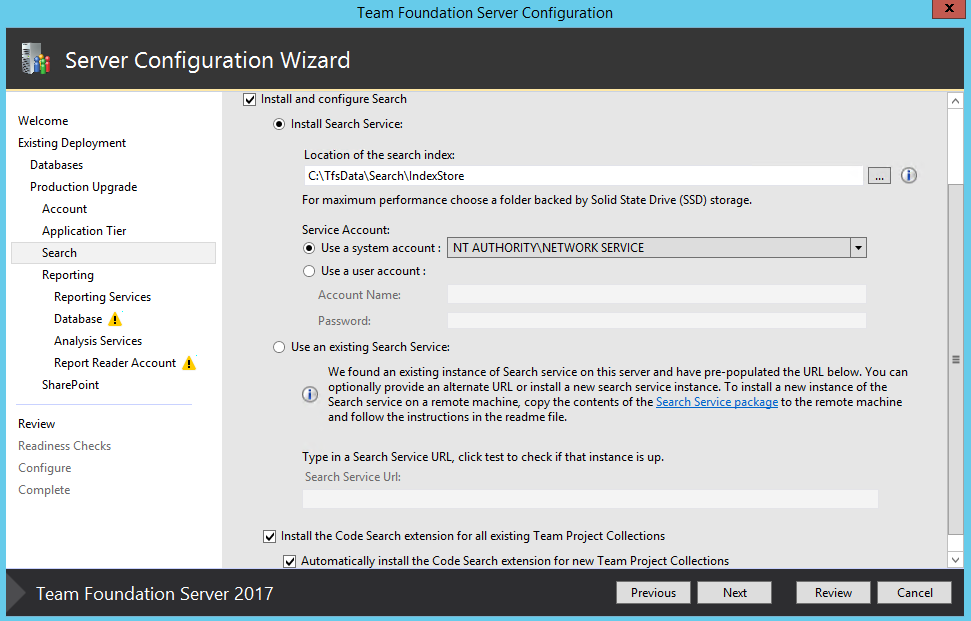
Step 7: Code Search configuration
You can find more information regarding this new feature here.
We can configure on TFS AT or on a different server. To install code search on different server, please refer this article.
Specify a folder to store the index, and choose if you want to enable code search for every project collection.
You can use elastic search feature of earlier version of TFS i.e., RC and RC1.
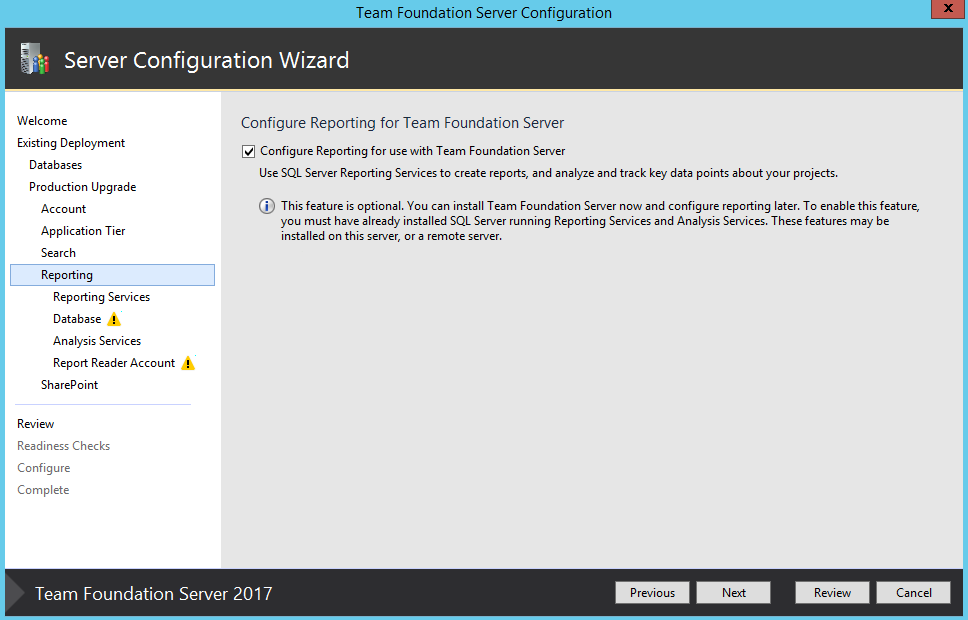
Step 8: Configuring Reporting
Select the checkbox to configure reporting services.
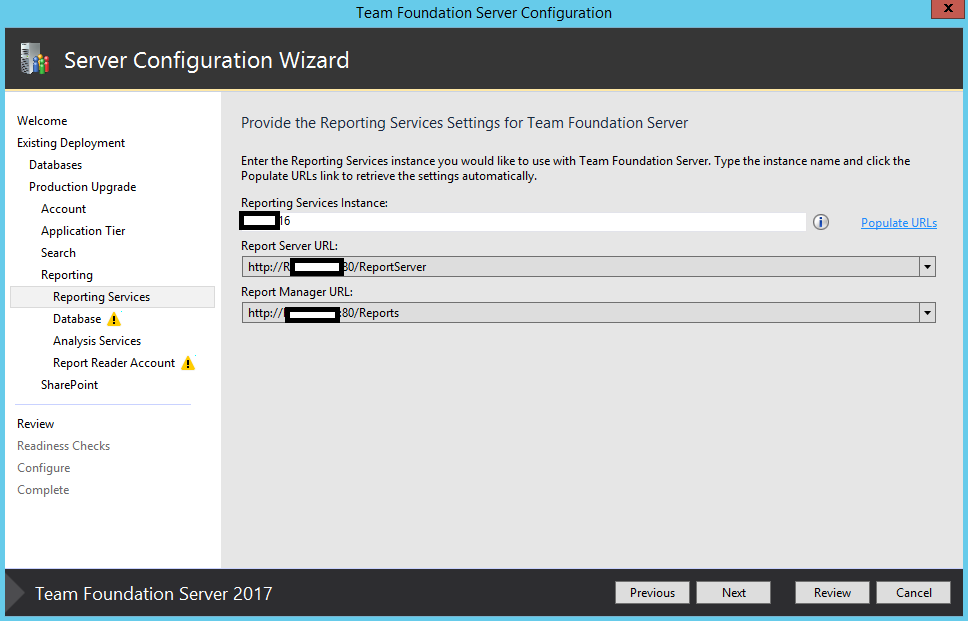
Step 9: Providing settings for Reporting services
Populate the URL for reporting service configuration and validate the URL by browsing to the URL on a browser.
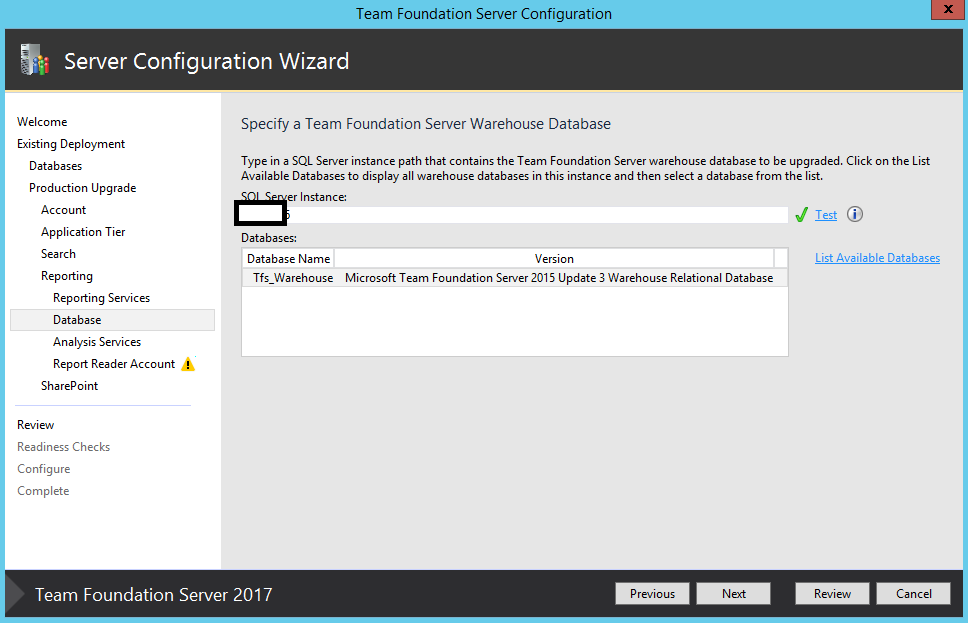
Step 10: Specifying Warehouse Database:
Click on List Available Databases hyperlink. Select the valid Warehouse database and click next.
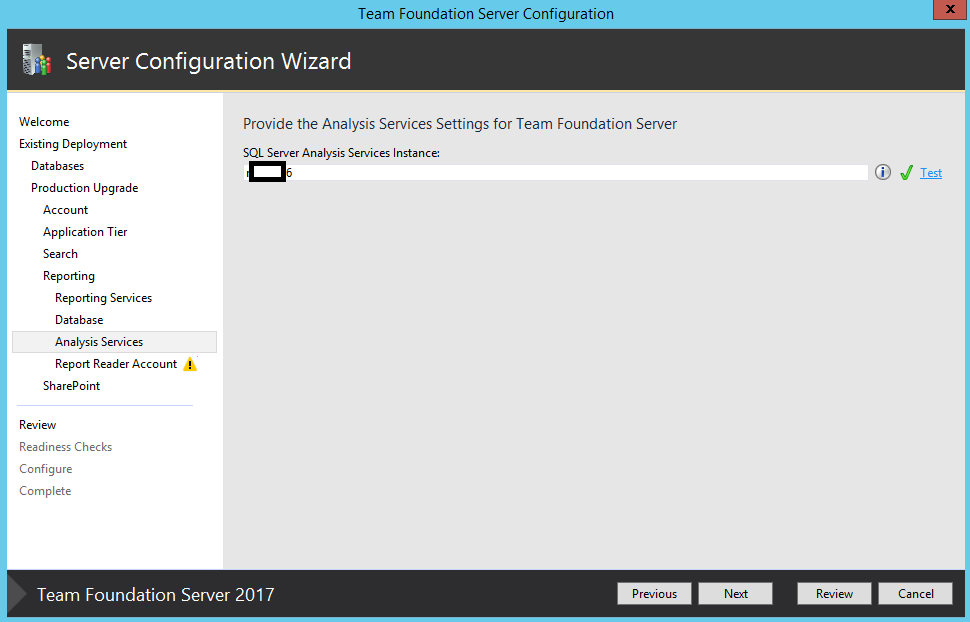
Step 11: Setting Analysis instance.
Enter analysis instance name and proceed.
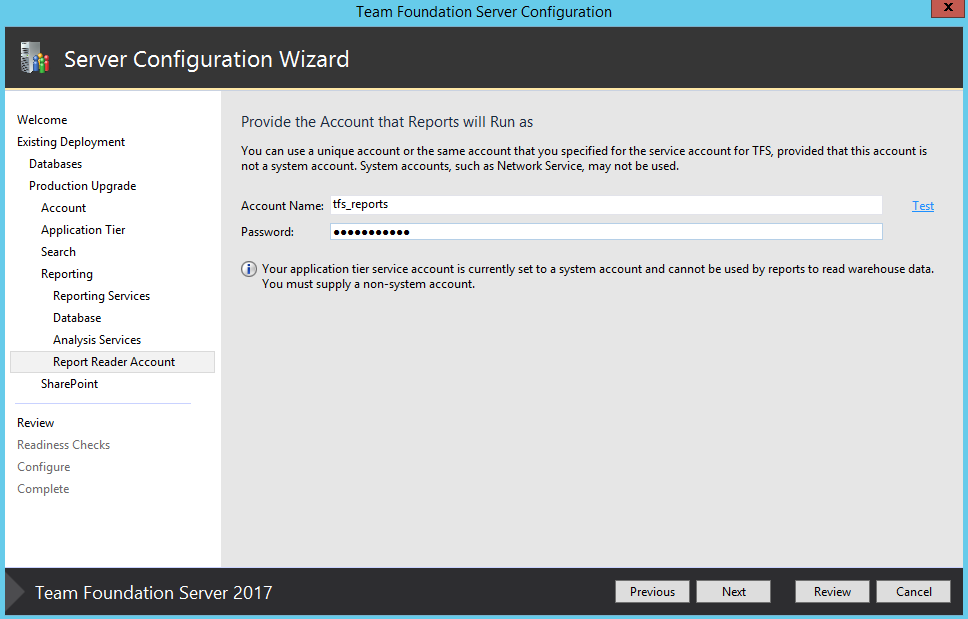
 Step 12: Setting account for reports.
If you had used Network Service as TFS Service account, then we must specify a different account here as we cannot use Network Service as TFS Reports Reader account.
Step 13: Setting for SharePoint.
Select the checkbox to integrate with SharePoint. Select default setting and proceed.
Note: If you have a remote SharePoint server, you must have the Extensions for SharePoint Products installed and configured their, prior to running this wizard. 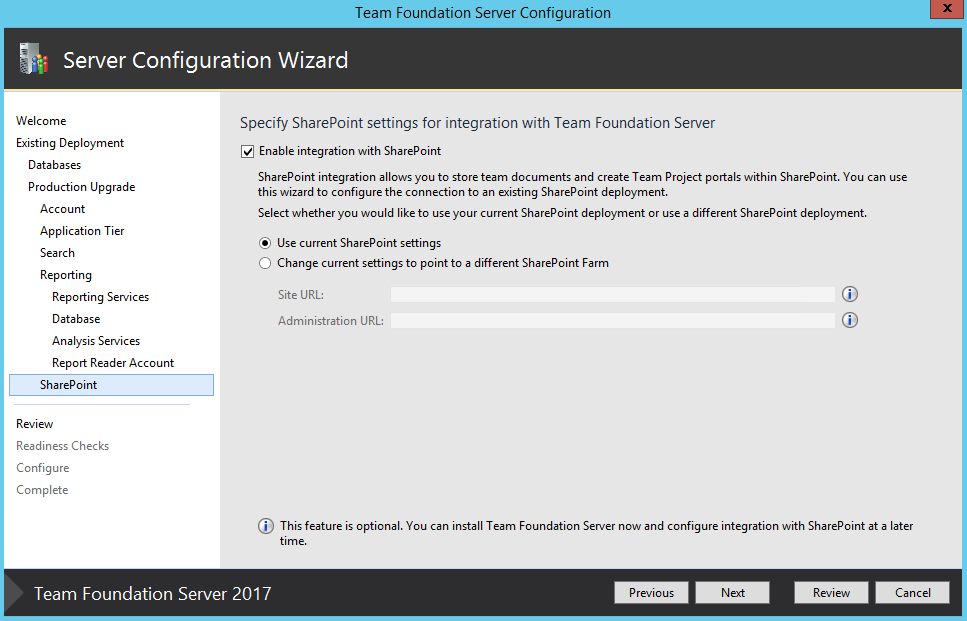
Step 14: Confirming settings
Confirm the setting before proceeding to next step.

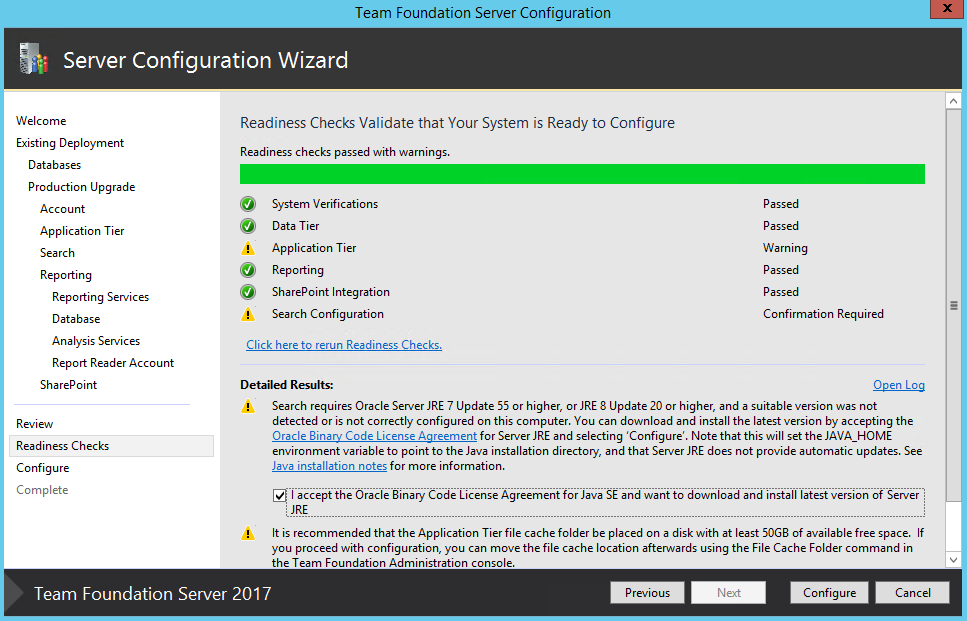
Step 15: Readiness check.
The verification process identifies errors and warnings. These errors should be fixed before proceeding further.
Note for warnings:
1. Since Elastic Search depends on Java, if you do not have Java JRE or JDK installed on the machine the wizard gives you an error during the verification process. Accept license and wizard.
2. It’s recommended to have disk space of at least 50 GB that has AT file cache folder.
 Step 16: Configuring the update.
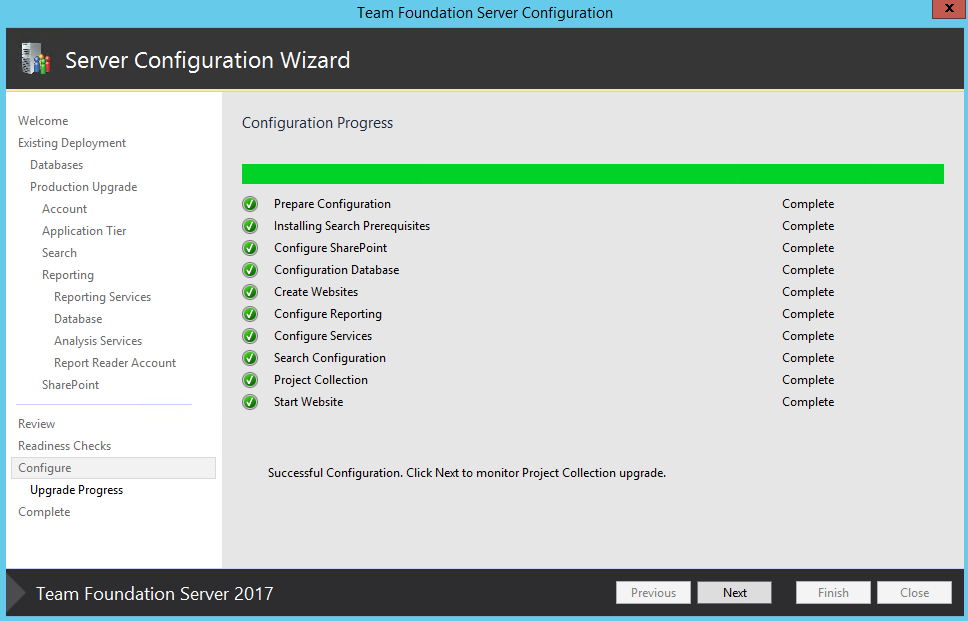
Step 17: Finishing upgrade
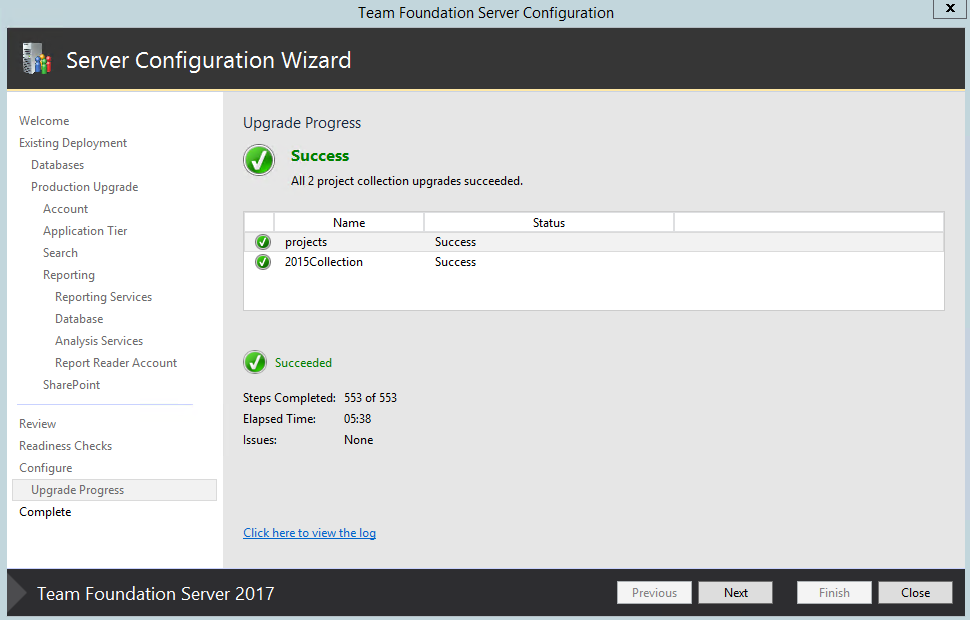
This completes the upgrade process.
For more information on new features, known issues and other details, refer this article.
Content: Ramandeep Singh
Review: Romit Gulati