How to add a Web performance test plug-in to authenticate through different proxy in Visual Studio 2015?
There could be instances you may want your test to get authenticate using a different proxy with different credentials during the web test. This post is written to help steps to create a custom web proxy Plug-in and step by step process to add it to the web performance test.
The code given is added as a separate solution attachment (WebTestPlugin) including a release build and modified using the post published by rogeorge.
using System;
using System.Collections.Generic;
using System.Linq;
using System.Text;
using System.Threading.Tasks;
using Microsoft.VisualStudio.TestTools.WebTesting;
using Microsoft.VisualStudio.TestTools.WebTesting.Rules;
using System.Net;namespace WebTestPluginNamespace
{
public class MyWebTestPlugin : WebTestPlugin
{public override void PreWebTest(object sender, PreWebTestEventArgs e)
{
// Create a WebProxy object for your proxy
WebProxy webProxy = new WebProxy("<https://yourproxy>");//Set the WebProxy so that even local addresses use the proxy
// webProxy.BypassProxyOnLocal = false;// Use this WebProxy for the Web test
e.WebTest.WebProxy = webProxy;e.WebTest.PreAuthenticate = true;
NetworkCredential proxyCredentials;proxyCredentials = new NetworkCredential();
proxyCredentials.Domain = "yourDomain";
proxyCredentials.UserName = "yourUserName";
proxyCredentials.Password = "yourPassword";
e.WebTest.WebProxy.Credentials = proxyCredentials;
}
}}
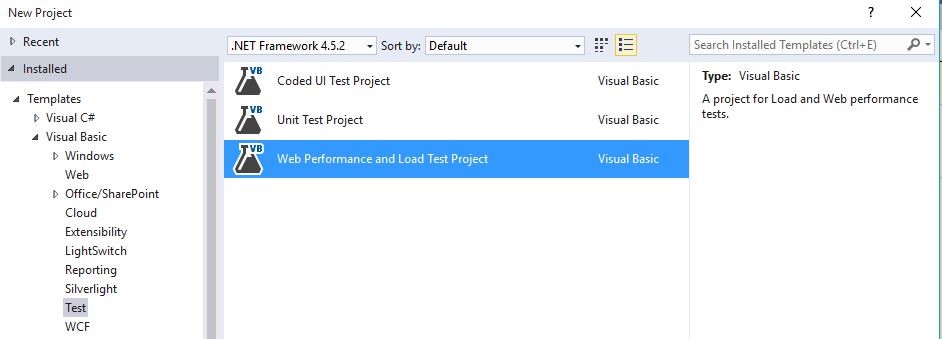
Open Visual studio, Create a new web performance test
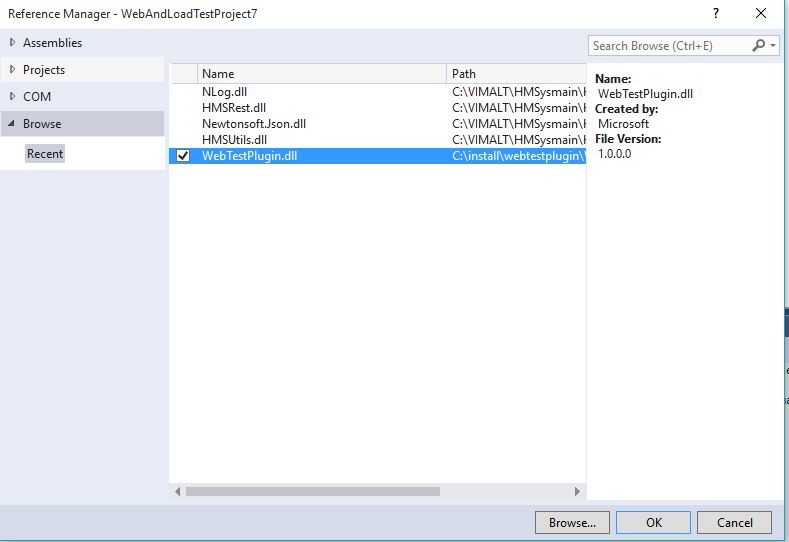
Now visit the references under solution, right click on it

Select the web test plugin reference
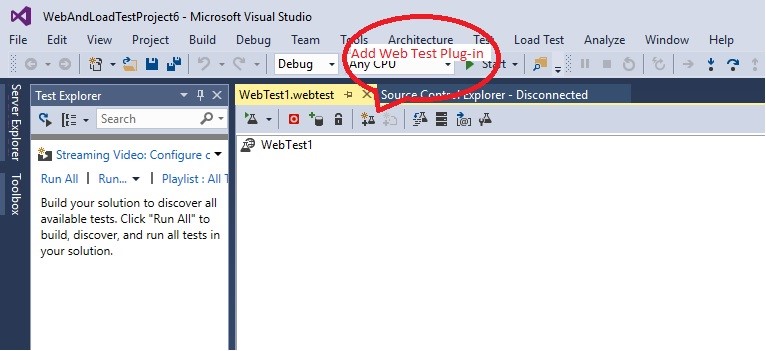
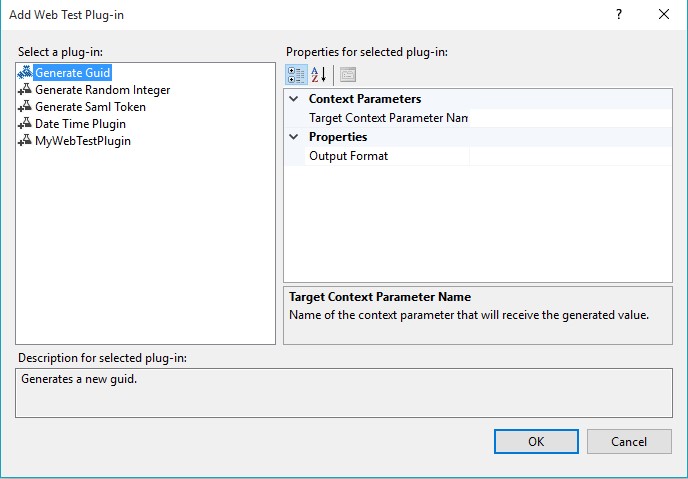
Now visit the Add Web test Plug-in dialog box using the setting below:
You will notice the web test plug-in listed.
Content : Vimal Thiagaraj