How to Create a Basic Plan Using the Service Administration Portal
This post is a part of the nine-part “ What’s New in Windows Server & System Center 2012 R2 ” series that is featured on Brad Anderson’s In the Cloud blog. Today’s blog post covers Service Administration and how it applies to the larger topic of “Transform the Datacenter.” To read that post and see the other technologies discussed, read today’s post: “ What’s New in 2012 R2: Service Provider & Tenant IaaS Experience.”
As described in that blog post, success for a service provider largely hinges on its ability to attract and retain tenants. It therefore falls to the service provider to think about how to use service offerings to draw tenants in, to consider different tactics for differentiation, upsell, and maintain healthy tenant accounts. To help service providers meet these challenges, we have invested in key enhancements to the service management experience targeting these specific areas:
- Using value based offers to attract tenants and drive new subscriptions
- Use offer differentiation & upsell to drive more consumption
- Managing tenant accounts and subscriptions
A “service provider” here could be an IT organization within a company that is providing services such as IaaS to other business units in the organization. Thus, an IT organization that operates like a service provider to other business units must create compelling service offerings in much the same way as a service provider tries to attract customers.
Overview of an IaaS Plan
Service providers can build bundles of service offerings that are termed “plans”. Plans include composable service offerings that can be assembled together in order target different types of prospective tenants. Tenants consume these service offerings by subscribing to a plan. In a very general sense, a cloud is nothing more to the tenant than a set of capabilities (“service offerings”) at some capacity (“quotas”).
To support this business model, we have designed a very easy-to-use experience for creating offers, selecting the kinds of service offerings to include and then setting the quotas to control how much can be consumed by any single subscription. But, it goes beyond a simple set of compute, storage, and networking capabilities at some quota amount!
One of the most important aspects of plan creation is the process of including library content to facilitate simplified application development. For that reason, the plan creation experience also features a way to include templates for foundational VM configurations and workloads.
Plan Creation
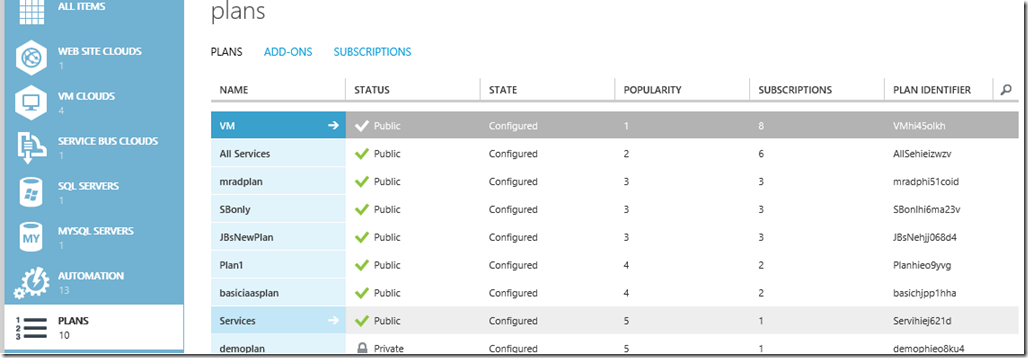
In the Service Administration portal, the left side navigation has a entry called “Plans” which lists all the plans currently in the system. As you can see in the figure below, the administrators have created many different plans. When plans are created they are “Private” by default, meaning they are not yet visible to prospective tenants.
In a quick glance, the administrator can identify which Plans are accessible by the tenants, how many subscriptions they have along with other pertinent status.
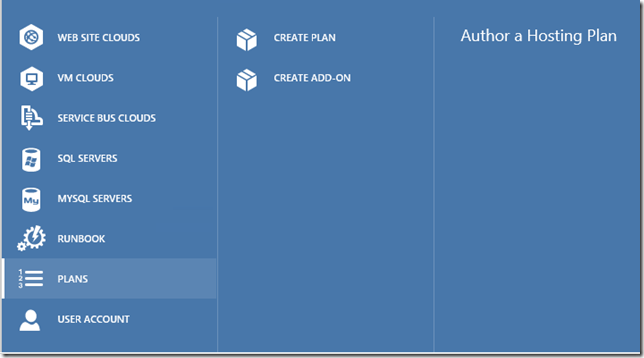
Creating a new plan is very easy and is enabled by the Quick Create experience.
Scroll down and click on New, which takes you to the Plan creation experience.
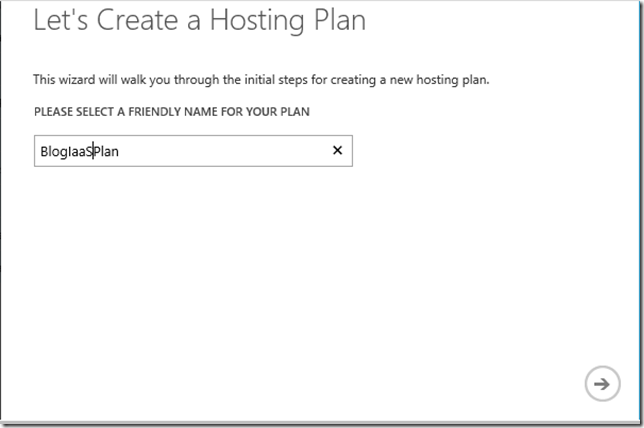
This experience enables plan creation and “plan add-ons”. We will be focusing on plan creation in this blog post. The plan creation experience is a simple wizard with just three screens. In the first screen, you give the plan a name, and in this case it is going to be called “BlogIaaSPlan” as shown in the figure below.
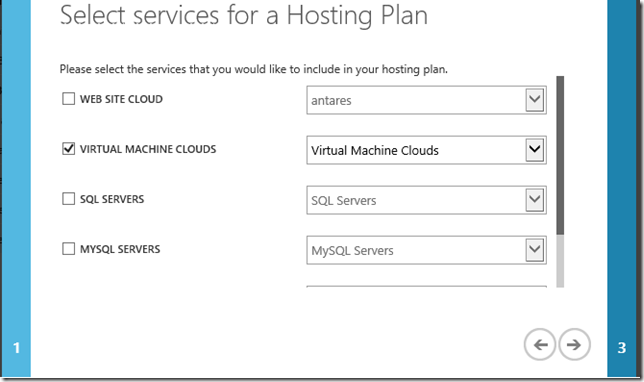
As mentioned earlier, a plan is a container of service offerings that are available in the system. This system is configured to provide VMs, web sites, SQL Server databases, and service bus services. Therefore, the plan wizard allows all of these types of services to be offered in the plan.
We will focus only on virtual machines in this blog post. In this screenshot the ‘Virtual Machine Clouds’ service is selected and ‘Virtual Machine Clouds’ is chosen from the drop down.
Skip the plan add-ons for now and click OK. That completes the plan Quick Create experience. As you can see, the BlogIaaSPlan is created and is private by default. The plan is “not configured” yet and needs to be configured before it can be made public for tenants to be able to subscribe to the plan.
Configuring the Plan
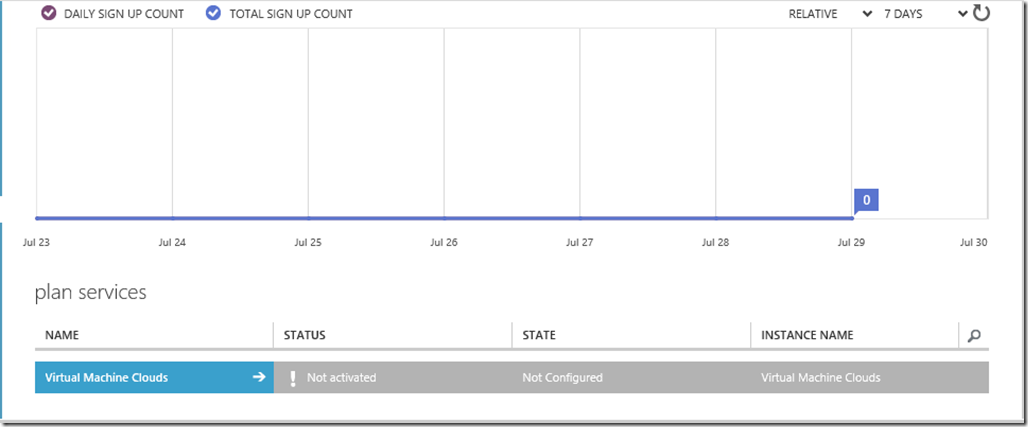
Clicking on the plan (BlogIaaSPlan) presents the plan dashboard page. This page shows the plan statistics at the top and a list of all the services that are available on the plan along with plan add-ons associated with the plan.
Since we are creating an VM only plan, we have not selected any other offer/services other than Virtual Machine Clouds.
As seen in the figure above, the Plan is not active nor configured for it to be used.
Click on ‘Virtual Machine Clouds’ to configure the plan.
Associating the Plan with a VMM Server and Cloud
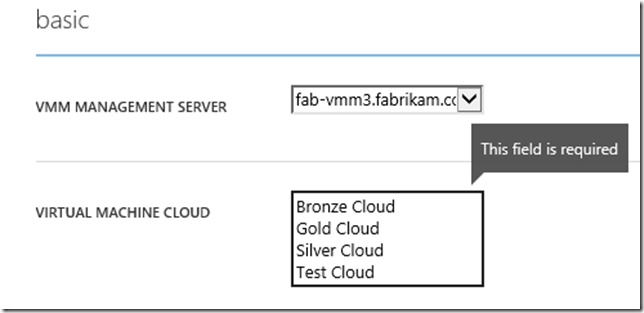
A plan that offers VM clouds is associated with a specific Virtual Machine Manager server and a Virtual Machine Manager cloud within that VMM server. When the tenant subscribes to this plan and instantiates a virtual machine, the system will deploy that VM with the specified properties on the associated cloud via the associated VMM server.
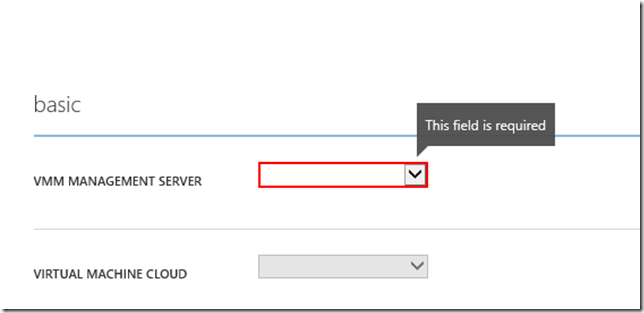 As shown in the figure to the left, the VMM server is a mandatory property that needs to be set for an IaaS plan.
As part of the service registration, the VMM server information is already available in the system. Therefore, selecting the correct VMM server is very easy.
Once a VMM server has been selected, the VMM cloud managed by that VMM server needs to be selected and bound to the plan.
As you can see in the figure, once a VMM server has been identified, the system queries the VMM server to list all the VMM clouds available on the VMM server.
We will choose the Gold Cloud to be associated with this plan.
A plan allows the administrator to bind the service to a specific cloud and controls on the upper limits on its usage.
Assigning Quota Limits to a Plan
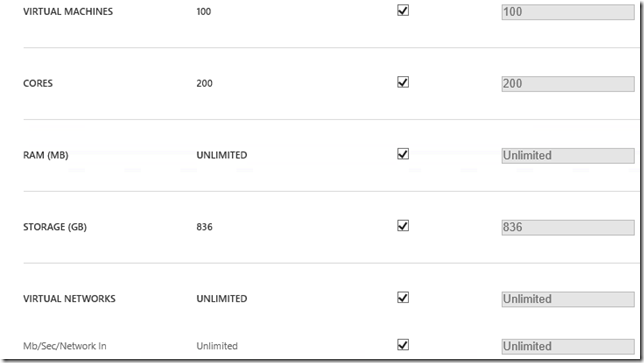
The administrator will be able to set limits on the core compute attributes such as “the maximum number of VMs, logical cores, the max memory, storage and virtual networks each subscription can have.
As you can see in this figure, you can specify absolute limits by specifying a number against each compute property to leave it unlimited, in which case it will be limited by the underlying fabric constraints.
Adding Allowed Networks to the Plan
The plan allows various cloud resources to be made available to the subscriber in a controlled manner. In this section we will go through the networks that are made available to the plan.
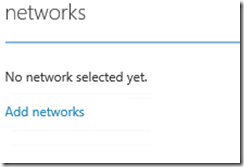
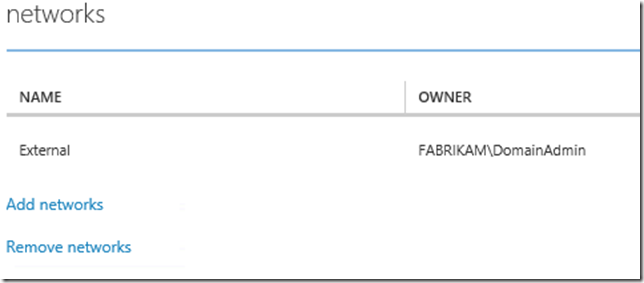
When a plan is being configured for the first time, there are no cloud resources assigned to the plan. Therefore all the cloud resources will be empty. Click on ‘Add networks’ to add networks to the plan and add the Fabrikam External network to the plan.
When a tenant subscribes to this plan, and creates a VM, the only networks available for that VM to use will be the only networks allowed by the plan and in this case, it will only be the Fabrikam External network.
Adding Other Resources
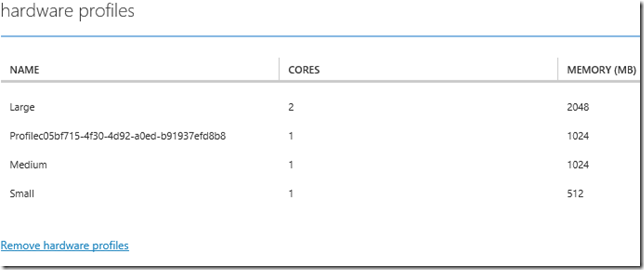
Following the same pattern as that of networks, we can specify which hardware profiles and virtual machine templates are accessible within the plan. In this plan, all the hardware profiles and only the Windows Server 2012 VM template are chosen resulting in the figures below.
With these configurations complete, the plan is ready to be subscribed to by tenants. Advanced scenarios such as the gallery and other settings will be discussed in later blogs.
Next the plan needs to be made it public so that it can be discovered and subscribed to by tenants.
Plan Activation
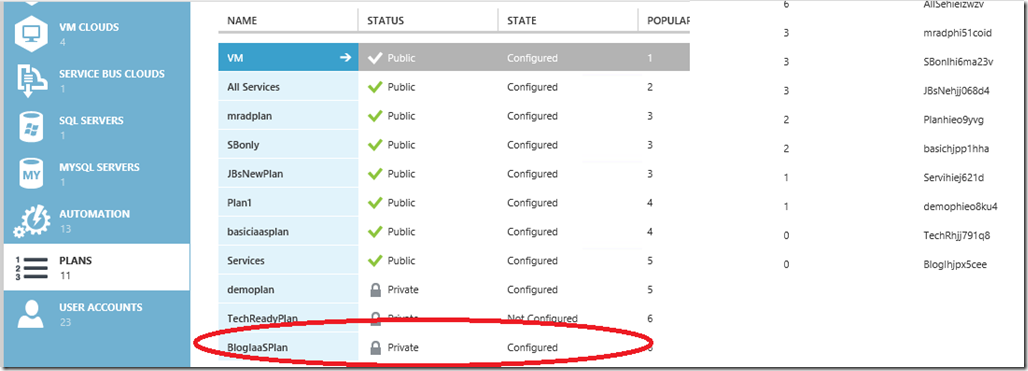
Go back to the Plans List view to see all the plans. As you can see in the figure below, the plan is now configured, but still private.
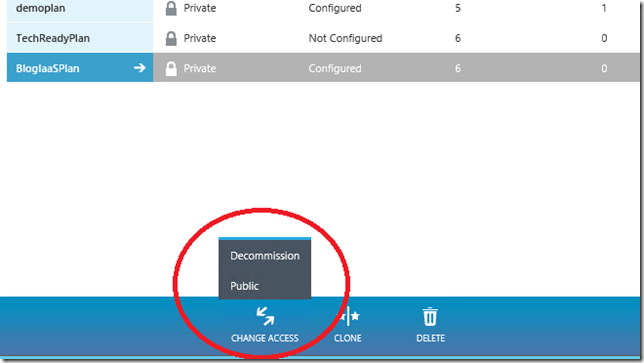
Select the BlogIaaSPlan and then make it public by changing its access privileges. As shown in the Figure below, you can see do it from the Change Access command
The plan status will change to reflect the fact it’s now a publicly accessible plan. You can see that in the Plans view as shown in the figure below.
Once the plan is made public it can be subscribed to and tenants can start to deploy virtual machines against the subscription.
Conclusion
In subsequent blogs, we will provide more details of creating advanced plans.
To see all of the posts in this series, check out the What’s New in Windows Server & System Center 2012 R2 archive.
