Visual Studio Emulator for Android - Microsoft Intune Enrollment
In a previous post, I had described how to spin up an Android virtual machine using Hyper-V through installing an ISO - however, the Android virtual machines were always very slow and unreliable. Microsoft now has a Visual Studio Emulator for Android which allows you very easily spin up an emulator without installing through an ISO, which you can download from here https://www.visualstudio.com/vs/msft-android-emulator.
Here are the prerequisites (you don't actually need to have Visual Studio installed! )
System requirements
- Hyper-V support (see Hyper-V requirements below)
- 6 GB or more of RAM.
- 64-bit version of the Pro edition of Windows 8, Windows 8.1, Windows10 or higher
- A processor that supports SSSE3 or later.
Network requirements
- DHCP
- Automatically configured DNS and gateway settings
Hyper-V requirements
- In the BIOS, the following features must be supported:
- Hardware-assisted virtualization
- Second Level Address Translation (SLAT)
- Hardware-based Data Execution Prevention (DEP)
- In Windows, Hyper-V must be enabled and running.
- You have to be a member of the local Hyper-V Administrators group.
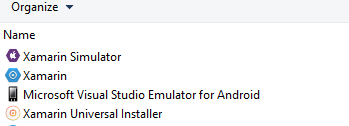
After running the installer, you’ll see a new entry in Control Panel called ‘Microsoft Visual Studio Emulator for Android’
Open up the Visual Studio Emulator for Android - you will see default Device Profiles included in the emulator.
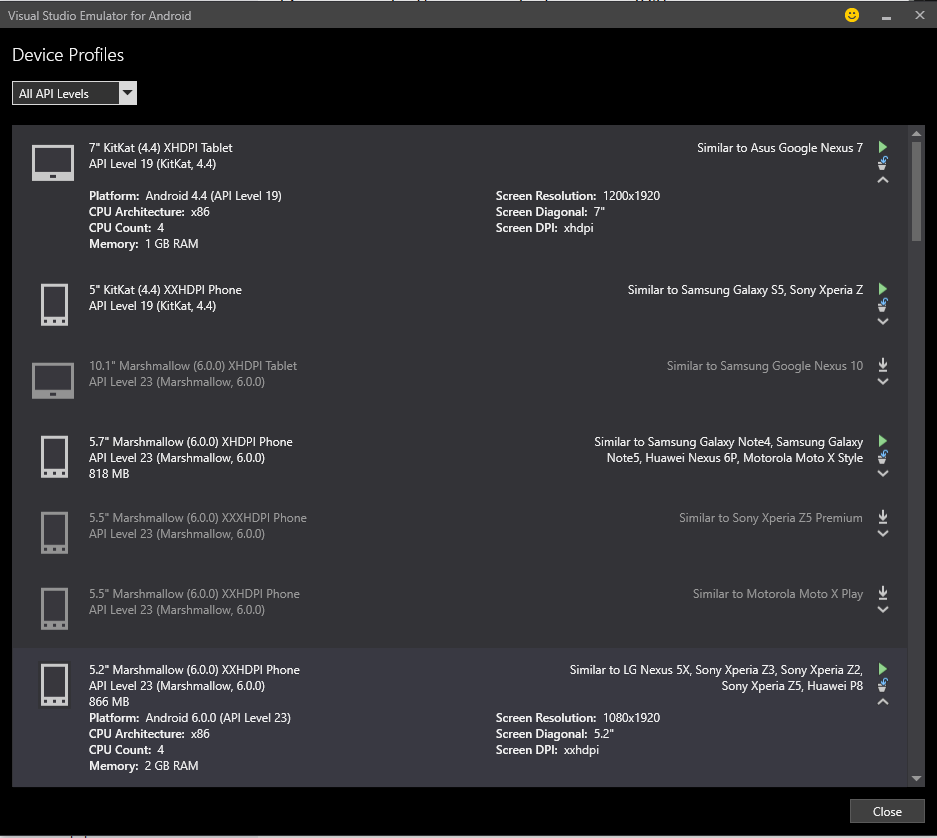
Now let’s look at how to get an emulator provisioned. Choose a device profile that you would like to test on – in this example we will use the 5.1” Marshmallow (6.0.0) XXHDPI Phone 
Click on the download button on the right, which will start the virtual machine configuration.

At some point during this provisioning process, you’ll see a new virtual machine entry in Hyper-V for this Android emulator.
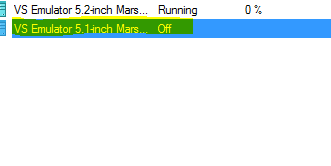
Once the Android emulator has been configured, you’ll see a green Launch button.

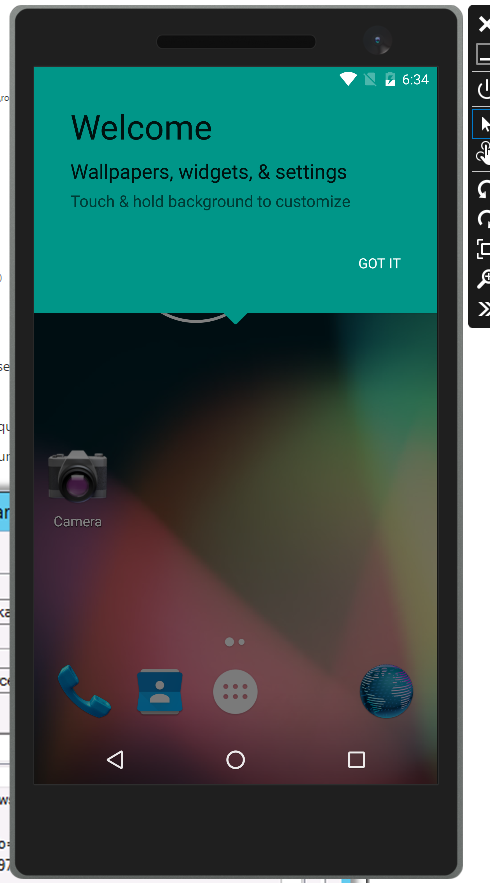
This will prepare the virtual machine that runs the emulator, and you will see a new window launched on the desktop with the emulator


That’s it! Your Android emulator is now ready to go
In this case I want to use this emulator to test EMS(Intune, Azure Information Protection, Azure MFA, etc), but you can also use this emulator to test any type of development or debugging.
The next thing that you will want to do to get full functionality is 1)verify that your emulator has internet access by attached an external network adapter in Hyper-V, and 2)install GApps aka Google Play Services in order to get a full Android experience.
Also, make sure you have the Android SDK Tools (https://developer.android.com/studio/index.html) prior to running through the steps below, or you will see an error regarding the ADB not found on the machine
To start, download the correct GApps for the Android version you are running from https://www.teamandroid.com/gapps

Note: Make sure you have the Android SDK Tools (https://developer.android.com/studio/index.html) prior to running through the steps below, or you will see an error regarding the ADB not found on the machine
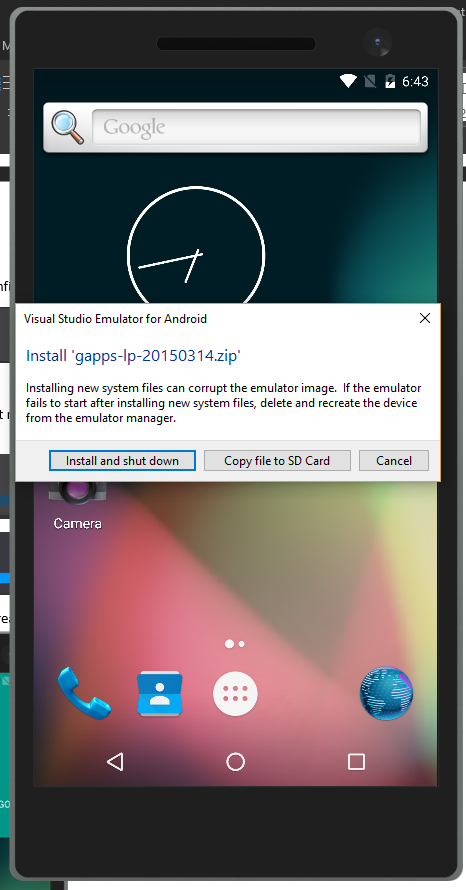
After you have downloaded the Gapps package, you should be able to drag & drop that to the emulator.
Click Install and shut down.
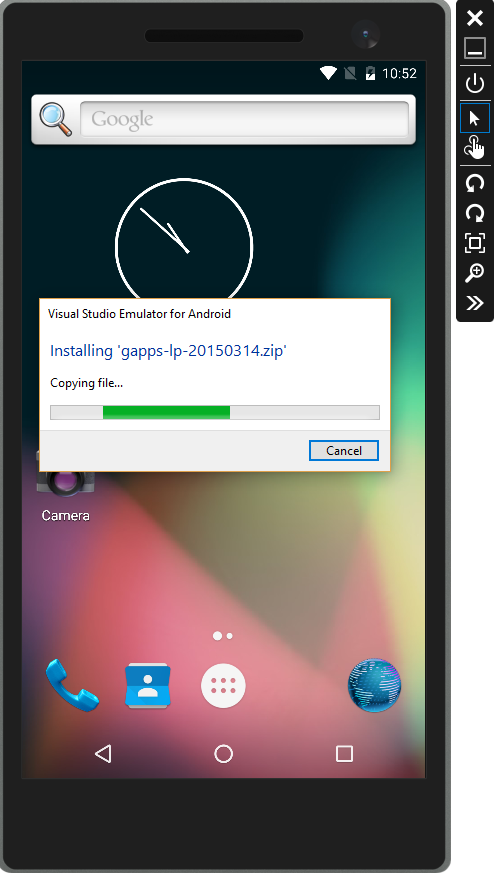
The Gapps package will start to install
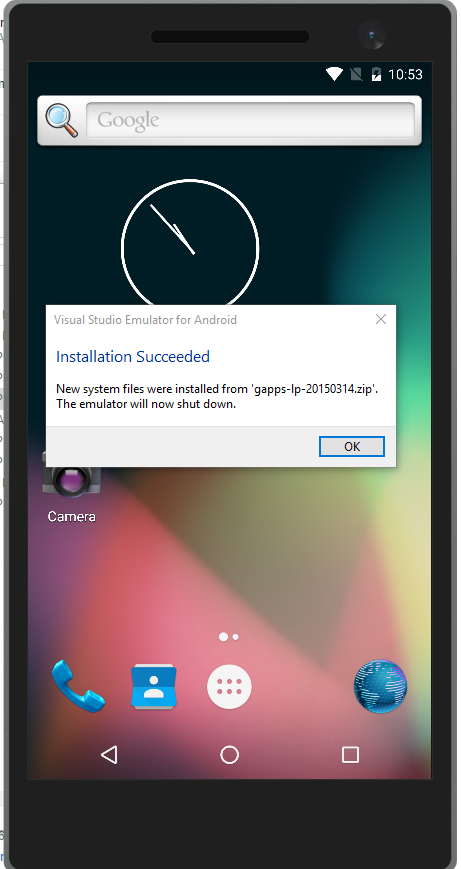
Once the install is successful, hit OK – the emulator will shut down and you can restart it again through the Visual Studio Emulator for Android manager.
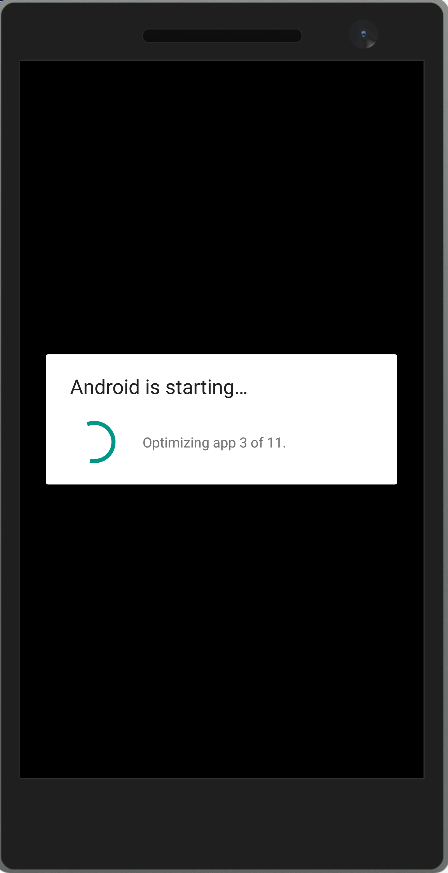
The default applications will be installed for the corresponding version of Android – once those are done being optimized for the version of Android running on the emulator, you should see the Play Store in the list of applications.

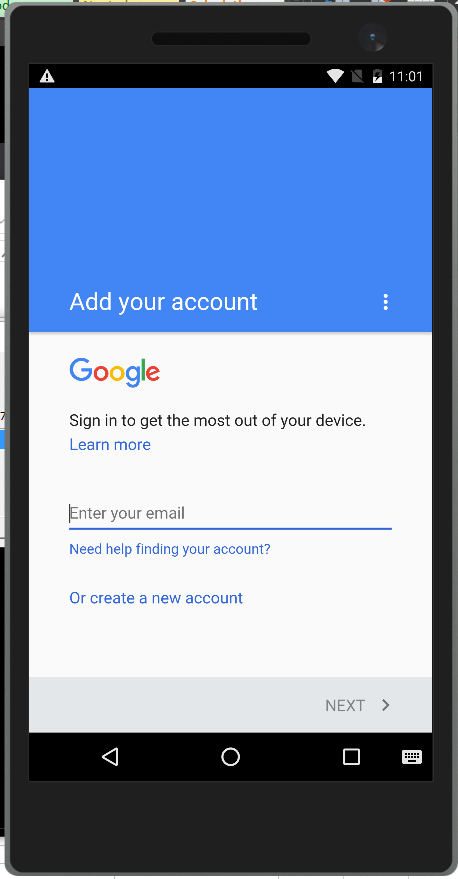
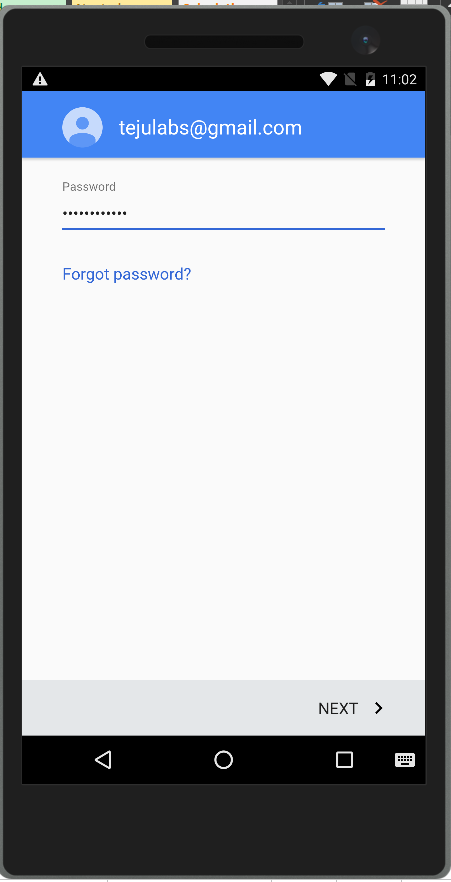
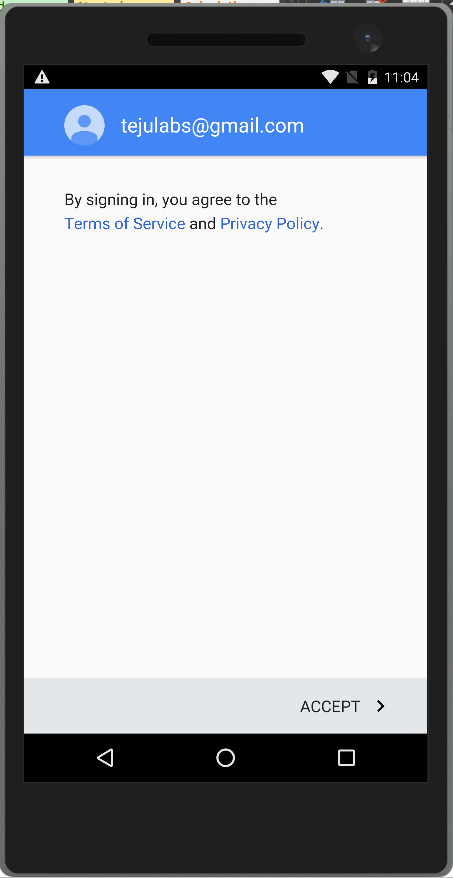
You can now add your Google account to download apps from the Play Store (assuming the emulator is connected to a virtual switch with internet connection).

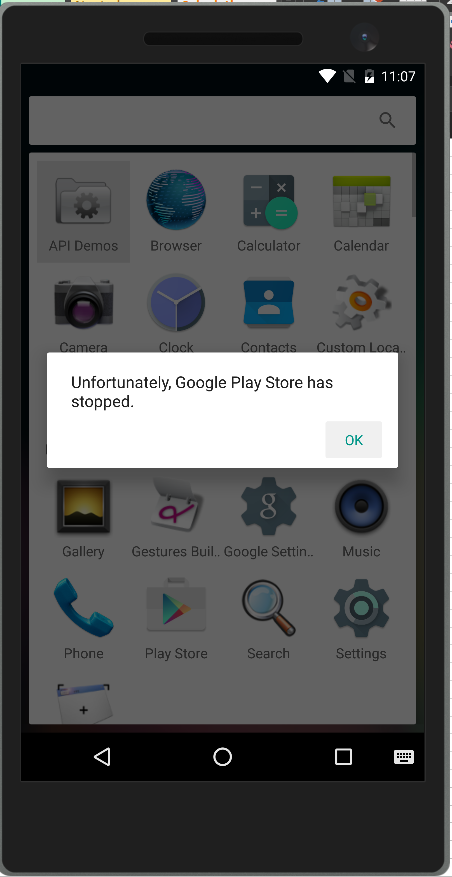
If you see an error message which says the Google Play Store has stopped – this is usually expected after the initial Gapps package install and can be ignored.
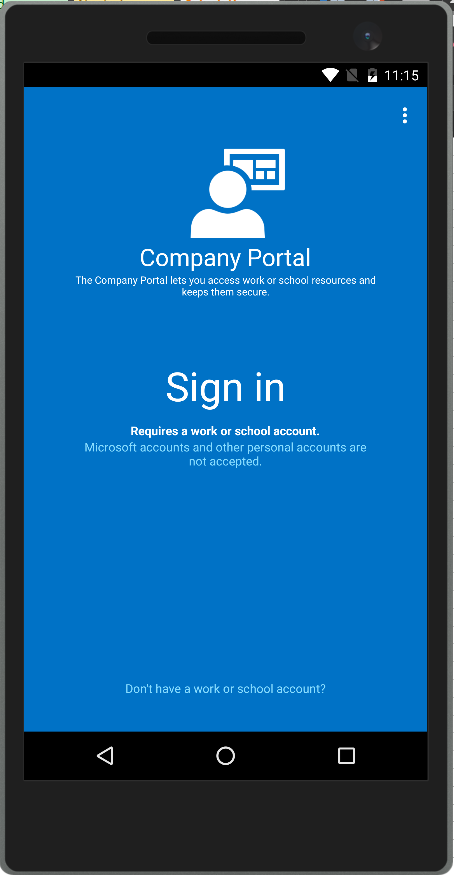
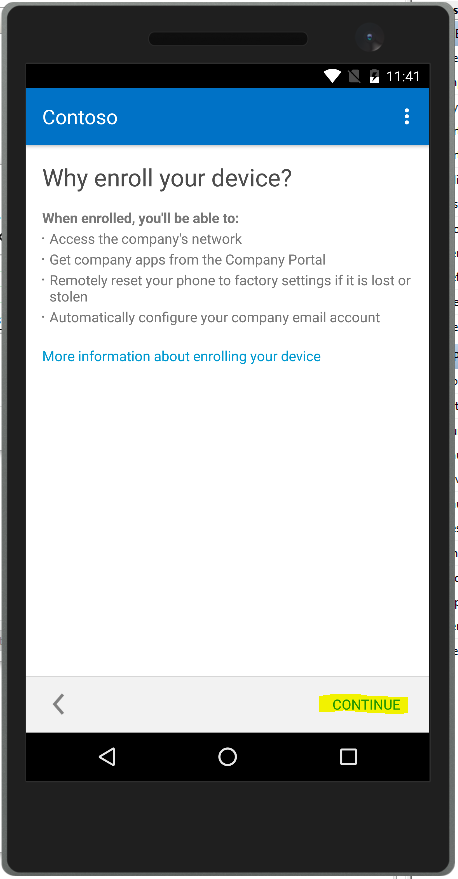
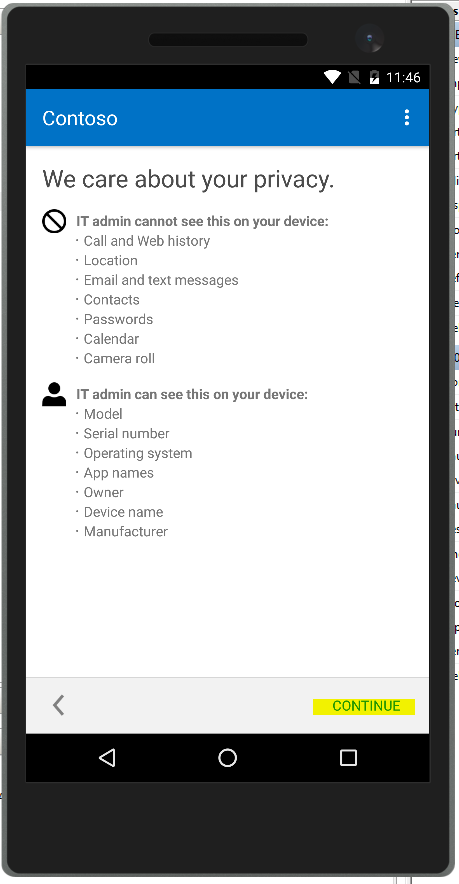
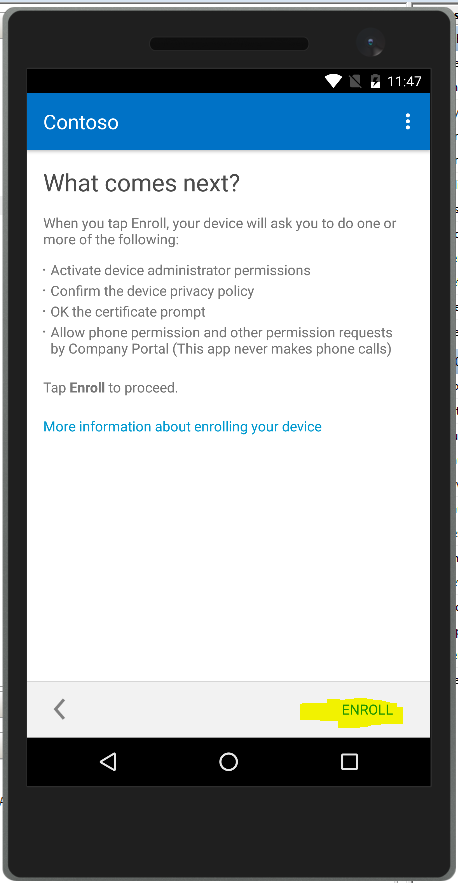
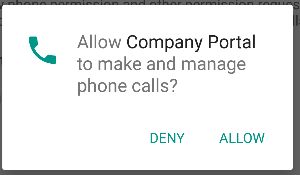
Now we can enroll this device to Microsoft Intune.
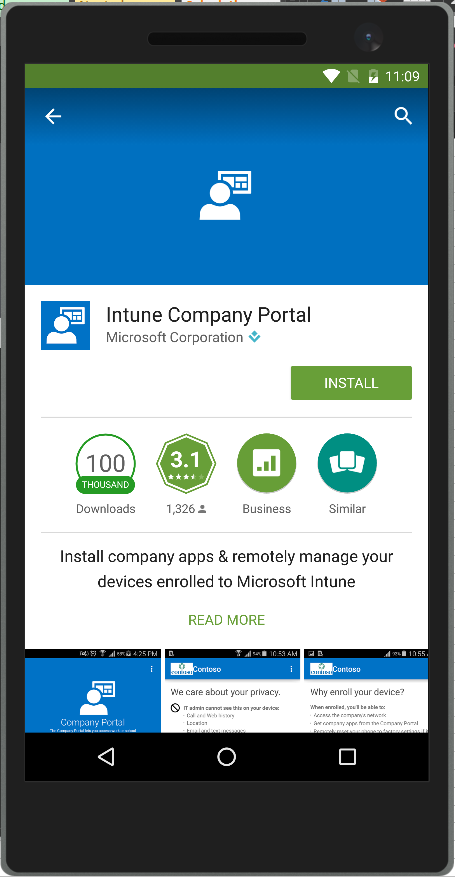
Search for the Intune Company Portal application in the Google Play store and Install.
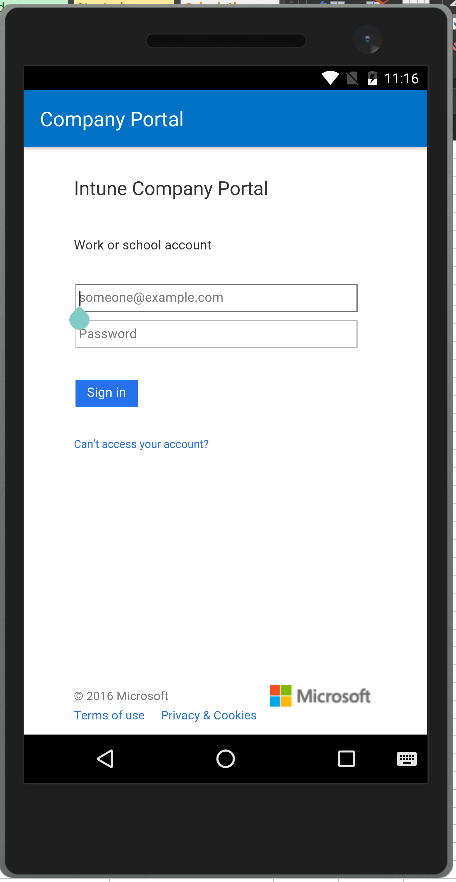
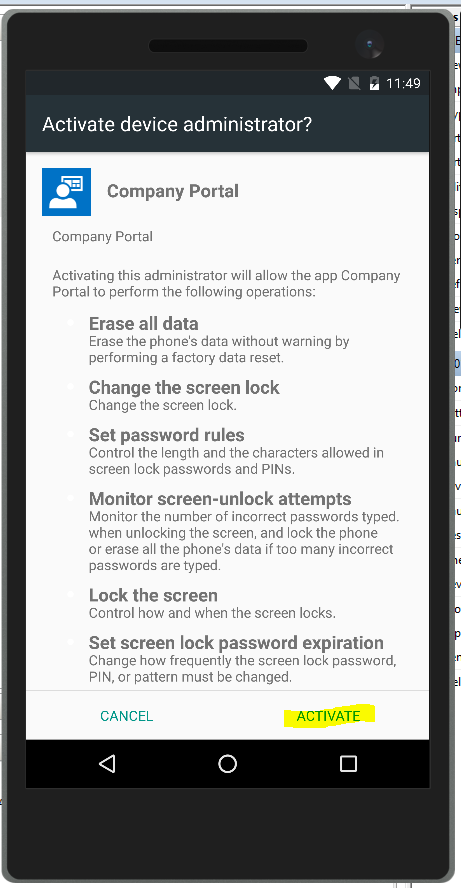
Sign into the Company Portal application using credentials that have been synchronized to Azure AD.
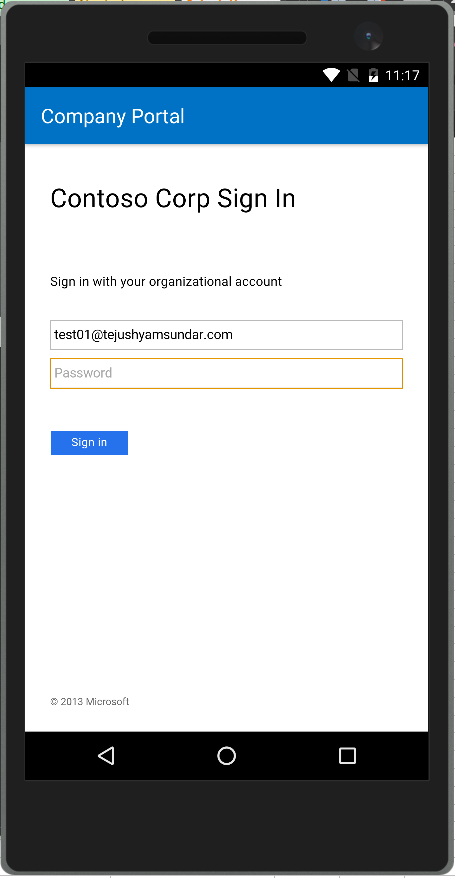
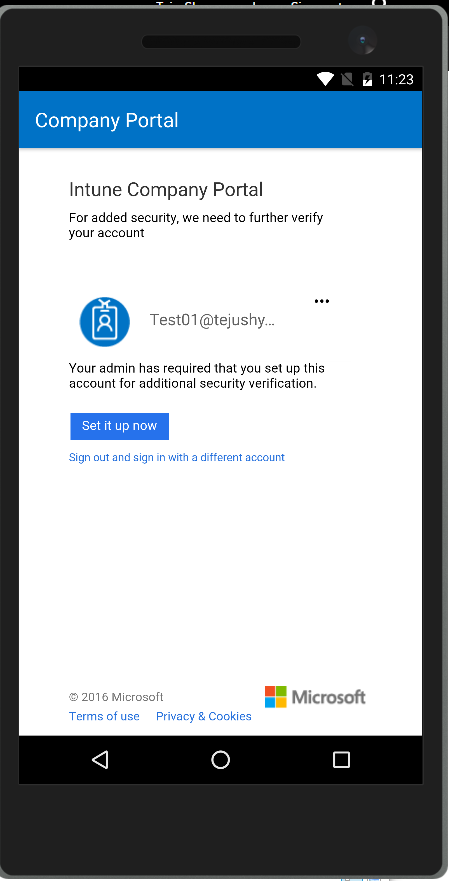
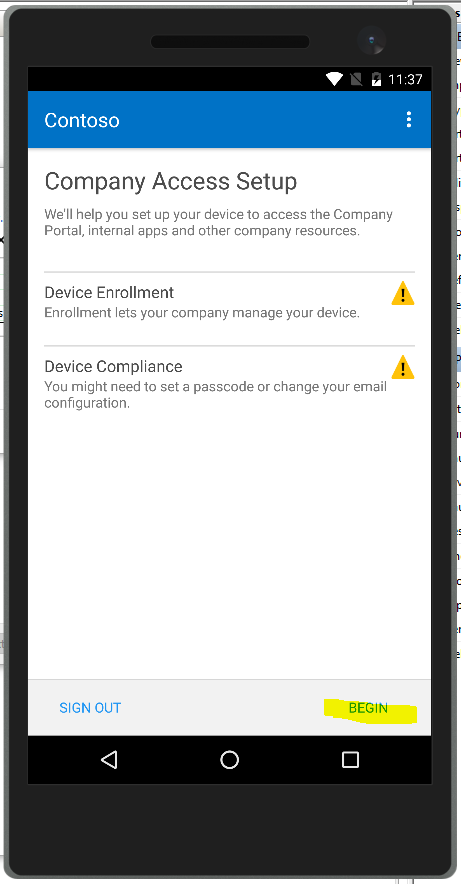
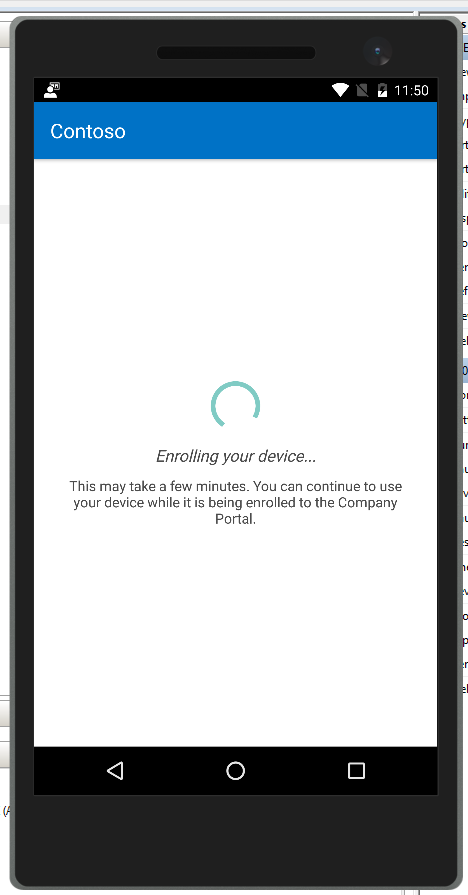
After entering user name/password and MFA authentication (if required), you will see the Company Access Setup page.
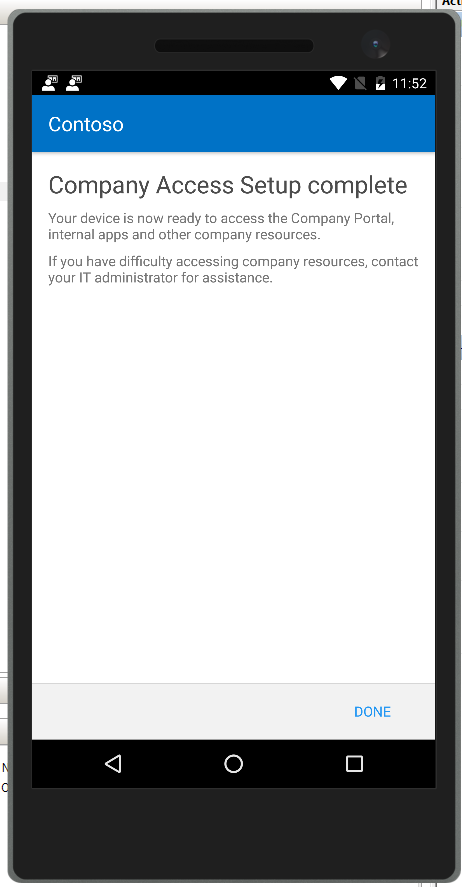
Once your device is enrolled, you will start to see any policies that have been pushed via Intune come down to the device.
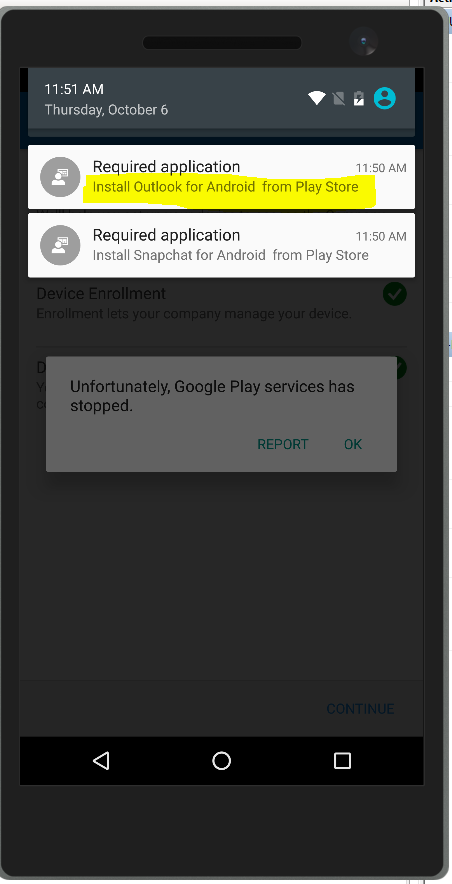
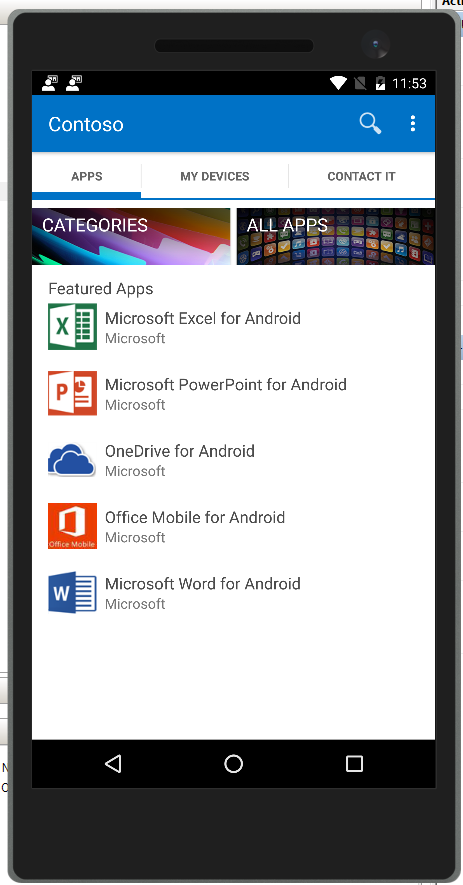
You’ll also see deployed applications in the Company Portal app, along with any other devices that have been enrolled to Intune under the same user name.
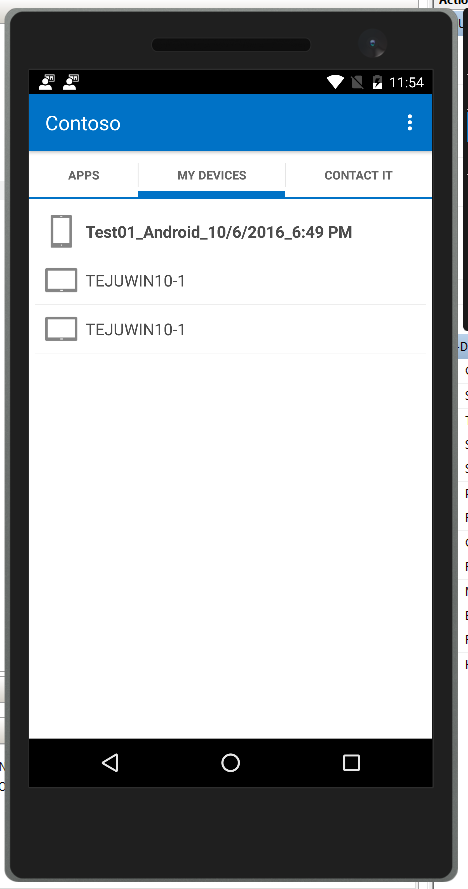
Now head over to the Intune portal and you will see the Android emulator listed as an enrolled device

hope this was helpful, please add your comments and good luck using the Visual Studio Emulator for Android!