Install Windows 10 IoT on Raspberry Pi 3
Windows 10 IoT Core is a version of Windows 10 that is optimized for smaller devices with or without a display, and that runs on the Raspberry Pi 2 and 3, Arrow DragonBoard 410c & MinnowBoard MAX. Windows 10 IoT Core utilizes the rich, extensible Universal Windows Platform (UWP) API for building great solutions. If you're new to Windows 10 IoT, this post will go through how to get Windows 10 IoT installed on a Raspberry Pi 3.
For more information on the Windows 10 IoT core platform, check out this post.
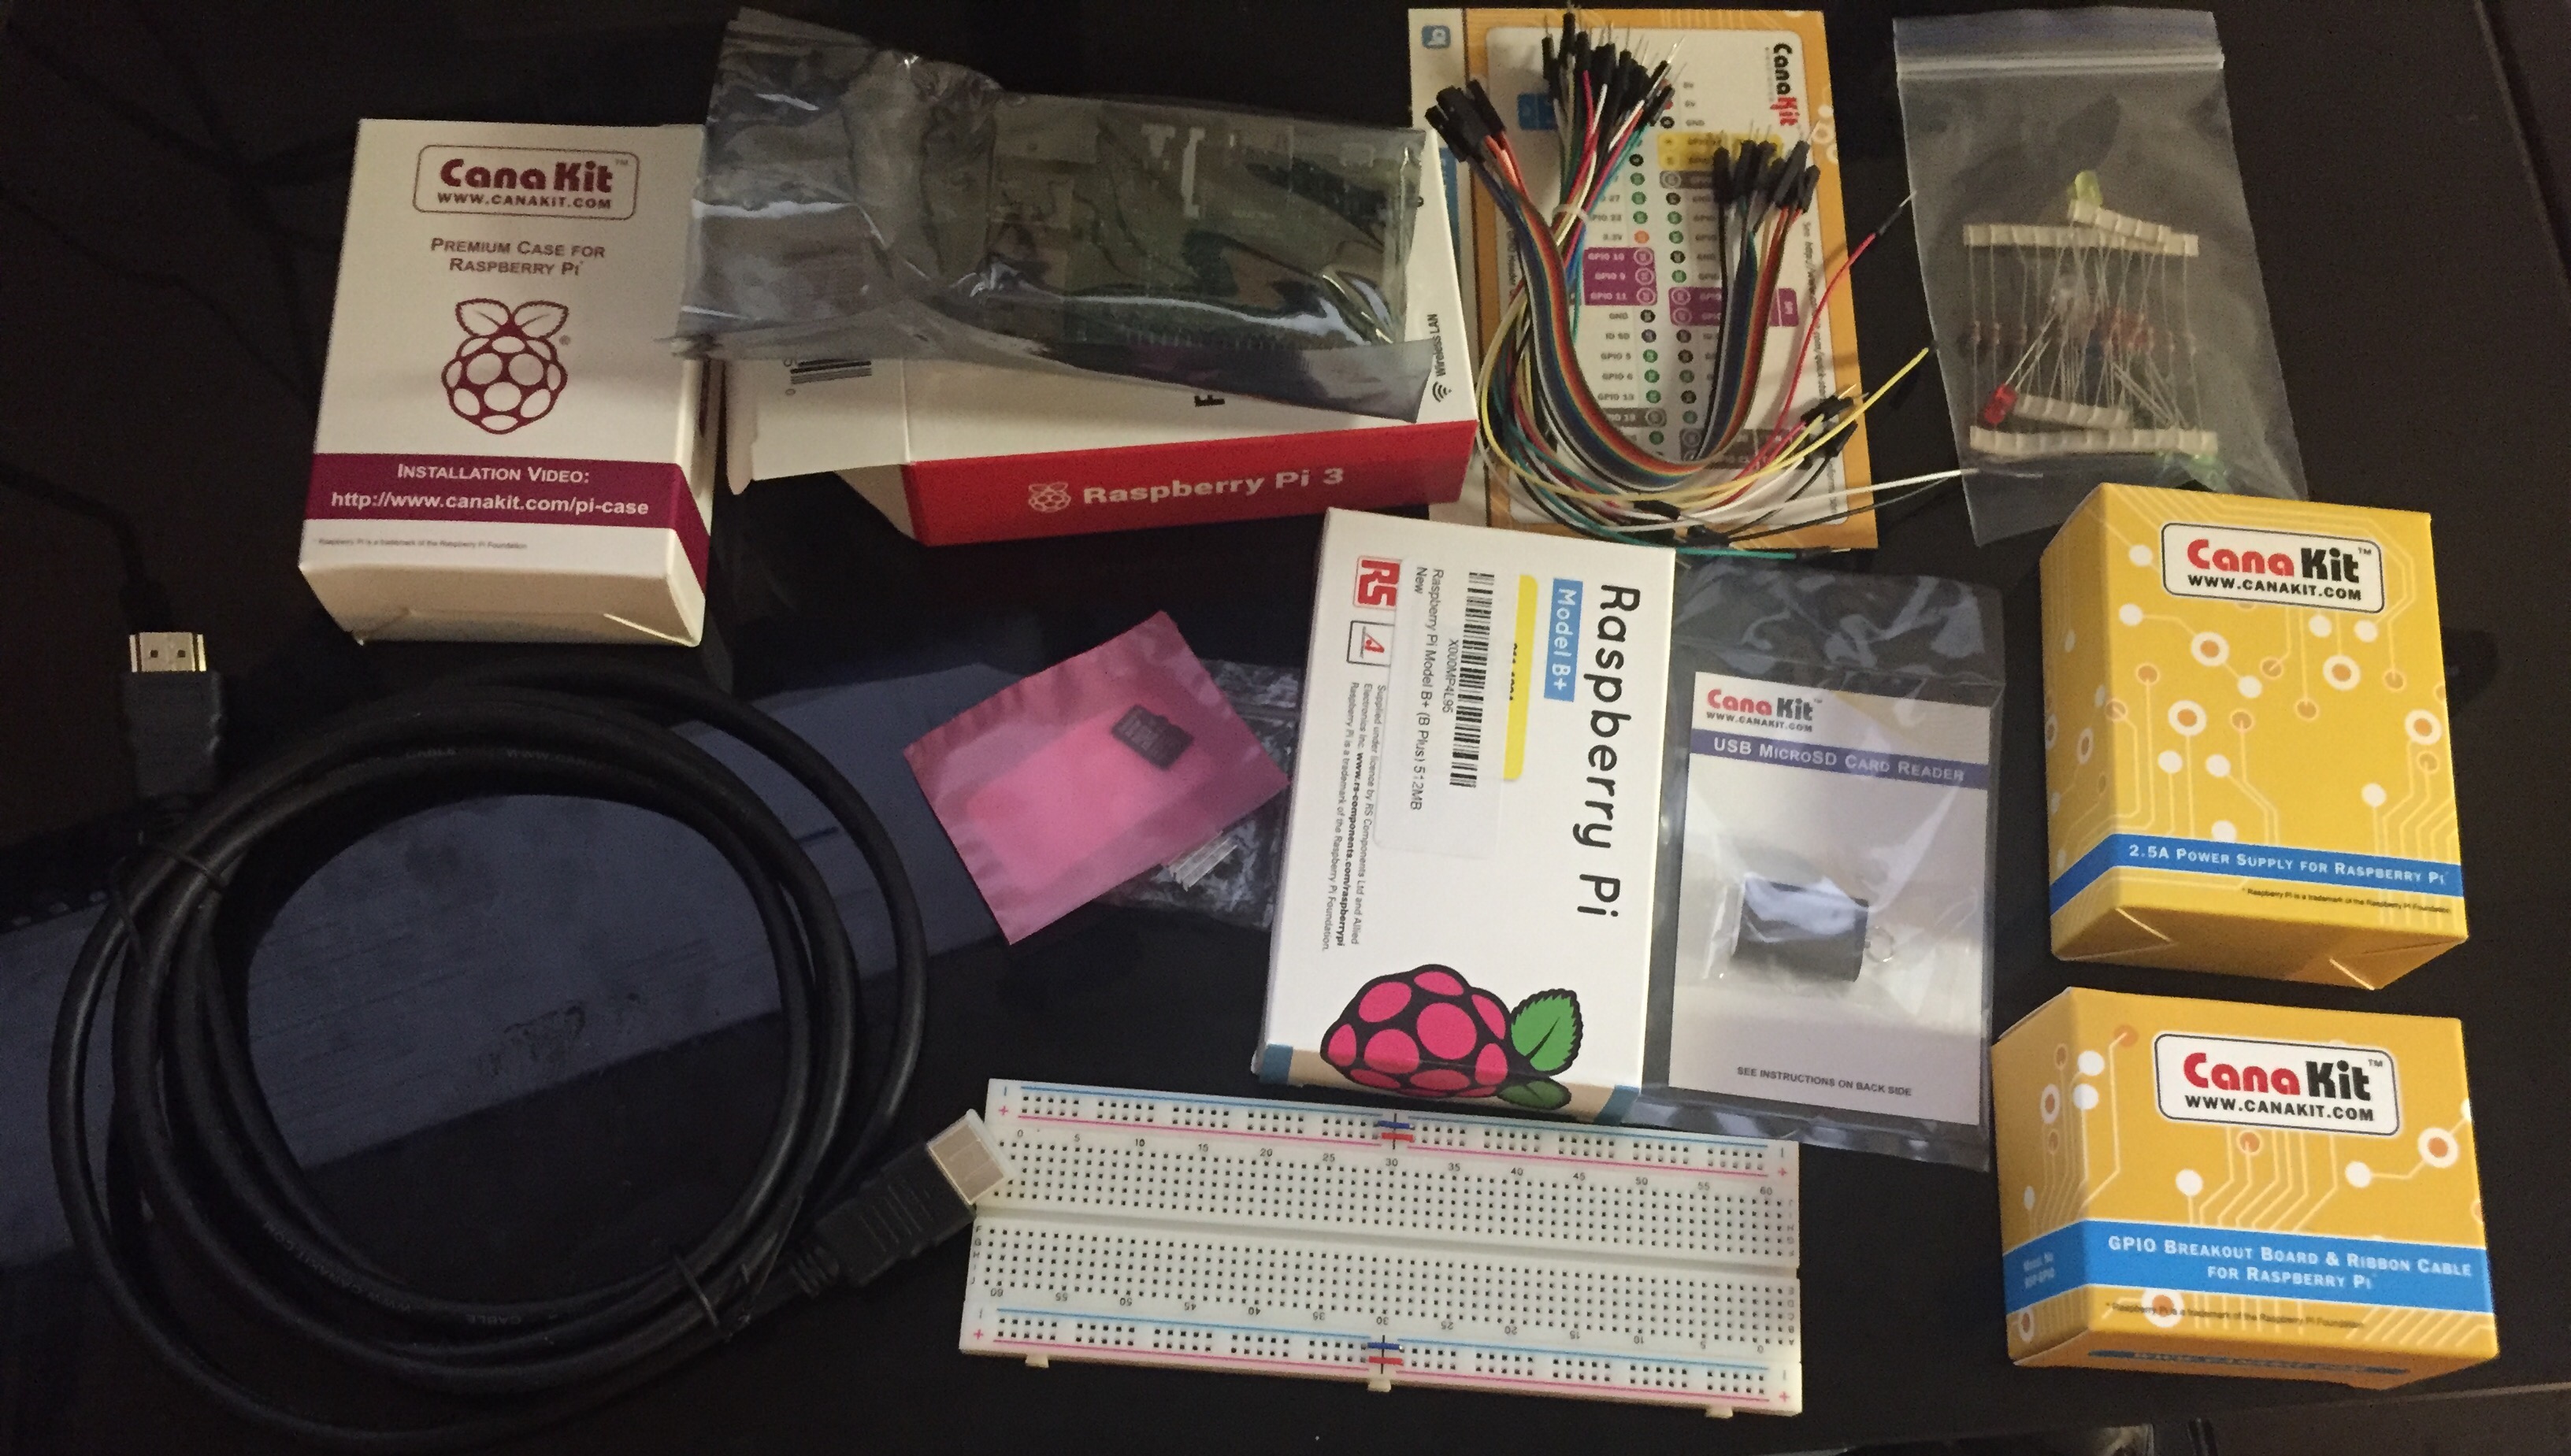
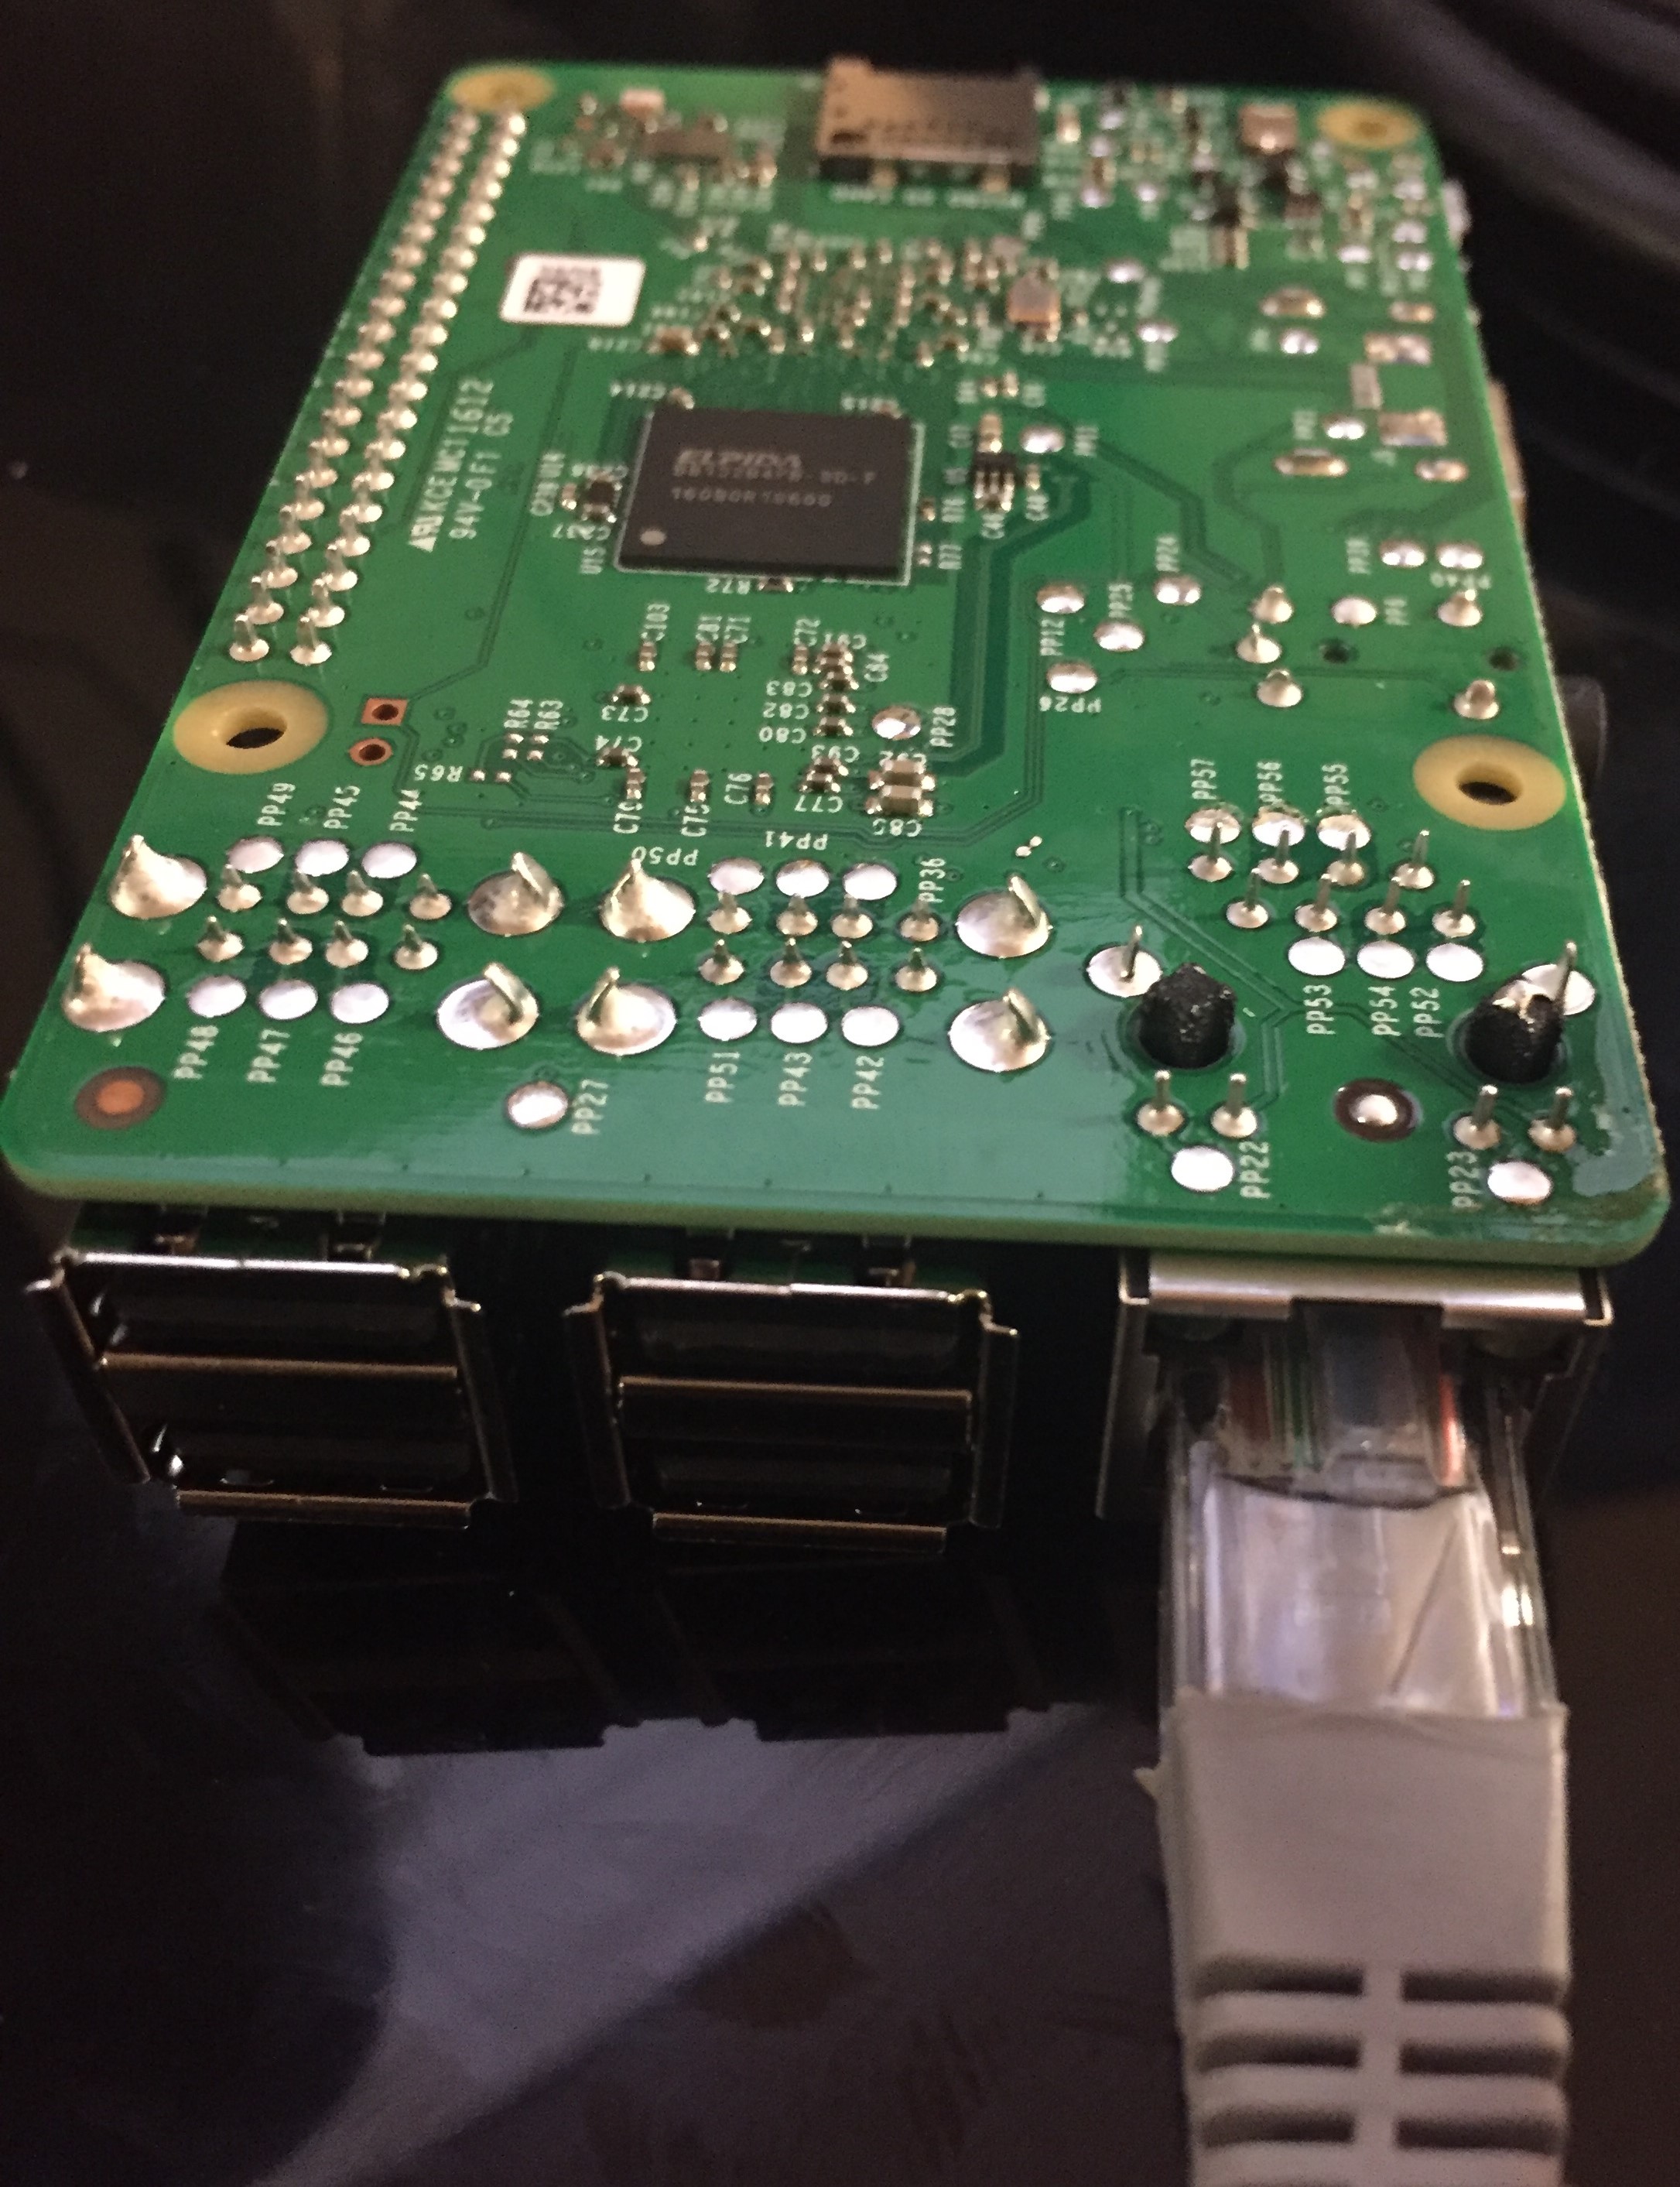
There are a lot of different kits out there that will help you to get started with the essentials - I found that this one is a good starter kit. It comes with all the stuff in the picture below and includes all the basics.
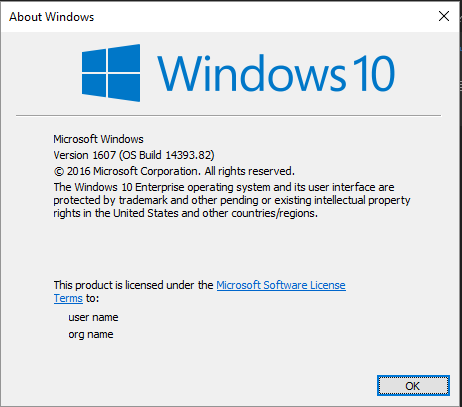
Before getting started, make sure you are running Windows 10 1507 (version 10.0.10240) or later. In this case, I am using the Windows 10 Anniversary Update.
You can easily find your build number by right clicking on the Start Menu – Run – type ‘winver’
Next, download the Windows 10 IoT Core Dashboard from here.
Now that we have our prereqs ready to go, we are ready to setup our device.
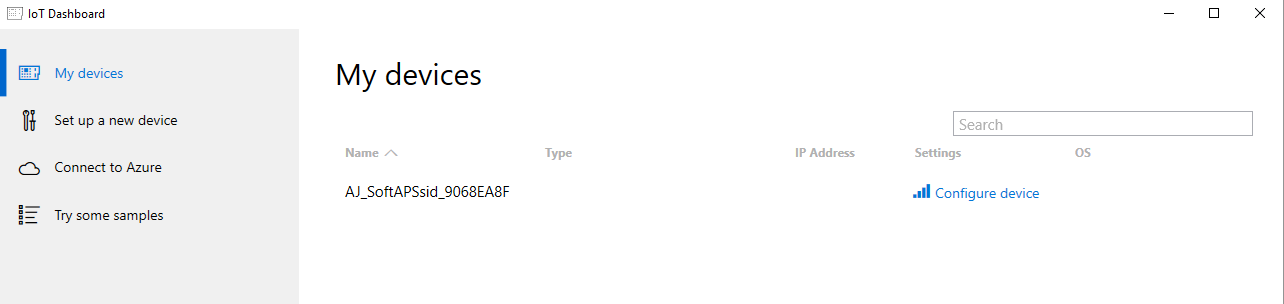
Open up the Windows 10 IoT Core dashboard, and click on Setup a new Device. 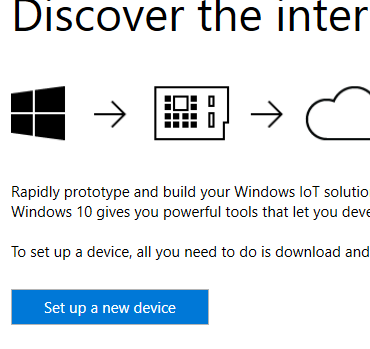
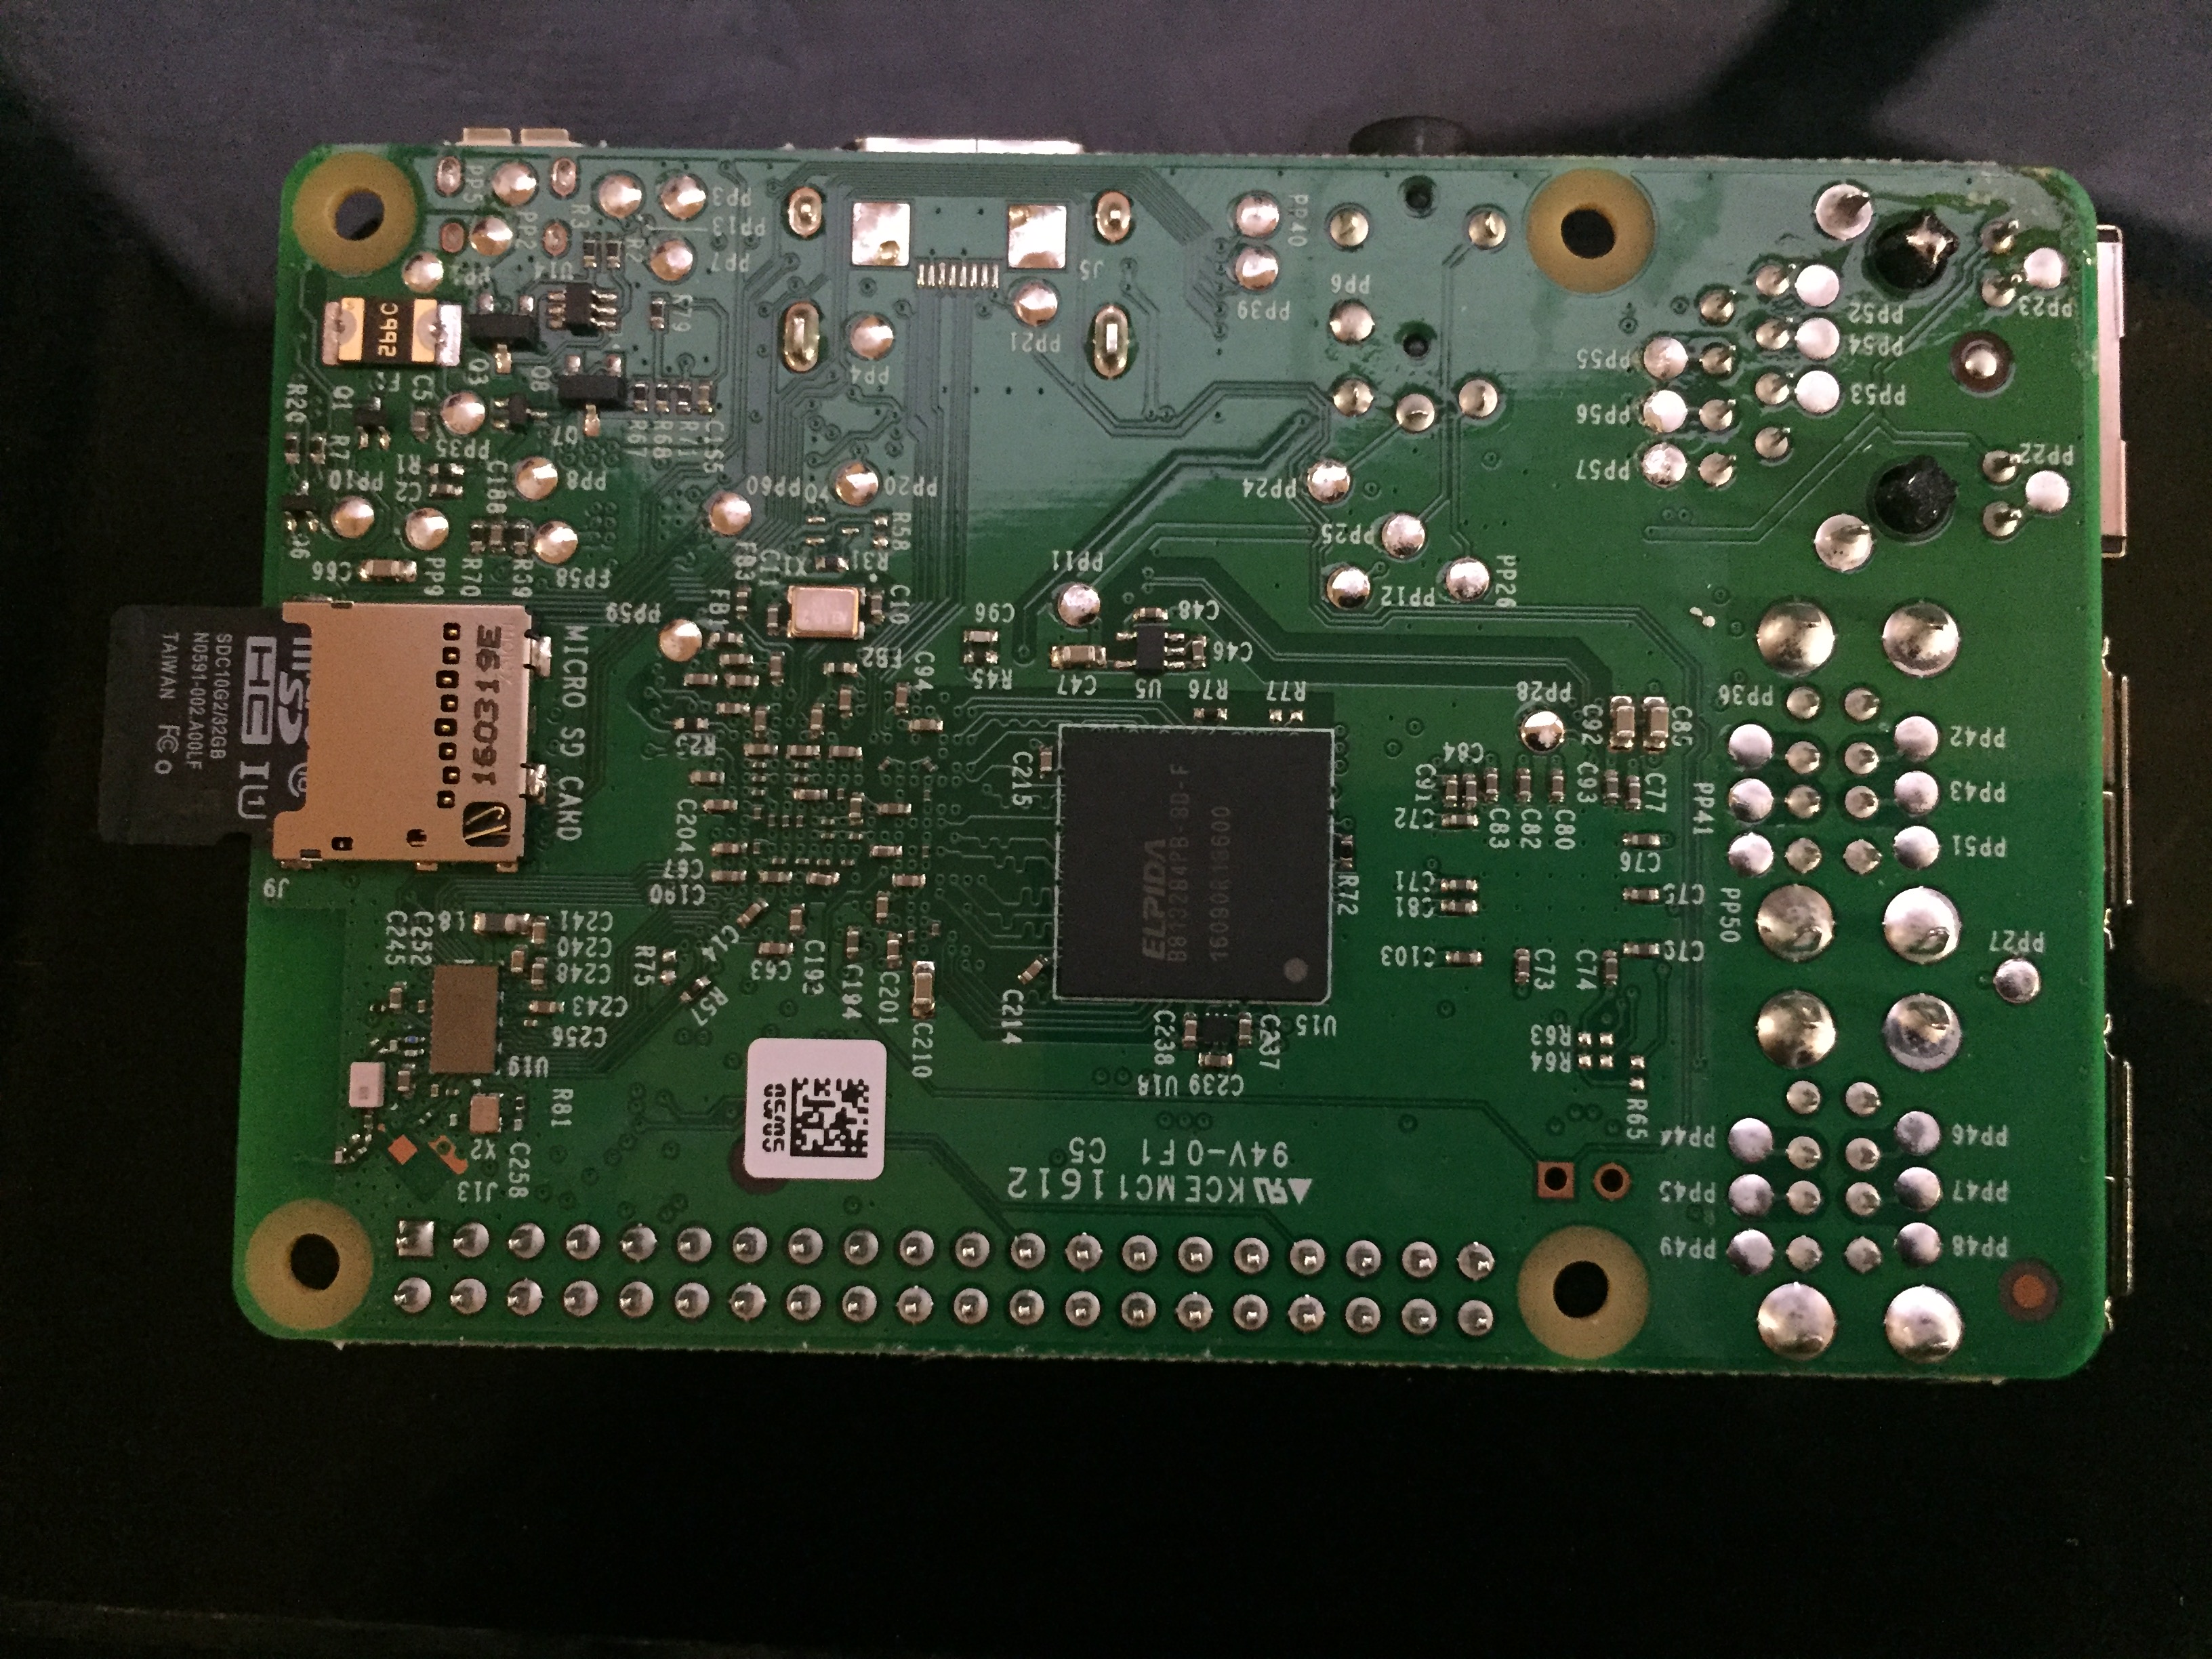
Under Device Type, choose Raspberry Pi 2 & 3. Now insert the SD card into your Windows 10 machine. Note that the SD card which will be used to install Windows 10 IoT core needs to be at least 8GB. You will see the SD card in Drive dropdown.
Next, enter the Device Name & an admin Password. Optionally, you can choose a WiFi Network Connection for the device to connect to on startup (this list will only show networks that the Windows 10 PC has already connected to in the past).
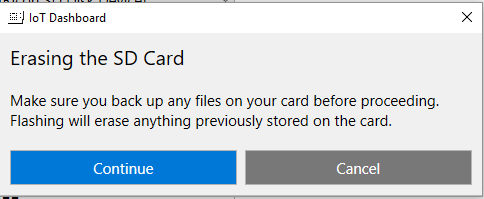
Accept the license terms, and click Download and Install.
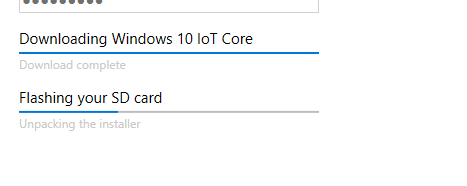
During this process, Windows 10 IoT will be downloaded to the SD card, and the setup process will flash the SD card. If you have anything important on that SD card, be sure to back up everything, as it all gets deleted during this process. 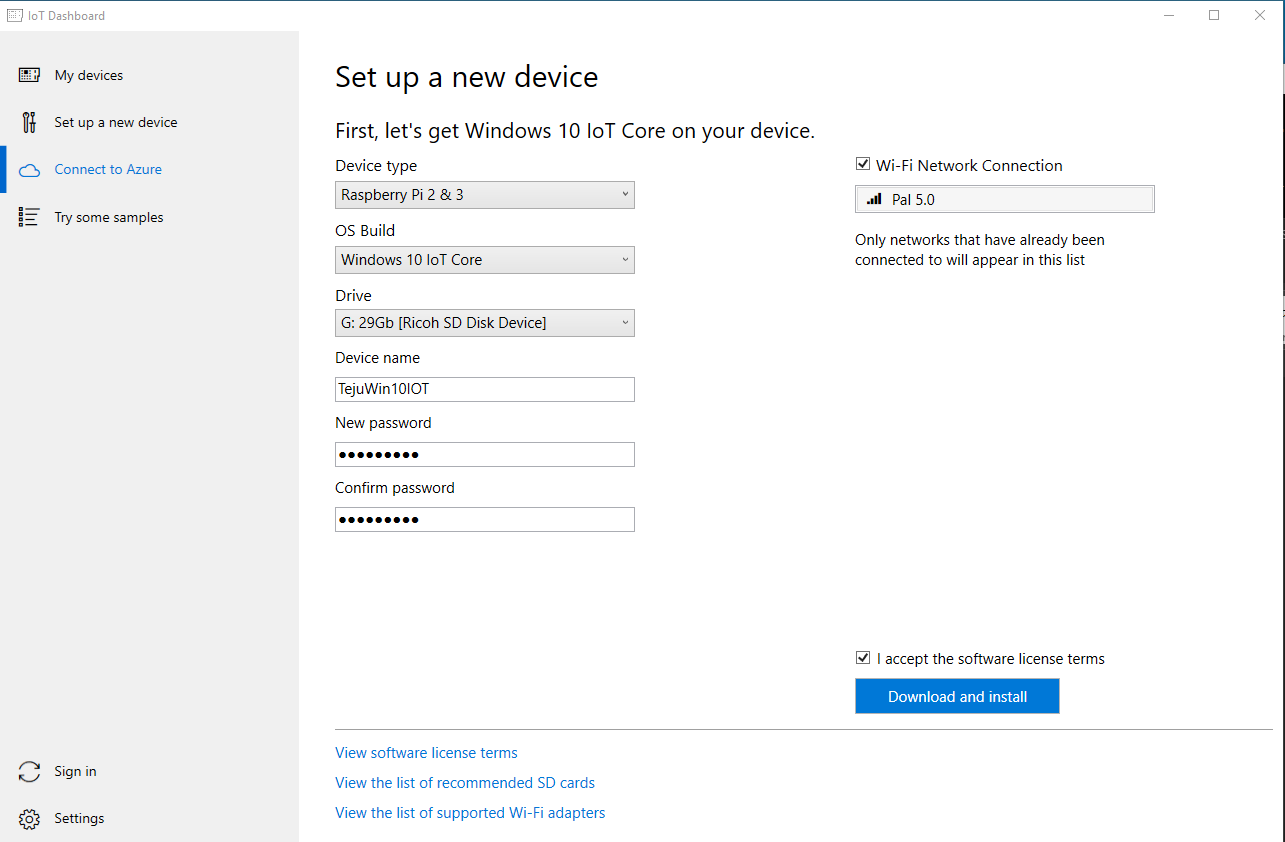
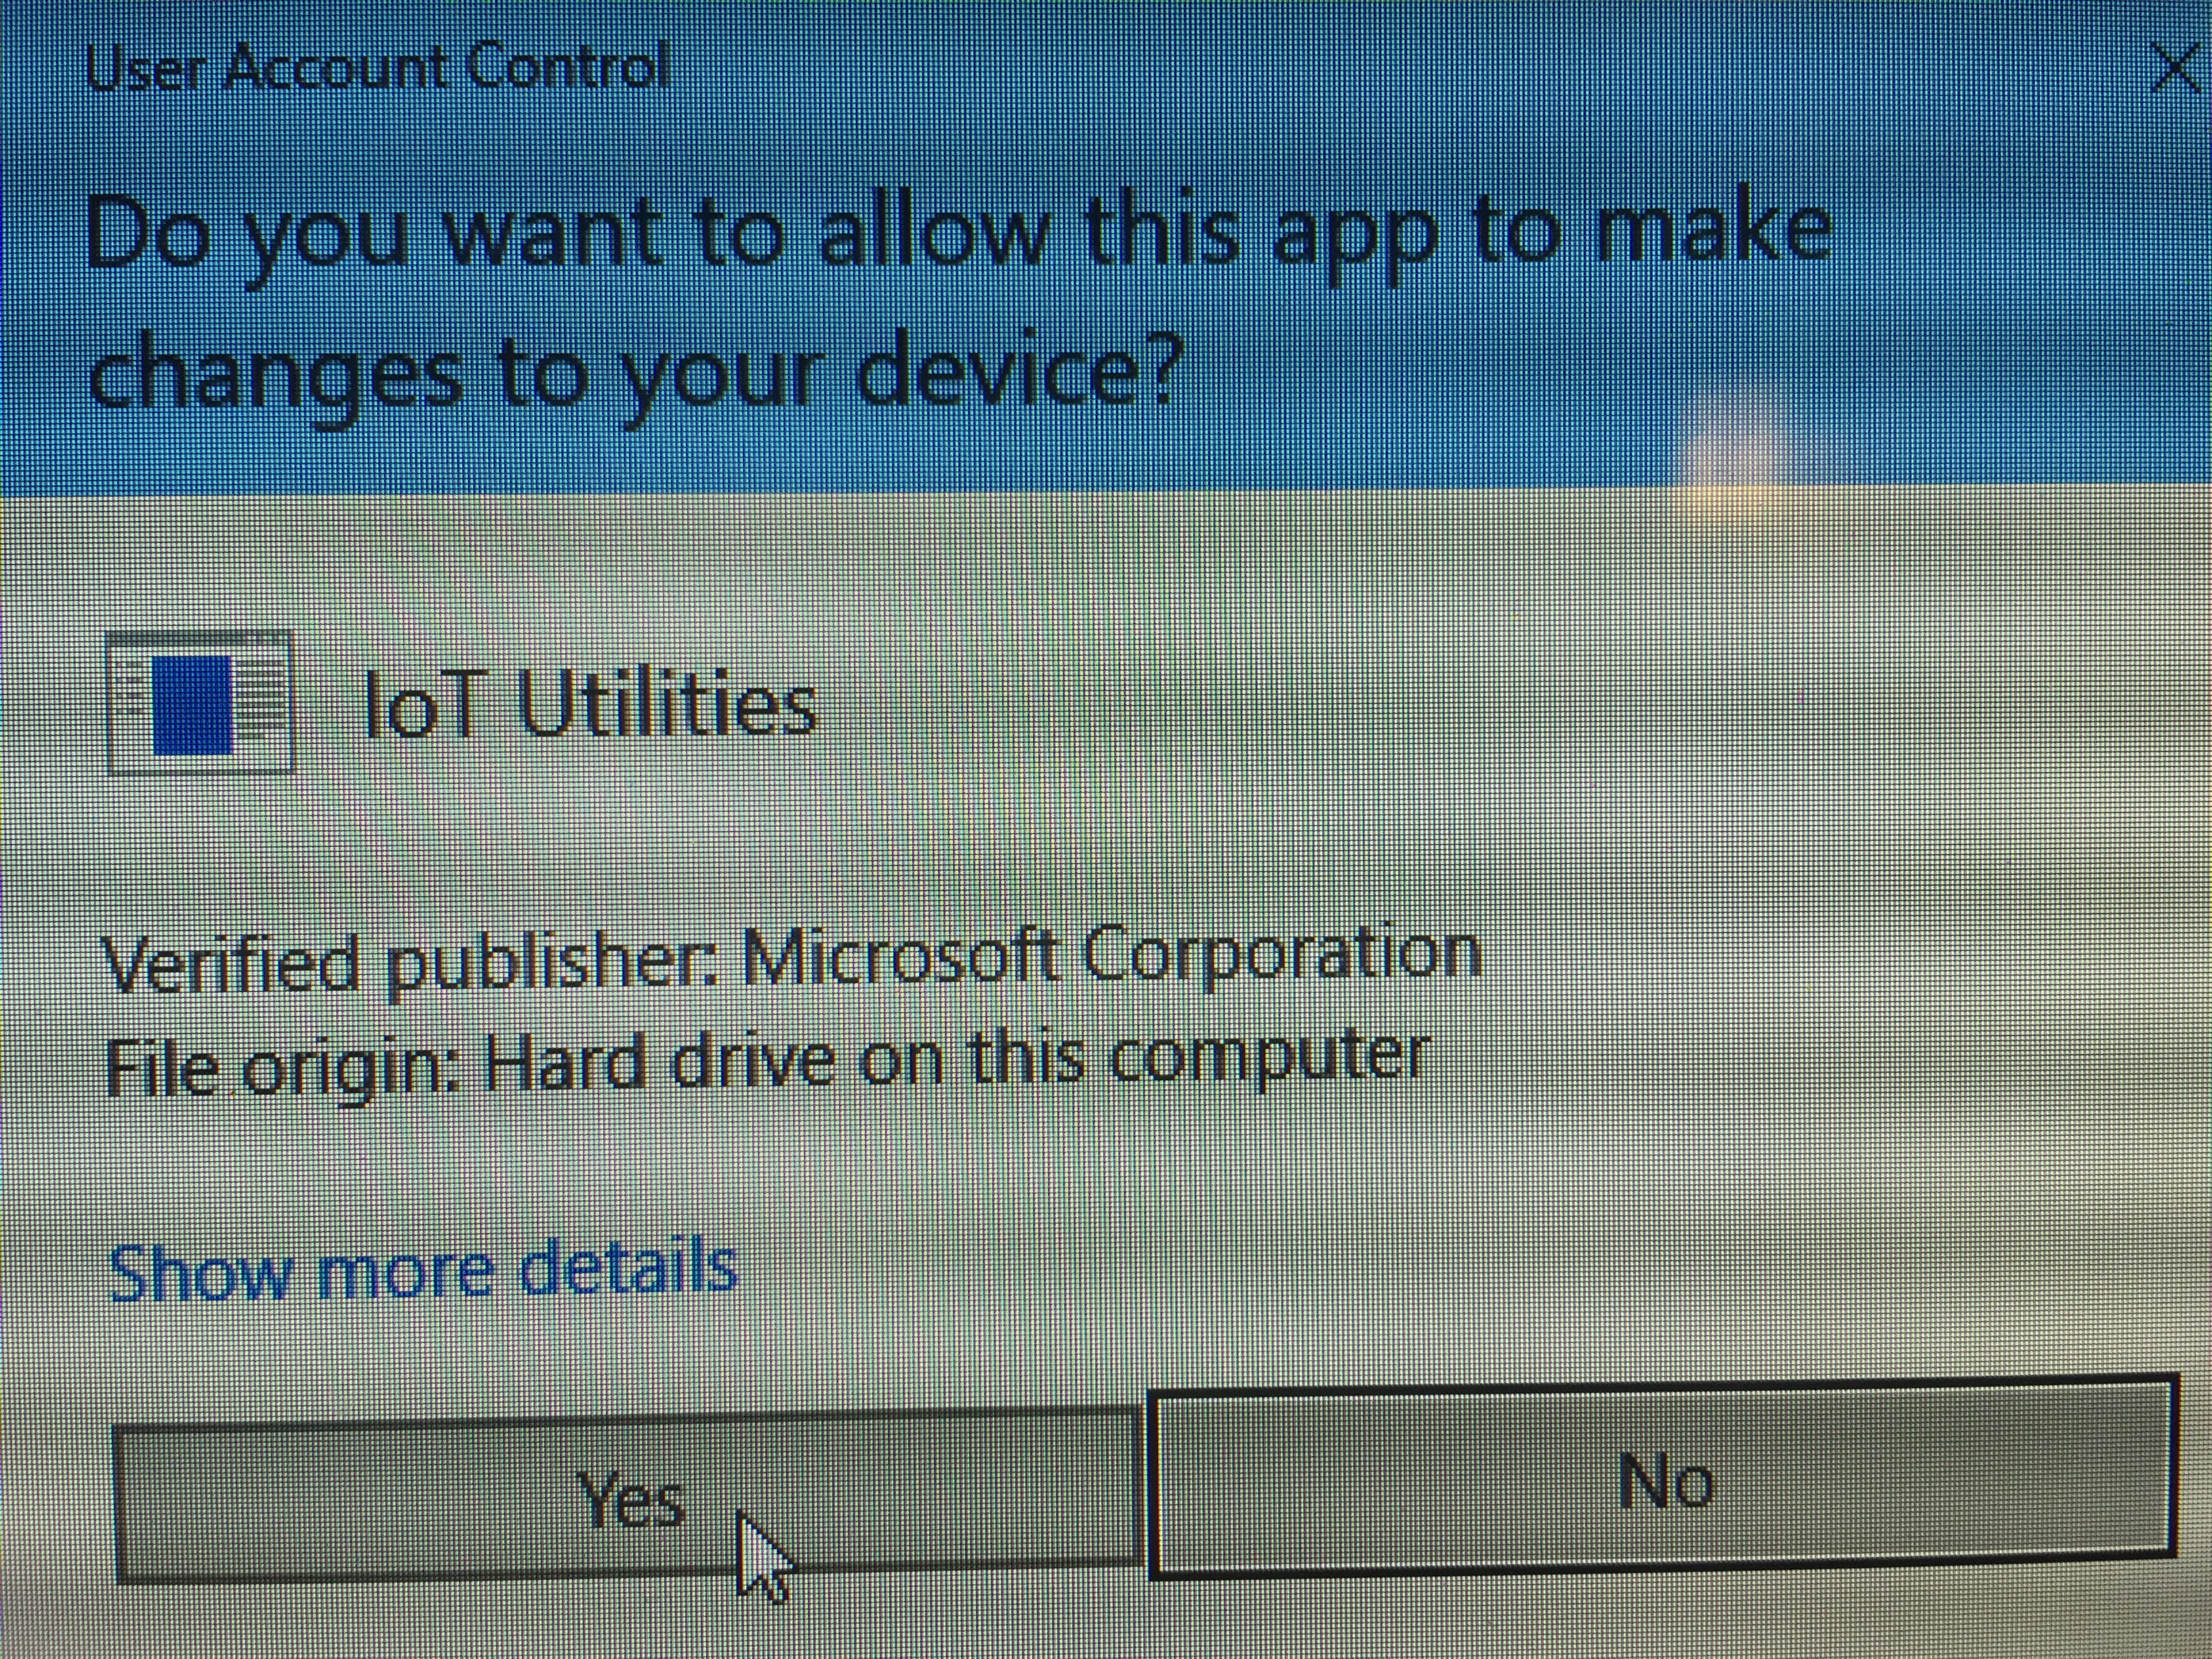
You may see a UAC prompt while Windows 10 IoT is being downloaded, go ahead and accept this.
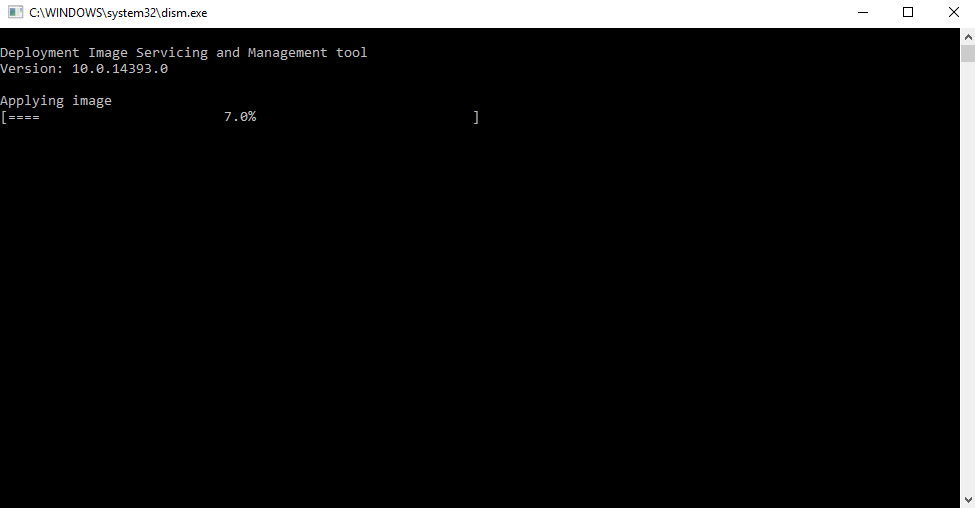
While the SD card is being flashed, you will see a DISM command prompt window comes up that indicates that the Windows 10 IoT image is being applied to the board.
Once the image has been applied, file explorer will open up and show you all the Windows 10 IoT files on the SD card.
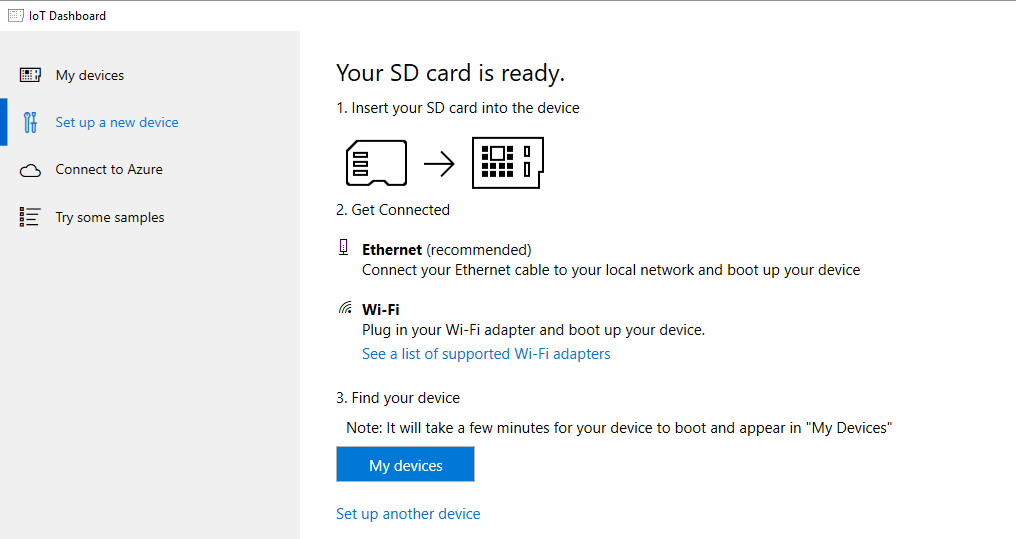
Back to the dashboard, you will now see that the SD card is ready to connect. The next thing we will want to do is plug the SD card into the board. The board will automatically connect to your network if you had chosen a Wi-Fi network during setup.
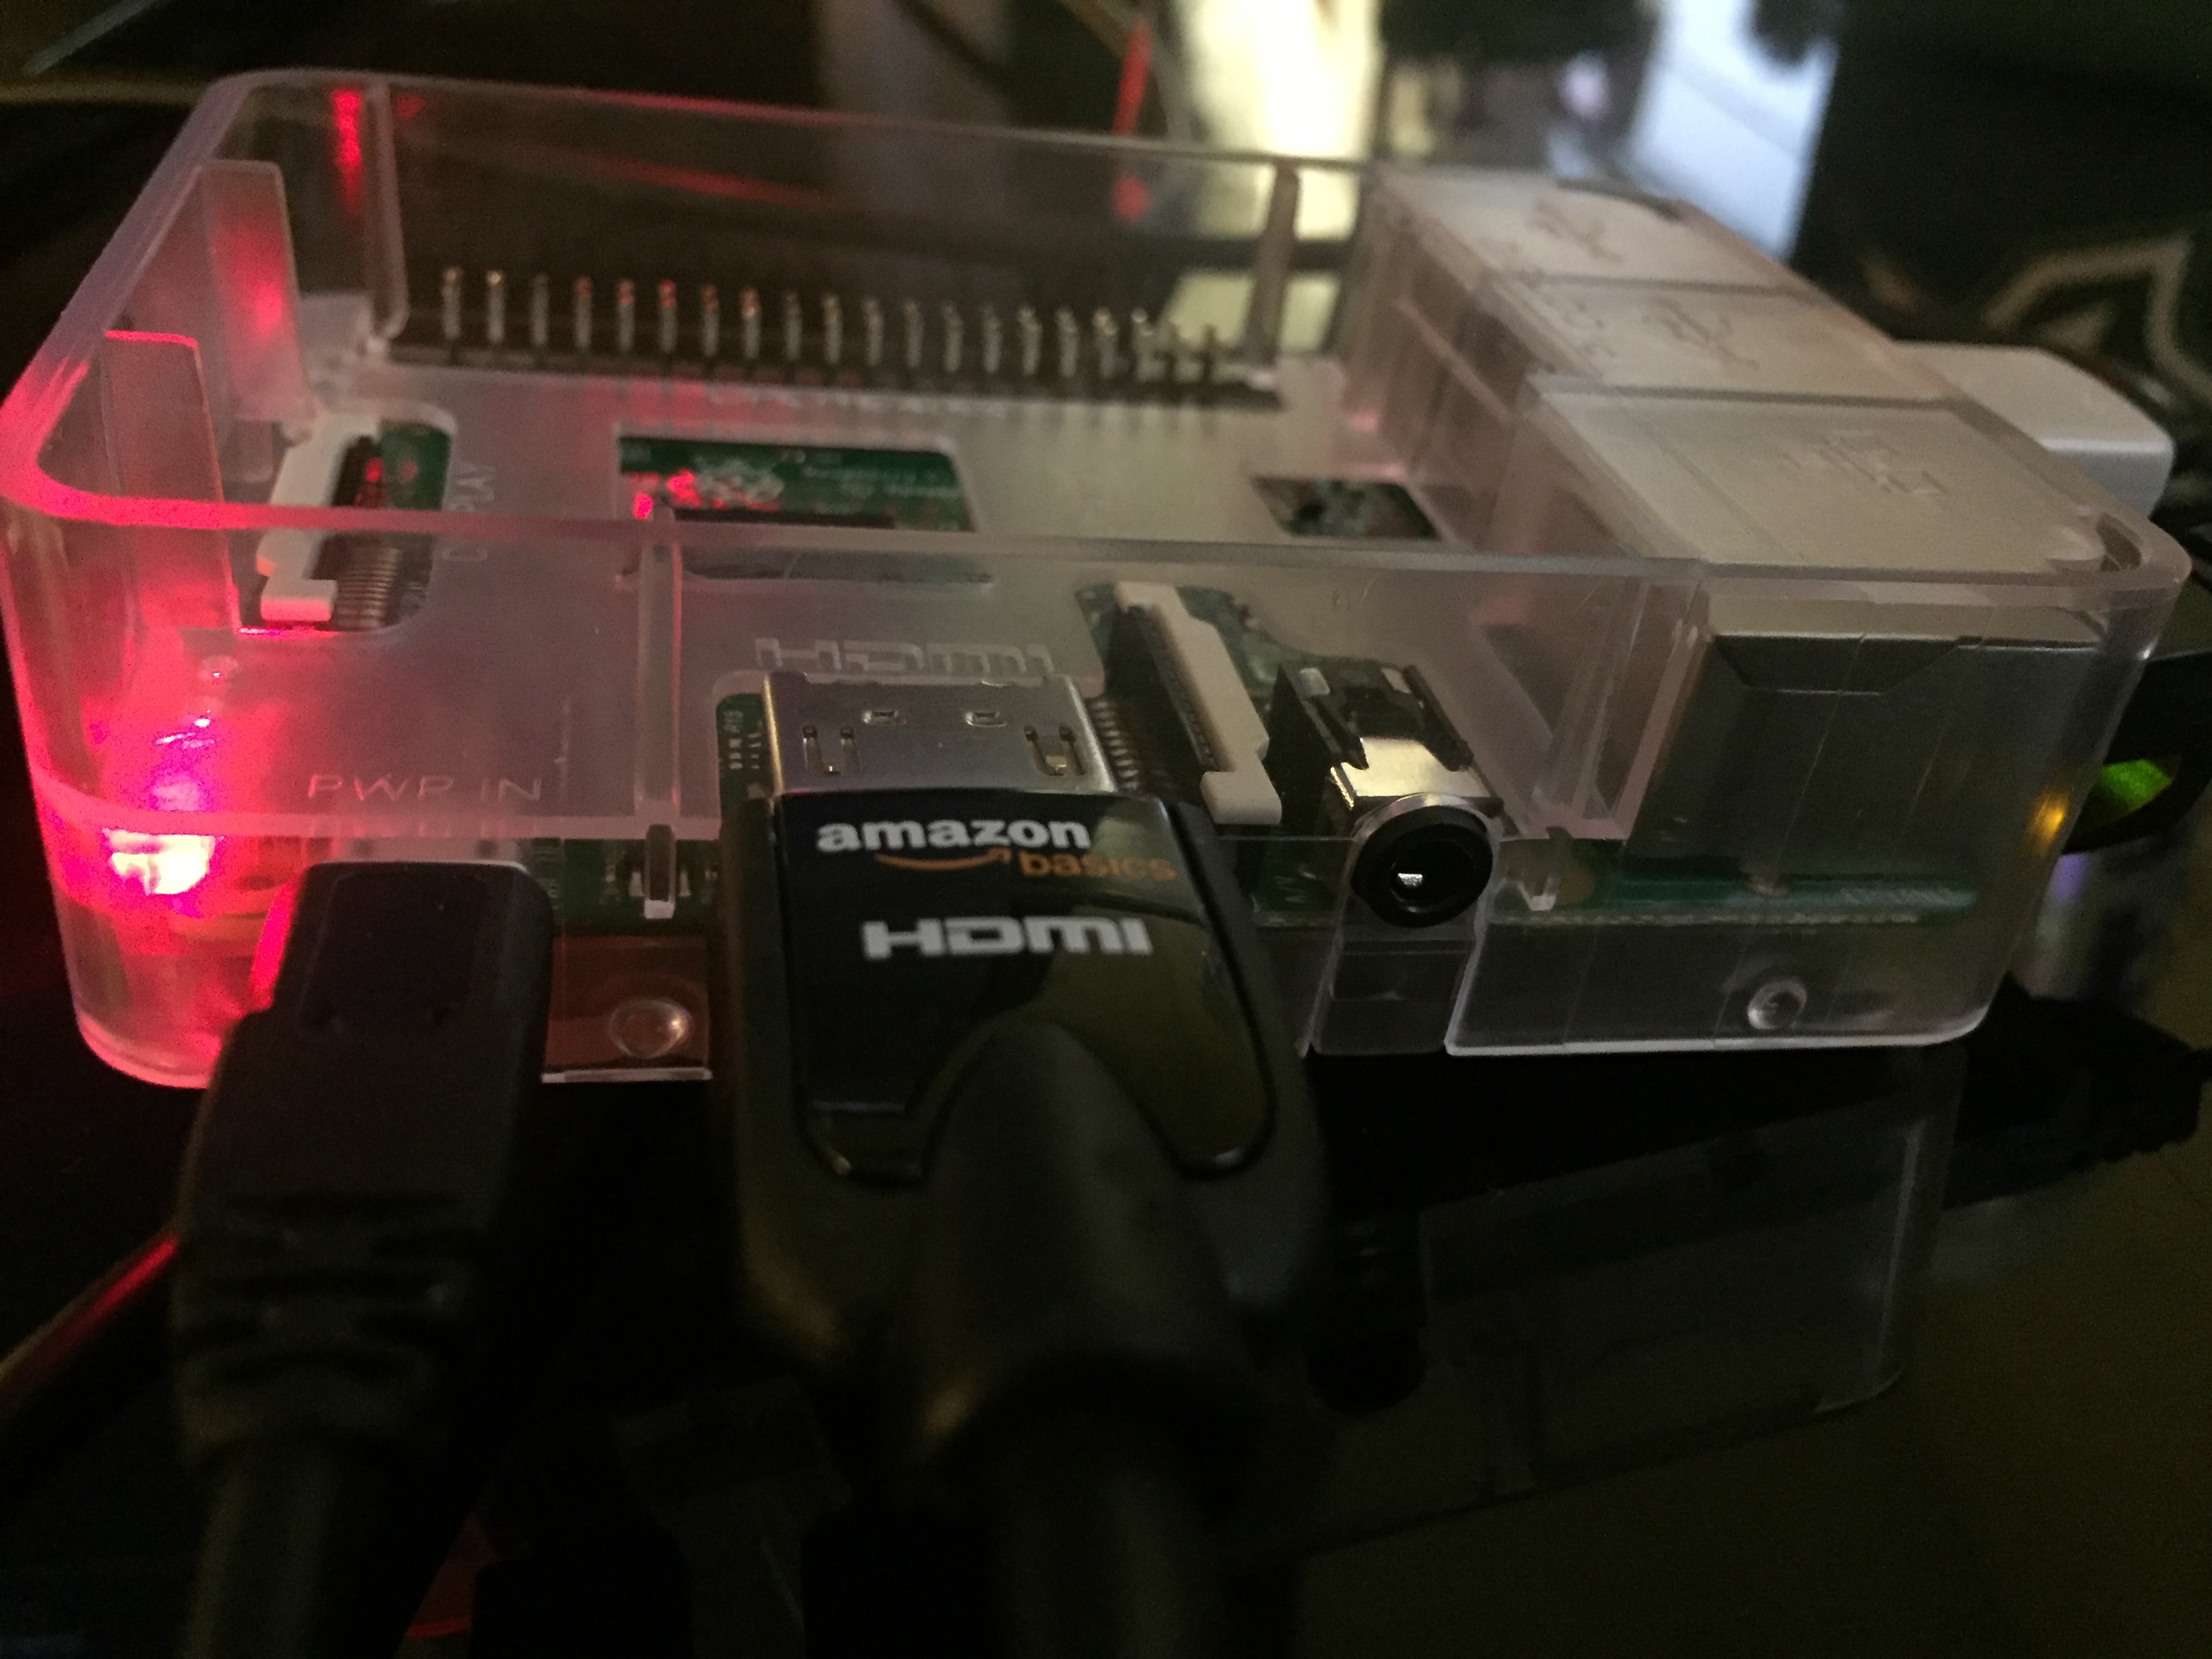
Turn on the device using the micro usb connection (usually will need a 1 AMP source in order for the device to power on).
If you did not choose a Wi-Fi network during setup, you can get connected via the following:
- Connect an Ethernet cable into the board. This will allow the board to automatically connect to your network.
- In the Windows 10 IOT dashboard, click on My Devices and find your board. You will see the name, type of board, IP Address, OS version, and can also rename the device using Settings.

If you did select a Wi-Fi network during setup, the device will automatically connect to the network. If the connection does not work, try the following:
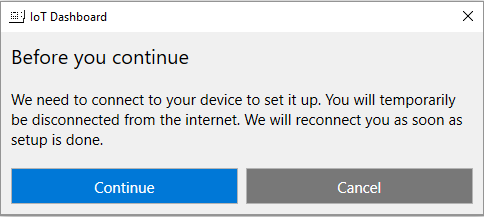
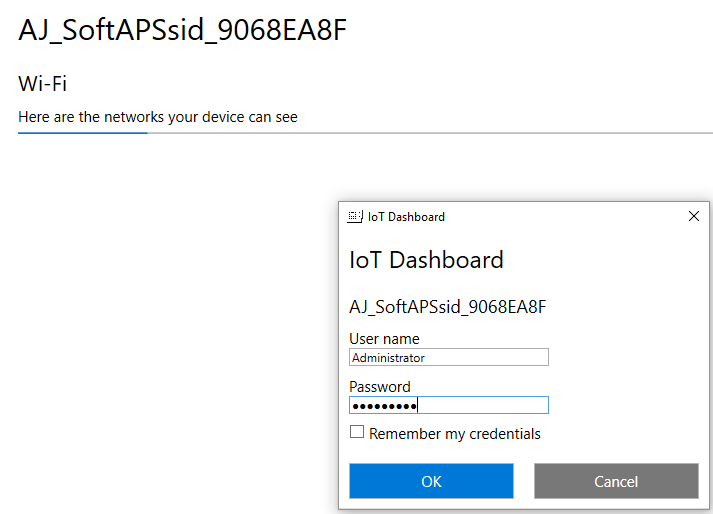
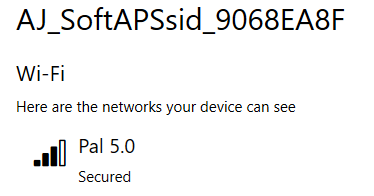
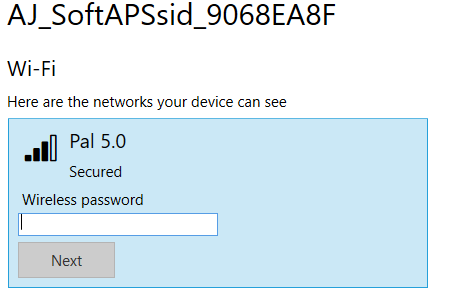
- Click on My Devices and click on Configure Device to connect it to Wi-Fi. If the board has a Wi-Fi adapter which has not yet been setup, you will notice that it will start to broadcast itself as a network starting in ‘AJ_’

If the connection is still not working, reboot your device.

You’re all connected! Now let’s look at how to further configure your board.
In the list of My Devices, right click on your device and note the different options here.

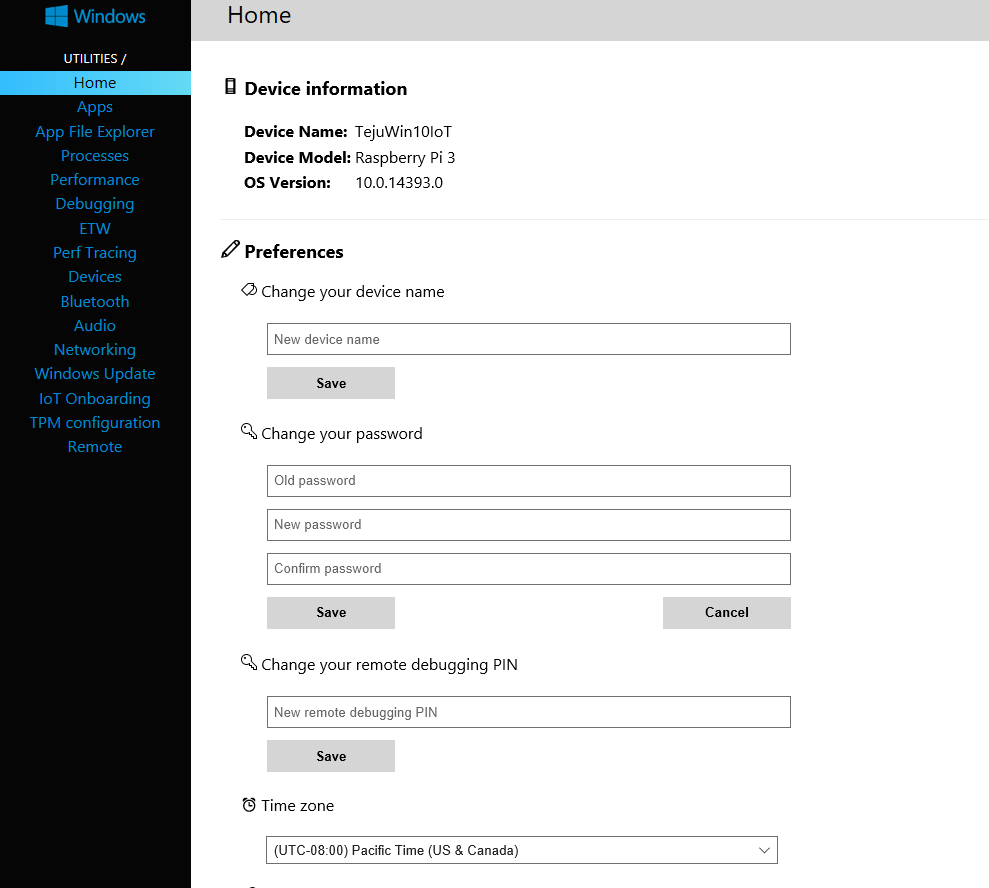
Open in Device Portal – this launches the Windows Device Portal page where you can easily make configuration changes like device name, password, install an app package, run Windows Update, etc
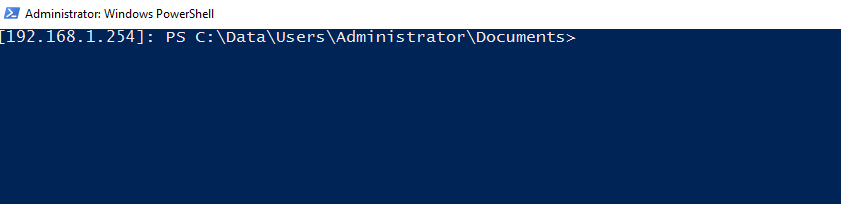
Launch PowerShell – launches an Admin PowerShell session to manage the board using the Administrator account. For example, if you want to enable the command line processor on the Raspberry Pi 3, you can enter the following into PowerShell
reg ADD "HKLM\software\microsoft\windows\currentversion\embeddedmode\processlauncher" /v allowedexecutablefileslist /t REG_MULTI_SZ /d "c:\windows\system32\cmd.exe\0"


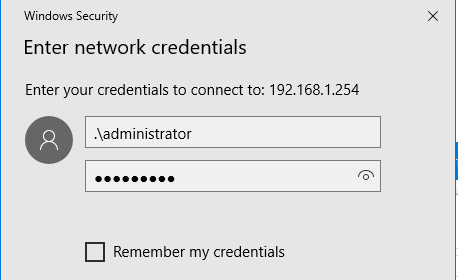
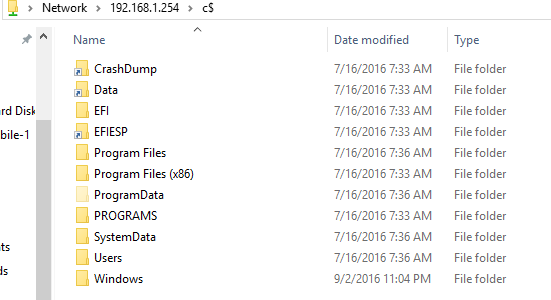
Open Network Share – this will open the file system on the board. You will need the admin credentials for the board to connect.
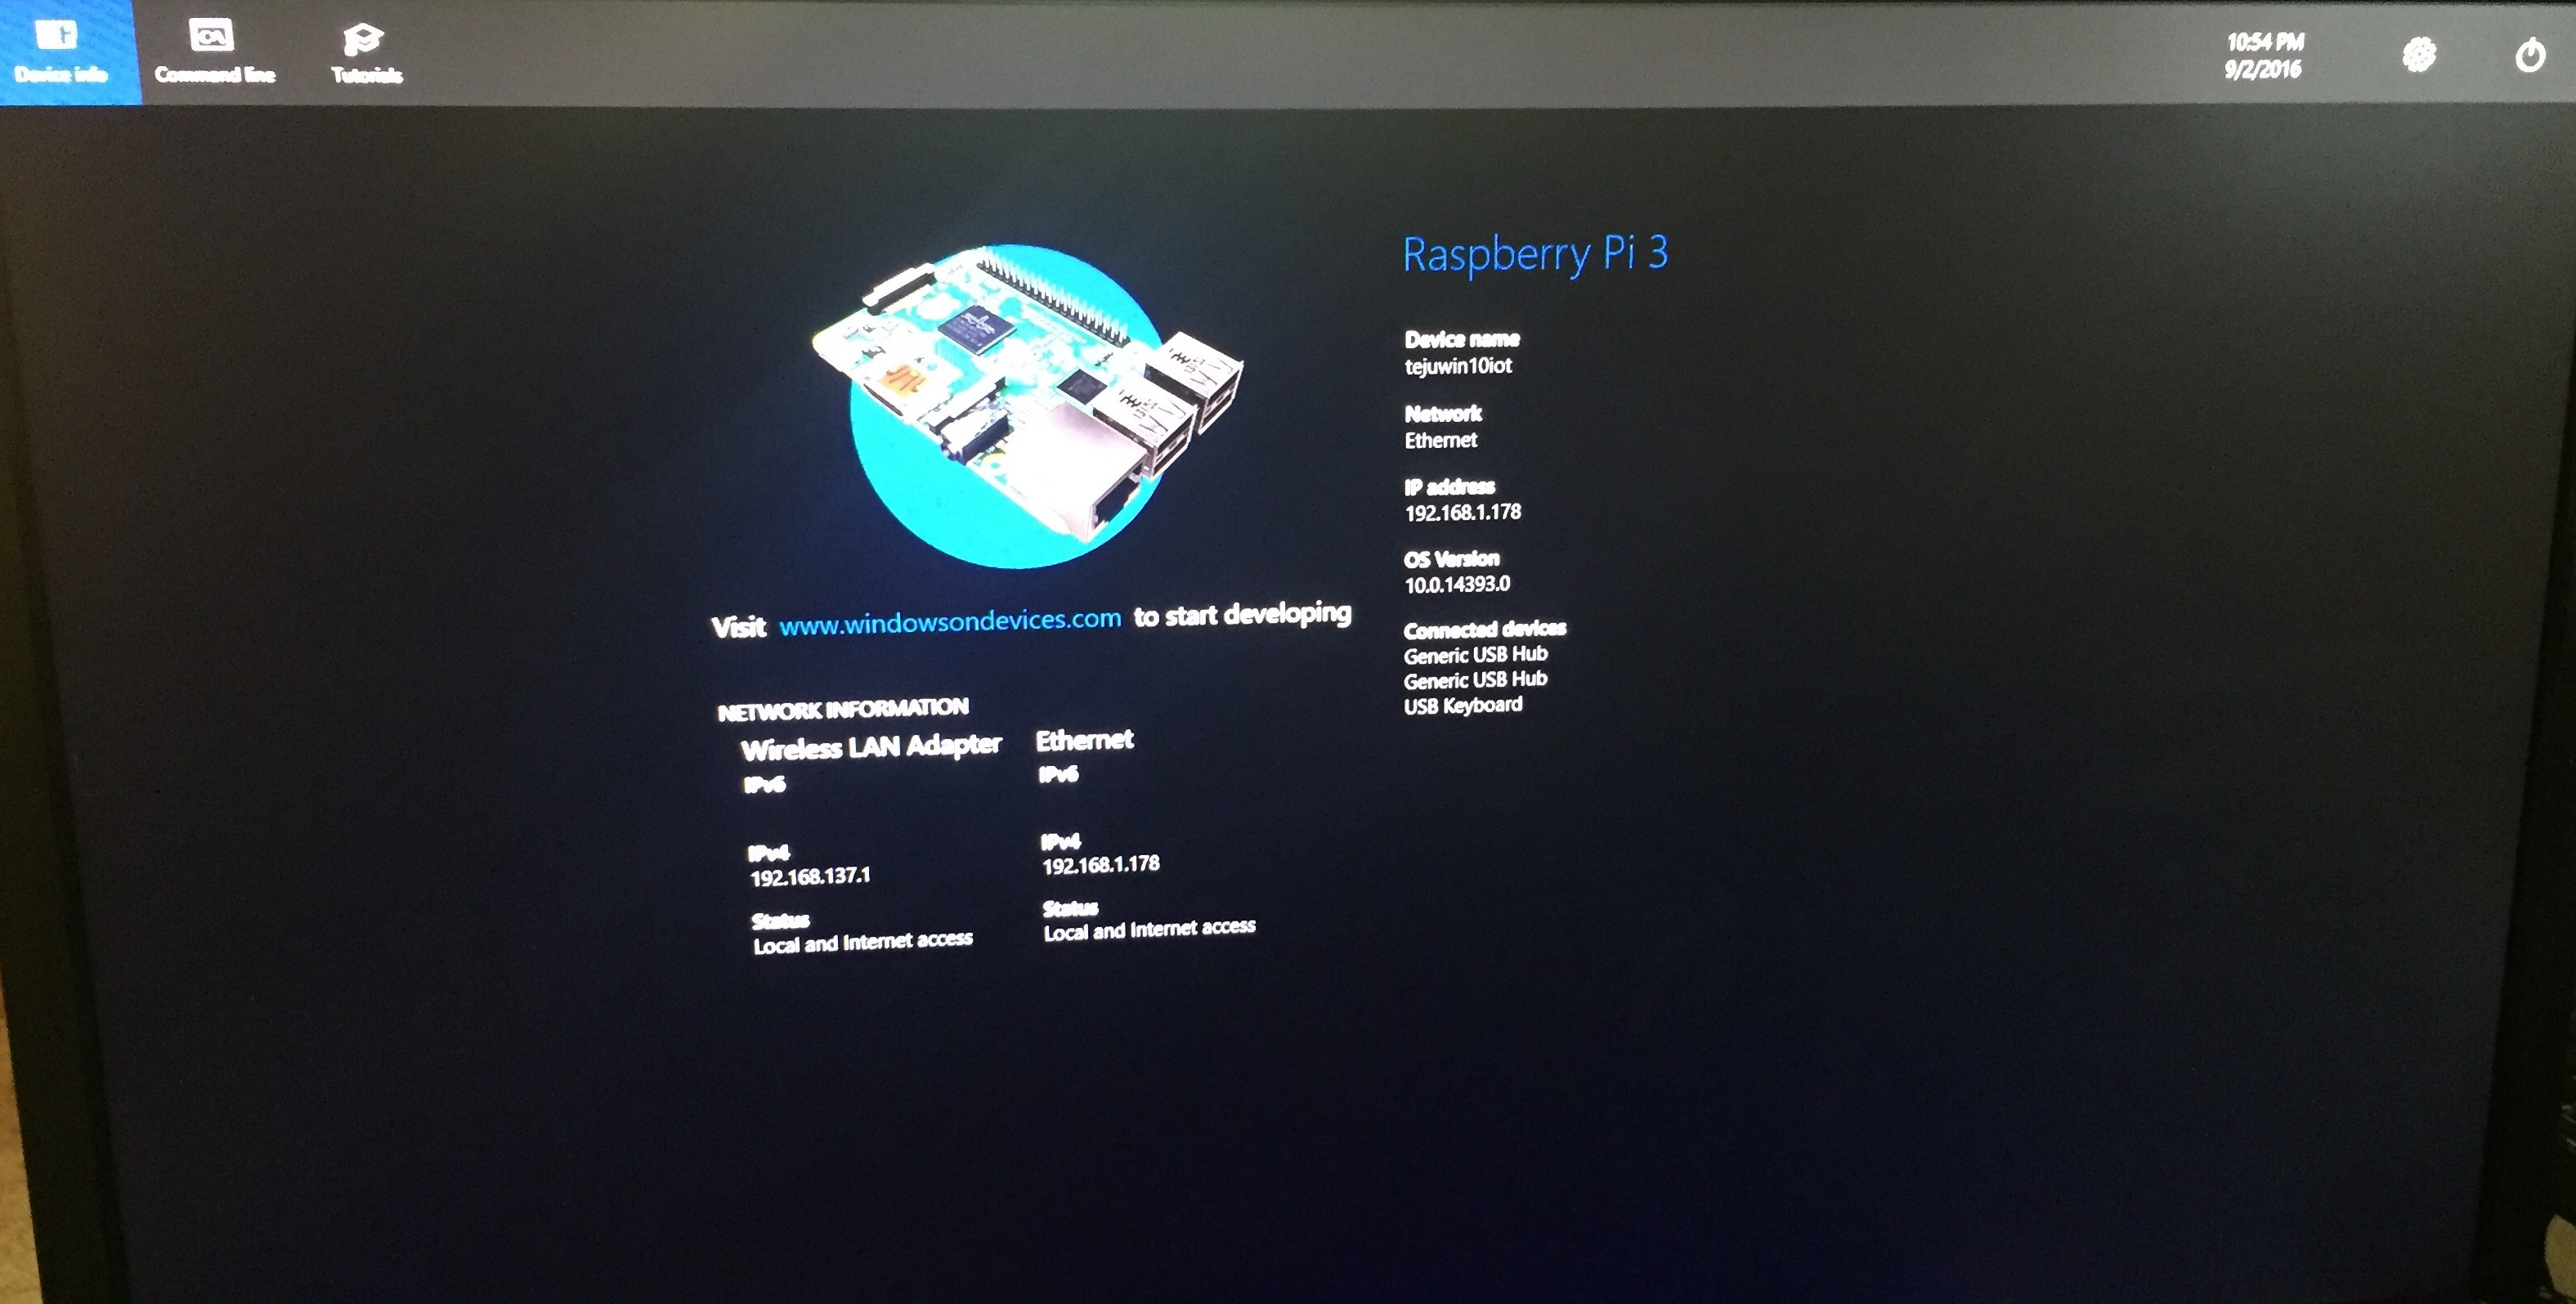
Let’s take a look at what the Windows 10 IoT UI looks like. This is also a good way to verify if there are any issues with your SD card (check disk may run on boot up if there are any issues).
Plug in your Raspberry Pi 3 board to an external monitor using the HDMI port, and a keyboard and mouse using the USB ports. The device can be powered on via the micro USB port.
On startup, you will see the Windows logo that we’re all familiar with and an OOBE page similar to Windows 10 desktop on which you can choose the language that you’ll be working with. If you let this page sit idle for a bit, it will automatically choose English.
You will then see the Raspberry Pi 3 home page, which has the device name, network, IP address, OS version, and devices that are connected to the board. Here you’ll also see OS configuration options link Command line, Tutorials, Settings, and the Power button to shutdown and/or restart the board

Now let’s set up our dev environment to explore Windows 10 IoT. You will want to install Visual Studio 2015 with Update 3 in order to evaluate Windows 10 IoT. Those installs can be found here. If you do not install Visual Studio Professional or Visual Studio Enterprise, be sure to choose the Universal Windows App Development Tools > Tools and Windows SDK during installation.
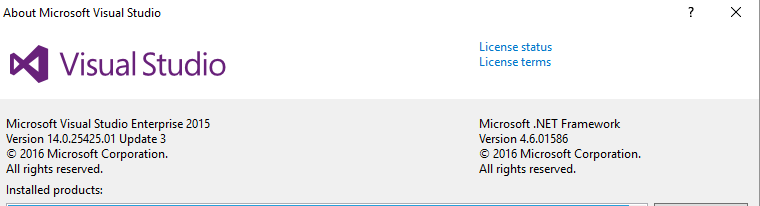
You can verify that you are running the correct version of Visual Studio in the console by clicking on Help - About.
Visual Studio Update 3 is 14.0.25123.00 or later

The next thing you will want to do is install the Windows 10 IoT templates from the Visual Studio gallery, which can be found here.
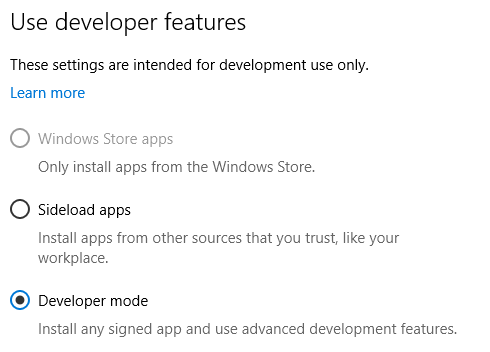
The last thing you will want to do is enable your Windows 10 machine for developer mode, which can be done through the modern Control Panel settings.
You’re ready to start developing apps! the next post will cover writing your first app for Windows 10 IOT (the standard LED blinking app).
Troubleshooting
I did not run into very many issues in getting Windows 10 IoT installed.
During the SD card setup, I did get this error message
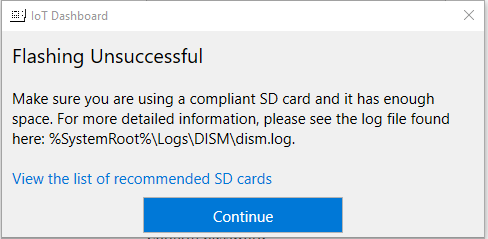
my Windows 10 firewall policies were blocking the Windows 10 IoT software from being downloaded/flashing the SD card. Once I turned off the firewall, it started working right away.
If you run into any issues during the install, please post below and I’ll take a look.
Thanks for reading! Please feel free to post comments below & good luck with your Windows 10 IoT install :)