Installing Android on Hyper-V & Enrolling in Intune - Part 1
One of the new features available with the release of System Center 2012 Configuration Manager SP1 and later is the introduction of Windows Intune integration with ConfigMgr. This includes managing Windows Phone 8 and 8.1, Android, and iOS. This two part series will go through installing an Android emulator on Hyper-V, getting the Android emulator enrolled in Windows Intune, and the supported compliance settings available on the Android platform.
Android builds can be obtained at https://www.android-x86.org/download. In this series, we will be using Android 4.4.
Let’s get started with getting an Android emulator running in Hyper-V!
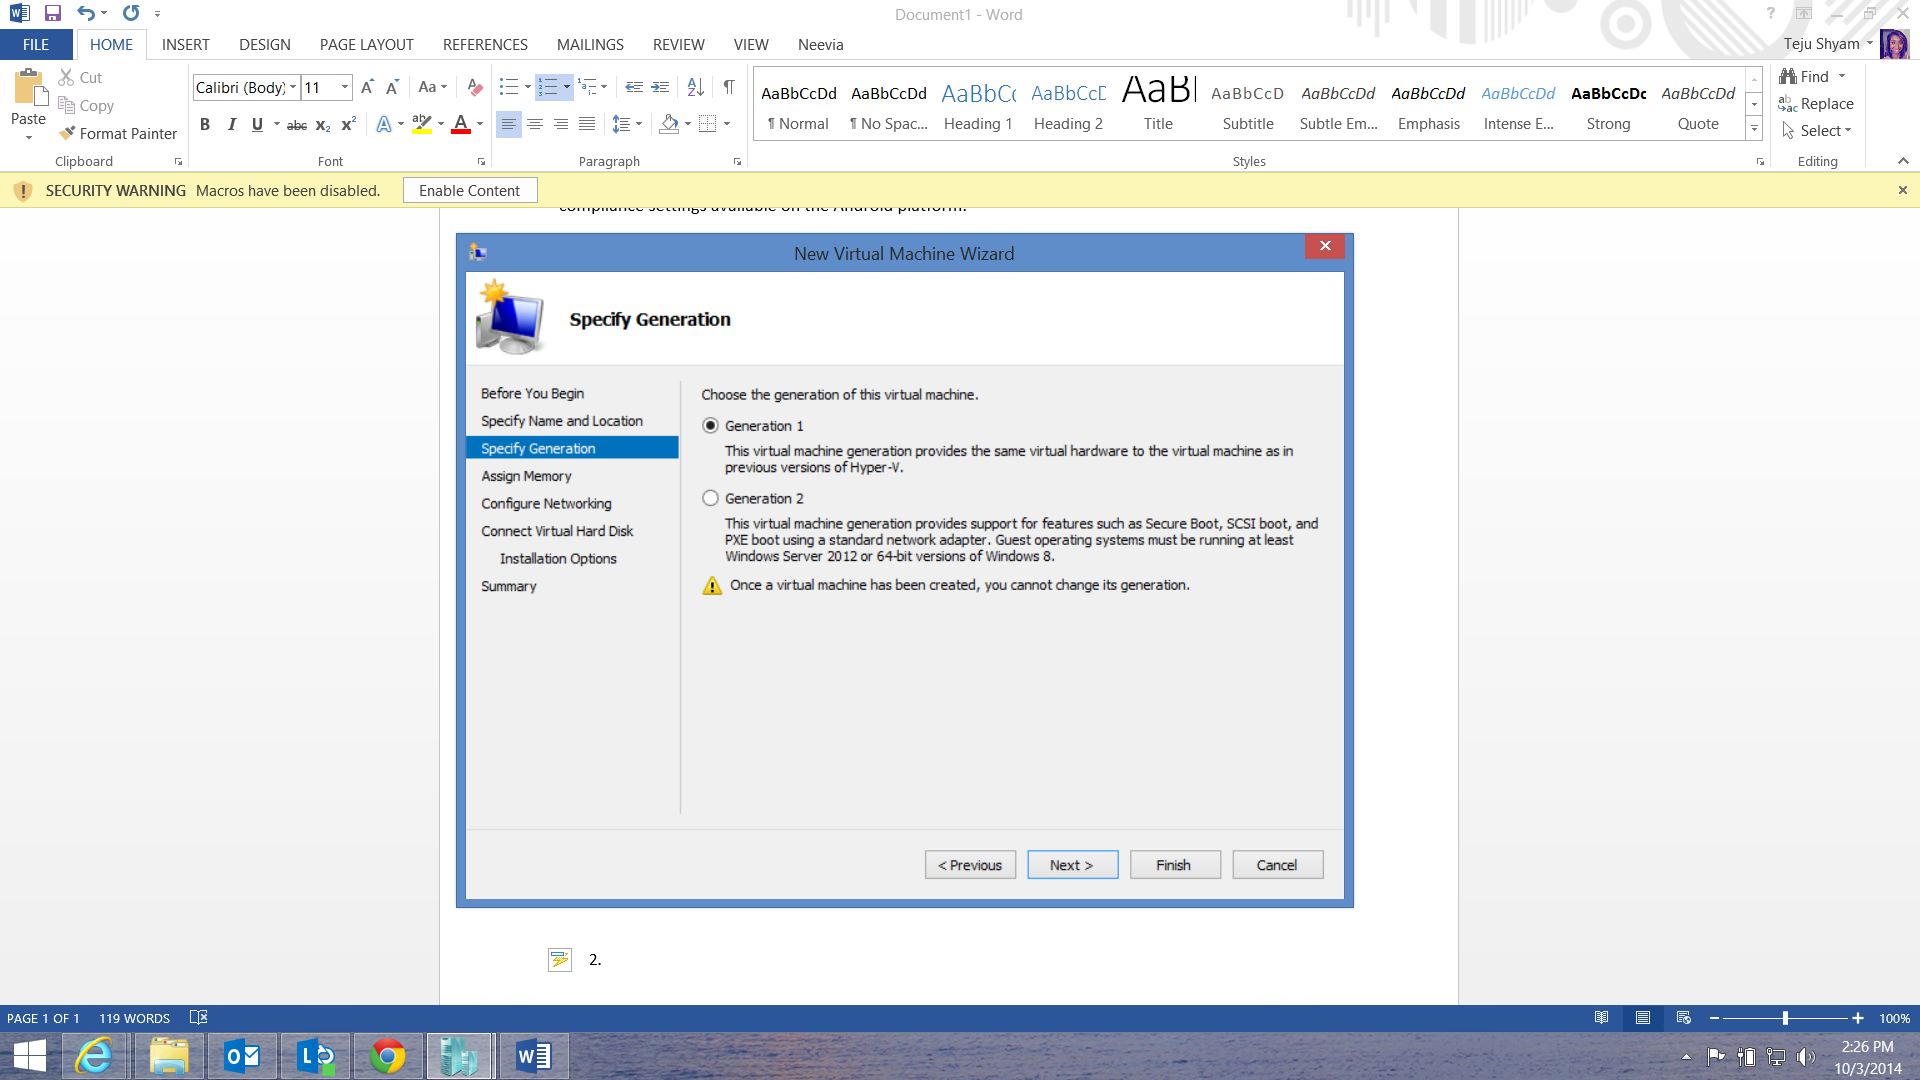
1. Start with creating a New Virtual machine in Hyper-V, naming it, and storing it as you would with any other Windows VM. Choose the ‘Generation 1’ VM option.

2. Important – on the ‘Assign Memory’ step, do not set the Dynamic Memory check box. There are some Android platform issues with Dynamic Memory, so be sure to choose Static Memory. In this option, I have set the Static Startup Memory to 2048MB (2GB).

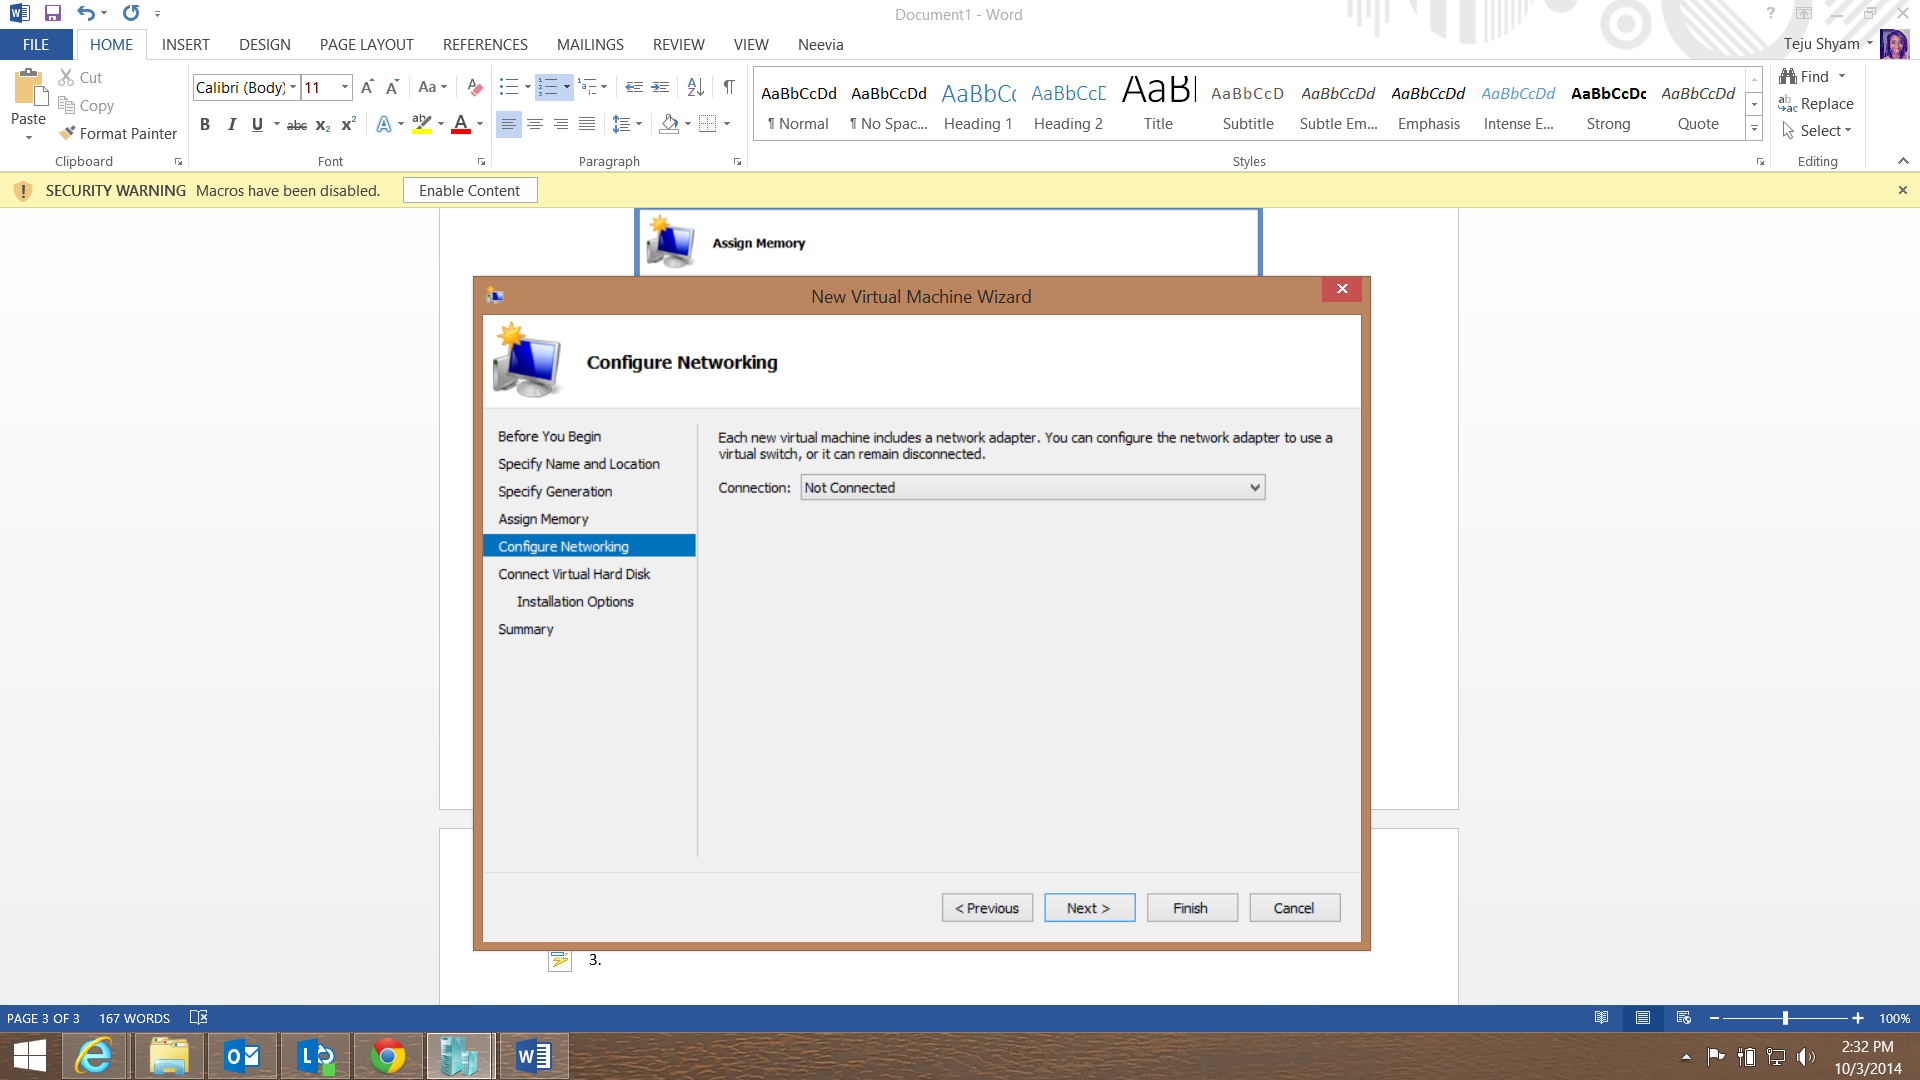
3. Important – on the ‘Configure Networking’ step, set the drop down to ‘Not Connected’ for now. The Android platform only supports the Legacy Network Adapter option, which we will configure once the VM setup wizard has finished.
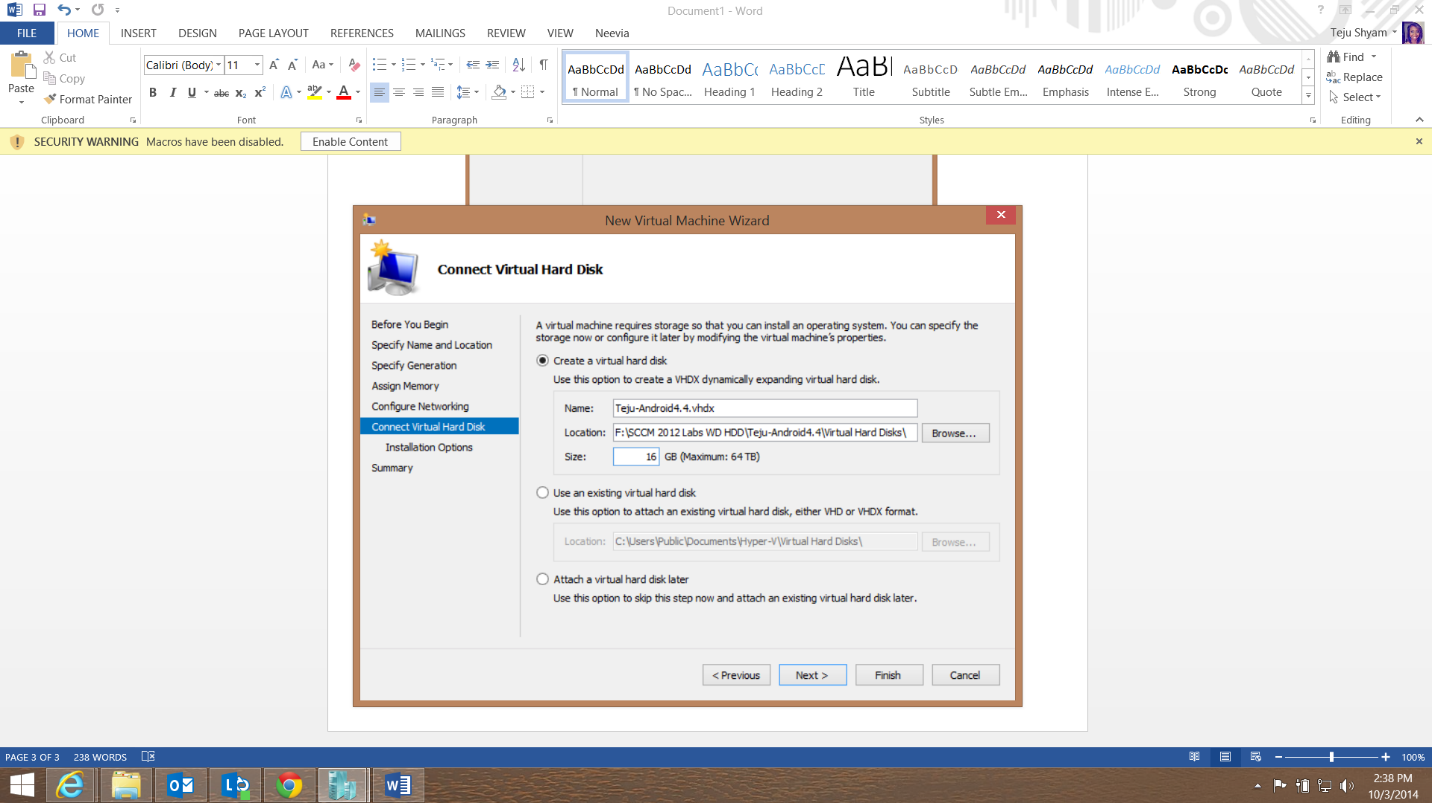
4. On the ‘Connect Virtual Hard Disk’ step, I have changed the size of this disk to 16GB. The Android platform is very lightweight mobile platform, and therefore will not require a 127GB hard disk.
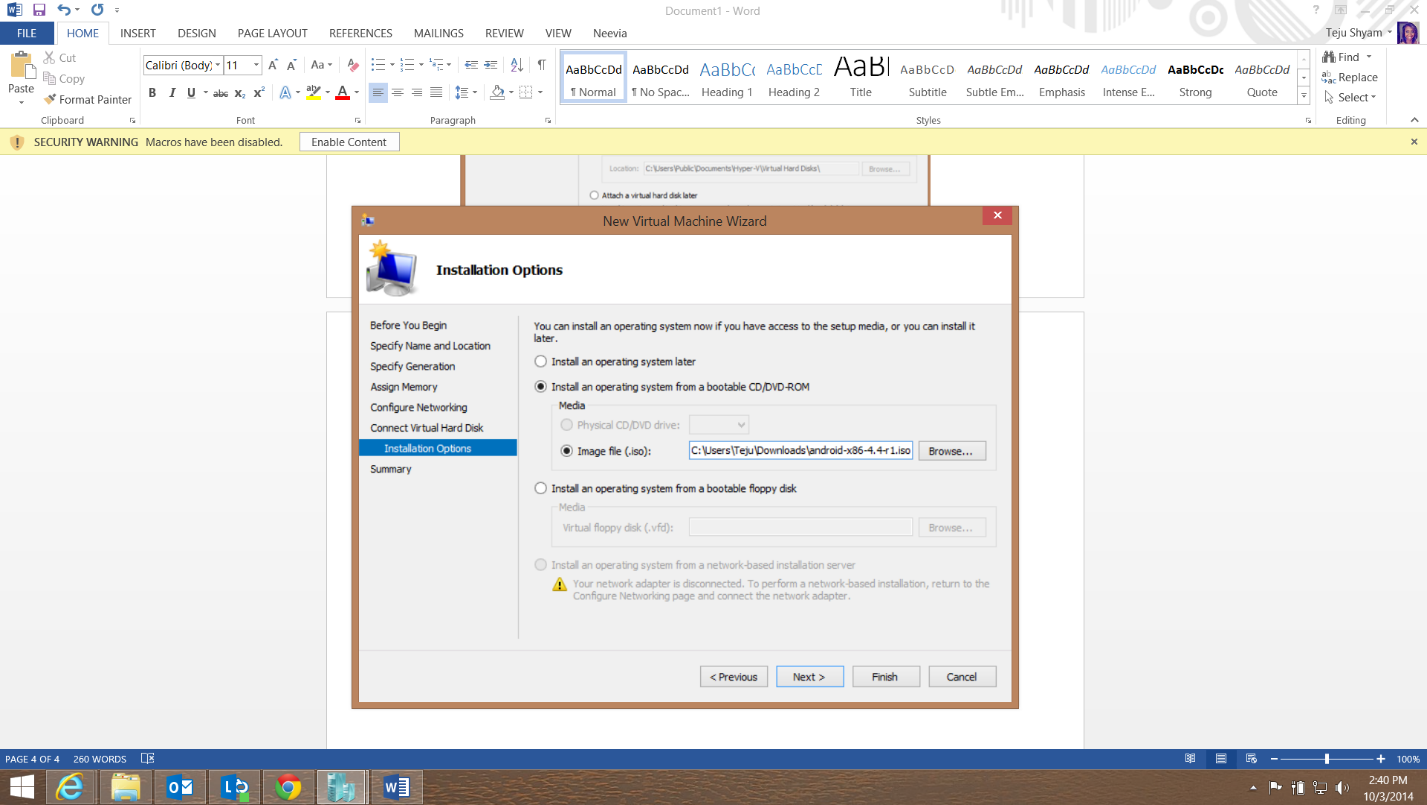
5. On the ‘Installation Options’ page, I am going to choose the .iso file which I downloaded from https://www.android-x86.org/download.
And we’re done! Verify all settings on the Summary page, and hit finish. This will create the Android Emulator

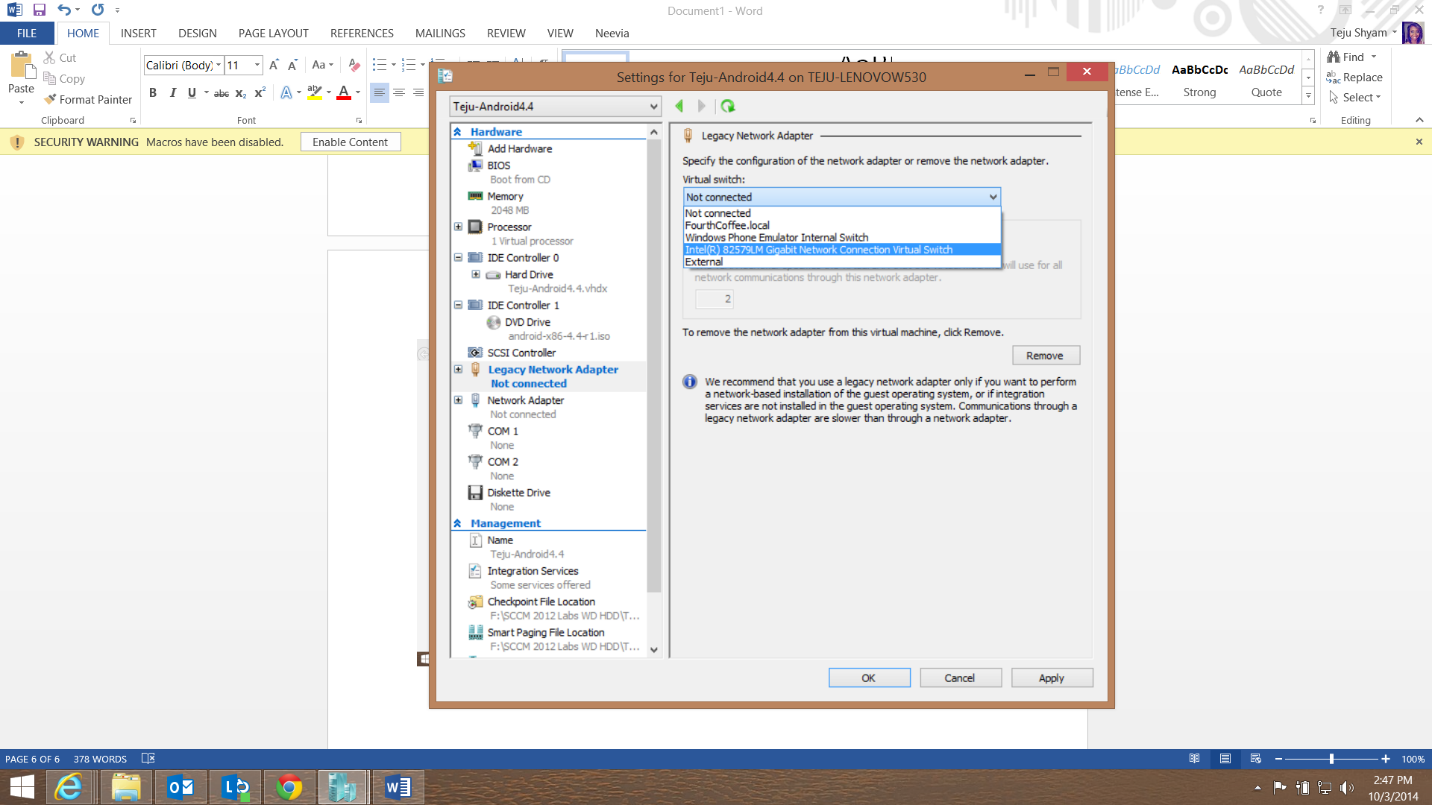
6. Now that the Android emulator has been created, we will want to add the Legacy Network Adapter. Right click on the Android emulator in Hyper-V, Settings, and under Add Hardware choose Legacy Network Adapter.

I am going to connect this Android emulator to my Ethernet virtual switch connection, so that the Android emulator will be able to connect to the internet. You will want to ensure that the Android emulator has internet access so that in later steps we will be able to connect to the Google Play Store to install the Company Portal app for Intune. Note that the Android VM will need to be connected via an Ethernet connection, using a Wi-Fi connection will not work.
Now we can go ahead and start up our Android emulator. At the install screen, you will be presented with a few options, two of which we can choose to run the Android platform from.
7. The first option ‘Live CD – Run Android x-86 without Installation’ is very useful for quick lab setups or demos in which you simply want to test a few features on the emulator. However, this is not a persistent development instance.
I will go ahead and choose the Live CD – Run Android x86 without Installation option. Note that after 60 seconds on this screen, the install will default to Live CD – Run Android x86 without Installation.

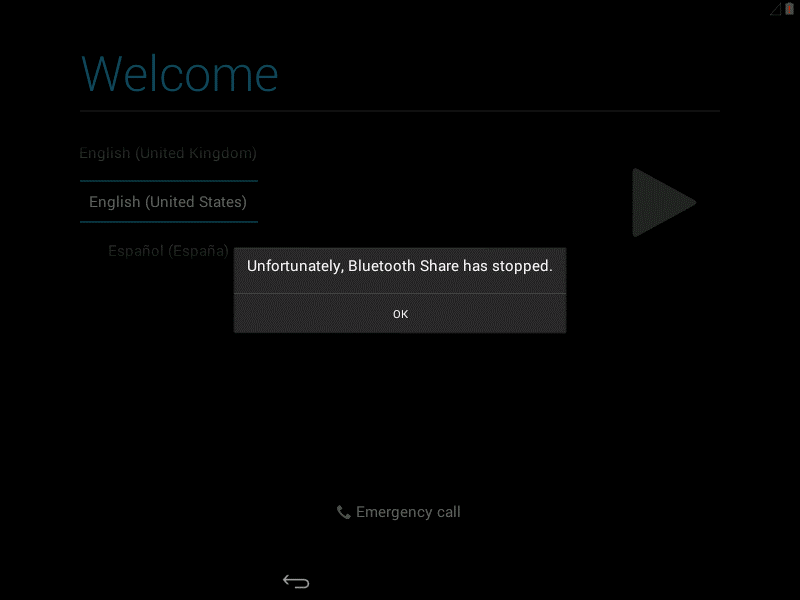
The first thing you will notice is a notification which states ‘Unfortunately, Bluetooth Share has stopped.’
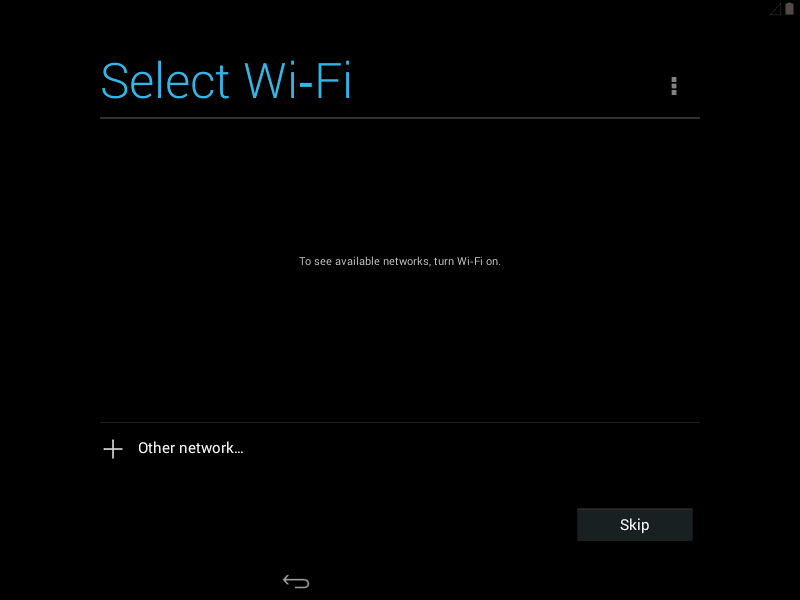
On the Select Wi-Fi screen, you will notice that initially, no networks will be found. This is not an issue for us for now, we will enable Wi-Fi once the Android emulator OS is up and running.
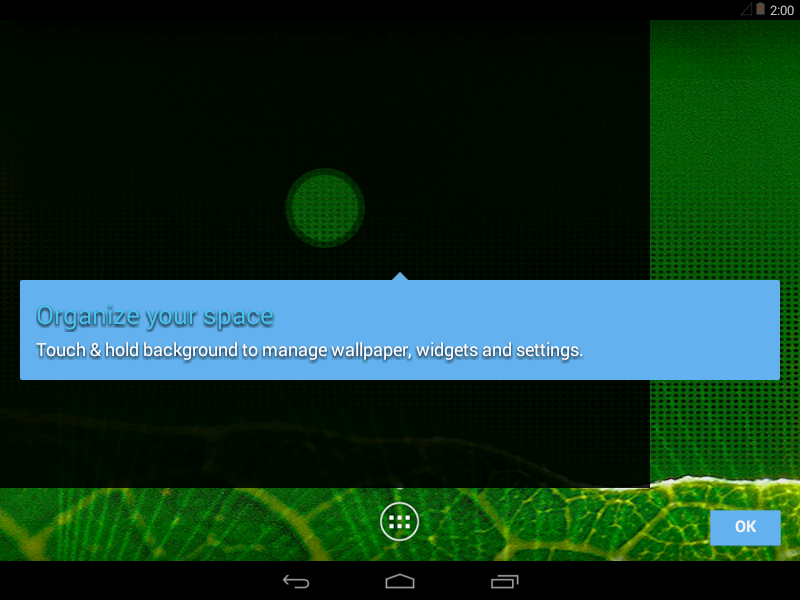
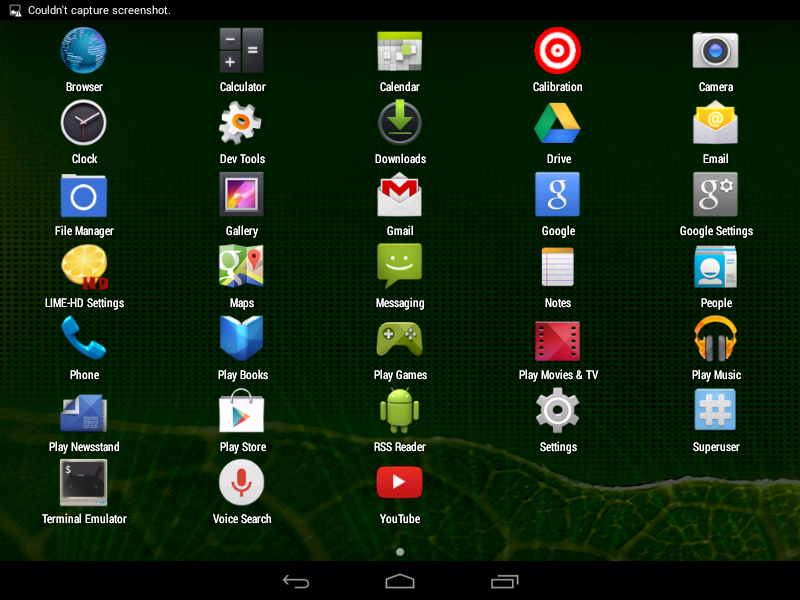
Select the rest of the Android OS customization settings, and you should see the home screen
8. Click on the more items icon to view additional Apps and Settings. When you are on this page, choose Settings. We will now configure internet connectivity for the Android emulator.
9. Switch the WiFi icon from Off to On. Test connection by browsing to a webpage.


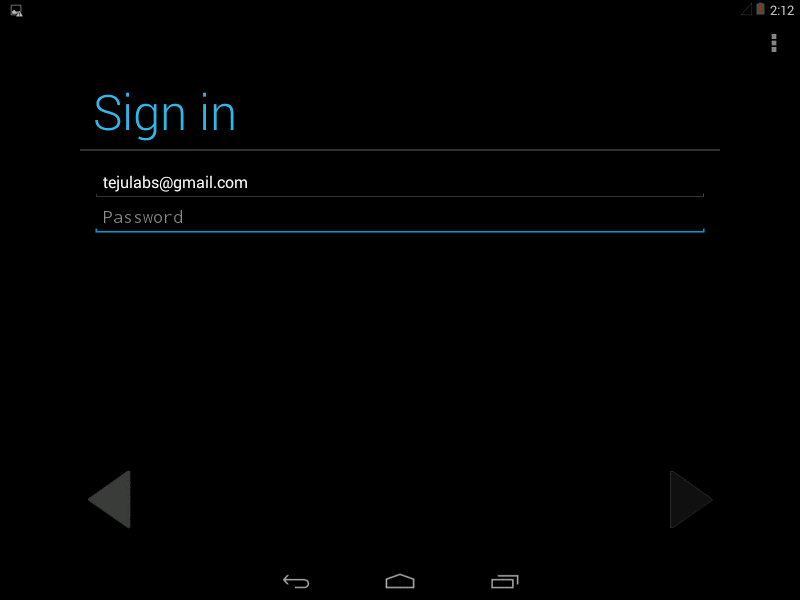
10. Now we can use the Google Play Store to install the Company Portal app. Navigate to the Play Store in your list of apps, and enter a Google account. Go through the rest of the setup, and you should be taken to the home screen of the Play Store
11. Now, search the play store for ‘Company Portal.’ The first result that is displayed should be the correct one. Install the Company Portal app on the Android VM.

Now we’re all ready to enroll the device in Windows Intune! The next part of the series will go through how to enroll the device, and verify enrollment in the System Center Configuration Manager console.
Stay tuned…