Enabling Hyper-V Remote Management - Configuring Constrained Delegation For Non-Clustered Live Migration
In Windows Server 8 we added the ability to live migrate virtual machines without the requirement of a cluster i.e. standalone live migration. For this feature to work the storage the virtual machine is using must be available to both Hyper-V severs which implies that it’s hosted on an SMB share – we also have the ability to perform a live storage migration in concert with the virtual machine live migration in Windows Server 8 but I’ll get to that latter. If you read my last post on Enabling Hyper-V Remote Management - Configuring Constrained Delegation For SMB and Highly Available SMB which discusses configuring the Hyper-V severs to delegate credentials to the SMB server this process is similar to that and the configuration of the SMB delegation is a prerequisite for this post.
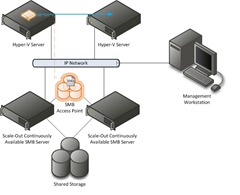
Going back to the example from my last post let’s take an environment similar to this – we have a two node Windows Server 8 Scale-Out file server cluster, two standalone Hyper-V servers and a remote management workstation. In the last post we configured constrained delegation between the two Hyper-V servers and the SMB server which allowed us to create a new virtual machine on the one of the Hyper-V servers with the virtual machines storage residing on the SMB share. Now we want to live migrate that virtual machine to the second Hyper-V server. In order to accomplish this we again must enable constrained delegation.
Overview of Process
- Configure Constrained Delegation Between the two Hyper-V Servers
- Enable Live Migration on Both Hyper-V Servers
- Live Migrate The Virtual Machine
Configure Constrained Delegation Between the two Hyper-V Servers
For Each Hyper-V Server…
- Using The Active Directory Users and Computers Dialog Open The Properties Dialog On The Computer Account and Select The Delegation Tab
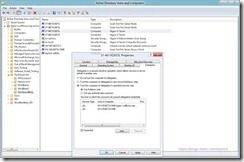
- “Trust this computer for deliberation to the specified services only” Correction Use Kerberos only works
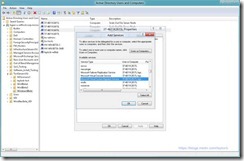
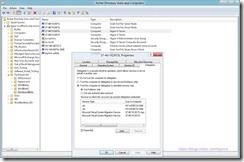
and “Use any authentication protocol”should already be selected and the CIFS service should be enabled with the SMB server. - Select “Add” and Provide the Name Of The Other Hyper-V Server(s) (37-4611K2717L in my example)
Enable Live Migration on Both Hyper-V Servers
For each Hyper-V Server you need to enable live migration this is disabled by default as a security precaution as not every server may want to allow migrations to and from it.
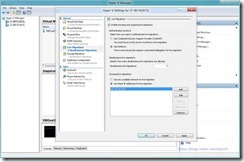
- From the Hyper-V Manager UI open the Hyper-V Settings
- Select the Live Migration node
- Check the “Enable incoming and outgoing live migrations” option
- Select “Use Kerberos” from the authentication protocol – if you don’t select this when you try to live migrate using a remote UI you will get an error (here’s the error message so bing will find it when someone forgets this step :)
“Virtual machine migration failed at migration source. Failed to establish a connection with host <destination> The credentials supplied to the package where not recognized (0x8009030D). Failed to authenticate the connection at the source host: no suitable credentials available.” - Optionally you can specify the networks that allow live migrations over them – this is recommended to prevent live migrations (which are unencrypted) from going over public networks.
Live Migrate The Virtual Machine
We are now ready to live migrate the virtual machine.
- From the Hyper-V Manager Right Click on The Virtual Machine and Select Move
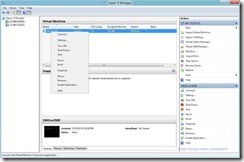
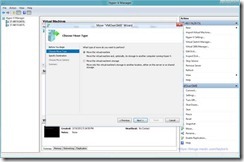
- Select “Move the virtual machine” to specify a live migration
- From the Move Options Page Select “Move only the virtual machine” as the VHD and configuration are already on our SMB server
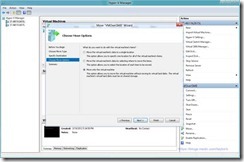
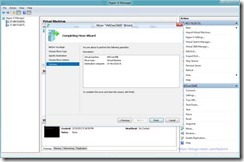
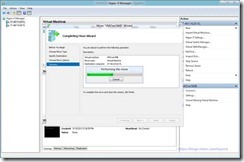
- Select Finish To Start the Live Migration
Done…
Taylor Brown
Hyper-V Enterprise Deployment Team
taylorb@microsoft.com
https://blogs.msdn.com/taylorb

