Microsoft Surface – Going below the Surface
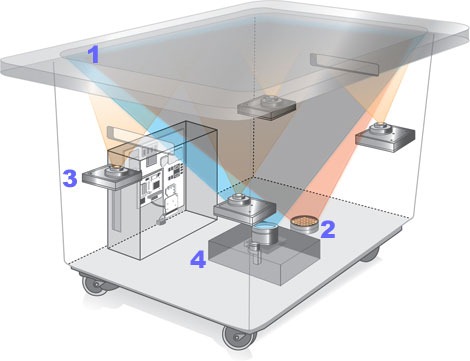
After the first episode “Microsoft Surface Computer – Unboxing!”, I am now presenting a sequel I call “Going below the Surface”. I had the chance to assist a service technician in his task to replace the main computing unit of a Surface computer, a chance for me to get to know the “insides” of the Surface, not just from the diagrams.
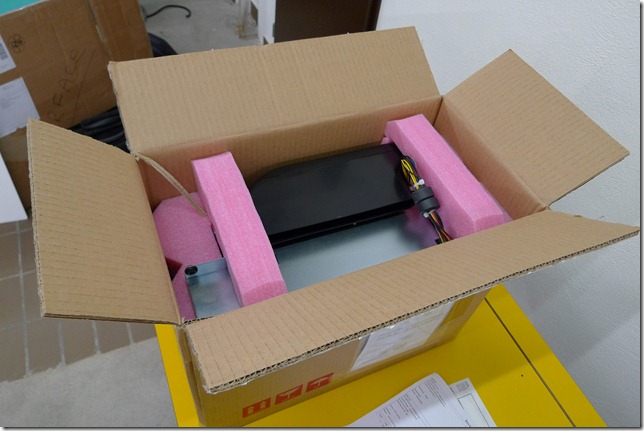
Microsoft sent an entire new computing unit, so the mission was to swap the Surface’s built in PC.
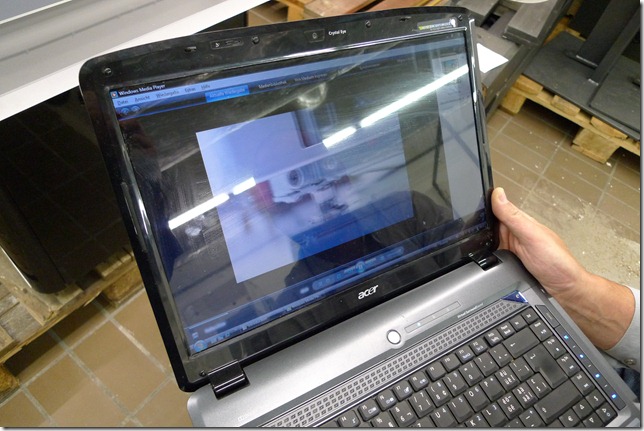
First, we had another look at the video explaining the hardware disassembly.
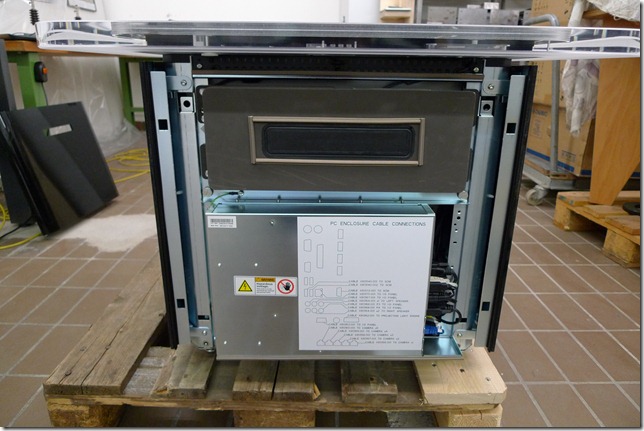
The next step was to remove the two head panels, one revealing the ports, the opposite one revealing the computer.
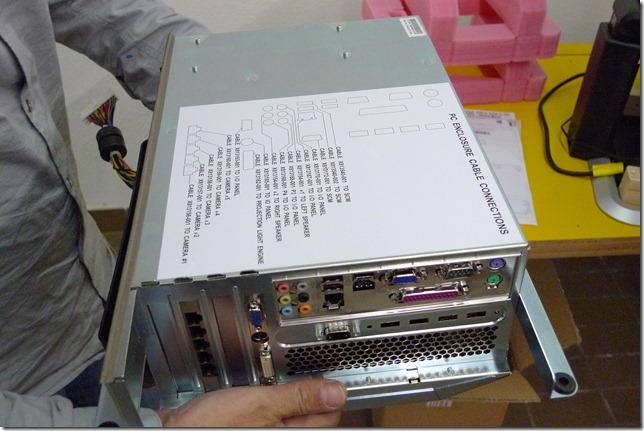
A look at the computer’s ports shows five Ethernet ports (to the far left) used to connect to the Surface’s cameras.
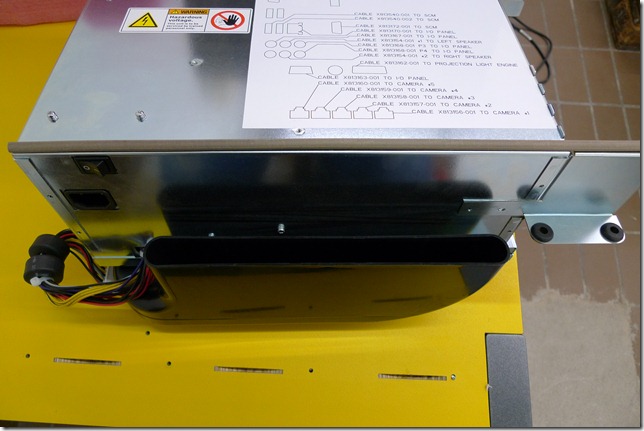
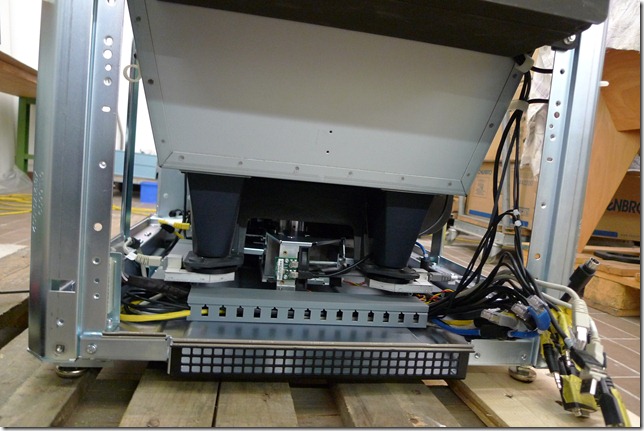
A look at the unit’s bottom side shows the ventilation system.
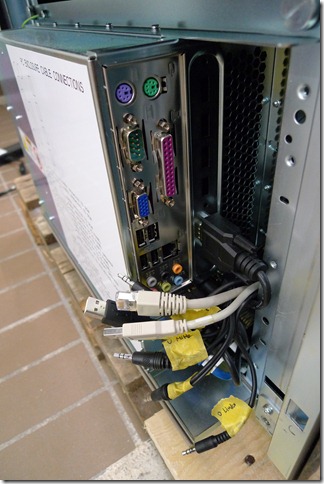
Now we started to unplug the damaged unit. We decided that labeling the cables makes sense especially as the six audio cables all look the same.
Next we removed the two side panels. Tip: Make a note which is the left and which is the right panel as well as what side is “up” to not confuse them when re-assembling.
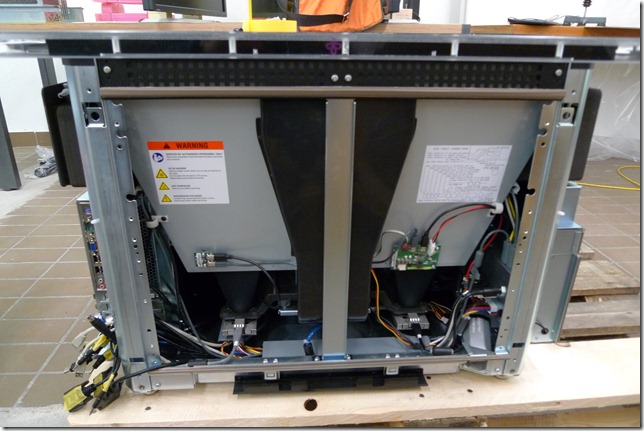
This gives much better access to all the ports on one side and to the power connector on the other.
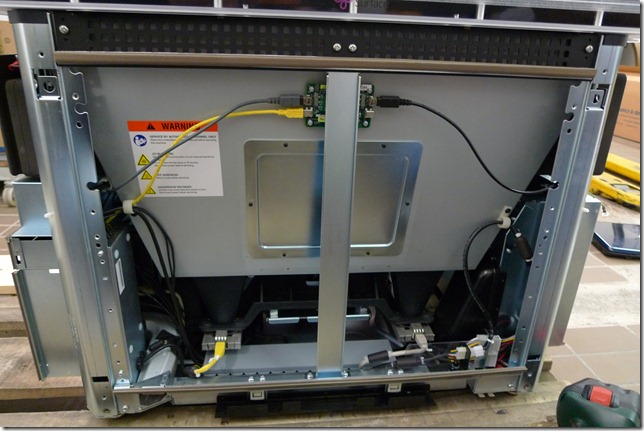
You can also see the Ethernet cables plugging into the cameras.
After a good hour we had the unit reassembled and working again. The Surface computer really is a very nice machine, even “below the Surface”, constructed very solid and of high-quality.
And its insides would make a gorgeous fake bomb in any episode of “James Bond” or “24” for the heroes to disarm in the last 3 seconds of the countdown.
