TabletPC Development Gotchas Part 5: Rendering ink and image to a bitmap using Winforms
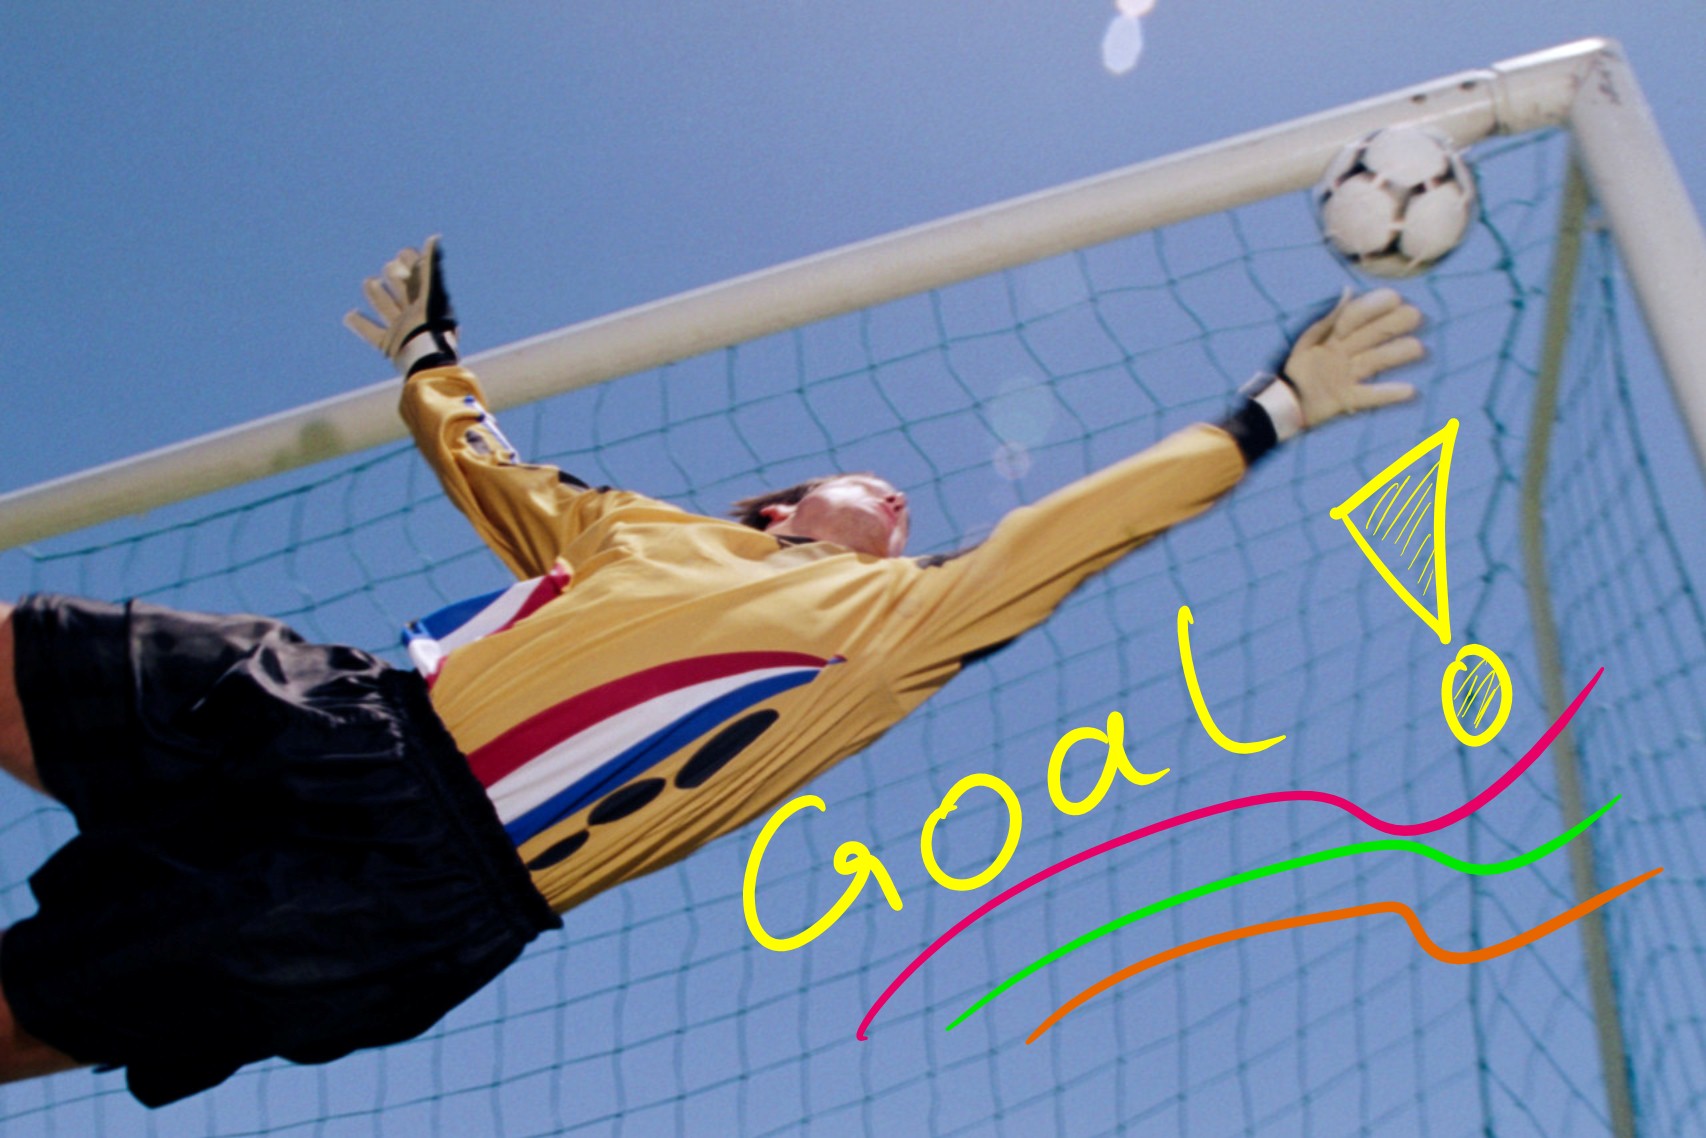
Annotating pictures with handwriting or drawings is a fun and useful scenario for digital ink. In many cases the application user wants to create a new image file with the ink annotation "burnt" into the picture, so they can use the result of their work in other contexts and with other applications (e.g. attach the annotated image to an e-mail or upload it to their personal web site or blog, like the image below).
So rendering ink on top of an image is a common scenario for TabletPC/Ink developers - and it should be real easy, right? Well, there is an important 'gotcha' you need to know about if you want to do this from Winforms. But let's start with native code first.
Using the COM Ink API in native code
If you are using the ActiveX version of InkPicture (or the COM InkOverlay component) then rendering its ink to a GDI bitmap is easy. Just get the hDC (handle to device context) of the bitmap and use the InkRenderer.Draw() method:
pInkRenderer->Draw(hDCtargetBitmap, pStrokesToRender);
Using the Winforms Ink API to target XP (Microsoft.Ink v1.7)
In managed Winforms code, the object that corresponds to the hDC is the System.Drawing.Graphics object. So the intuitive approach would be to get the Graphics object of the Winforms target bitmap and then use the Microsoft.Ink.Render.Draw() method to render the desired ink strokes on top of it. Something along the lines of this:
Graphics graphicsTarget = Graphics.FromImage(imageToSave);
inkPicture1.Renderer.Draw(graphicsTarget,
inkPicture1.Ink.Strokes);
imageToSave.Save(“InkAndImage.bmp”);
Unfortunately, the result of this operation does not look great: the quality of the ink on the bitmap is not the same as what you see on the screen. Especially if you set some advanced DrawingAttributes (like Transparency or RasterOperations) the resulting bitmap does resemble the image on the screen very well. What is the reason for this behavior? The short version is that the underlying Ink Renderer and the managed Winforms images use GDI in slightly different ways, so the rendering operation has to fall back to a lower quality mode.
Fortunately, there is a workaround: we can take both the Winforms image and our ink strokes and render them to a temporary device-independent-bitmap. Then we'll render the result of that to the actual target bitmap. In order to do this, however, we have to do some manged<->native code interop magic. All that magic is encapsulated in the DibGraphicsBuffer class (see highlighted line below). This helper class is included in the attached sample project. Here is the relevant code to apply the workaround using that helper class:
Graphics graphicsTarget = Graphics.FromImage(imageToSave);
Graphics graphicsSrc = inkPicture1.CreateGraphics();
DibGraphicsBuffer buffer = new DibGraphicsBuffer();
Graphics graphicsTemp = buffer.RequestBuffer(graphicsSrc,
inkPicture1.Image.Width,
inkPicture1.Image.Height);
graphicsTemp.DrawImage(inkPicture1.Image, new Point(0, 0));
inkPicture1.Renderer.Draw(graphicsTemp, inkPicture1.Ink.Strokes);
buffer.PaintBuffer(graphicsTarget, 0, 0);
Using the Winforms Ink API to target Vista (Microsoft.Ink v6.0)
In order to address the limitation of the XP API, the Vista version of Render.Draw() now has an additional overload that makes the above workaround obsolete (of course the workaround still works on Vista). You can now pass in a Bitmap object directly to the API, and your ink gets rendered onto the image in the highest quality with a one-liner:
inkPicture1.Renderer.Draw((Bitmap)imageToSave, inkPicture1.Ink.Strokes);
Attached Code projects:
I have attached two complete code projects to illustrate how to get the best results on both XP and Vista:
1) RenderInkOnBitmapXP - utilizes the DibGraphicsBuffer class to apply the workaround for Windows XP
2) RenderInkOnBitmapVista - uses the new overload to demonstrate the best practice on Windows Vista