CRM Timer for the Case entity
One of the features that we don't have in the case entity is a timer field to log the amount of time spent on a particular case. Everytime you open the case entity you would have some amount of time spent on the case and would need to track it for billing or just tracking purposes.
There could be various ways of implementing it. One of the ways i have implemented this feature has been described below
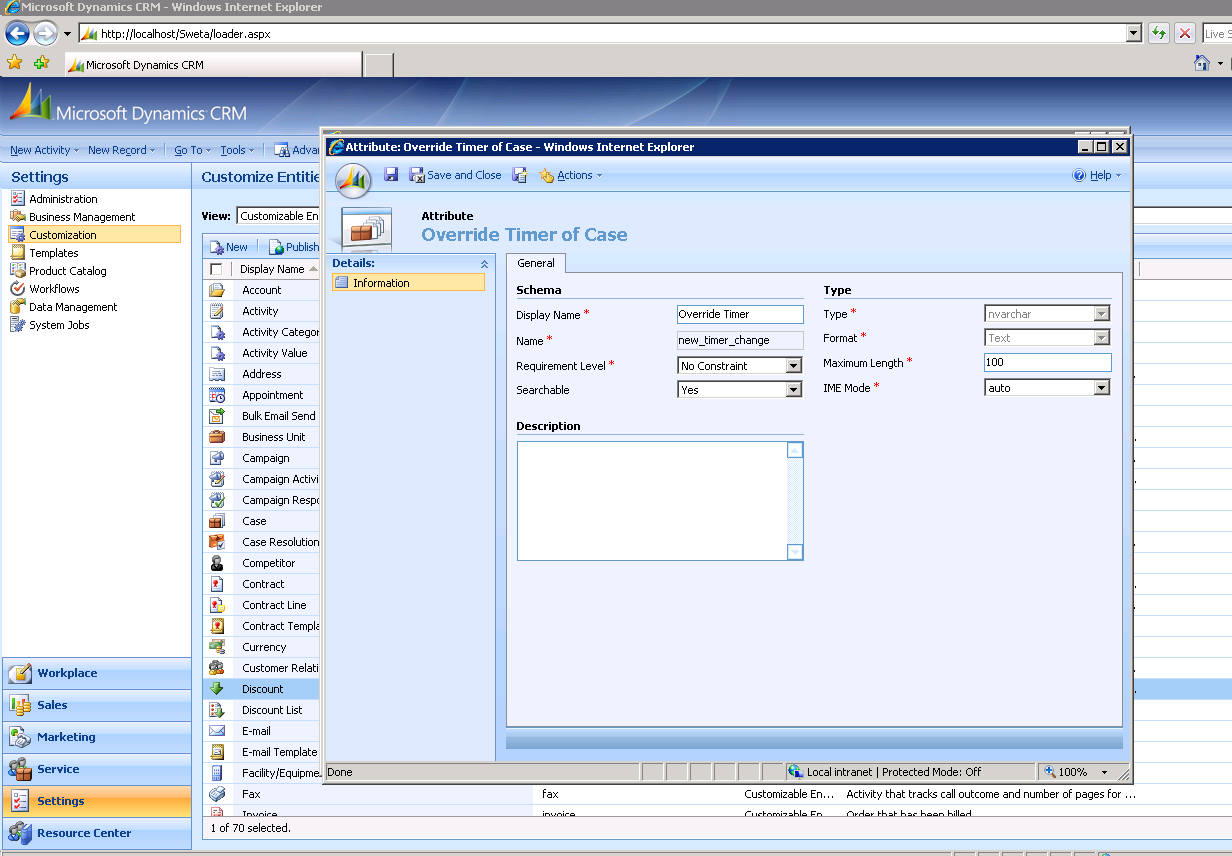
- 1. Create 2 new attributes for the Case Entity from the Customize Entities screen.
- a. new_timer_change
- b. new_timer_readonly

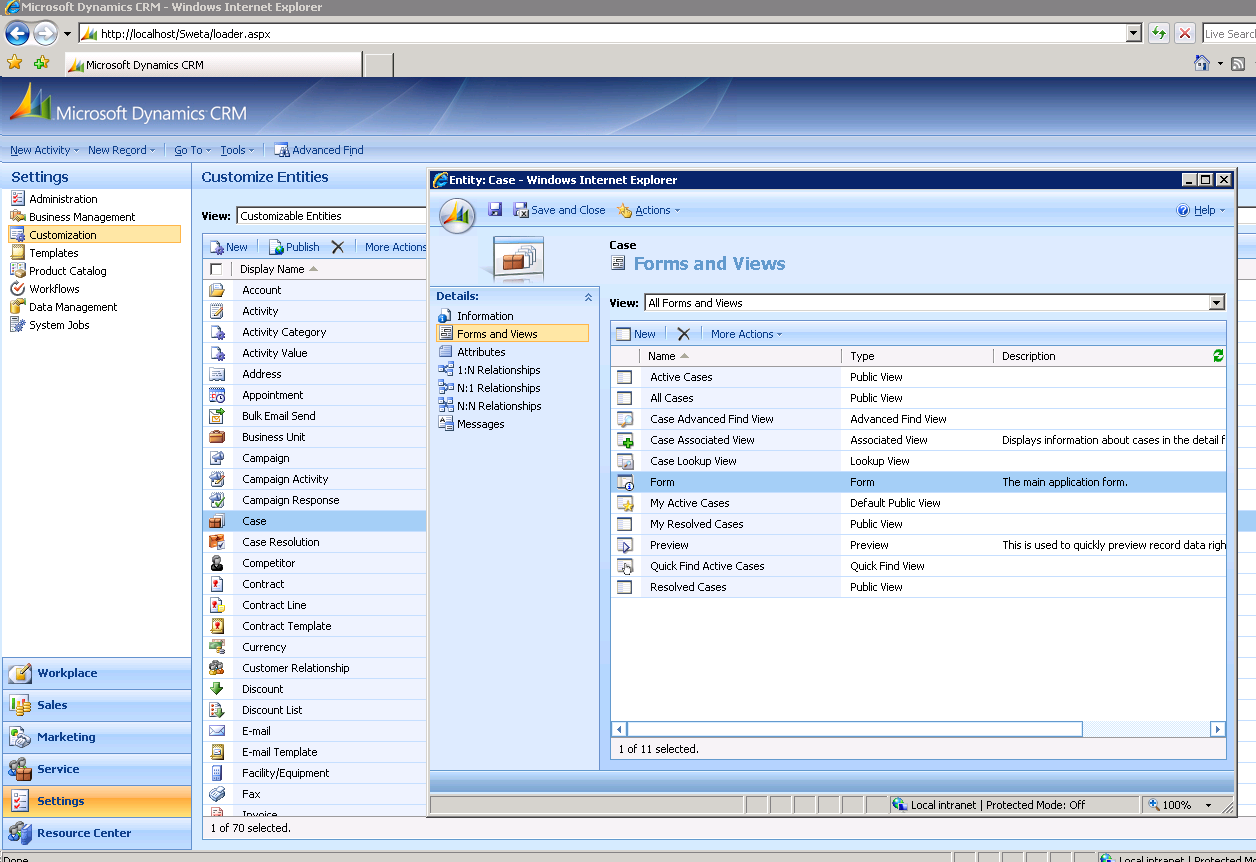
- 2. Go to the Customizations screen and in Customize Entities select the Case Entity. Open the case entity and click on the “Forms and Attributes” option there in the left menu of the screen.
Double click on “Form”.
- 3. In the Form’s entity screen go to Attributes and add the two new attributes for timers as fields on the screen.
Go the Notes tab and then add the fields to this tab. This can be done by clicking on Add Fields and selecting the new timer attributes and putting them inside a section called “Time Tracker” (refer to the diagram below for details on the arrangement I did for the timer fields)

Timer Tracker – New section added to the Case Entity for the Notes tab. You can change the tab name by double clicking on it.
Timer and Override Timer fields – New attributes added as Step 1 of this implementation
- 4. Once that is done, Save and Close the case entity form. The customized fields have been added. The next step is to add JavaScript to implement the timer.
Go the IIS of the application server where Dynamics CRM is hosted. Here, select the Microsoft Dynamics CRM website and open the ISV folder. Create another folder there called “Scripts”
Place a script file containing the script that I have given below in this folder.

var min = 0;var sec = 0;var hour = 0;var SD; crmForm.all.new_timer_readonly.disabled=true; if(crmForm.all.new_timer_change.value == ""){ crmForm.all.new_timer_readonly.value = "00:00";}else{ crmForm.all.new_timer_readonly.value = crmForm.all.new_timer_change.value; var str = crmForm.all.new_timer_change.value; var new_str = str.split(":"); sec = 0; sec = parseInt(sec); hour = parseInt(new_str[0]); min = parseInt(new_str[1]);}
window.onload = function() { Test(); SD=window.setInterval(Test, 1000);} function Test(){ sec++; if (sec == 60) { sec = 0; min = min + 1; } else { min = min; } if (min == 60) { min = 0; hour += 1; } if (sec<=9) { sec = "0" + sec; } crmForm.all.new_timer_readonly.value = ((hour<=9) ? "0"+hour : hour) + ":" + ((min<=9) ? "0" + min : min); }
|
- 5. Go back to the Customizations page for the Case Entity which we saw in Step 3.
Select the Case entity and go the Forms page again where we added new fields. Click on Form properties and you will find the following screen:
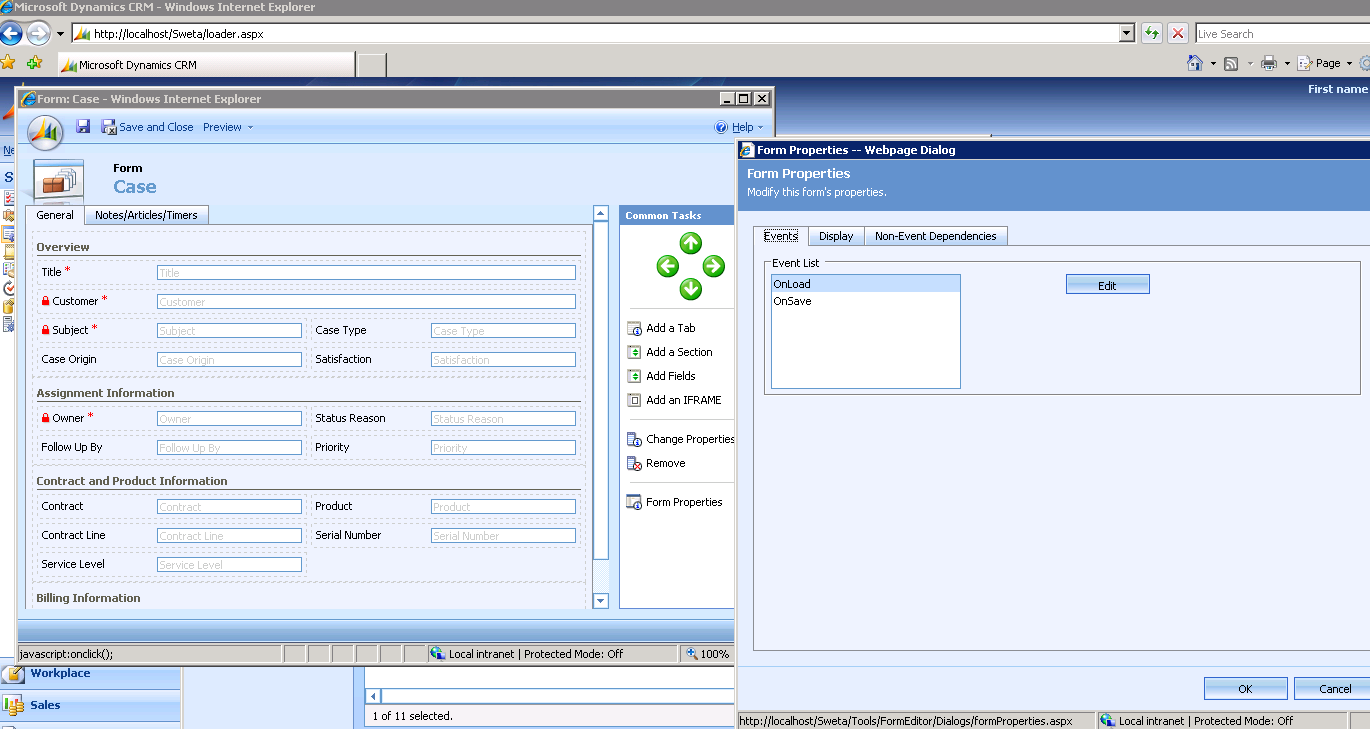
- 6. You will find the OnLoad and OnSave events here.
Select “OnLoad” and click on Edit to add functionality in the onload of the Case entity. This is for adding script to access the ScriptFile.js.
Add the following code to access the script file and select “Event is enabled”

Script to be added on the onload event:
(this script uses ActiveX and you would get a prompt to execute this script if your browser doesn’t have ActiveX enabled)
function IncludeExternalScript(scriptFile)
{
var netRequest = getXMLHttpRequest();
netRequest.open("GET", scriptFile, true);
netRequest.send();
var resText = netRequest.responseText;
eval(resText);
}
function getXMLHttpRequest()
{
return new window.XMLHttpRequest;
}
IncludeExternalScript('/ISV/Scripts/ScriptFile1.js');
onload();
- 7. Place this script on the OnSave event on the form. Refer to the previous step to know how to go back to the OnSave event.
Select the “Event is enabled” checkbox.
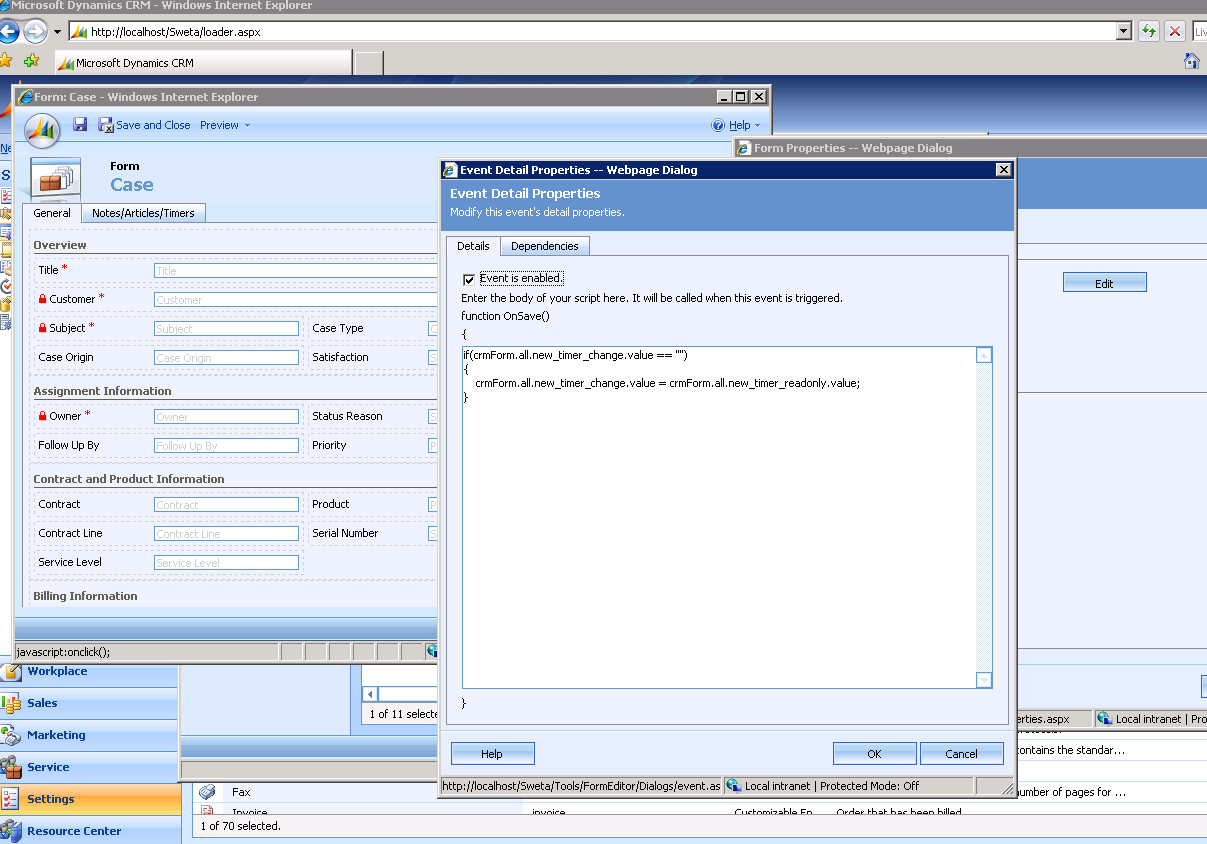
Script to be put here:
if(crmForm.all.new_timer_change.value == "")
{
crmForm.all.new_timer_change.value = crmForm.all.new_timer_readonly.value;
}
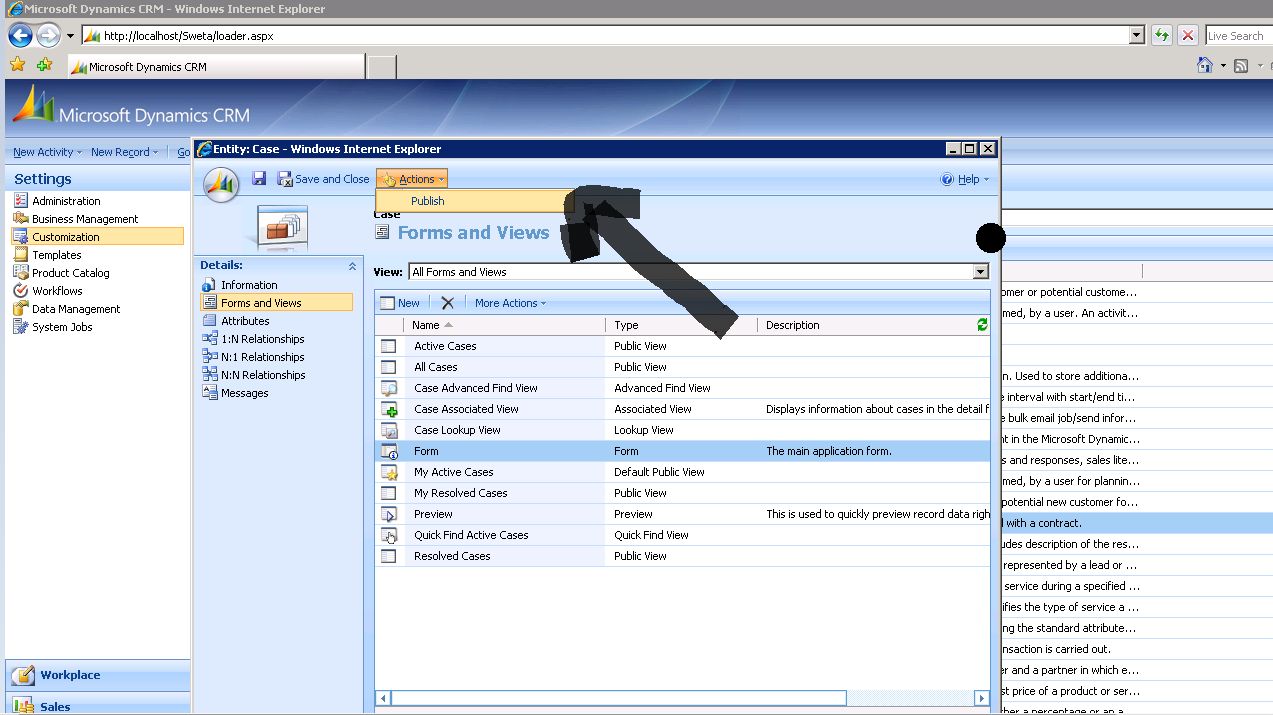
- 8. Once this is done Save and Close the form and go to the main Case entity screen and click on Publish to publish the changes into the Case form. Refer to the screen shot for the publish button (indicated with an arrow).
- 9. Once this is done, you can go back to your Services module in CRM, select Cases in the left navigation menu and add new cases. Go to the Notes tab and check the Timer field incrementing after each minute. You can override the timer by adding time in the “same format” as displayed in the Override Timer field.
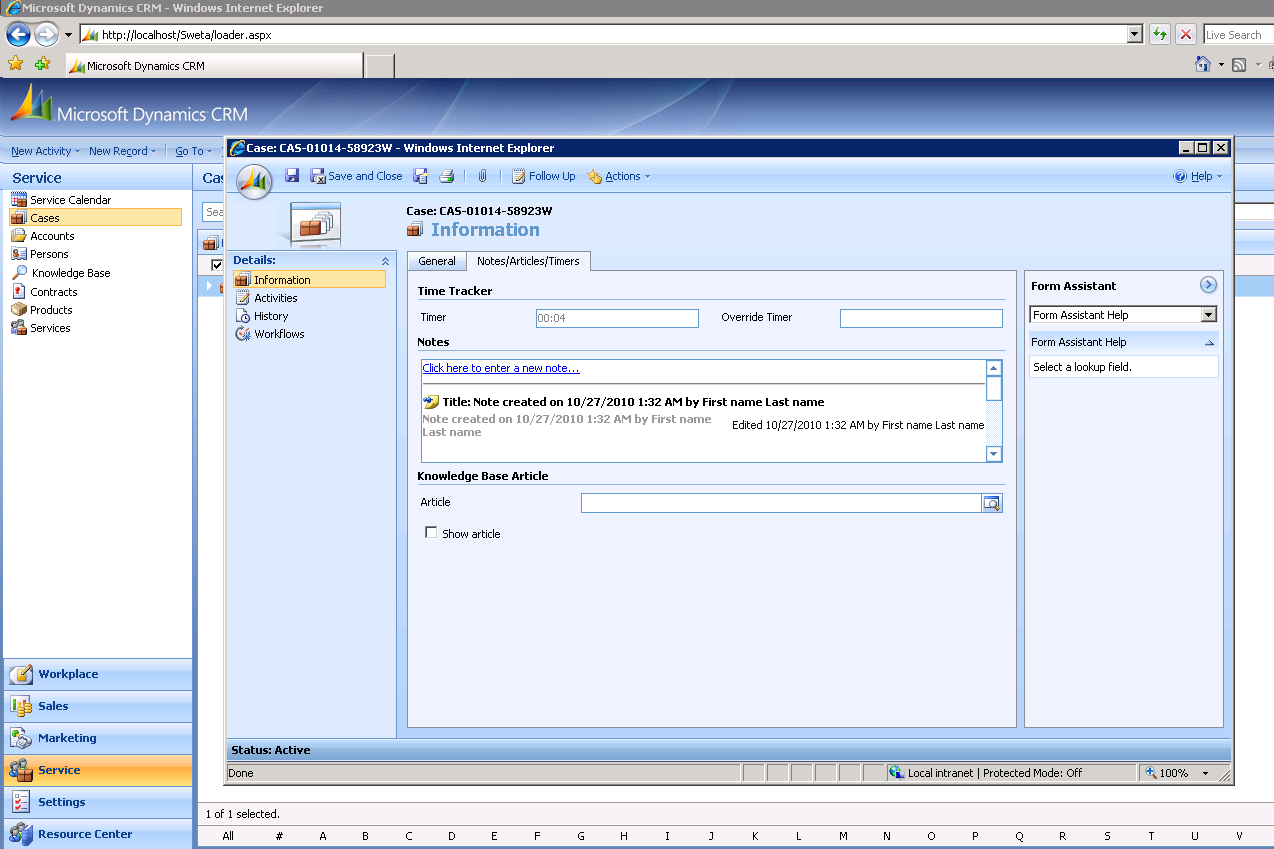
And voila, it is done.
The implementation I have done here is on CRM 4, and it can be implemented similarly on CRM 2011.