Test Drive the New TFS 2015 Build System
With TFS 2015, we have shipped a brand new build system, which replaces the Workflow/XAML-based build engine that was part of previous editions. The new build system has a host of new capabilities such as:
- Easy customization: No need to ramp up on XAML workflow to customize the build. Edit in the web and leverage existing knowledge of popular script languages.
- Cross-platform support: The build agents can now run not only on Windows, but also on Linux and Mac OSX.
- No more controllers: Agents can now span team project collections. Side-by-side installs and remote agents are xcopy (download from the web UI). And no need to install TFS on your build machines anymore.
Read more: https://msdn.microsoft.com/Library/vs/alm/Build/feature-overview
In this blog, I'd like to describe and walk you through to show how easy it is to build a windows build agent and create a new build definition.
Before we begin, lets us make sure the build agent machine is set up with:
- An operating system that is supported by Visual Studio 2013 or newer
- Visual Studio 2013 or Visual Studio 2015
- PowerShell 3 or newer
Note: If you are not the Team Services account owner or an on-premises server team project collection administrator, make sure you have been added as an agent pool administrator.
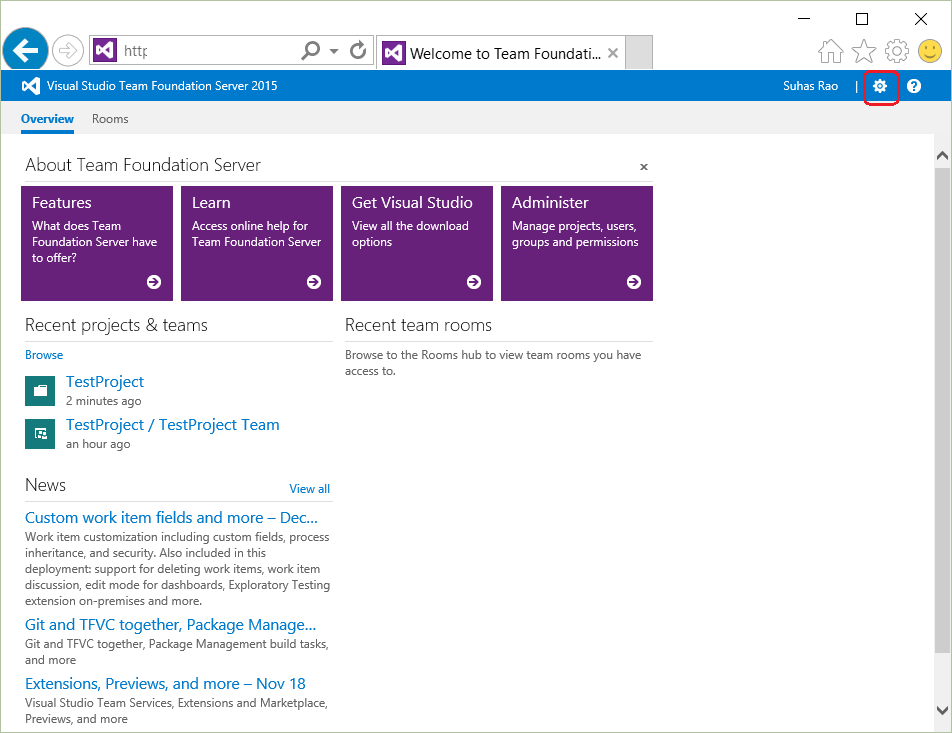
Let’s get started, login to the box you want to configure as the Build agent, navigate to the TFS Web URL home page, and click on Settings at top-right corner of the page.
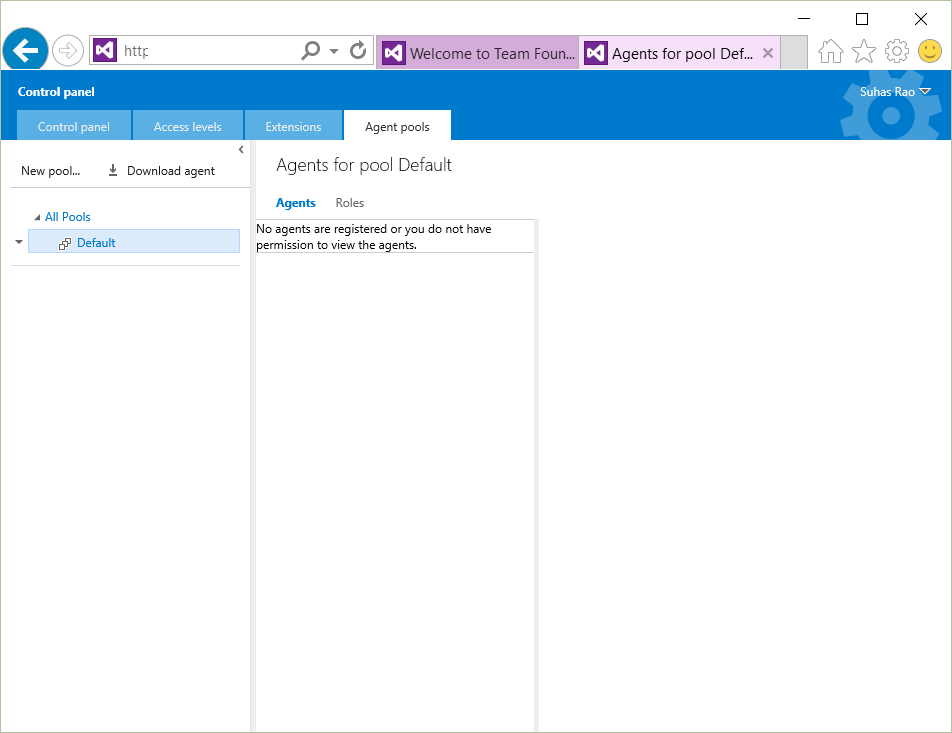
From the Control panel > select the tab ‘Agent Pools’
Since this is the first agent we are configuring we will see the message – ‘No agents are registered or you do not have permission to view the agents’ as shown below.
Now click on the ‘Download Agent’ option, download and extract the zip file to any location on the machine you want to configure as the build agent.
In case the zip file or any of its files are is ‘blocked’, ‘unblock’ them.
Run the ‘ConfigureAgent.cmd’ as administrator.
Few questions may be asked during this configuration step:
- Enter the name for this agent (default is Agent-SUTESIVS2013U4)
- Enter the URL for the Team Foundation Server (default is ) https://sutestvs2013u4:8080/tfs/
- Configure this agent against which agent pool? (default pool name is 'default')
- Enter the path of the work folder for this agent (default is 'C:\TFS2015NewAgent\agent\_work')
- Would you like to install the agent as a Windows Service (Y/N) (default is N)
- Enter the name of the user account to use for the service (default is NT AUTHORITY\LOCAL SERVICE)
Most questions are self-descriptive and we can choose to configure it as a Windows service, if desired. We can also create additional pools in which to run other instances of agents if required. For example, you might want to configure different security settings
for individual agents. For now, we will stick with the Default pool. Once run, we should see the following success message:
Installing service vsoagent.sutestvs2013u4.Agent-SUTESTVS2013U4...
Service vsoagent.sutestvs2013u4.Agent-SUTESTVS2013U4 has been successfully installed.
Creating EventLog source vsoagent.sutestvs2013u4.Agent-SUTESTVS2013U4 in log Application...
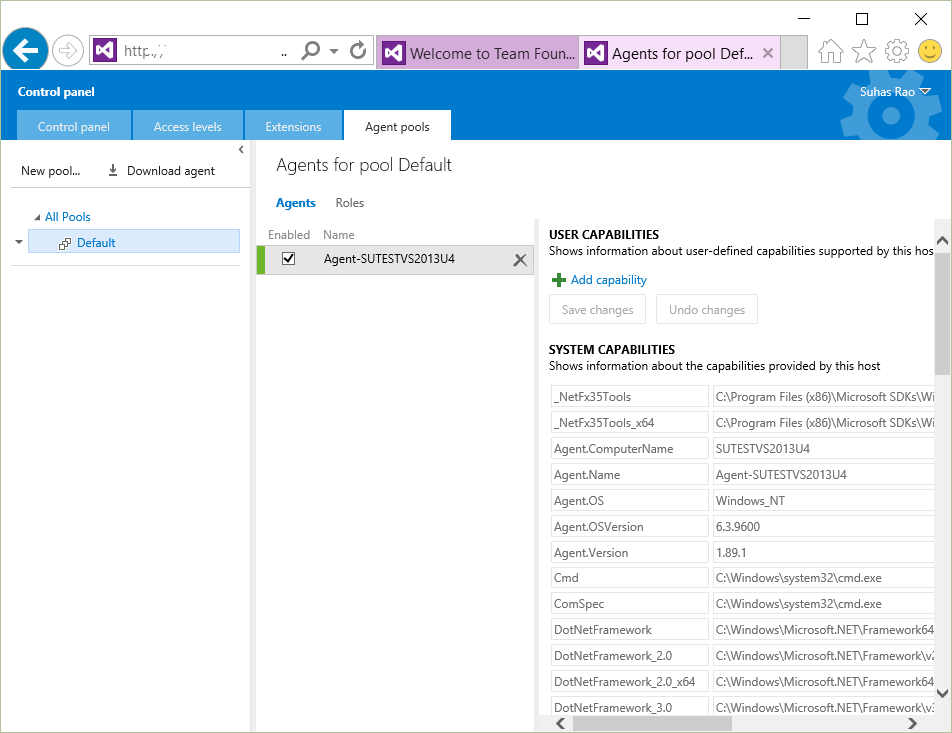
Refresh the TFS Portal page and Voila! we should now be able to see the new build agent and its capabilities.
Next, let us create a simple new build definition.
First navigate back to Home page > Select Team project and click on ‘Build’ Menu. Here we can see the older XAML build definitions as well as the new Web-based Build Definitions. We can add a new build definition by clicking on the big ‘+’ icon, which brings up the below dialog:
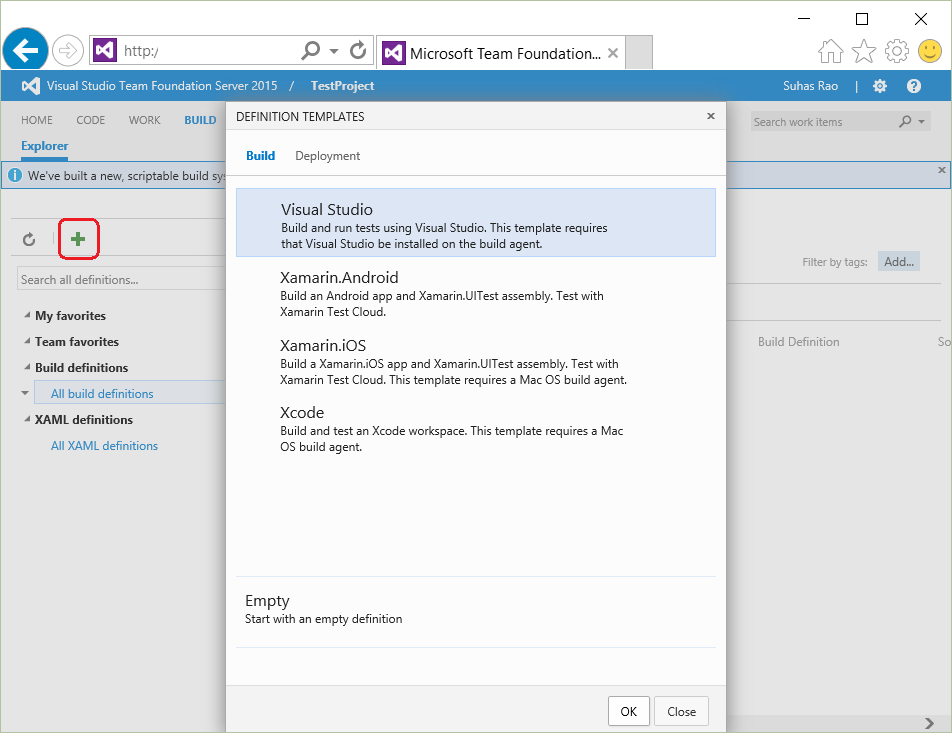
The Definition Templates dialog helps us choose from either existing templates or start with an empty definition. Let us choose the empty definition and then add build steps by selecting the ‘Add Build Step’ option. Clicking on ‘Add Build Step’ brings us the following dialog.

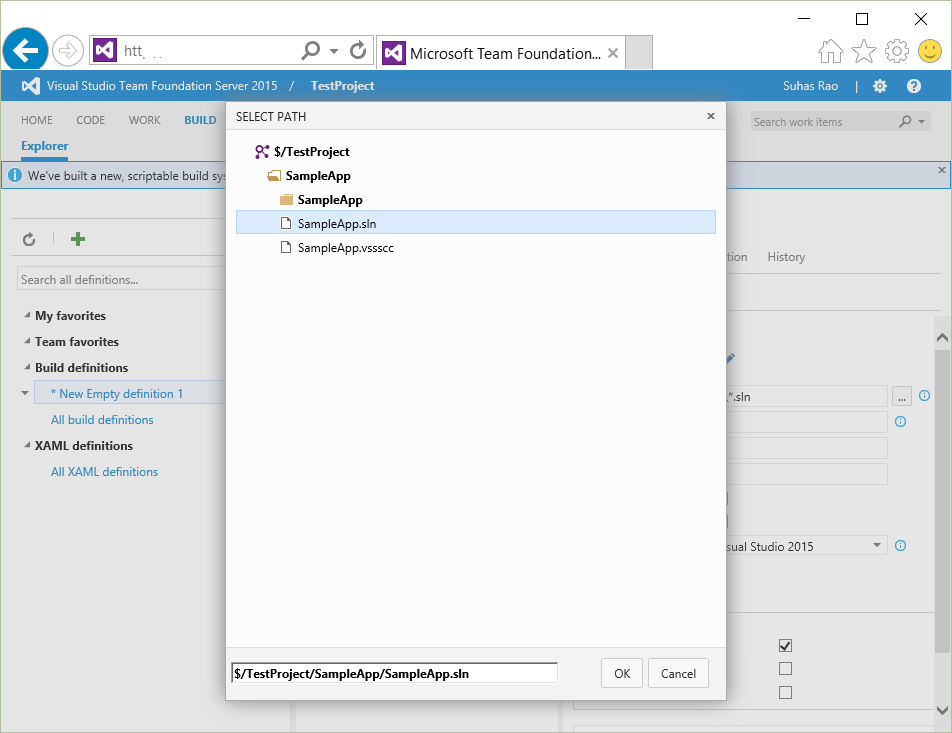
Here, add the option ‘Visual Studio Build’ and close the dialog. We can now select the solution location and save the definition with a name of our choice.
There are multiple other properties (variables, triggers, etc.) we can set and we can also add multiple build steps depending upon what we want to achieve – but that’s for another day!
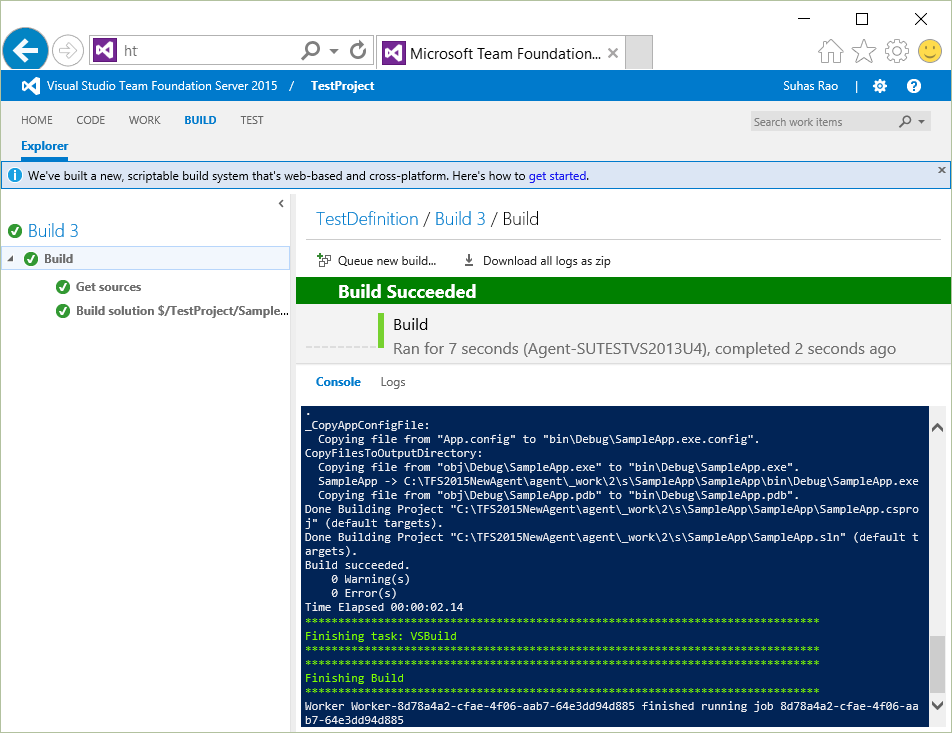
Once the build definition is saved, let us perform a quick test of our new build definition by queuing a new build – This should give us the sweet ‘Build Succeeded’ message.
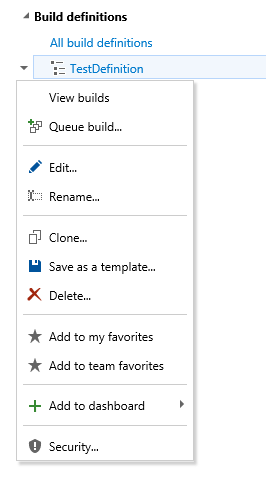
We can also create a Custom Build Template that can be used as a starter for other build definitions. Or set a build definition as a team favorite for others to follow when creating their build definitions by right clicking on a build definition and selecting the required option as shown here:
Related article to build ClickOnce apps: https://blogs.msdn.com/b/tfssetup/archive/2015/10/15/building-clickonce-apps-using-build-vnext.aspx