Deploying Virtual Apps with SCCM
My last post discussed the benefits of virtual apps, the components of App-V and briefly discussed integration with SCCM. For this post we will discuss how to deploy a virtualized app in SCCM. For this example we will use Microsoft Word 2007 viewer.
Sequence the app
The first step is to sequence the app. App sequencing is a topic all to itself and learning how to properly sequence can have challenges of its own. To me, being an SMS guy from the days of 1.2, sequencing is really similar to using the SMS Installer tool from days past. Instead of spending lots of time in sequencing we will use a pre-sequenced app. If you obtain a previously sequenced app and open it in the App-V sequencer you will be able to see all the details about the app. A few screenshots of our Word 2007 Viewer app-v package are show below.
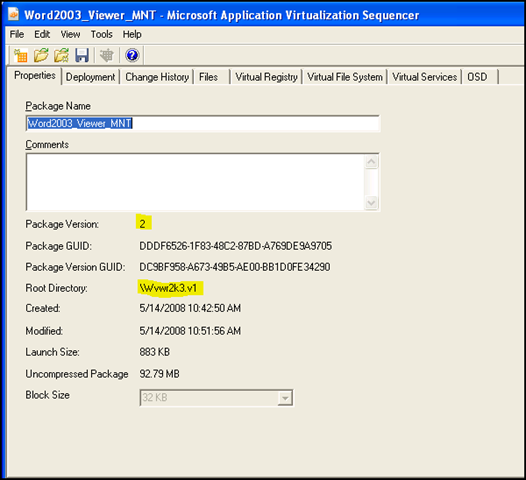
On the 'properties' tab notice the package version and the root directory. When sequencing an app a few best practices come up
1. Install the sequencer on a dedicated 'clean' system used just for the
purposes of app sequencing. When the sequencer runs it will capture
all of the changes that take place on the system during installation. If there are lots of other apps on the box there is greater potential that information will be captured as part of the sequence that is not needed, might cause problems or both. After the sequence is captured it is possible - and needed sometimes - to edit the captured information (files, reg entries, etc) to remove unneeded entries. Be very careful with any edits to the sequence as incorrectly making edits can render the sequence unusable.
2. Create a dedicated 'Q:' drive (either physical disk of partition) on the sequencer machine that will be used as the target directory for application install. Also, choose a folder name on the Q: drive that adheres to the 8.3 naming format as shown in the above screenshot. The reason for choosing the Q: drive is that this is the drive that the App-V client is set to use when building it's virtual environment. If Q: is a drive letter already in use then this can be changed but will need to be updated on both the sequencer and client. Some applications don't allow selection of an alternate drive and those apps can still be sequenced but, where possible, it is recommended to use the Q: drive.
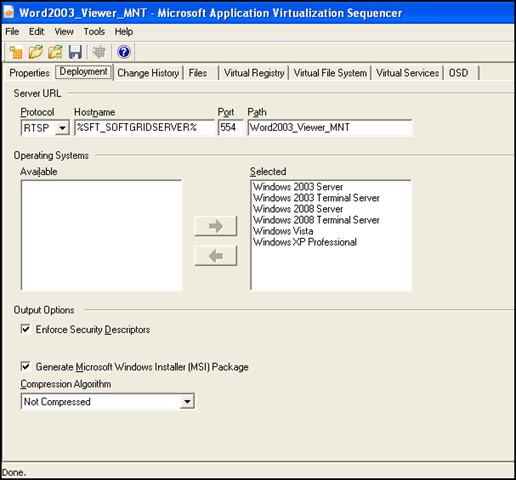
On the 'deployment' tab we see the streaming protocol to be used and the target OSes on which this virtualized app can be run.
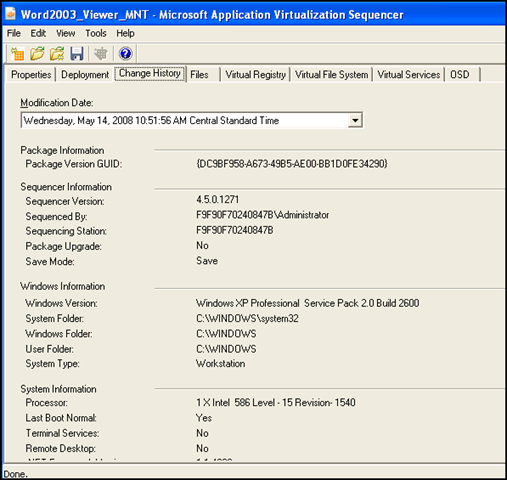
The 'change history' tab shows us the details of the package and the historical configurations for each version.
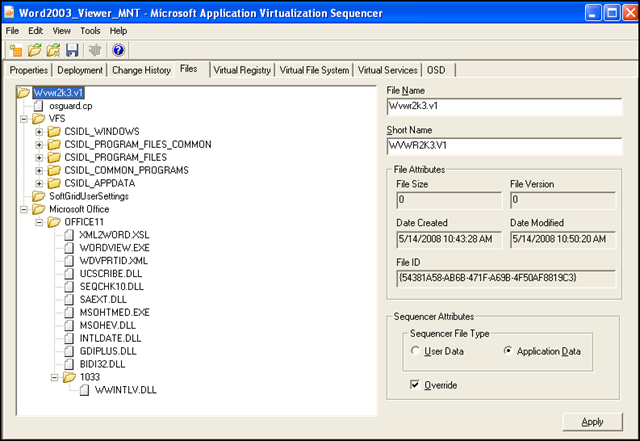
The 'Files' tab shows us the various files captured as part of the sequencing process. This list can be edited and files added/removed.
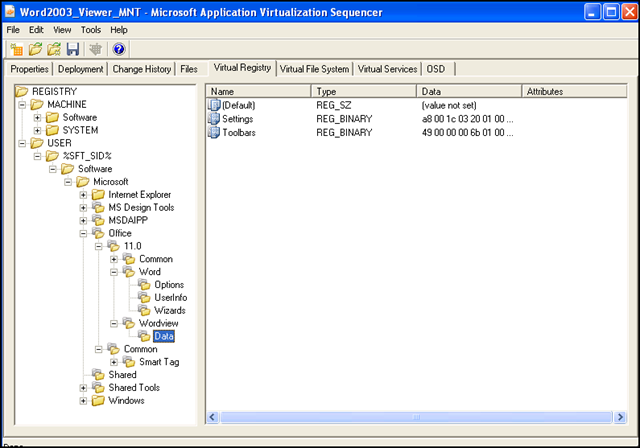
The 'Virtual Registry' tab shows the registry entries that have been captued as part of the sequencing process. This list can also be edited and entries added/removed as needed.
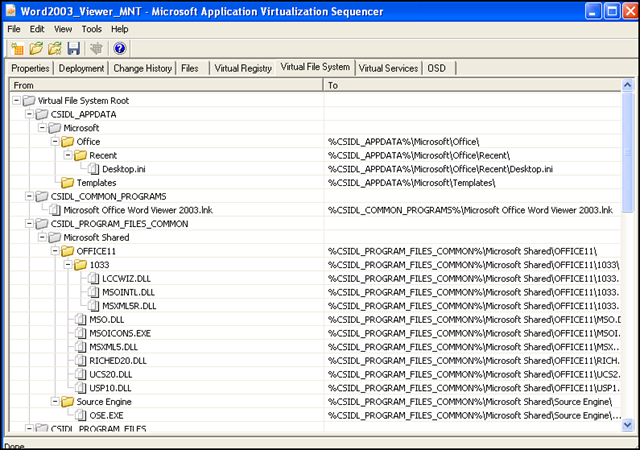
The 'Virtual File System' tab shows the mapping from the physical files captured to their sequenced equivalent.
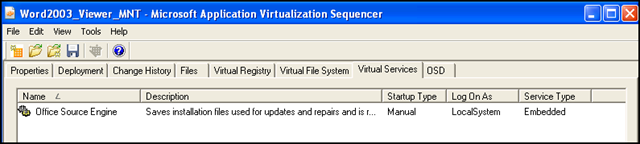
The 'Virtual Services' tab shows the services that are captured as part of the sequencing process.
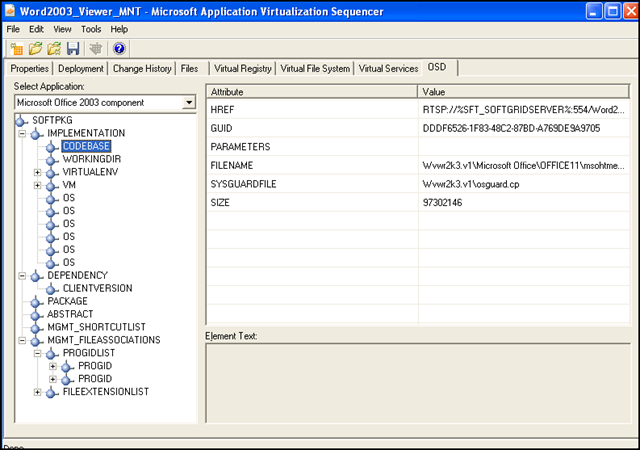
The 'OSD' tab shows the details of the OSD file created as part of the sequencing process. The OSD file is a key control file that is needed by App-V.
Once saved, we can examine the files created by the sequencer we see the following:
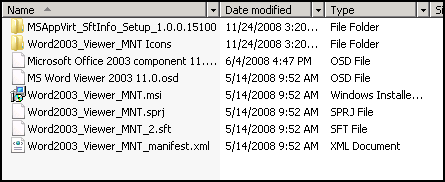
A couple of key files of interest - the OSD file which we just mentioned above and the SFT file. the SFT file is the end result of sequencing and contains the virtualized app and all of the details needed to create and execute it in a virtual environment on the client.
OK, enough about sequencing - except to again say that sequencing is the key to App-V. If we don't have a properly sequenced app we won't be successful with App-V. So make sure you understand sequencing well! Now that we have a properly sequenced app, let's plug it into SCCM.
Virtual Apps - Configuring SCCM
The first thing we have to do in SCCM is make sure our distribution points are enabled to deliver a virtualized app. You do that by going to any site system that is a distribution point and selecting properties on the distribution point component. From there we need to ensure two settings are enabled. First, on the general tab, make sure the 'Allow clients to transfer content from this distribution point using BITS, HTTP and HTTPS is enabled.

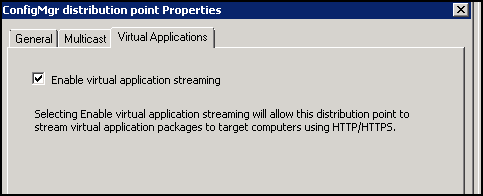
Next, on the 'Virtual Applications' tab, place a check mark to enabled the distribution point to serve virtual apps.
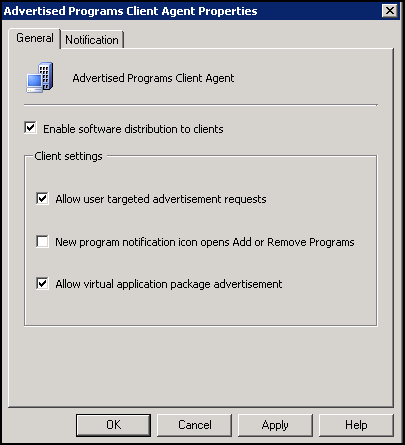
Then, enabled the advertised programs client agent to accept virtual application distributions as follows
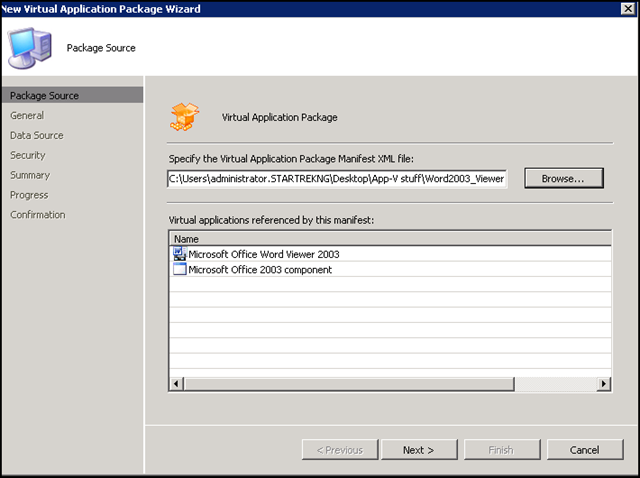
Now we are ready to create a virtual app package. In the SCCM console, navigate to Computer Management > Software Distribution > Packages. Right click on packages and select New > Virtual Application Package. On the first screen browse to the location of your virtual app package, specifically the XML manifest.
click Next and the information on the General page will be supplied for you based on the XML details. Supply any additional information or change as needed. Click Next on the General page and you will see the Data Source page.
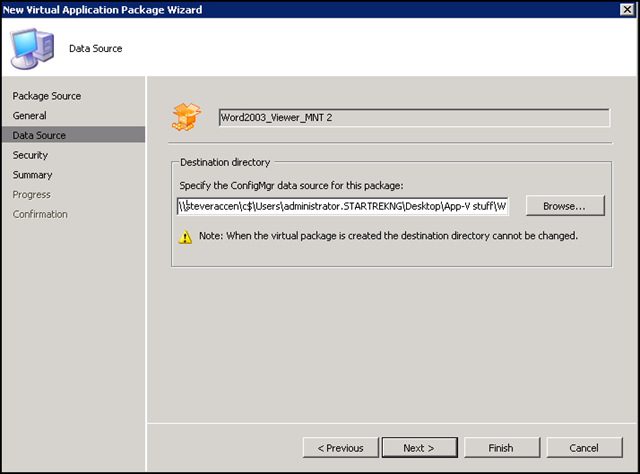
On this page, supply the UNC path to the directory that will serve as the SCCM source directory for this virtualized app. SCCM will make appropriate modifications to the package and copy contents to this directory. This is done to ensure SCCM has it's own version of the package source to which changes can safely be made without affecting the master source directory for the virtualized app.
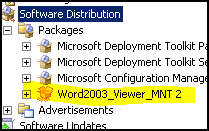
The remaining screens of the wizard are standard so we won't show screenshots. When the wizard is finished we will have a new virtualized app package noted by the unique icon.
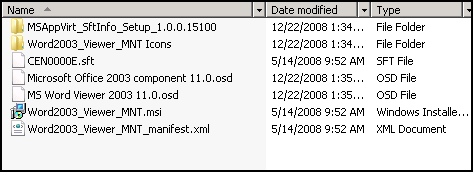
If we look at the SCCM package source for our virtualized app we notice a couple of changes. Compare to the screenshot above when we first created the sequenced package - note that a few files have not been copied over. SCCM only pulls over the needed files. Also note that the .sft file has been renamed with the SCCM package ID instead of the original file name.
Like in normal software distribution, add your virtualized app package to a distribution point enabled for delivering virtual apps and then create an advertisement.
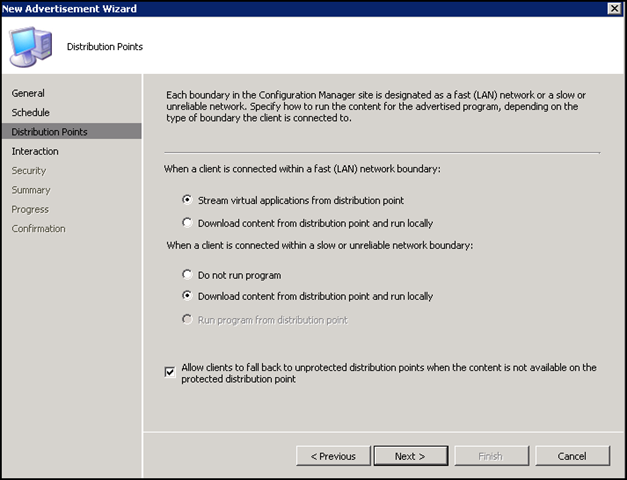
When you create the advertisement note that there is no unique option for sending a virtualized app - just choose the standard advertisement option. The pages of the wizard are standard until you get to the 'distribution points' tab. Here you noticed that SCCM detected the app is virtual and is presenting you options accordingly.
OK, all done, we are ready to stream the app on our SCCM clients - right? Well, maybe - first we have to make sure the app-v client is installed on all of our SCCM clients that will receive the virtual app because the app-v client piece is the one that actually runs the app. So, lets pause here and look quickly at an SCCM client that has the app-v client installed and has received policy indicating it should run the virtual app we just advertised.
App-V Client
When we open the app-v client console we have several nodes available - application, file type association and publishing servers. If we right click on the op node, application virtualization [local] and go to properties we can see general information about the app-v client. A couple of tabs are worth pointing out here.
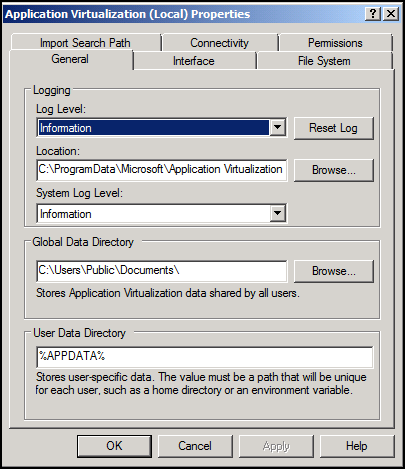
The 'general' tab shows us information about where log files are located, allows us to increase the verbosity of our logs and shows us the default user data directory.
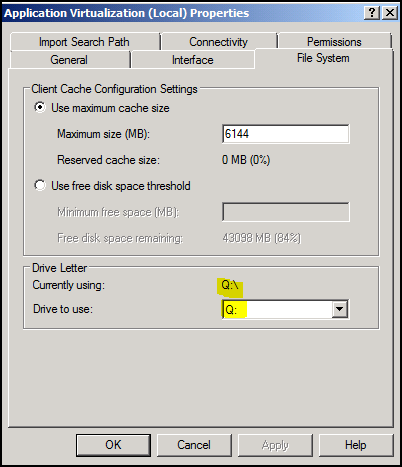
Remember the Q: drive? The 'file system' tab shows us the default drive letter that will be used to execute virtual apps. If you modified the drive letter from Q: to something else on your sequencing system you should modify it here too.
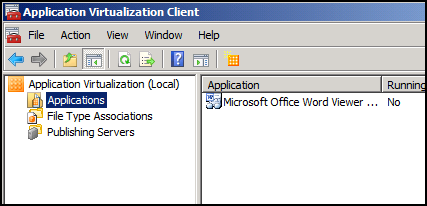
Looking at the applications node of the app-v client console we can see our word viewer package has arrived
Going to properties on the word viewer application we can see the details the app-v client will use to execute the application.
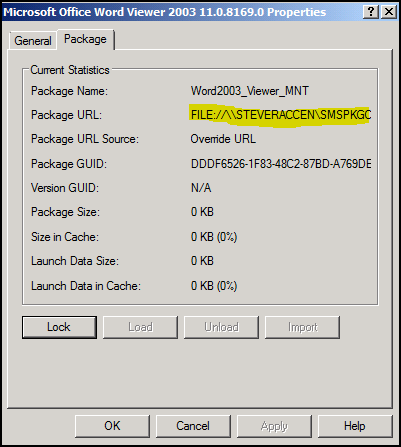
Notice the package URL points to my SCCM distribution point. In the case of my test app I've configured that streaming will occur from the distribution point. If I had selected to stream from the local cache the URL would point locally to my SCCM client cache folder.
App-V Package and SCCM Client
OK, now on to actually launching the virtual app. First, if we look in the 'run advertised programs' control panel applet we see that the virtual app is arrived and is available to run.
Just like a normal advertisement you can choose whether to make the virtual app run with a mandatory schedule or make it optional. If the choice is mandatory you much choose the option to 'allow user to run independent of assignment' for the app to show up as it does above.
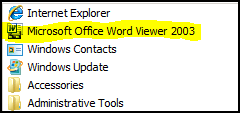
OK, now, finally, it's ime to run the virtual app! When the app executed all it did was place a shortcut on my start menu so the user can see the available app.
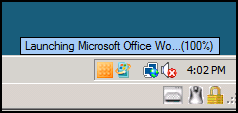
When we click on the app for the first time there will likely be a slight delay to start the app. After that, it's very quick. The only indication that the app is running virtual is a small progress bar in the right hand bottom corner of the screen when the app launches.
Besides that, you can't tell that word viewer is running virtually. It launches and works just like it would if it were installed locally.
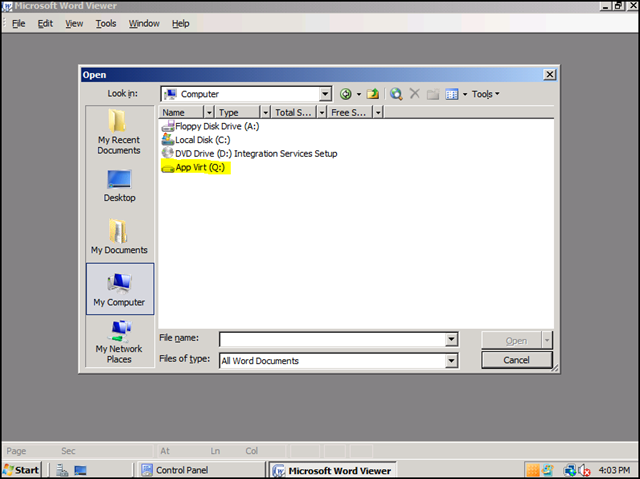
Notice a Q: drive is listed, noting that the application is running virtually - the drive is actually accessible through my virtual app but if you try to access the Q: drive from a cmd prompt you will get an access denied message - and the drive doesn't even show up in 'my computer'.
OK - thats it - application virtualization is definitely worth the time to learn. Hope this information helps!