Deploy Web Application to Azure VM Scale Sets using Packer and Team Services
Summary
Build and Release automation in Team Services helps to deploy ASP.NET Web Applications to Azure Virtual Machine Scale Sets (VMSS) through immutable Virtual Machine images that are created using Packer. Azure Visual Studio Team Services provides ready to use Templates for adding Build and Release Tasks that implement this integration with Packer. Through this automation, the a VMSS running in Azure is updated with a new VM image that contains the updated code in the Application.
Artefacts used in this article
The artefacts can be downloaded from the GitHub Repository here. Added to the Visual Studio 2015 ASP.NET Solution is a folder 'Deploy' that contains 2 PowerShell scripts that are described here
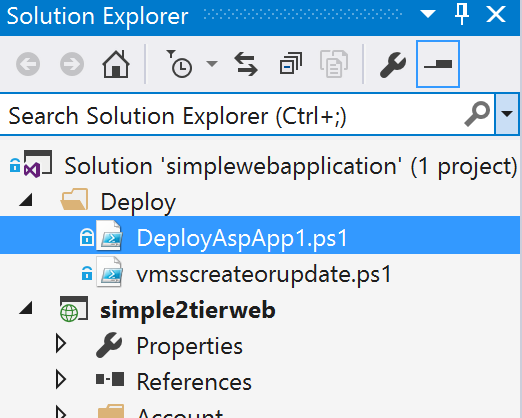
1. DeployAspApp1.ps1 -> Is invoked from the 'Build immutable image' Packer Task in Azure Team Services. It is used to
- prepare a new Windows Server VM from the Gallery, enable the role of a Web Server, download and install msdeploy.exe and tools
- Use the Web Application Package of the ASP.NET Application from the Build Step in the CI Pipeline, deploy that into IIS on this VM using msdeploy.exe
2. vmsscreateorupdate.ps1 -> is invoked after the creation of the custom image by Packer. It is used to
- Create a new VMSS instance in Azure if it does not exist already, using the custom image created in the previous step
- OR, update an existing VMSS instance with the custom image created in the previous step
Using the artefacts in the Solution
- Add this Visual Studio 2015 Solution to a Team Services Repository in Azure
- Create a Build Definition for the Solution in the Code respository. Configure the trigger to invoke this pipeline
- Create a Release Definition that would be triggered when the Build Process above executes
These steps are covered in more detail below
Build Definition in Azure Team Services
- Create a new Build Definition and use the Template - ASP.NET (Preview)
- Configure all the tasks in the template, link it to the Project Source code repository created for the ASP.NET Application
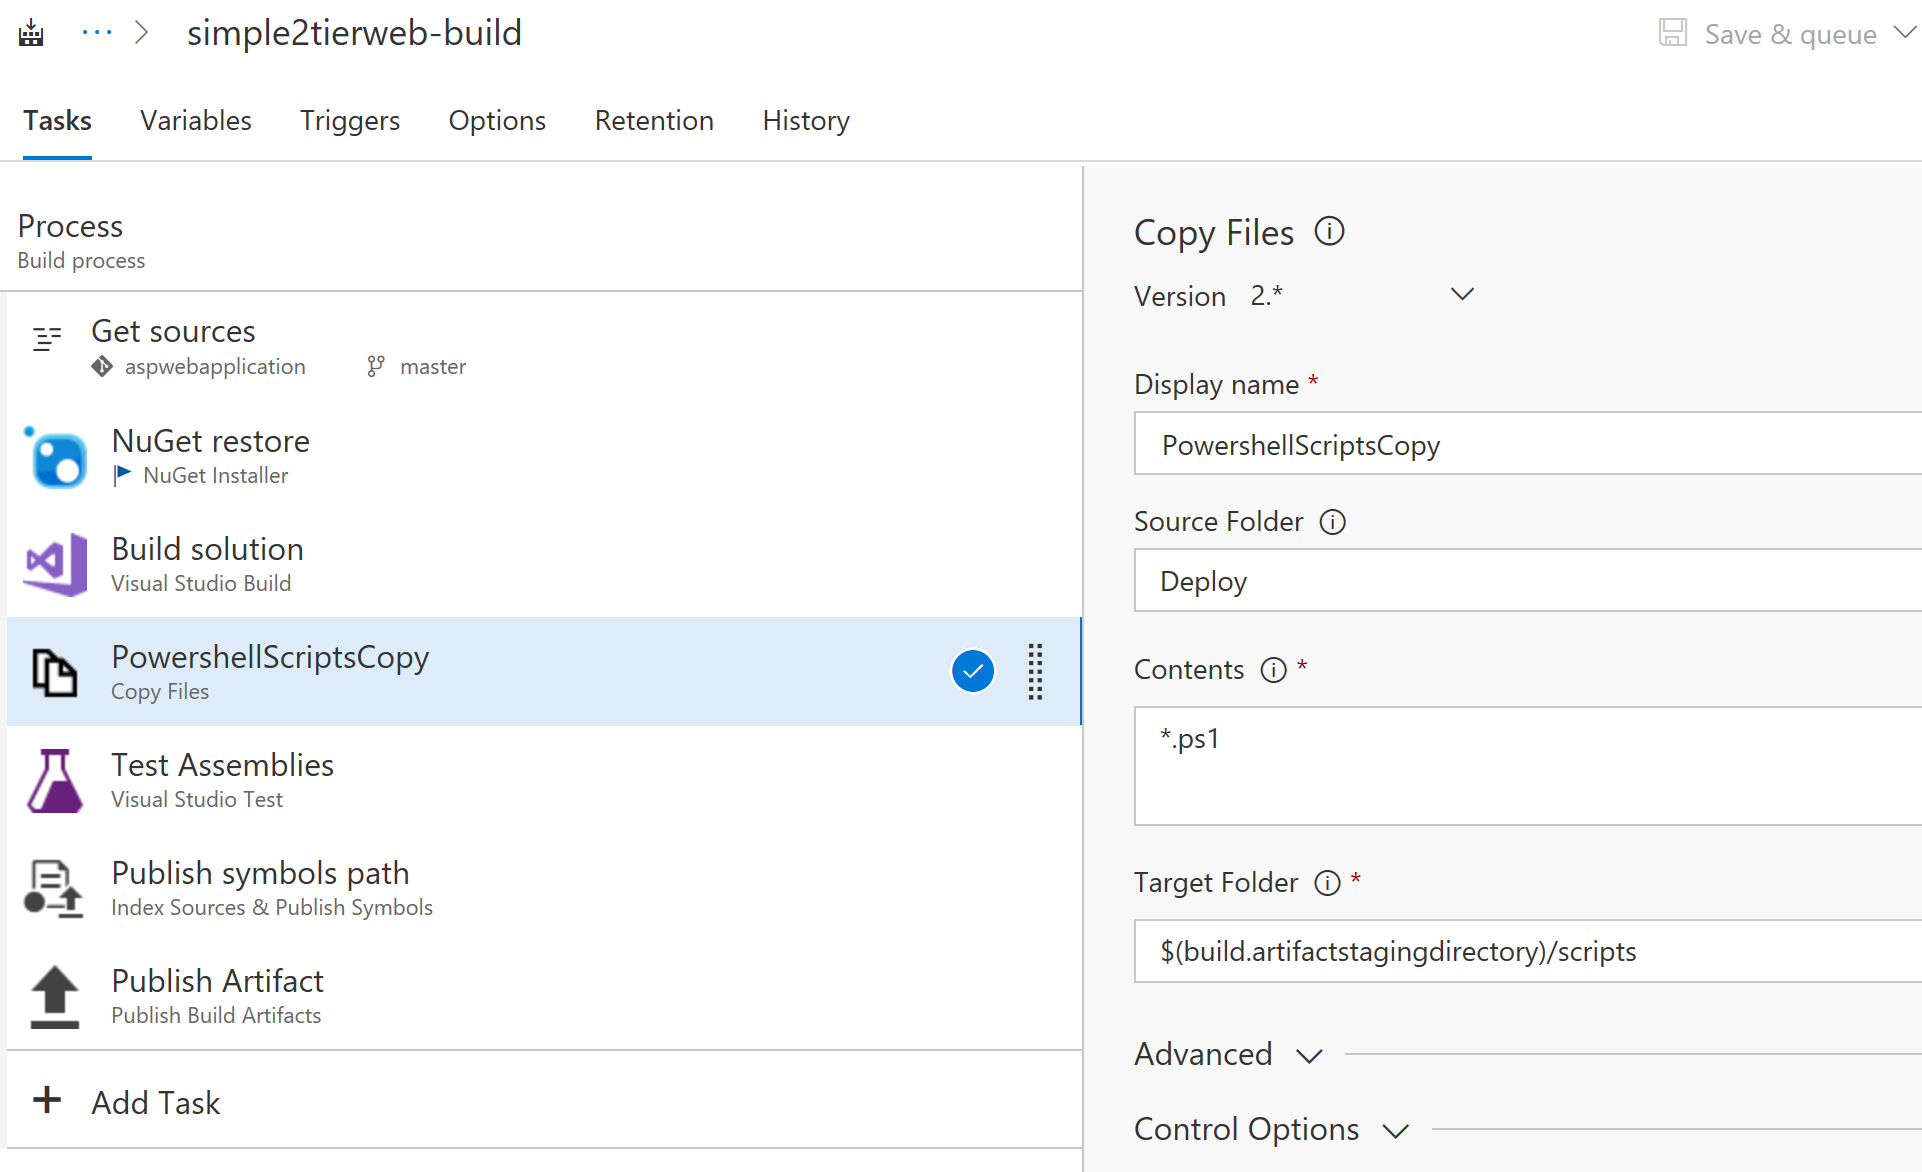
- Add a task 'Copy Files' to this Pipeline and configure it to copy all the PowerShell scripts to the Build Output location, inside the 'scripts' subfolder. This step is required since the 'Build Solution' step creates a Web Application Package for the ASP.NET Solution alone. We need to copy the PowerShell scripts manually using this step. See screenshot below with the highlight, for the configuration.
Release Definition in Team Services
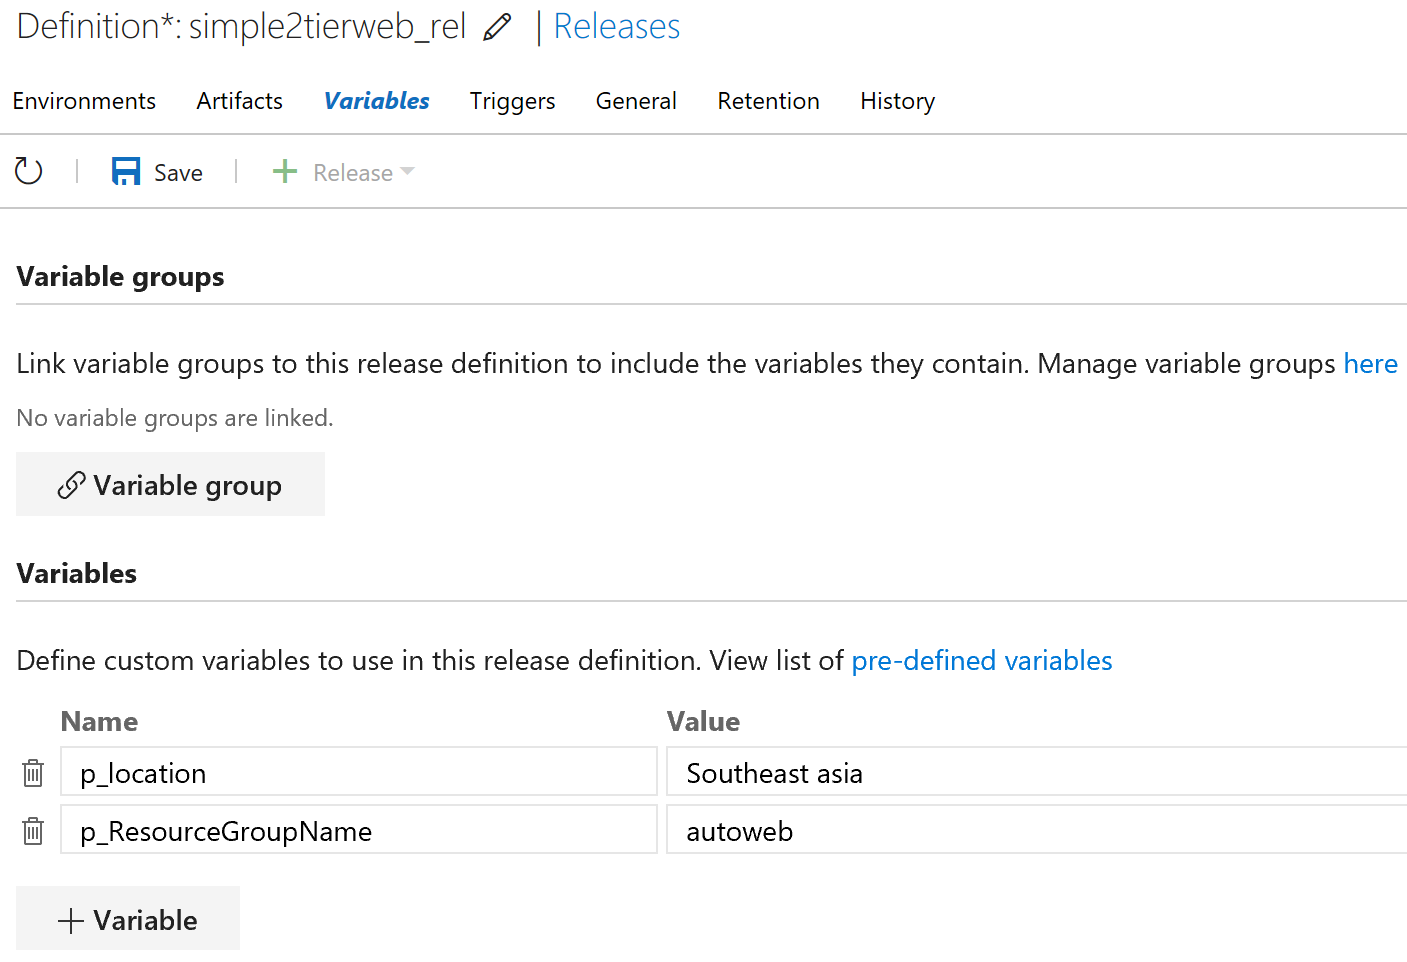
- Define variables to capture the configuration of the VMSS to create or update. See screen shot below
- Create a new Release Definition and choose the 'empty' Template
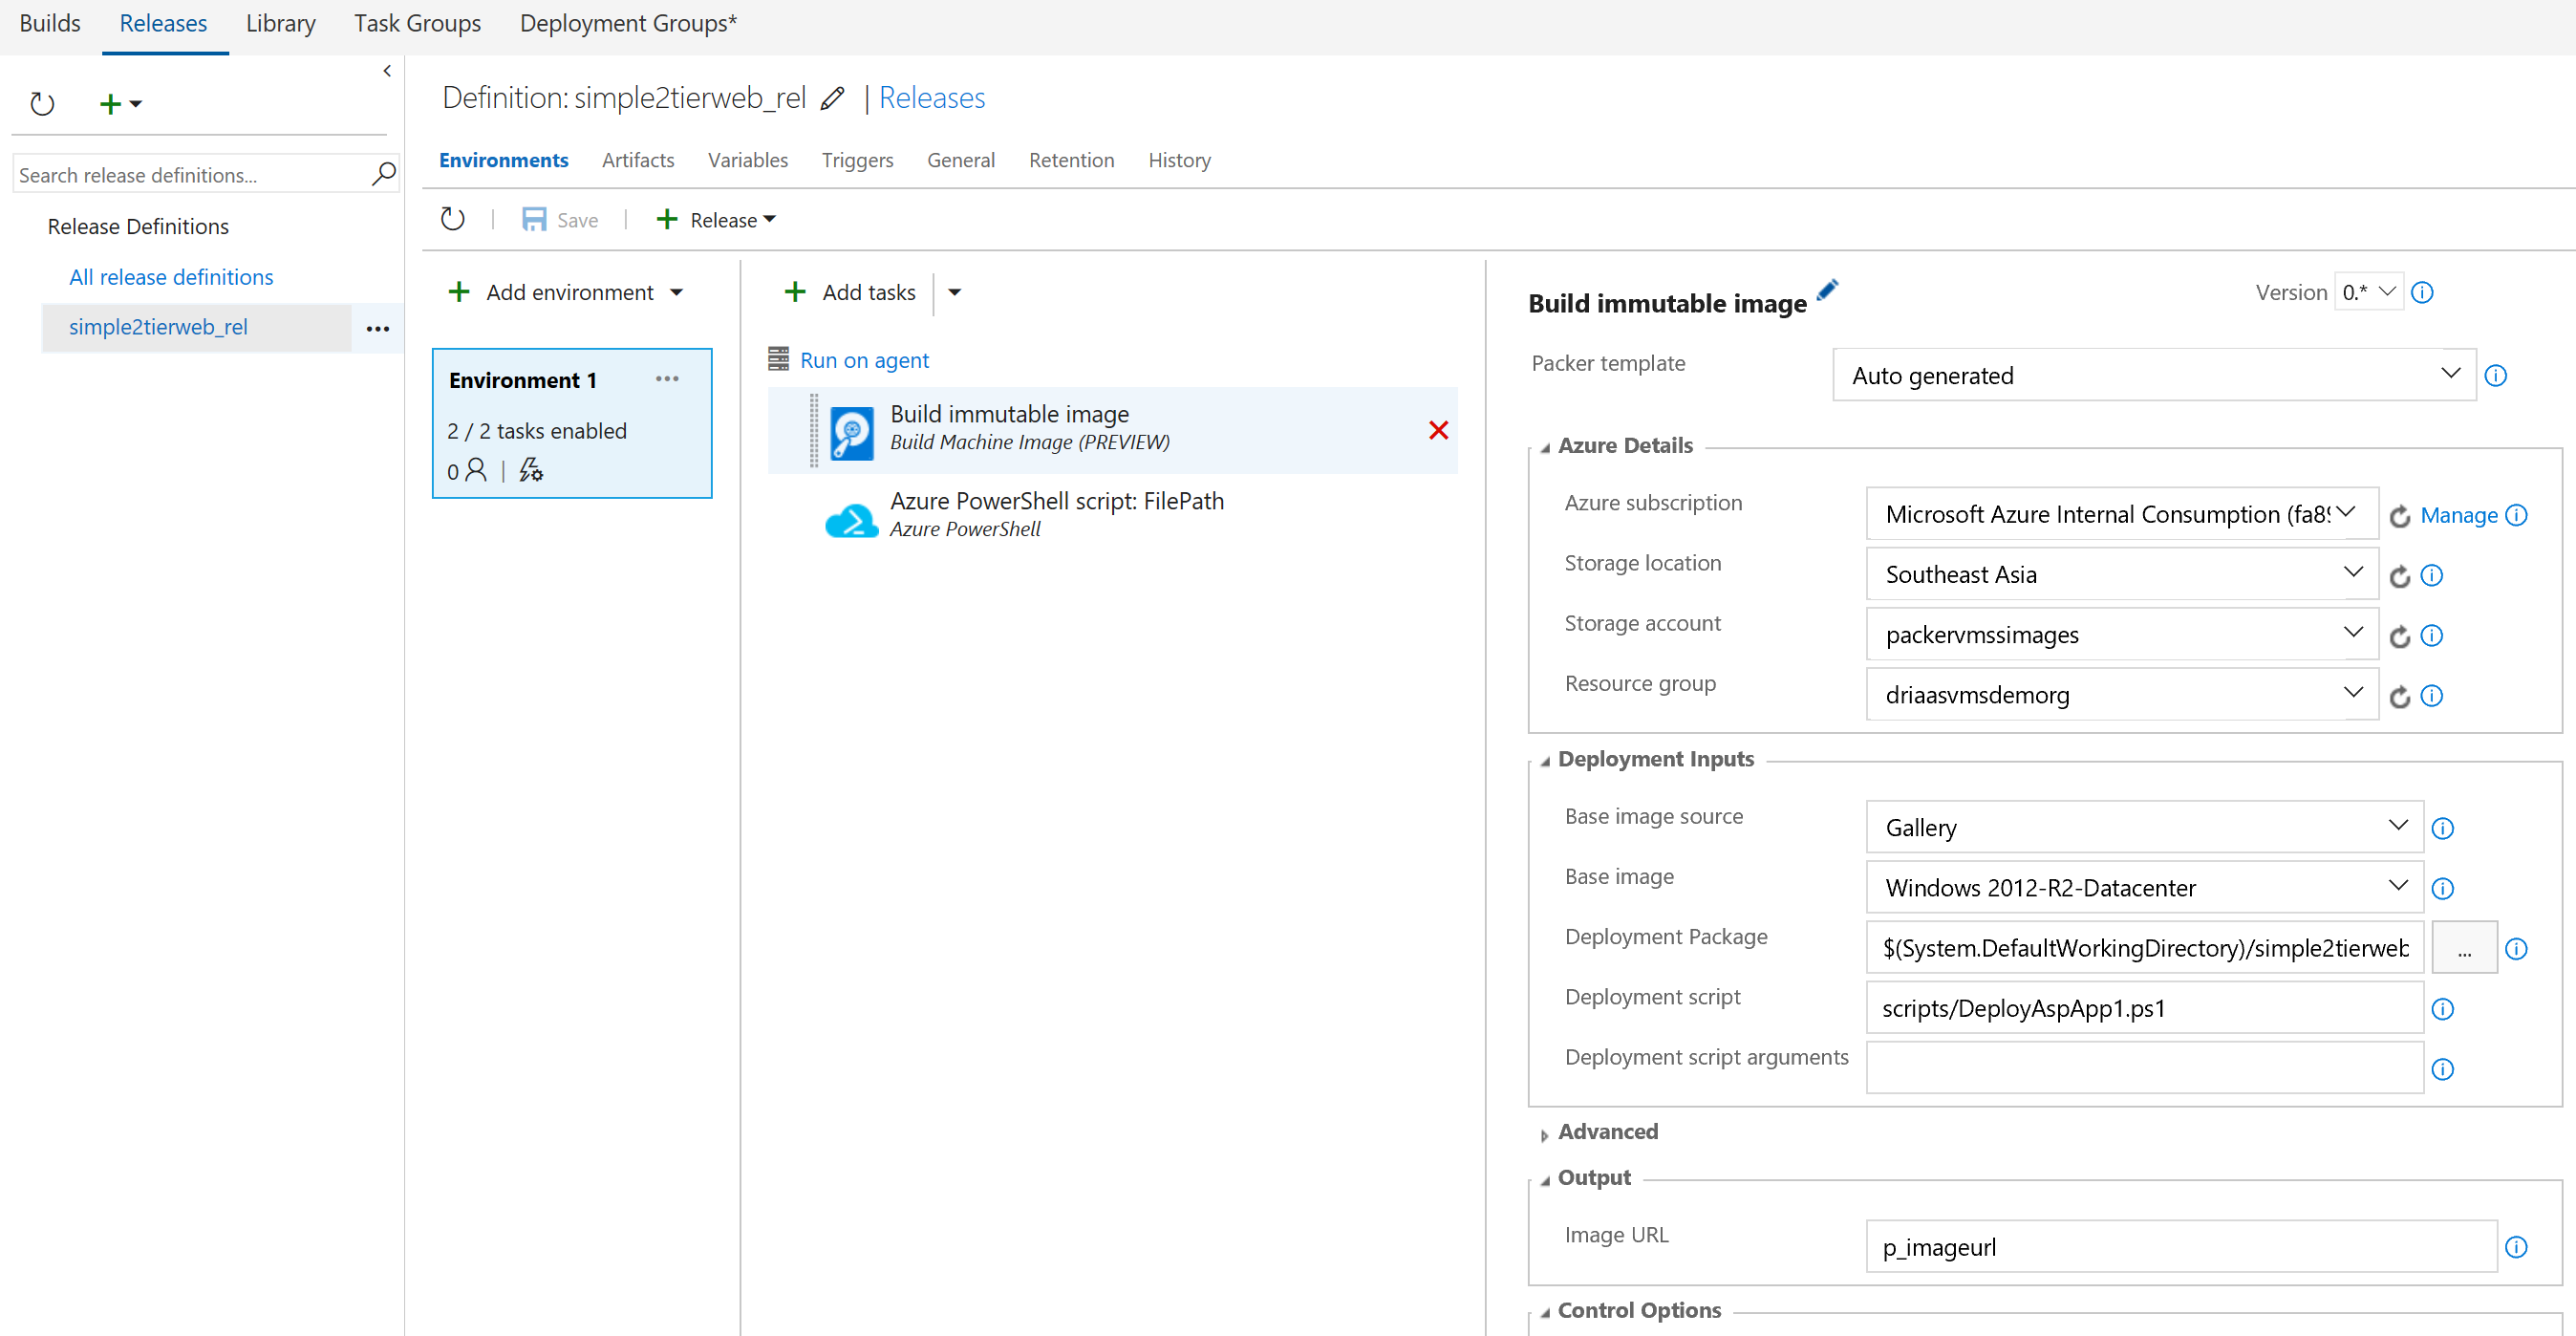
- Add the Task 'Build Machine Image (PREVIEW) ' from the Gallery and configure it as shown in the screenshot below.
- For the Field 'Deployment Package' > Select the location of the 'drop' folder from the Build Step in CI, where the Web Application Package was dropped to
- For the field 'Deployment script' > Select the DeployAspApp1.ps1 after prefixing it with the subfolder name
- The custom image is created as an outcome of this step and its URL is stored in the variable 'p_imageurl' configured in this Packer Task. See the screenshot below
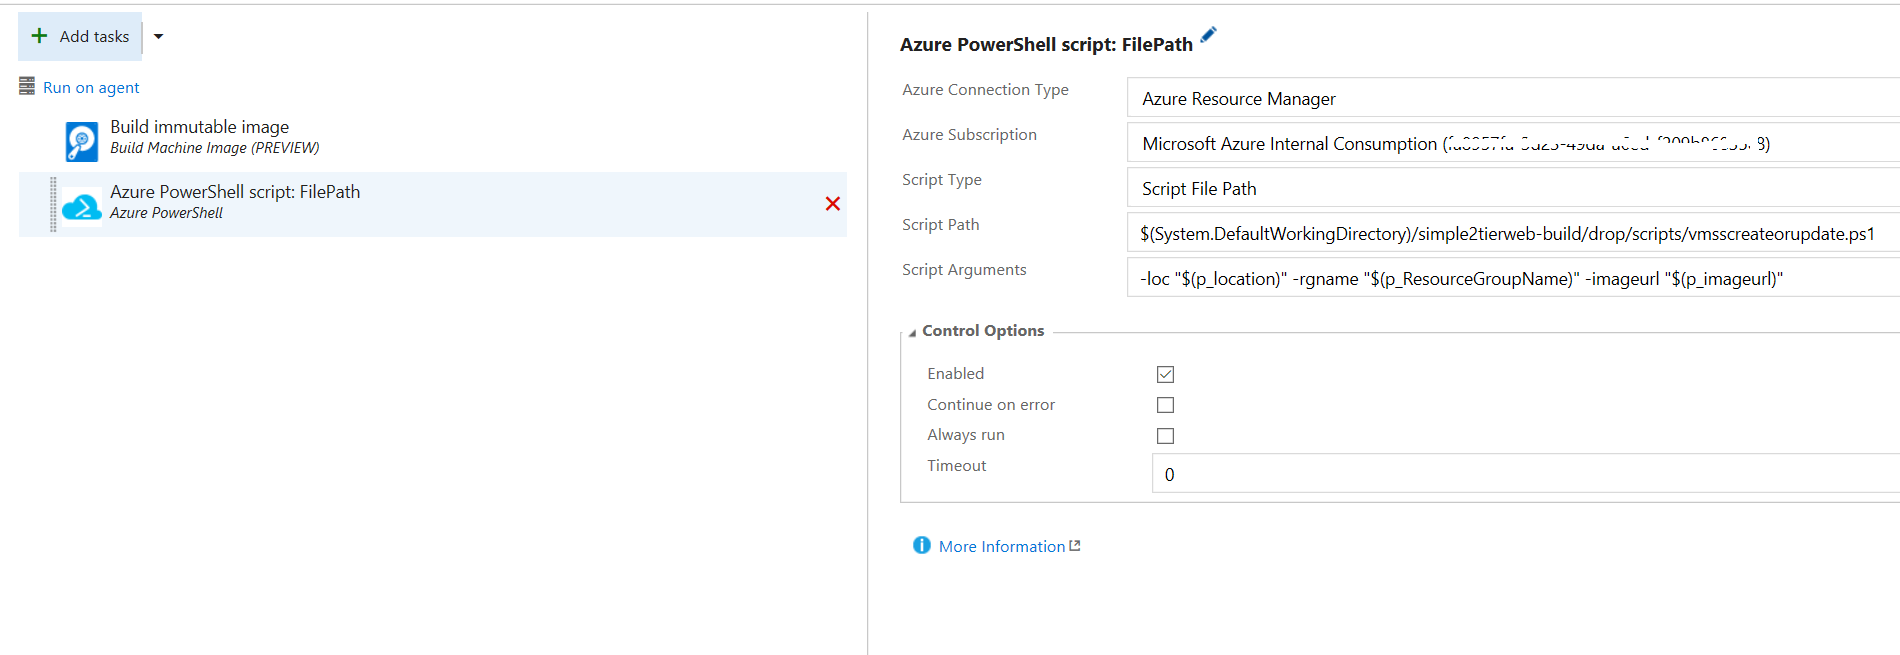
- Add an 'Azure PowerShell' Task from the Gallery, and configure it to point to the vmsscreateorupdate.ps1 script. This script takes 3 parameters that need to be mapped to the variables defined in the previous steps. Map the URL to the output Image from the Packer Task. This script creates or updates the Azure VMSS. See screen shot below
- In the 'Trigger' tab of the release Definition, select the option to trigger the CD Process after the CI Process executes.
Test the Scenario
- Trigger the CI Step by either checking in the Source code from Visual Studio, or manually 'Queue' a Build from Team Services
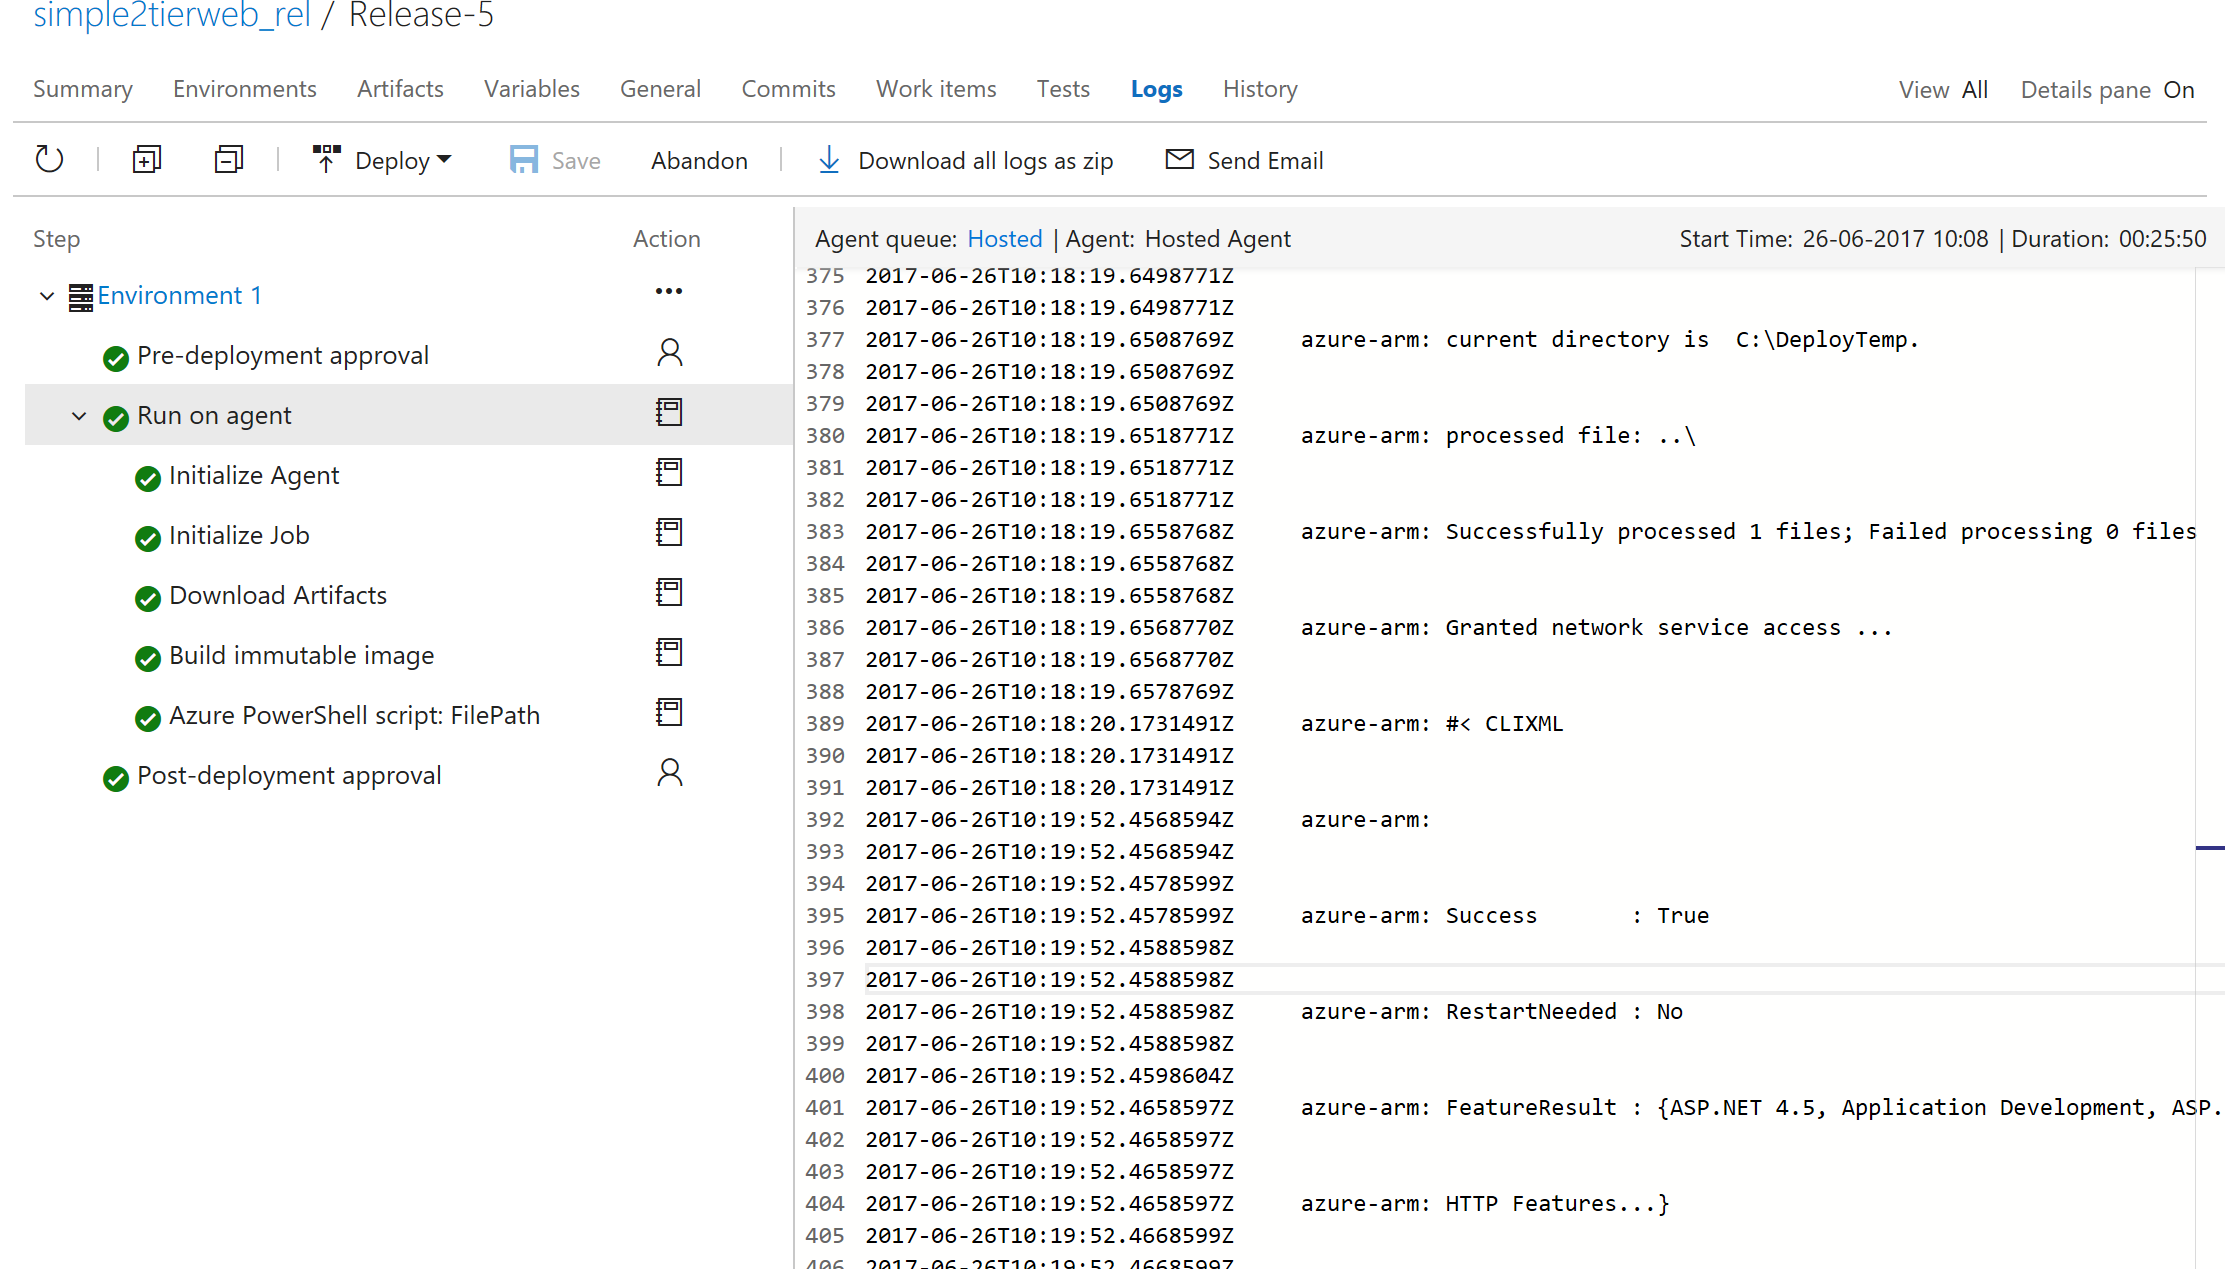
- Ensure the Build (CI) Process completes successfully. This should trigger the CD process. Select the Release process that was triggered and navigate to the 'Logs' tab. The console output from the execution can be viewed
- The screenshot below shows the console output from the execution of the PowerShell commands in the Packer Task. Ensure that the deployment of the Web Application Package is successful. screenshot below with the Console output from the run
- Launch the Azure Portal, and view the contents of the Resource Group 'autoweb'. Launch the URL <PublicIP of the VMSS>/simple2tierweb_deploy. The Web Application should be visible.
- Update the application code and check in the Source code. Trigger the CI and CD Processes in Team Services. On completion of the CD Process, the update Web Application should be available on the above URL