PivotViewer on Windows Azure Platform
The steps in this blog will lead you through the steps to create and deploy a Pivot viewer application to windows azure platform.
You can also download and watch my presentation in the below link:
https://msevents.microsoft.com/CUI/EventDetail.aspx?EventID=1032493783&Culture=en-IN
Prerequisites : Download the below components.
> Microsoft Silverlight PivotViewer : https://www.microsoft.com/download/en/details.aspx?displaylang=en&id=17747
> Microsoft Silverlight 4 : https://www.microsoft.com/getsilverlight/get-started/install/default.aspx
In This Blog :
Step 1: Publishing the pivot collection using MS Excel Addin.
Step 2: Creating a console application to upload the pivot collection to Azure storage account
Step 3: Creating a Pivot viewer application
Step 4: Deploying the application to Azure platform
Step 1: Publishing the pivot collection using MS Excel Addin
1.1 Open a MS Excel.
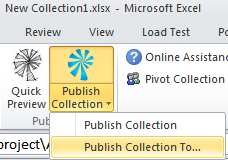
1.2 Pivot Collection -> New Collection.
(You will see this tab in the Excel once your have downloaded the Excel plugin using the link specified in prerequisities).

1.3 Populate the Excel sheet as required using either Import Images/Choose Image.
1.4 Publish your Collection to a folder. (Make a note of the path)
Step 2: Creating a console application to upload the pivot collection to storage account
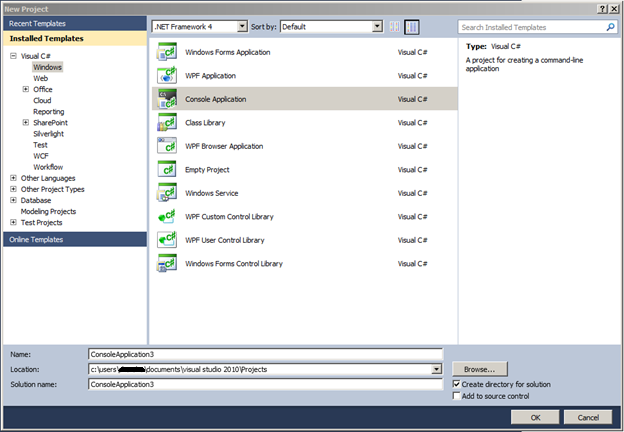
2.1 File -> New Project -> Windows -> Console application
(Create a console application to upload the collection created in the step 1 to storage account)
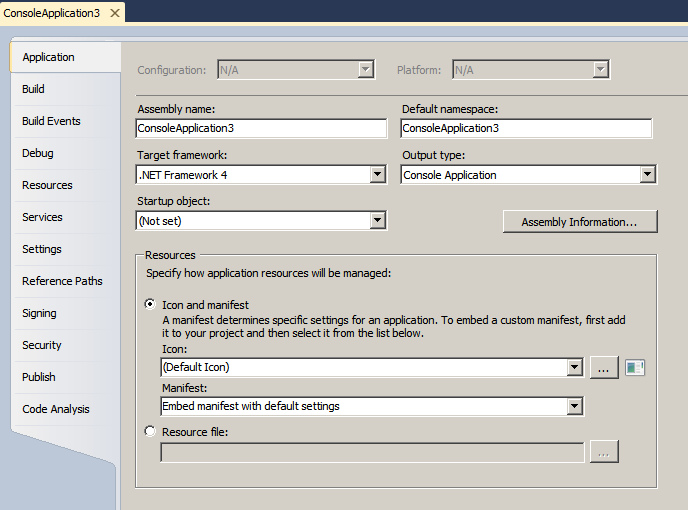
2.2 Right click on the application - > properties and change the target framework to 4.
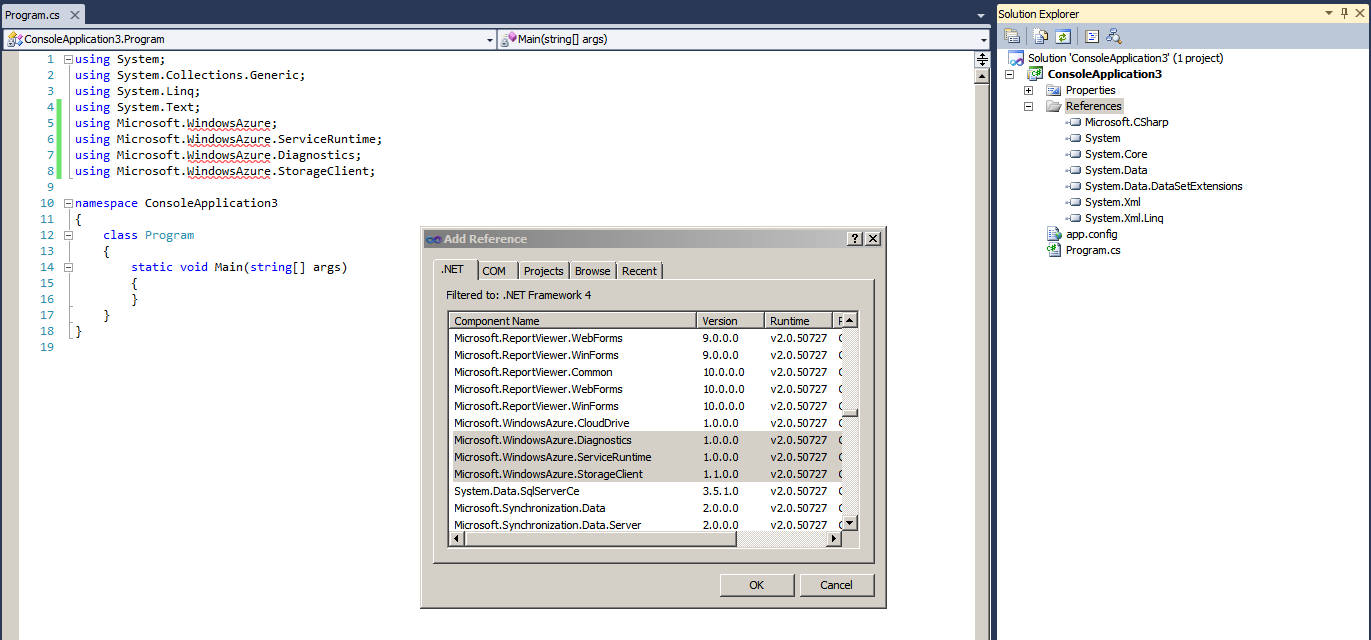
2.3 Right click on references -> Add reference
Add the below DLL’s to project reference:
> Microsoft.WindowsAzure.Diagnostics
> Microsoft.WindowsAzure.ServiceRuntime
> Microsoft.WindowsAzure.StorageClient
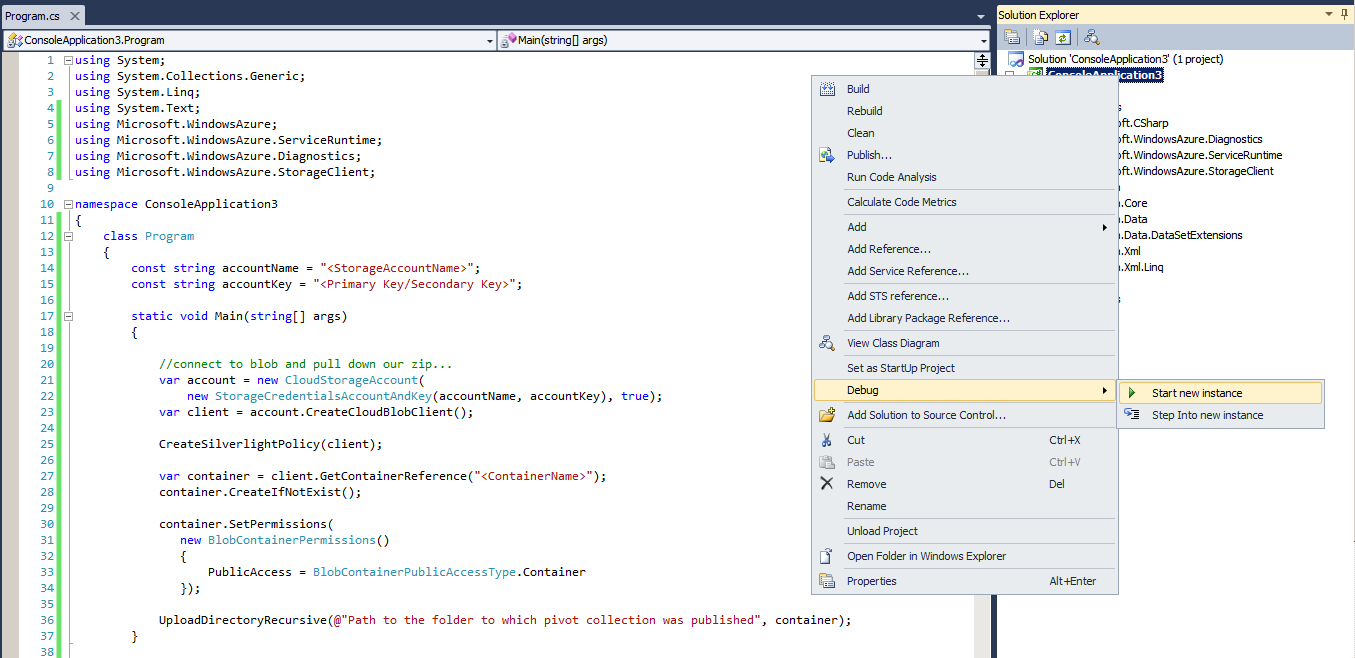
2.4 Add the below code in program.cs file:
class Program
{
const string accountName = "<StorageAccountName>";
const string accountKey = "<Primary Key/Secondary Key>";
static void Main(string[] args)
{
// Connect to blob and pull down the zip.
var account = new CloudStorageAccount(new StorageCredentialsAccountAndKey(accountName, accountKey), true);
var client = account.CreateCloudBlobClient();
CreateSilverlightPolicy(client);
var container = client.GetContainerReference("<ContainerName>");
container.CreateIfNotExist();
container.SetPermissions(new BlobContainerPermissions()
{
PublicAccess = BlobContainerPublicAccessType.Container
});
UploadDirectoryRecursive(@"<Path to the folder to which pivot collection was published>", container);
}
static private void CreateSilverlightPolicy(CloudBlobClient blobs)
{
blobs.GetContainerReference("$root").CreateIfNotExist();
blobs.GetContainerReference("$root").SetPermissions(new BlobContainerPermissions()
{
PublicAccess = BlobContainerPublicAccessType.Blob
});
var blob = blobs.GetBlobReference("clientaccesspolicy.xml");
blob.Properties.ContentType ="text/xml";
blob.UploadText(@"<?xml version=""1.0"" encoding=""utf-8""?>
<access-policy>
<cross-domain-access>
<policy>
<allow-from http-methods=""*"" http-request-headers=""*"">
<domain uri=""*"" />
<domain uri=""https://*"" />
</allow-from>
<grant-to>
<resource path=""/"" include-subpaths=""true"" />
</grant-to>
</policy>
</cross-domain-access>
</access-policy>");
}
static private void UploadDirectoryRecursive (string path, CloudBlobContainer container)
{
string cxmlPath = null;
// Use 16 threads to upload
Parallel.ForEach(EnumerateDirectoryRecursive(path),
new ParallelOptions { MaxDegreeOfParallelism = 16 },
(file) =>
{
// Save collection-#####.cxml
if (Path.GetFileName(file).StartsWith("collection-") && Path.GetExtension(file) == ".cxml")
{
cxmlPath = file;
}
else
{
// Upload each file, using the relative path as a blob name.
UploadFile(file, container.GetBlobReference(Path.GetFullPath(file).Substring(path.Length)));
}
});
// Finish up with the cxml itself.
if (cxmlPath != null)
{
UploadFile(cxmlPath, container.GetBlobReference(Path.GetFullPath(cxmlPath).Substring(path.Length)));
}
}
static private IEnumerable<string> EnumerateDirectoryRecursive(string root)
{
foreach (var file in Directory.GetFiles(root))
yield return file;
foreach (var subdir in Directory.GetDirectories(root))
foreach (var file in EnumerateDirectoryRecursive(subdir))
yield return file;
}
static private void UploadFile(string filename, CloudBlob blob)
{
var extension = Path.GetExtension(filename).ToLower();
switch (extension){
case ".xml":
case ".cxml":
case ".dzc":
blob.Properties.ContentType = "application/xml";
break;
case ".jpg":
blob.Properties.ContentType = "image/jpeg";
break;
}
blob.UploadFile(filename);
}
}
The above code snippet will recursively loop through the collection and upload the collection to storage account specified.
Update the below tags in the above code appropriately.
"<StorageAccountName>"
"<Primary Key/Secondary Key>"
"<ContainerName>"
"<Path to the folder to which pivot collection was published>”
2.5 Run the application
(Right click on the application -> Debug -> Start New instance)
Step 3: Creating a Pivot viewer application
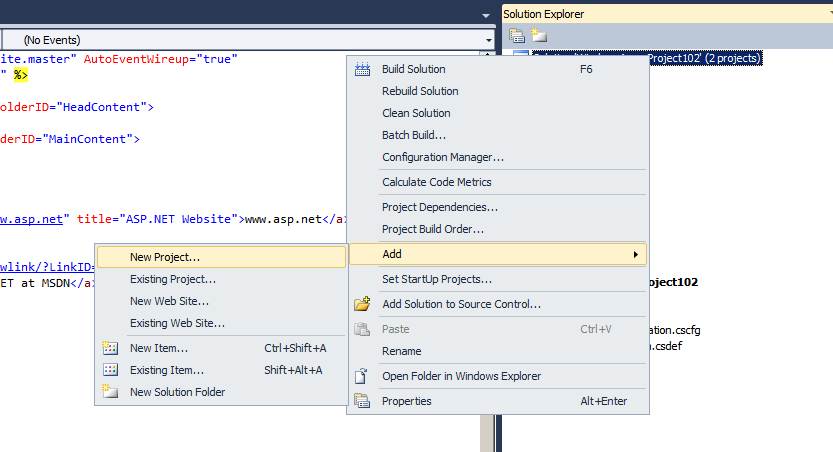
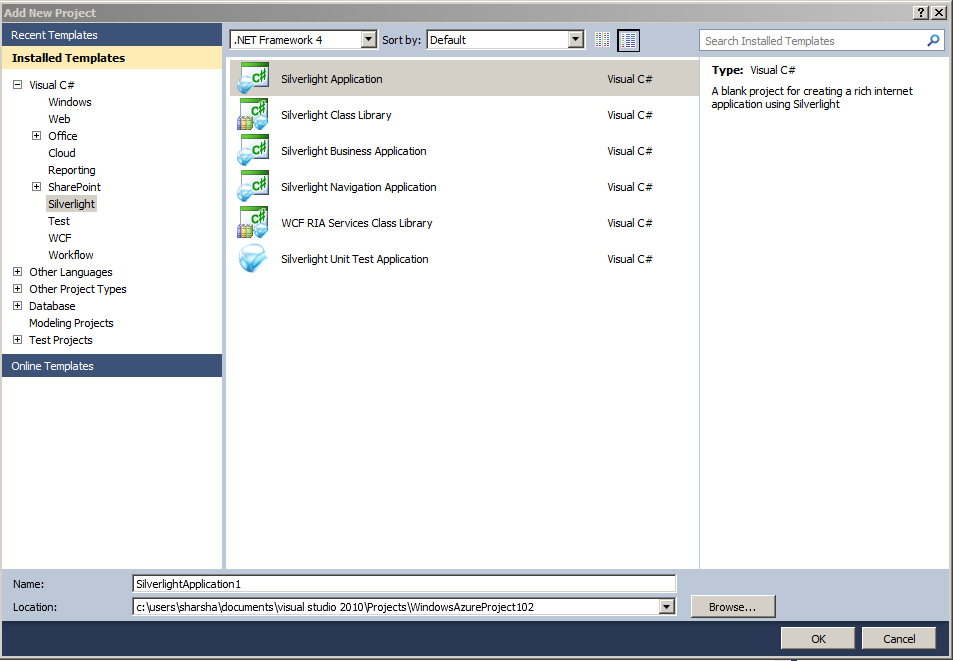
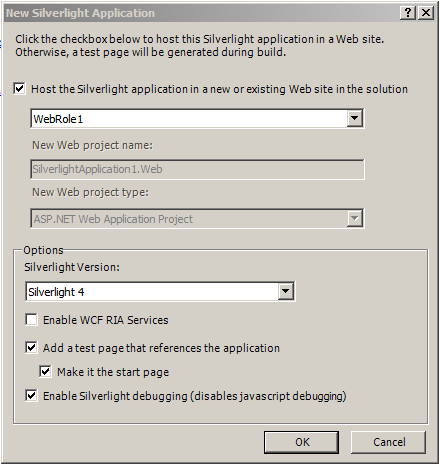
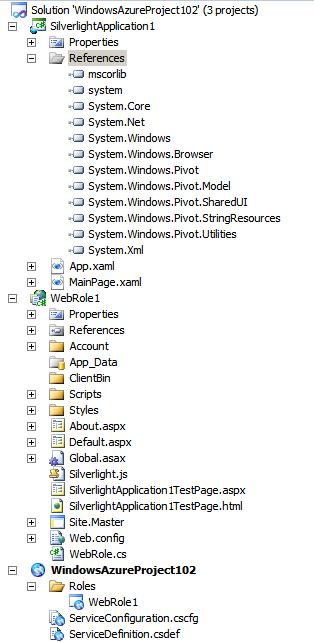
3.1 Create a simple Silverlight application.
3.2 Add the pivot DLL’s to the project reference.
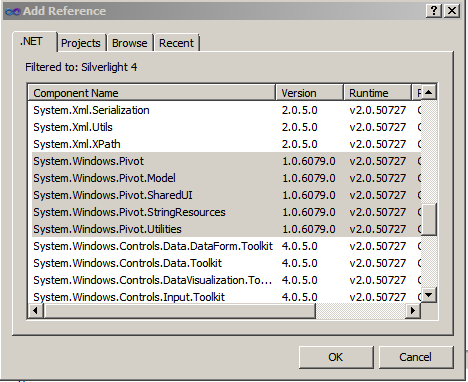
Note: Set “copylocal“ attribute of these DLL’s to true to include these in the service package.
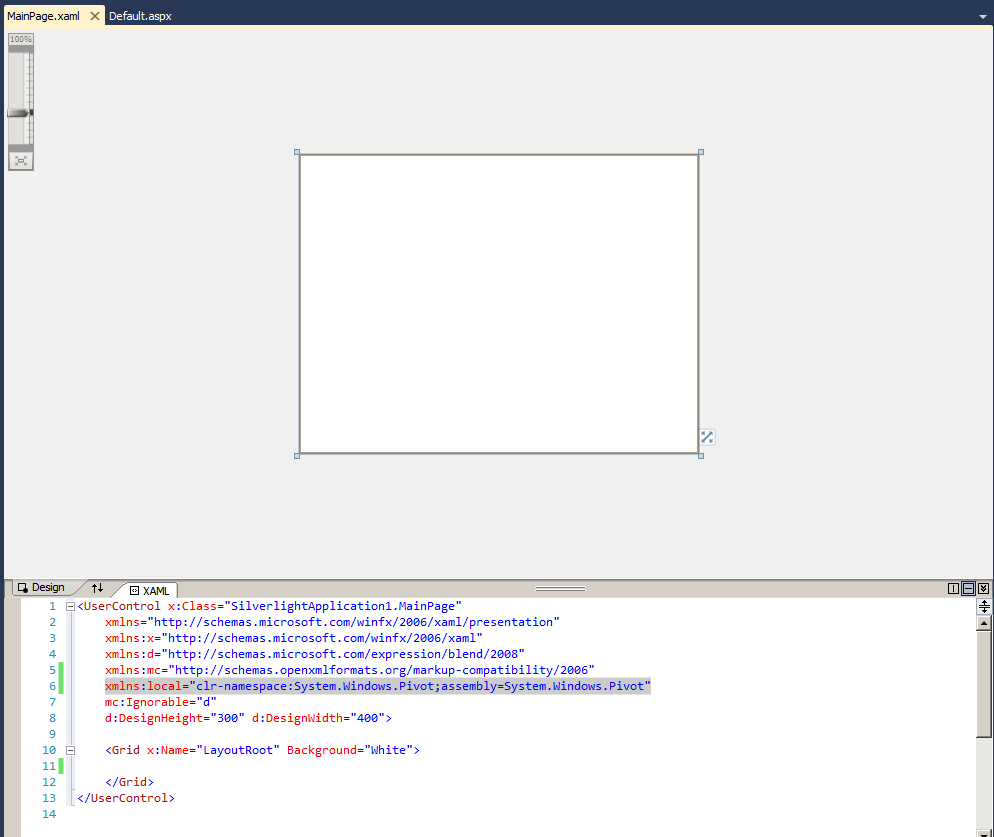
3.3 Include the namespace in MainPage.XAML
xmlns:local="clr-namespace:System.Windows.Pivot;assembly=System.Windows.Pivot"
3.4 Add the below tag in MainPage.XAML
<local:PivotViewer x:Name="pvWidgets"/>
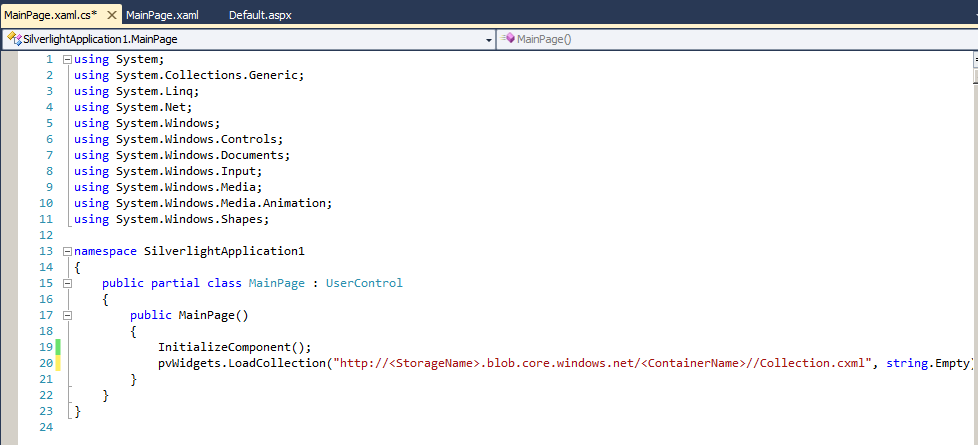
3.5 Include the below code by making the appropriate changes in the tag in MainPage.XAML.cs.
pvWidgets.LoadCollection(https://<StorageName>.blob.core.windows.net/<ContainerName>//<NameOftheFile>.cxml,string.Empty);
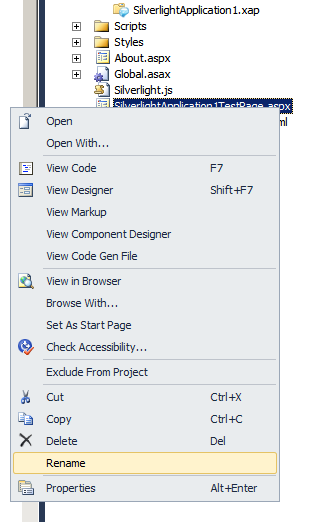
3.6 Delete the default.aspx file.

3.7 Rename the Silverlight.aspx file as default.aspx.
3.8 Browse the application and test on the local machine.
Step 4: Deploying the application to Azure platform
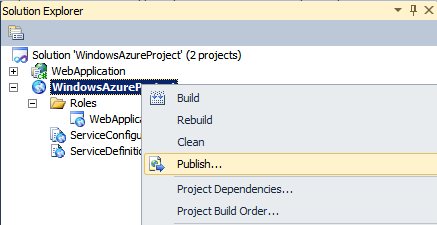
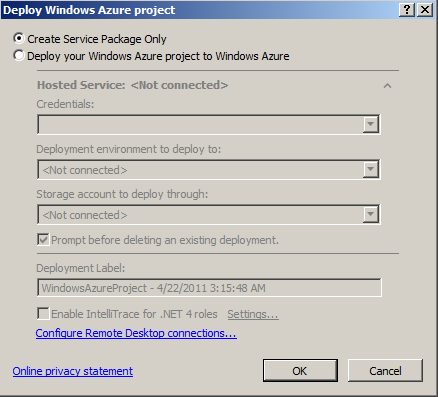
4.1 Using Publish option, create a service package and service configuration file.
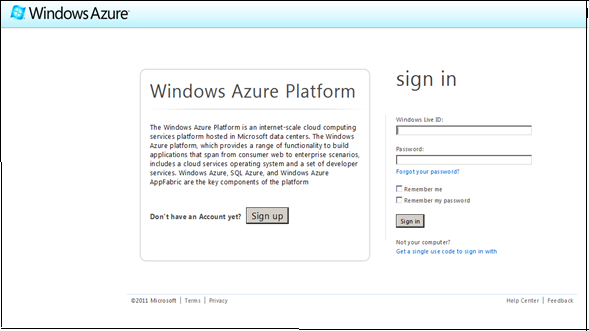
4.2 Login to the Azure Management portal.
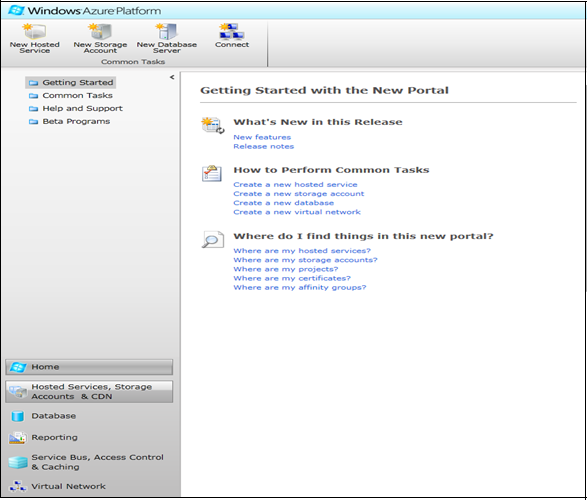
4.3 If you do not have any hosted service, then click on New hosted service in the top ribbon.
Fill up the details in the prompt.
Choose a subscription : “Your subscription name”.
Enter a name for your service: “Name of your service”.
Enter a URL prefix for your service: “Unique name for your service”.
Choose a region : “Location of the data center, where your service will be deployed”.
Deployment options : “Select one of the check boxes based on your requirement”.
Deployment name : “Specify a name to your deployment”.
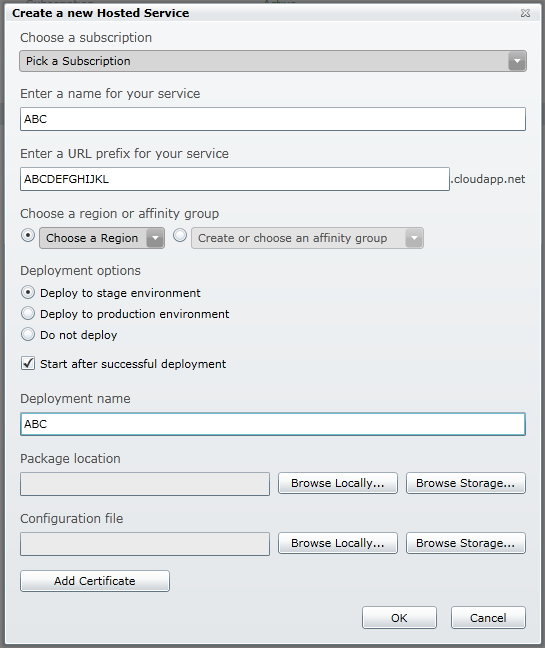
Click on browse locally button to upload service package file and service configuration file respectively.
Specify the Location of these files which was created by Visual studio.
Your application gets deployed in the chosen data center and can be accessed using the DNS name (<Unique Name of your service>.cloudapp.net)