How to install Clustered SQL Server 2008 on Windows 2008 Cluster using Hyper-V (Guest Clustering) Part – 1
We are starting a series for DBAs and others who want to create a SQL Cluster on Hyper-V. This series would help you to create a play ground using Hyper-V and creating Windows 2008 Cluster and installing SQL Server 2008 on top of it. To get started, we first need the operating system. This series would be dedicated for creating a virtual environment for Windows Server 2008 and SQL Server 2008.
You should remember two major terms in Virtualization. Guest and Host. Host is the machine on which you are running Hyper-V and Guest is machine running inside Host. In the current scenario, the Domain Controller and two nodes (running Windows Server 2008) are guests and a Windows 2008 Server running Hyper-V is host.
What do you need before you start?
- Configure your server to use Hyper-V. This is normally called “host”. There are many resources available to achieve this.
- Download “Windows Server 2008 R2 Evaluation Virtual Hard Drive Images for Hyper-V” https://www.microsoft.com/downloads/details.aspx?displaylang=en&FamilyID=9040a4be-c3cf-44a5-9052-a70314452305
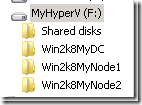
Once you download Vhd(s), you need to make three copies of extracted vhd files. We have saved them in below folders structure
Each folder has one VHD. We have named them as Win2k8MyDC.vhd, Win2k8MyNode1.vhd and Win2k8MyNode2.vhd
We need to configure Network before we do installation. Open Hyper-V Manager and on right hand side, under Action, Choose Virtual Network Manager (shown below)
Once you click, follow below two images and create two networks.
1. Internal network. Make sure that you have selected “Internal Only” radio button.
2. Private VM Network. Here we have to select second radio button.
Okay, lets build our first guest machine.
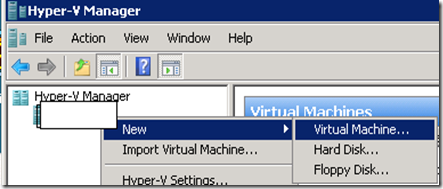
1. Open Hyper-V Manager on host, Right Click on Server Name and choose New > Virtual Machine
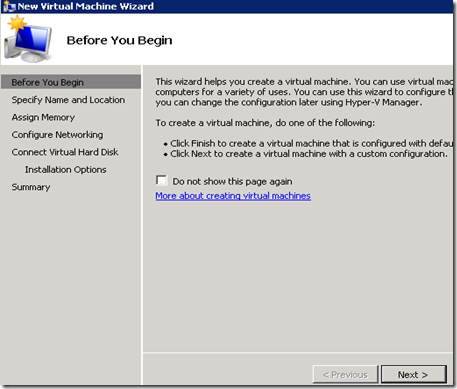
2. Go through below Screens. Welcome screen… nothing to do, hit next
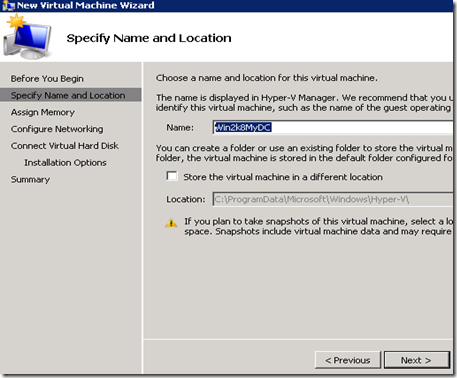
3. We are giving name as Win2k8MyDC to remember that this is a Domain Controller.
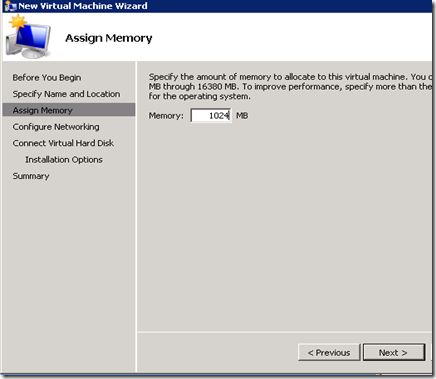
4. How much memory do you want this DC to use? We are giving 1 GB. Our test server has total 16 GB of RAM and current DC is not going to be much loaded so we are giving just 1 GB.
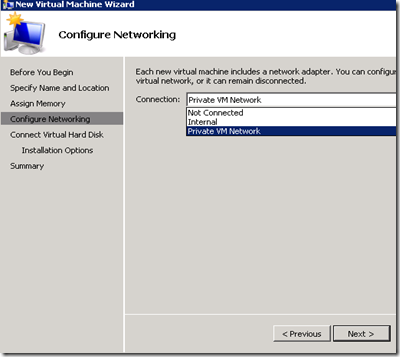
5. Here We have selected Private VM Network. We have not tried Internal network because we don’t know whether that would allow guests to communicate to each other
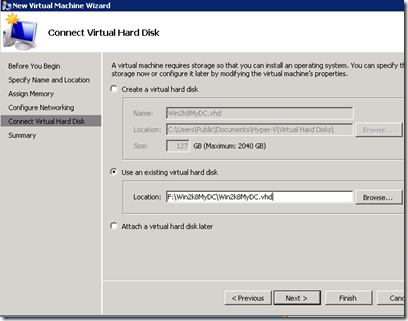
6. Here we have to give the location where we have kept VHD for domain controller. In our case this is F:\Win2k8MyDC\Win2k8MyDC.vhd
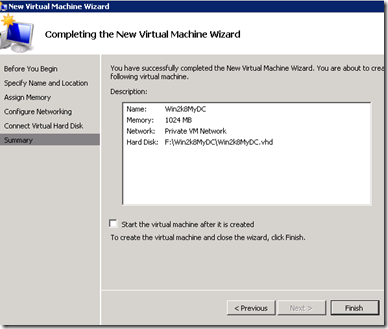
7. Almost done.. click Finish..
There is a checkbox which would start machine automatically as soon as you click in Finish.
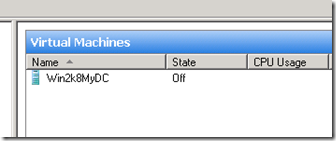
8. This is how your Hyper-V Manager should look like. Hyper-V Manager is available at Start > Administrative Tools > Hyper-V Manager
If you have not selected checkbox in step number 9 then it would be in OFF state.
9. What you are waiting for… Right Click and Start!!! Double Click will connect you to Virtual Machine (guest).
10. Wait.. do you know Administrator password? Well, go back to same page from where you have downloaded the VHD. When we were writing the blog it was: Pass@word1
11. Once you login you need to change the password as it was set to expire for the day when you load the Virtual Machine.
12. Please changed machine name to Win2k8MyDC. By default it would be some random name.
This is not a Domain Controller yet. Above steps need to be followed for MyWin2k8Node1 and MyWin2k8Node2 also.
Steps for making Win2k8MyDC as Domain Controller
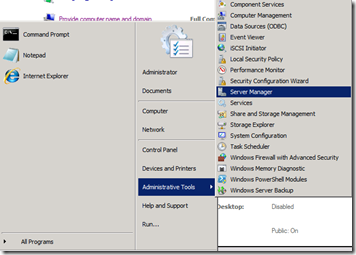
1. Start > Administrative Tools > Server Manager
If you don’t like many clicks, use single click on this icon 
2. Right Click on “Roles” from Left Tree and choose “Add Roles”.
3. Click Next and in “Select Server Roles” Screen, choose “Active Directory Domain Services” and keep clicking next.
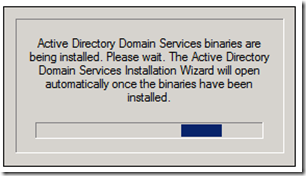
4. Once done, go to Start > Run and type “dcpromo”
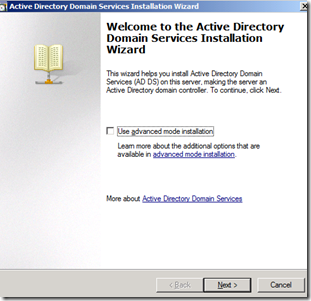
5. Welcome screen.. Next..
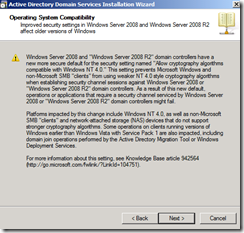
6. Below warning is to let you know that you need to consider few things before adding domain controller. Since we are not an expert in Active Directory, just click Next.
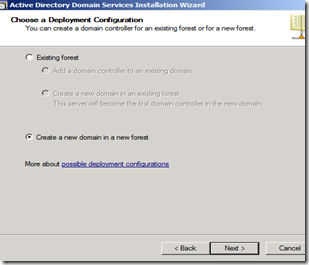
7. Choose Second Option (Create a new domain in a new forest)
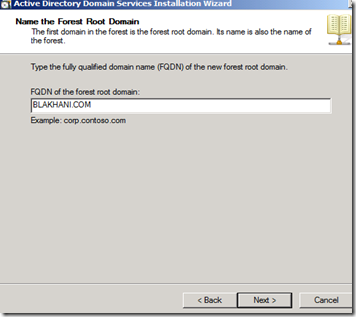
8. We are giving domain Name as BLAKHANI.COM
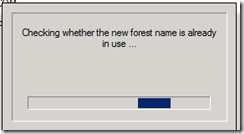
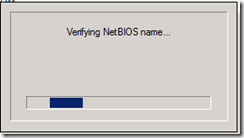
9. Few screens after hitting next…
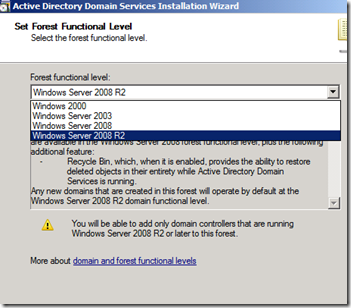
10. We have selected Functional Level as “Windows Server 2008 R2”. You can read explanation and impact of each level on same screen.
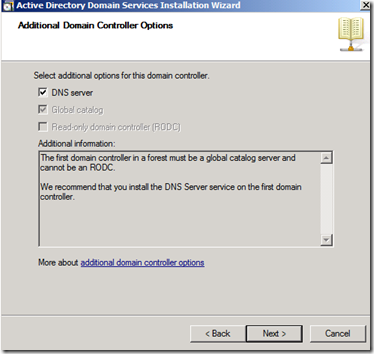
11. Hit next..
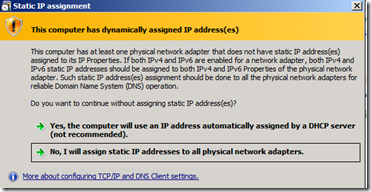
12. Aha… We missed setting IP of machine so we get below warning.. no worries.. set the IP as 192.1.1.1 I have picked this IP randomly, you can use any IP based on your own networking knowledge.
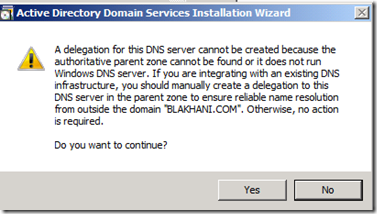
13. Click Yes..
14. Click Next..
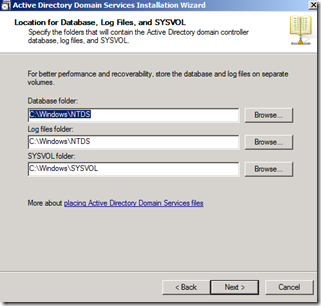
15. Once setup is finished, it would ask for restart and you can login with Domain Admin account after reboot.
Okay… we are done with Domain Controller…
In our next post, we would be adding two more guest machines and then configure cluster. Stay tuned…
Balmukund Lakhani
Senior SE, Microsoft SQL Server
Reviewed by
Amit Banerjee
TL, Microsoft SQL Server

_thumb.png)
_thumb.png)
