Tessel 2 and Microsoft Azure
In part 1 of the Tessel 2 series, I discussed how to get the Tessel 2 working on Windows 10. In this blog post I'll discuss how to get your Tessel 2 connected to Microsoft Azure and sending data to Azure IoT Hub. What the first blog post did not do is connect the Tessel 2 to any network, which is needed when sending data to Azure (obviously J). The easiest way to do this is to enable wifi on the Tessel. Open a command prompt as administrator and execute the following to enable wifi:
t2 wifi -n <networkname> -p <password>
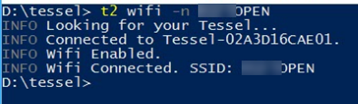
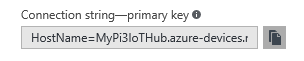
In the example above the network didn't need a password so I didn't need to pass one. If your wifi network needs a password, use -p to supply it. With wifi enabled, you are ready to rock. The key step in getting the Tessel 2 communicating with Azure IoT Hub is registering the device, the same as with other devices such as Raspberry Pi. The cool thing about this is that you can use the Tessel to register itself with IoT Hub. This post also assumes that you already have an IoT Hub created. If you don't, follow the instructions in the "Create an IoT Hub" section here to create your IoT Hub. Once it is created, you will need the Connection String, and you can grab it from the Azure portal (same place you created the IoT Hub) by clicking on the Shared Access Policies property, click the iothubowner policy, then copying the primary connection string.
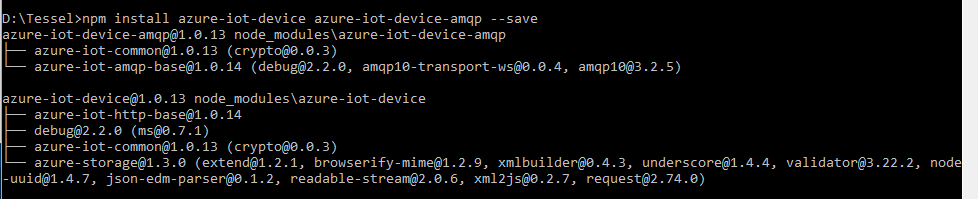
Next, there are a few node modules that you need to install in order for the Tessel to connect and communicate with Azure and the IoT Hub. Create a directory called Tessel (if you don't already have one) and then open a command prompt as administrator, navigate to that directory and execute the following command to install both the azure-iot-device and azure-iot-device-amqp modules.
npm install azure-iot-device azure-iot-device-amqp --save
While you're at it, do the same thing to install the azure-iothub module:
npm install azure-iothub --save
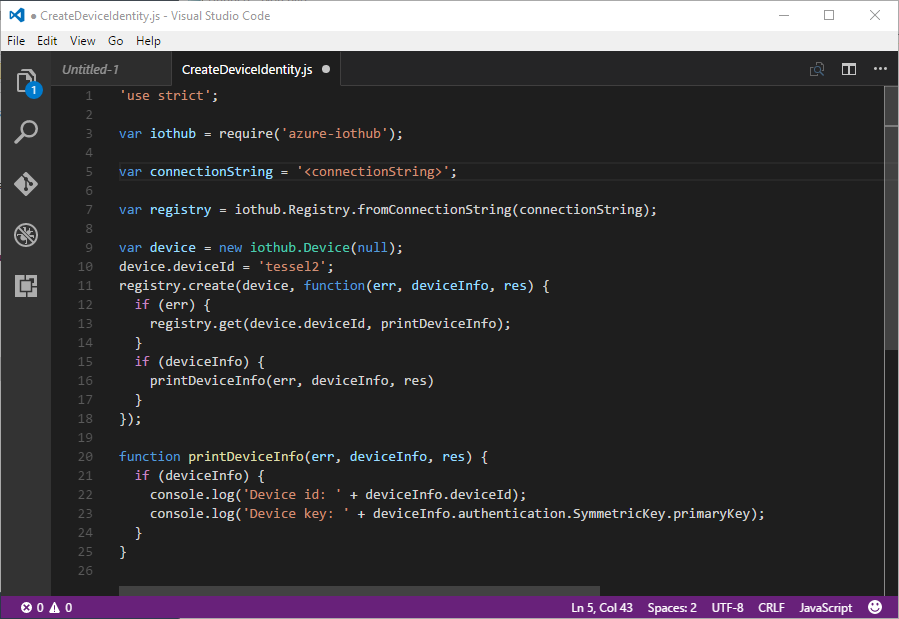
Once those packages are installed, open up Visual Studio Code (or another editor) and type in the following code, replacing the <connectionstring> with the connection string copied earlier.
Code Snippet
'use strict';
var iothub = require('azure-iothub');
var connectionString = '<connectionstring>';
var registry = iothub.Registry.fromConnectionString(connectionString);
var device = new iothub.Device(null);
device.deviceId = 'tessel2';
registry.create(device, function(err, deviceInfo, res) {
if (err) {
registry.get(device.deviceId, printDeviceInfo);
}
if (deviceInfo) {
printDeviceInfo(err, deviceInfo, res)
}
});
function printDeviceInfo(err, deviceInfo, res) {
if (deviceInfo) {
console.log('Device id: ' + deviceInfo.deviceId);
console.log('Device key: ' + deviceInfo.authentication.SymmetricKey.primaryKey);
}
}
Save the file as CreateDeviceIdentity.js in the Tessel folder, and then back in the command prompt, execute the file by running the following command:
t2 run CreateDeviceIdentity.js 
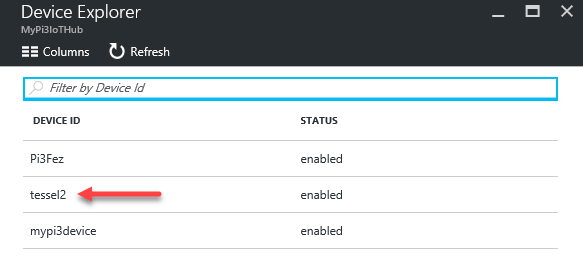
Once the command finishes executing, go back to the Azure portal and refresh the properties blade for the IoT Hub. You'll notice a new entry for the Tessel2.
At this point we can modify the climate code used in the first blog post to send the temperature data to Azure. However, instead of modifying that code, create a new file in Visual Studio Code and type in the following. The code below uses the same code as in the first blog post to get the temperature data from the Tessel, but modifies it slightly to send the temperature information to Azure IoT Hub. As you did earlier, you'll need to replace the <connectionstring> with the actual IoT Hub connection string. The code below also formats the temperate data into JSON, and also sends the data to the screen as well as sends it to Azure IoT Hub.
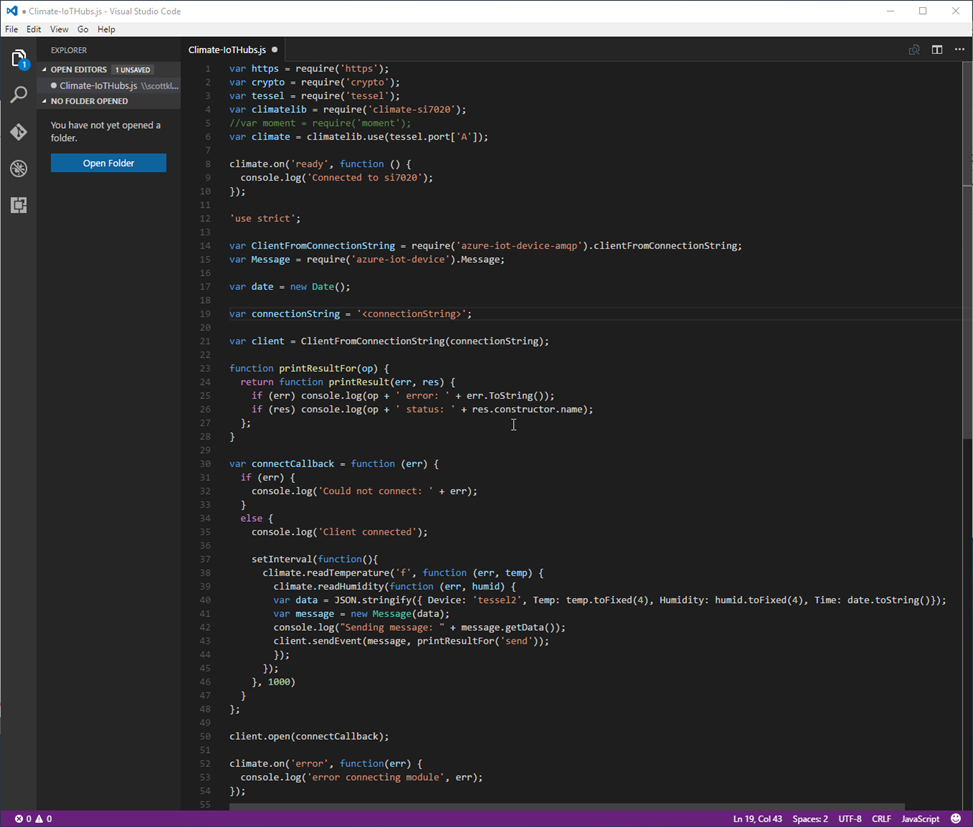
Code Snippet
var https = require('https');
var crypto = require('crypto');
var tessel = require('tessel');
var climatelib = require('climate-si7020');
//var moment = require('moment');
var climate = climatelib.use(tessel.port['A']);
climate.on('ready', function () {
console.log('Connected to si7020');
});
'use strict';
var ClientFromConnectionString = require('azure-iot-device-amqp').clientFromConnectionString;
var Message = require('azure-iot-device').Message;
var date = new Date();
var connectionString = '<connectionstring>';
var client = ClientFromConnectionString(connectionString);
function printResultFor(op) {
return
function printResult(err, res) {
if (err) console.log(op + ' error: ' + err.ToString());
if (res) console.log(op + ' status: ' + res.constructor.name);
};
}
var connectCallback = function (err) {
if (err) {
console.log('Could not connect: ' + err);
}
else {
console.log('Client connected');
setInterval(function(){
climate.readTemperature('f', function (err, temp) {
climate.readHumidity(function (err, humid) {
var data = JSON.stringify({ Device: 'tessel2', Temp: temp.toFixed(4), Humidity: humid.toFixed(4), Time: date.toString()});
var message = new Message(data);
console.log("Sending message: " + message.getData());
client.sendEvent(message, printResultFor('send'));
});
});
}, 1000)
}
};
client.open(connectCallback);
climate.on('error', function(err) {
console.log('error connecting module', err);
});
Save the file as Climate-IoTHub.js and then back in the command prompt, execute the file by running the following command:
t2 run Climate-IoTHub.js 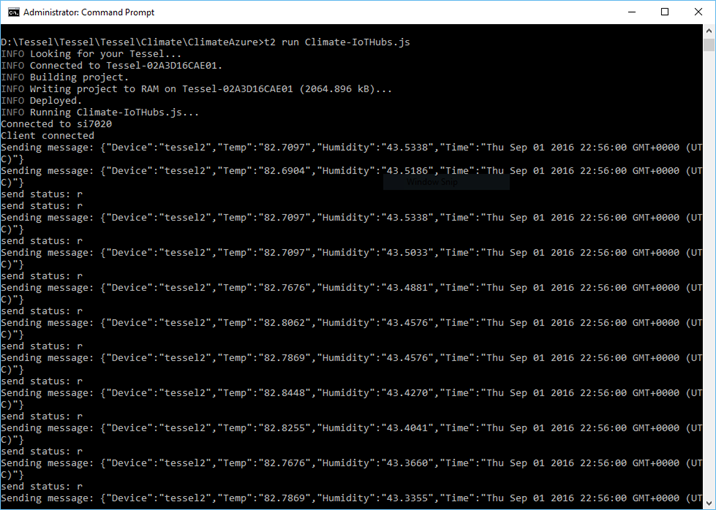
And there you have it, a Tessel 2 sending data to Azure. If you have any question, put them in the comment section.