Announcing Web Matrix 2
Today we are excited to announce the official release of WebMatrix 2! This version includes tons of new features and improvements. In this overview, we will show you how WebMatrix makes it easier to build websites with PHP and publish them.
Here is the download page if you want to skip the intro and dive right in.
Getting Started
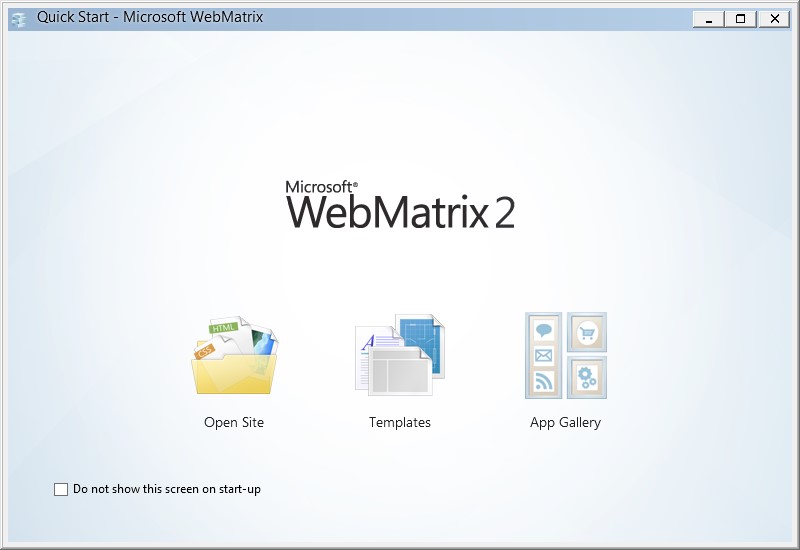
Getting started with PHP in WebMatrix is simple and straightforward. There are 3 main options: you can open an existing site, create a new site from the built-in templates, or build your site based on the common open source applications such as WordPress, Joomla!, and Drupal.
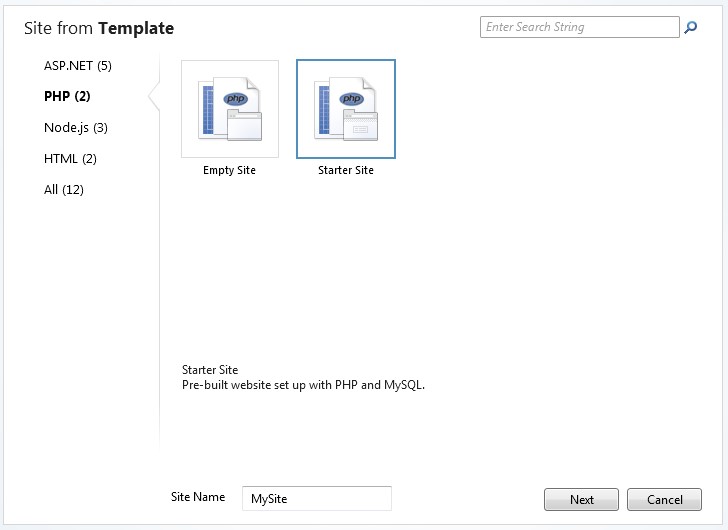
By default, WebMatrix offers two built-in templates: Empty Site for those who want to start coding from scratch with just PHP and a blank template, and Starter Site which is a fully functional sample site with login and page management built on top of PHP and MySQL.
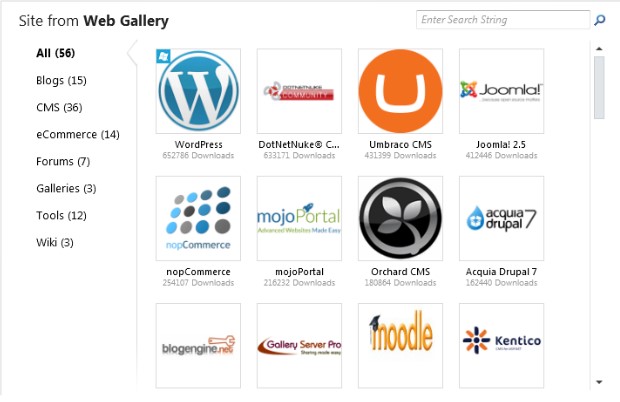
Alternatively, you can choose from dozens of open source applications in WebMatrix App Gallery.
The first time you create your site, WebMatrix will automatically detect any missing dependencies and install them for you. This is especially useful when you build sites which require the time-consuming task of setting up PHP and My SQL on your local box.
Generic and App-specific Code completion
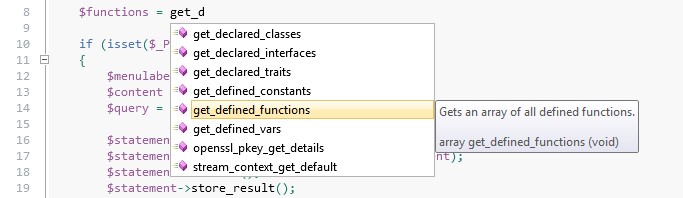
When you are developing your site, WebMatrix offers PHP code completion to make the task easier. As you type, the editor suggests functions or keywords appropriate for the immediate context. The entire PHP function library is at your fingertips when you code!
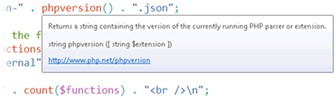
When you're browsing other people's code (or even your own code from a while back), you might not recognize some of the functions or constructs that you see. Now, without leaving WebMatrix, you can quickly get information on an element by holding the mouse pointer over it.
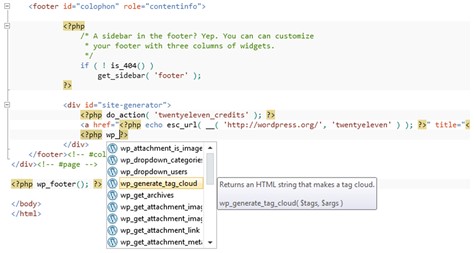
If you like to work with web applications like WordPress, Joomla! or Drupal, you'll love the application-specific code completion.
Testing Your Sites Locally
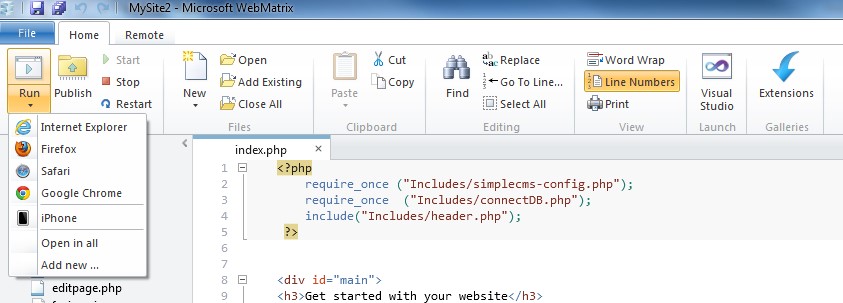
Before publishing the changes you’ve made to your websites, it’s a good idea to test them locally. To do this, simply hit ‘Run’ and your site will be launched in the default browser on your local machine. You can also select a non-default desktop browser or mobile simulators to launch your site in.
Publishing Your Sites
Finally, when you are ready to publish your PHP website to Windows Azure or any hosting provider that supports FTP or Web Deploy, select Publish and enter the settings obtained from the hosting provider. If your provider enables you to download the publishing settings in a single profile, you can simply import it into WebMatrix.
The screenshots below show you how to publish to Windows Azure in simple steps.
Download publishing profile
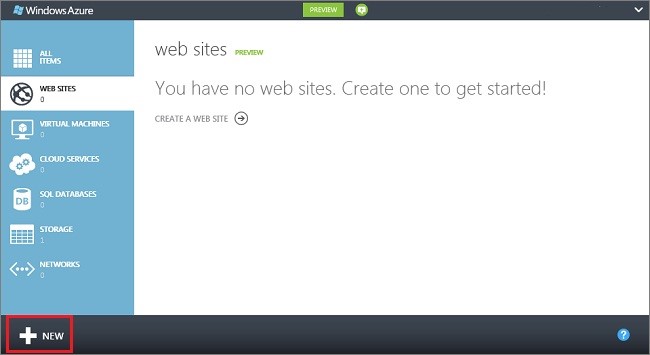
- Login to the Management Portal. If you don’t already have a
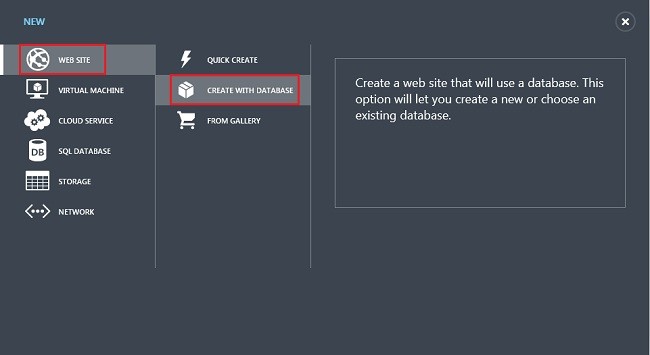
Windows Azure account, you can sign up for a no-obligation free trial. - Click the + New icon on the bottom left of the portal.
- Click WEB SITE, then CREATE WITH DATABASE.
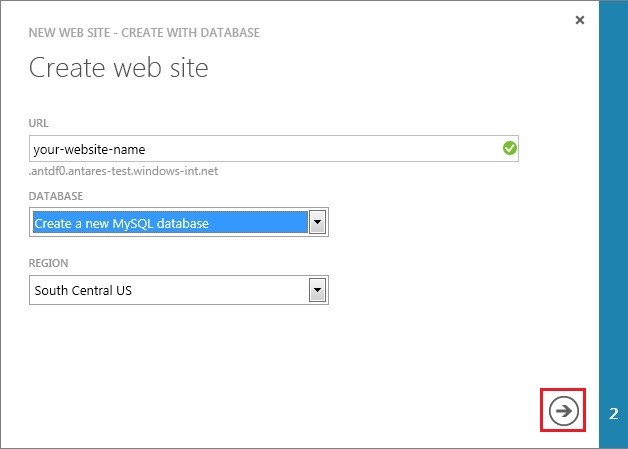
- Enter a value for URL, select Create a New MySQL Database from the DATABASE dropdown, and select the data center for your website in the REGION dropdown. Click the arrow at the bottom of the dialog.
- Enter a value for the NAME of your database, select the data center for your database in the REGION dropdown, and check the box that indicates you agree with the legal terms. Click the
checkmark at the bottom of the dialog.
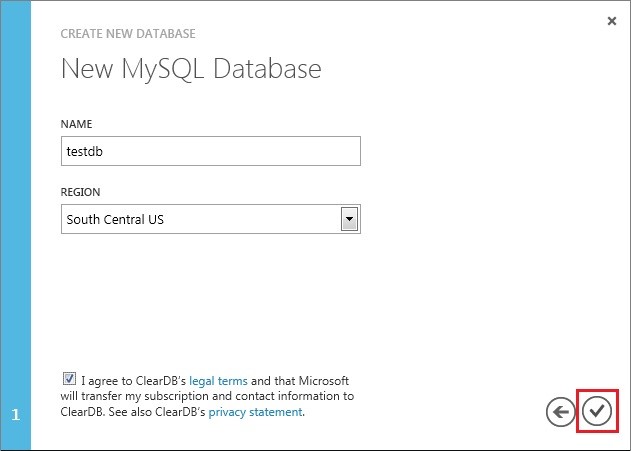
When the website has been created you will see the text Creation of Web Site ‘[SITENAME]’ completed successfully.
Import publishing profile
- Once your site has been created in Windows Azure, go to the site’s dashboard and select “Download publish profile”
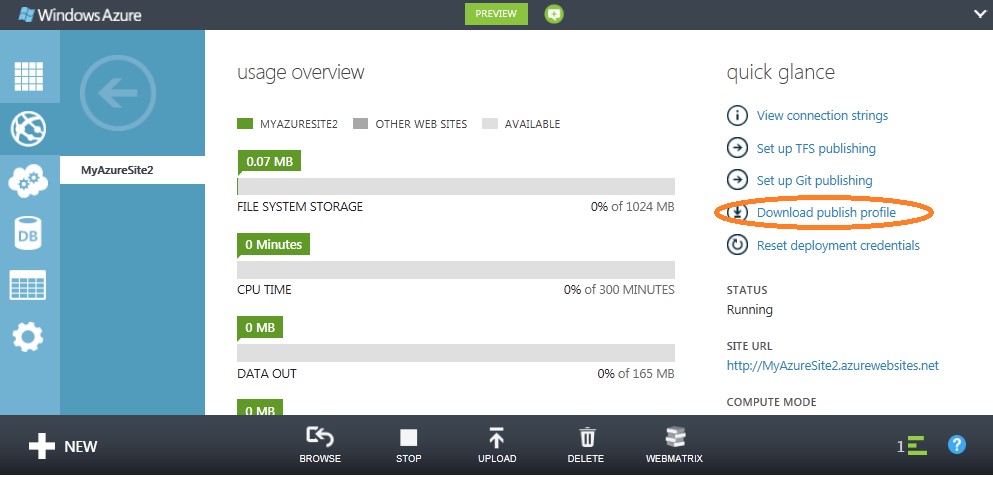
- Save the downloaded published profile in your local machine
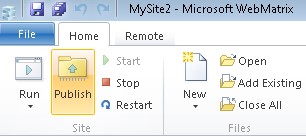
- Return to your site in WebMatrix and click the Publish button at the top left corner.
- Select “Import Publish Profile”

Alternatively, you can also choose “Enter settings” to type in the information manually.
Publish
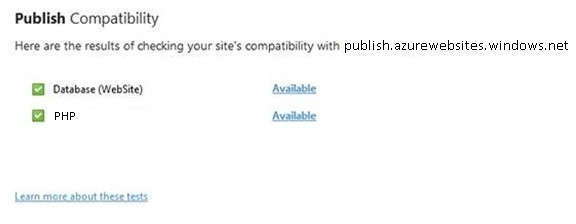
- Click Save and then Continue to run the compatibility check in order to make sure the remote server has the required dependencies to host your site. You can skip this check, but it is not recommended.
- Review the compatibility results. If any of the items display a warning icon and say “Not Available”, you can click the hyperlink to learn more.

- The publish preview shows you what files have changed and are being published. If you are using the Web Deploy protocol, you will also have the option to publish the database along with content. Click Continue to begin publishing.
- Publishing progress will show in the notification bar. When it’s done, you will see a link to browse to the remote site.

We’ve only skimmed through a few features which help you create, test, and publish your websites more easily with WebMatrix. You can learn more by visiting WebMatrix website and start building your sites today!
Thanks,
Thao Doan
Program Manager
Azure Applications Platform Team
Microsoft Corporation