Using Postman to call the Graph API using Azure Active Directory (AAD)
I needed a mechanism to be able to call an API that would find free time in my calendar. I looked at Flow and Logic Apps and all the only Actions I could find were the ability to be able to see existing entries in a calendar. However, if you look in the Graph API, the API I need is there. Unfortunately, you cannot use the excellent https://developer.microsoft.com/en-us/graph/graph-explorer to POST to this API as I am not allowed to set the permissions "Calendars.Read.Shared, Calendars.ReadWrite.Shared" as detailed in the documentation here. https://developer.microsoft.com/en-us/graph/docs/api-reference/beta/api/user_findmeetingtimes. This blog post is how you can call it from Postman authorising over Azure Active Directory because it does not work in the Explorer. I'm sure that this will become useful for loads of people who want to call API's that are secured by Azure Active Directory.
Step 1 - Register an Application in Azure Active Directory
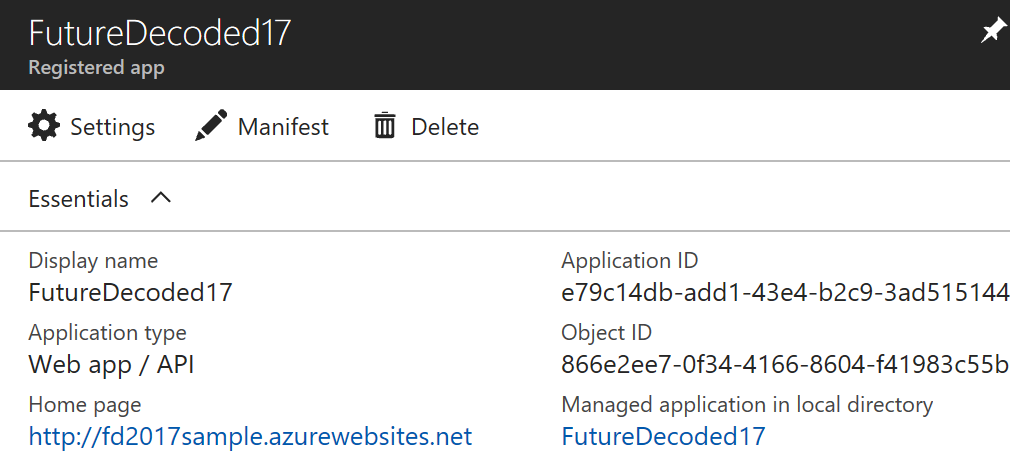
 If we have an application that is linked to the Azure Active Directory, then I can set the permissions that I need for that application to call the API I need. So first, go to the https://portal.azure.com and find "App Registrations". Then click the "New application registration" button at the top of the blade. Give the application a Name, chose a Web app / API and then the app needs a Sign-on URL which can be anything, as the app doesn't actually exist. Once you have created it, it will look something like this.
Next, let's add the Required permissions and select the "Microsoft Graph" and chose the required permissions as defined in the documentation, in this case "Calendars.Read.Shared, Calendars.ReadWrite.Shared". 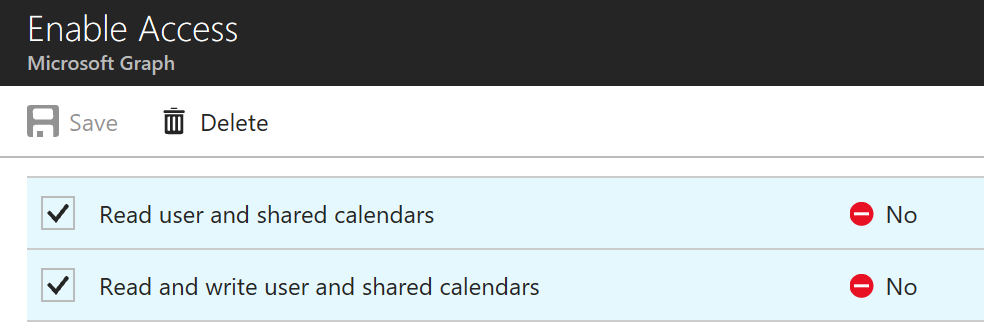
Once you have the permissions set, just click the Grant permissions button to ensure that this application has the permission scope to call the Graph. 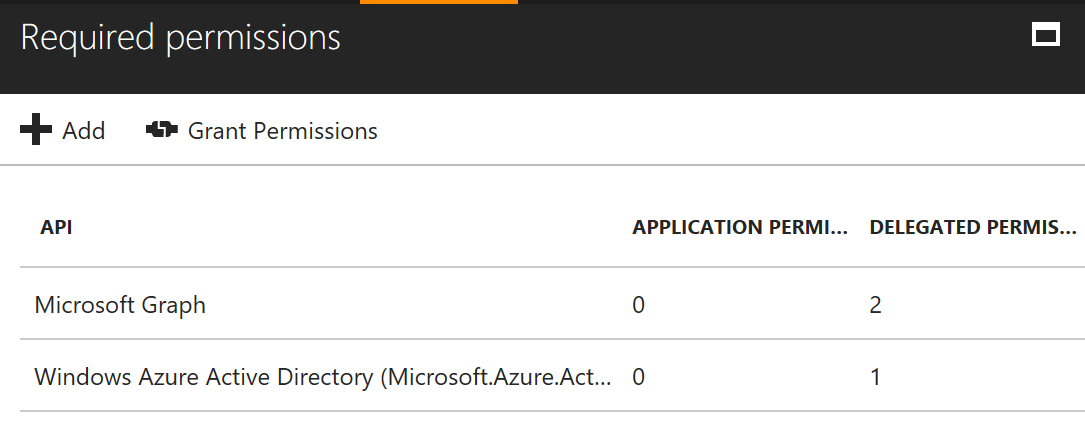
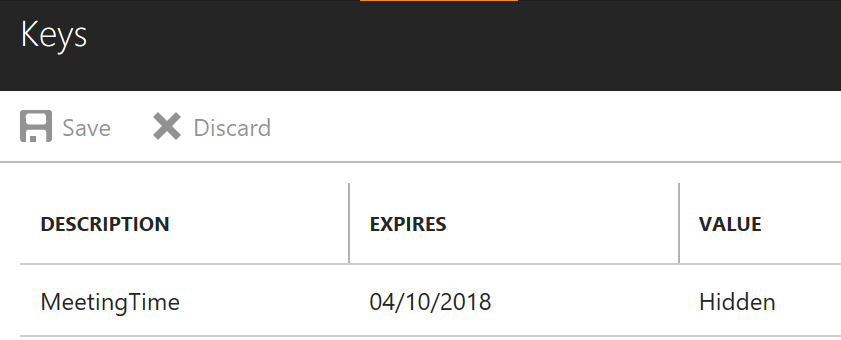
Once you have added the permissions, we need to have a Key in the application which is often referred to as the "Secret". Give it any old name. Keep the value that is generated safe as we need this later.
The last thing we need to add is a Reply Url of https://www.getpostman.com/oauth2/callback so that we can get our token.
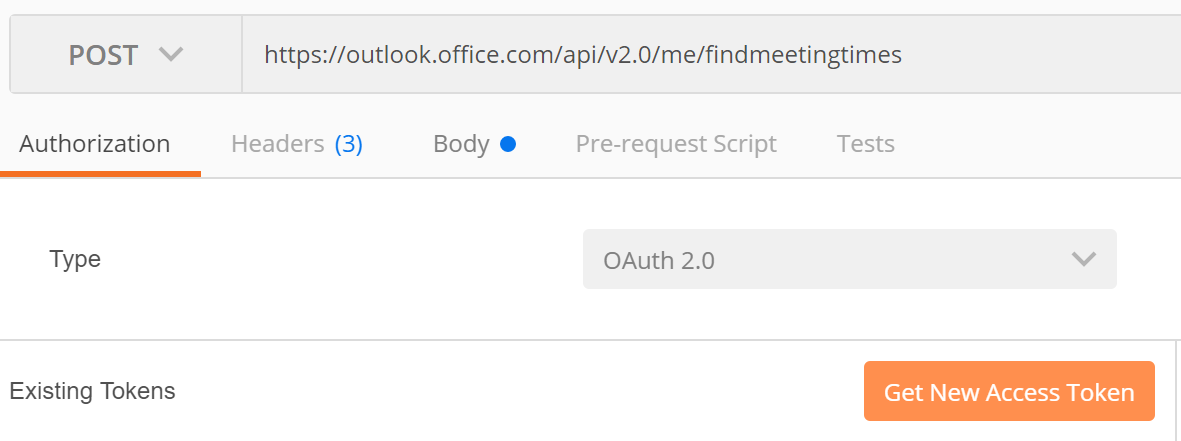
Step 2 - Get a New Access Token in Postman
Now, we go back to Postman and we create a new tab and we need to Get a New Access Token. We will have to use the values that we just create in our AD application
Here is a table of the fields you need.
| Postman Field | Azure Property | Value / Comments |
| Token Name | A friendly name for your token, this is not used | |
| Auth Url | https://login.windows.net/common/oauth2/authorize?resource=https://outlook.office.com (notice the resource at the end of the url) | |
| Access Token Url | https://login.microsoftonline.com/common/oauth2/token | |
| Client ID | Application ID | This was created automatically when you registered the app in AD |
| Client Secret | Key | This was the Key you created and kept safe |
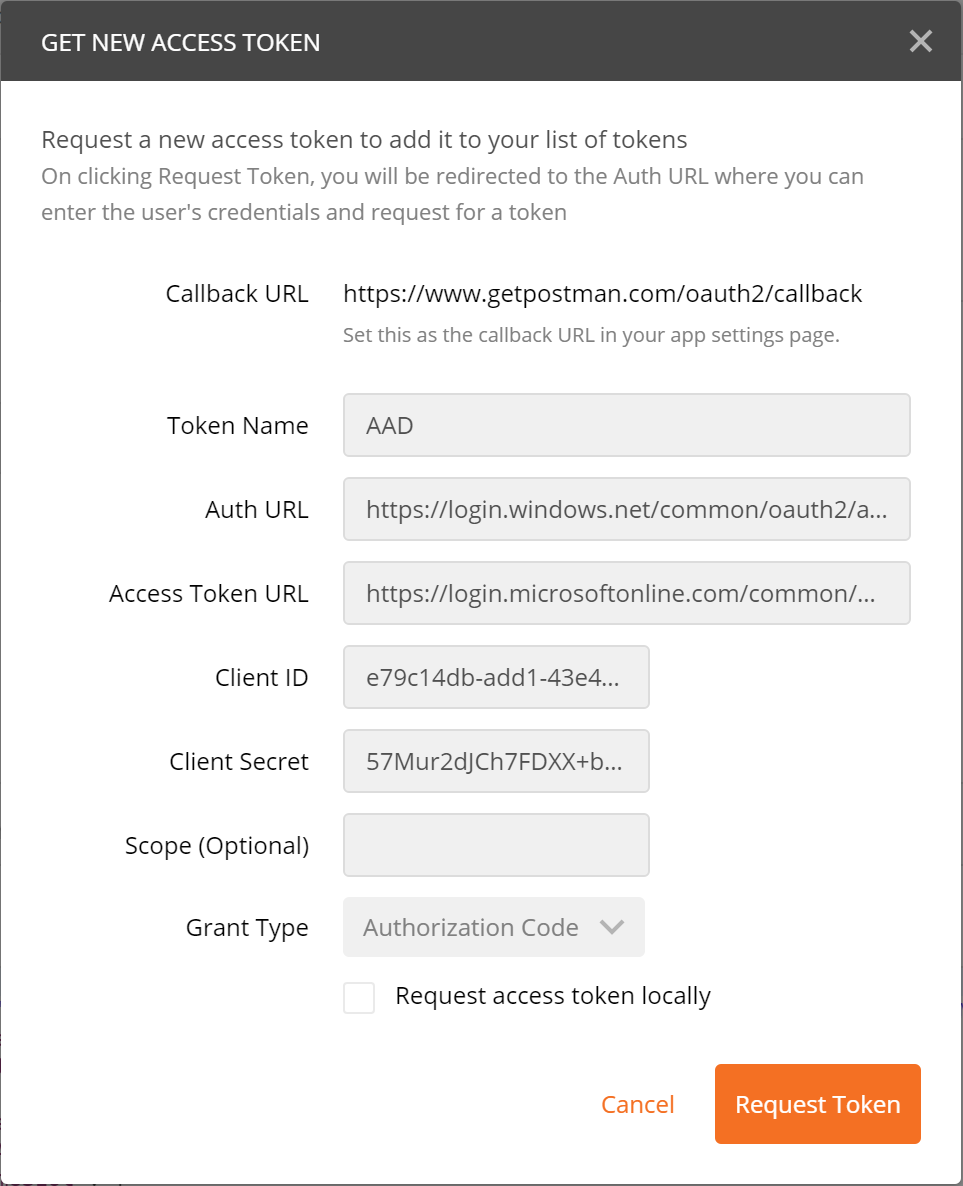
Once you click the Request Token, this will take you to your app, with the standard Organisational login page. If you use a Windows Hello or PIN to log in, THIS WILL NOT WORK. Instead choose username and password and phone authentication if necessary. PIN does not work here. I wasted a day on this - save yourself the pain!

So now you have all the tokens in Postman, you just chose "Add token to Headers" which will put the Bearer token in your request. Good luck. Next I am going to put this into Microsoft Flow.