How to protect your on-prem physical machines using ASR
BC/DR is a key consideration for all organizations big or small. Thanks to Azure, we now have an affordable and easy to implement BC/DR solution . Azure site recovery service(ASR) can be used for a multitude of disaster recovery scenarios, with an economic pay-as-you-go costing model. The DR scenarios catered to by ASR currently are:
DR site in Azure
- Physical machines to Azure
-VMware environment to Azure
- Hyper-v(with or without VMM) to Azure
DR site in a secondary DC, and orchestration by ASR
-VMM site to site
-VMware/Physical to VMware
-VMM to VMM(SAN replication)
This week in my Azure labs, I tried out the first scenario, ie DR from On-Prem Physical machines to Azure. This blog is all about my little experiment and some tips and tricks that I learned during the same.
The following link , which explains the procedure for protecting Physical/VMware environment is a good starting point: https://azure.microsoft.com/en-in/documentation/articles/site-recovery-vmware-to-azure/
I will use this article as reference point, which is very detailed and well written. I will be going into further more details on few of the areas mentioned in the link .Based on my experience, I think it will be helpful for someone trying to set up a Physical server to Azure replication for the first time.
You should ensure that the prerequisites for physical server protection mentioned in the link are taken care of. You need to run the Site Recovery Unified SetUp for installing the configuration and process server. Refer to "Step 2: Set up the source environment" in the link above for details on initial set up of the vault, setting up configuration server, registering it in Azure etc. These steps are pretty straight forward. Detailed explanation of the configuration server setup on-prem is also mentioned in Step 2 of the article
Lets assume that you done the initial vault creation , configuration server setup , created target environment in Azure(Resource group, storage, network etc) and have also created the replication policies to be used. All these come under "Step 1: Prepare your infrastructure" in your site recovery vault. These steps are again clearly explained in the official documentation : https://azure.microsoft.com/en-in/documentation/articles/site-recovery-vmware-to-azure/
Now lets see what needs to be done at the physical server end to enable the protection:
Steps to be done on Physical server:
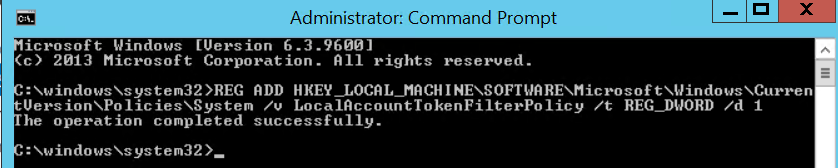
1)Set up the registry key entry
2)Enable the following in Allow an app or feature through Firewall.
> File and print sharing
>Windows Management Instrumentation


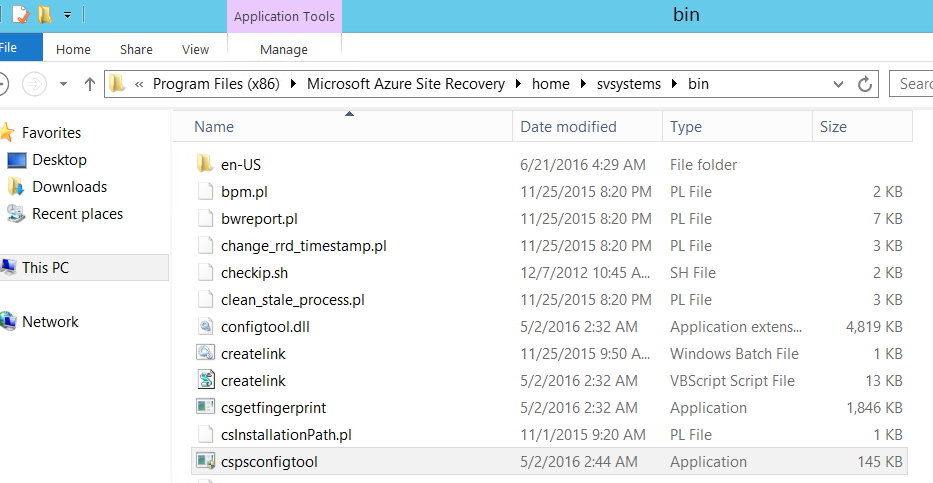
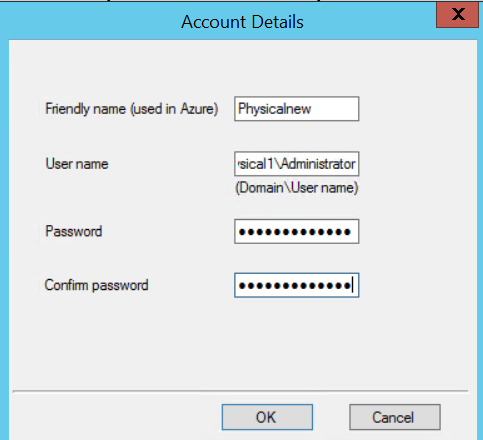
3)Add an account that has admin privilege in the target physical machine in the cspsconfigtool. It can be found in the following location in the configuration server
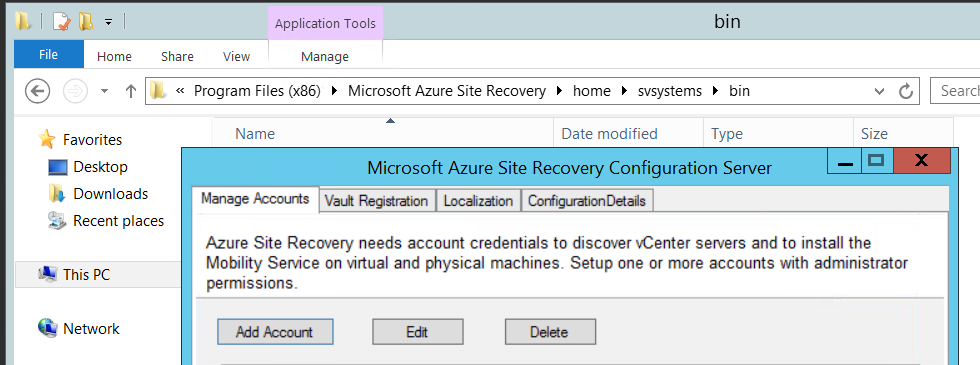
Click on Add account
4)In my case, the physical machine was not added to domain. Hence I added a local admin user. The friendly name can be anything, it is just for identifying that account in Azure portal.
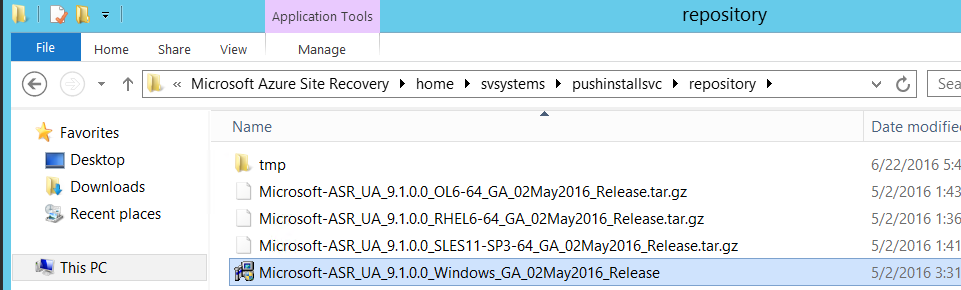
5)Now you can install the mobility agent on the physical server. The installer can again be found in the configuration server at the following location. You need to select the installer based on the operating system type. In my case I selected the Windows installer
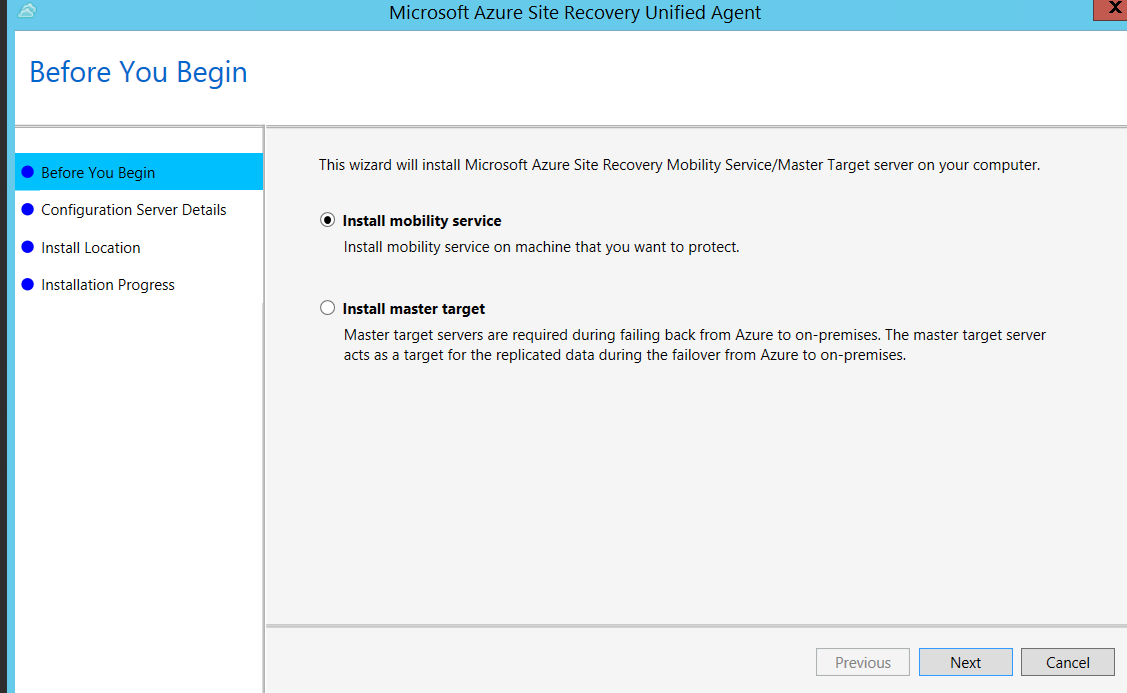
Select option to install Mobility service
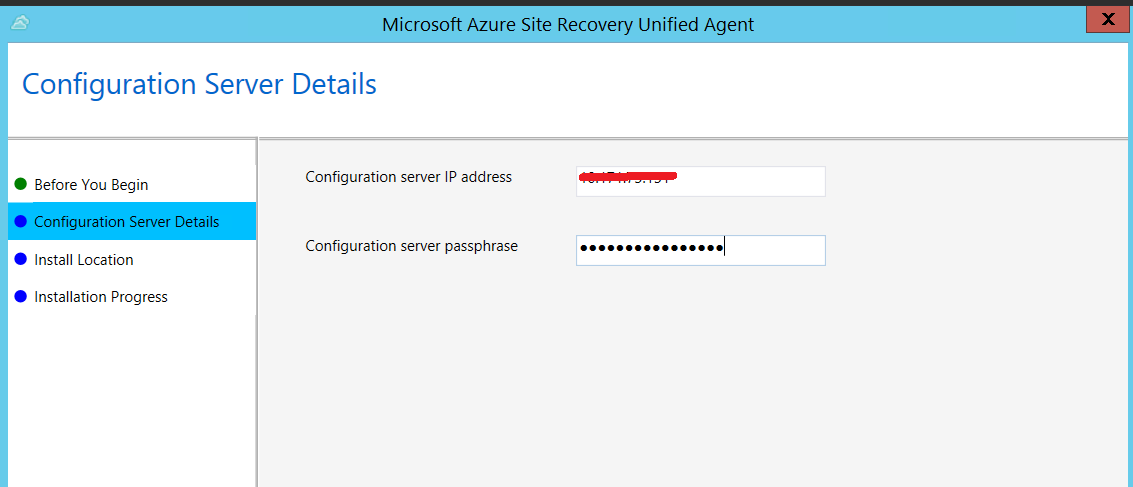
Enter Configuration server IP and Passphrase
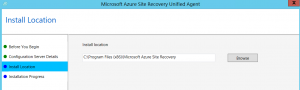
Specify install location. That is all that is required. You can go to the next step and wait for the installation to be complete
Steps to be done in Azure portal:
Now that the mobility agent is installed, you can refresh the configuration server in the Azure management portal
Go to <recovery services vault> -> Settings->Site recovery infrastructure->Servers
select the configuration server and click refresh server
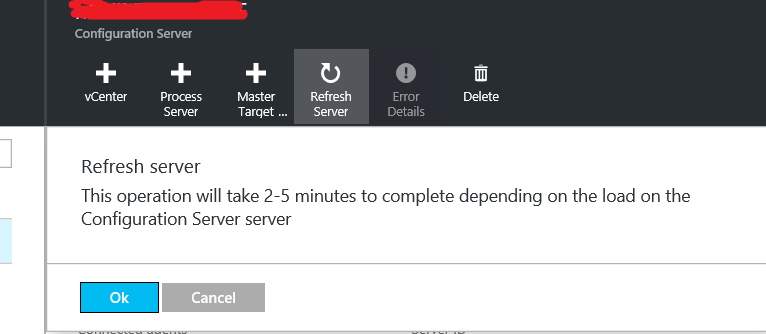
Click ok on the message and wait for the refresh to be completed.
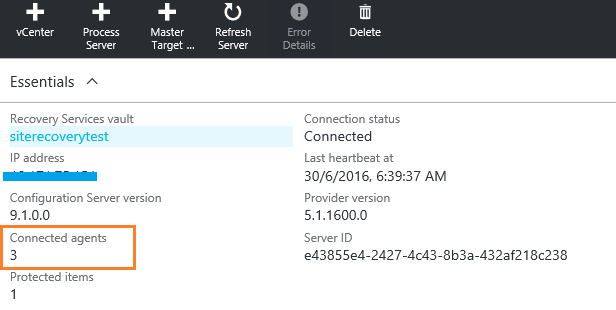
Once the refresh is completed, ideally the new physical server will be reflected in the connected agents list
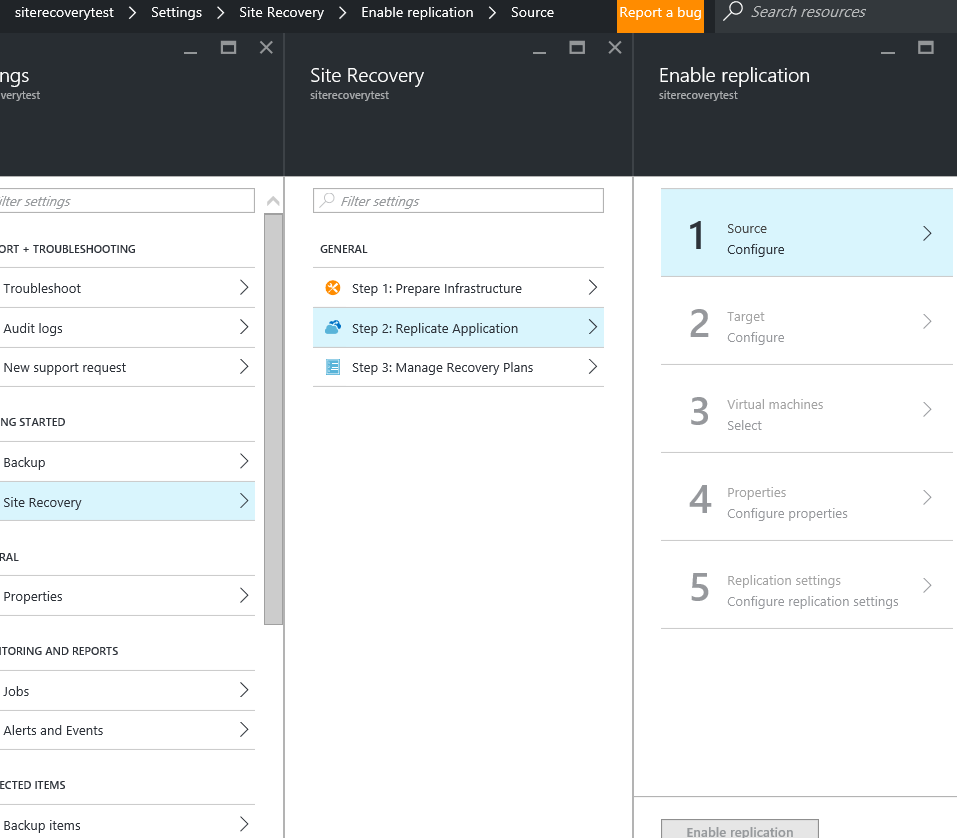
Now you can go ahead and enable replication for your physical server. In the Management portal, go to <Recovery services vault>->Settings->Site Recovery->Enable replication
Enter the source. This will be your configuration server .Machine type will be Physical machines and Process server in this installation is same as configuration server
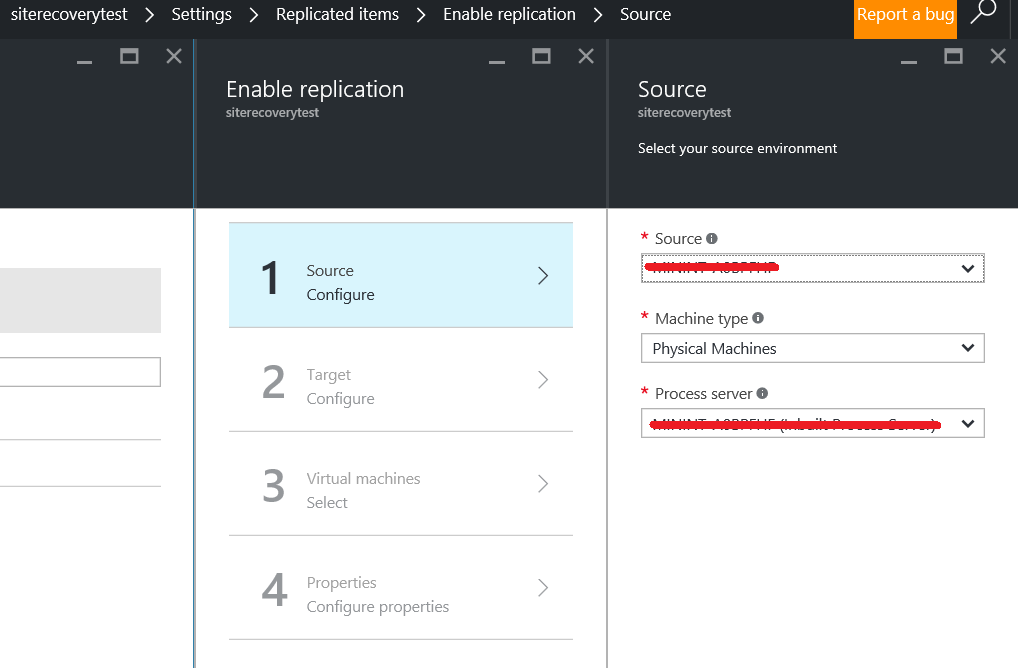
Configure the target environment in Azure.
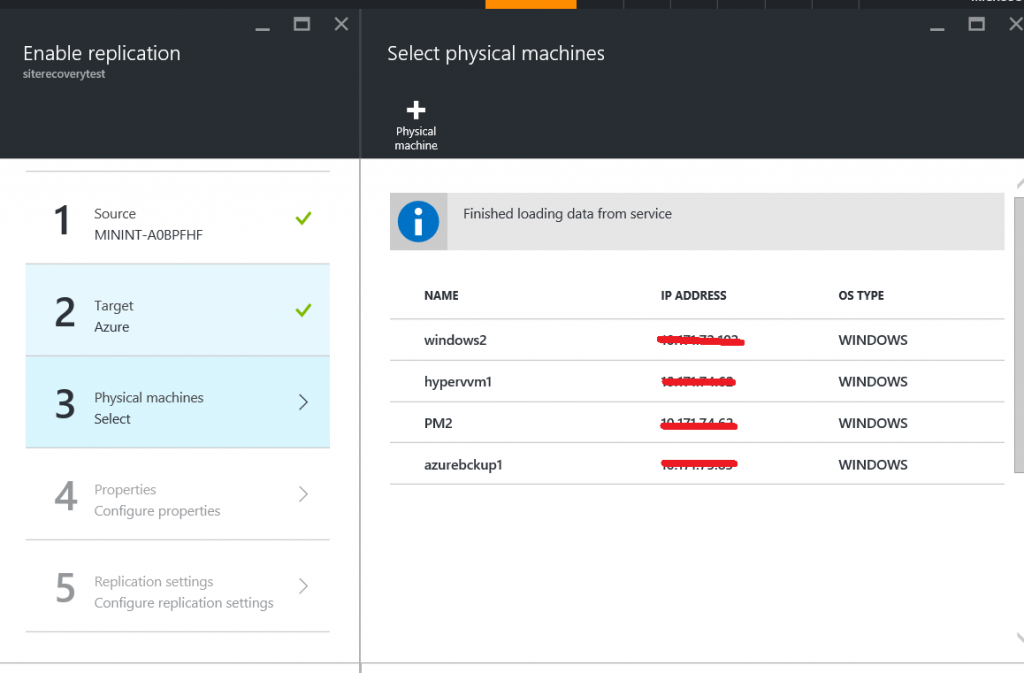
You need to select the target physical server at the next step. Click on the + sign
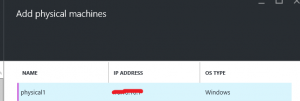
Enter details of your on prem physical server, ie server name , IP and the OS type
In the configure replication settings page, select the replication policy that you had created earlier
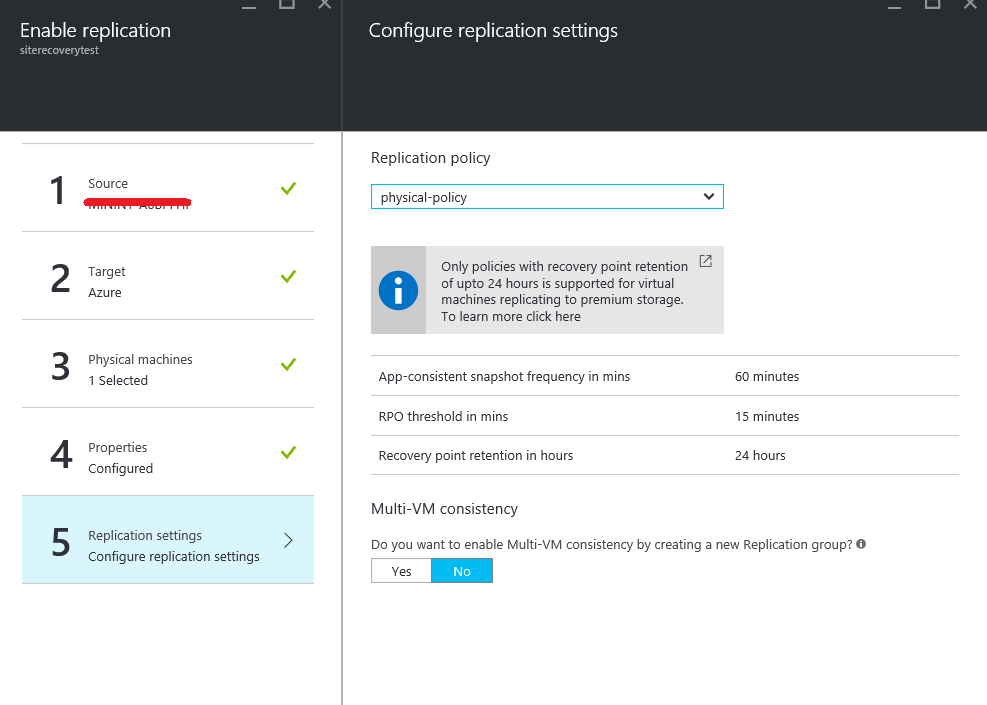
Now all the steps are done, and you can click "Enable replication" to protect your on-prem physical server
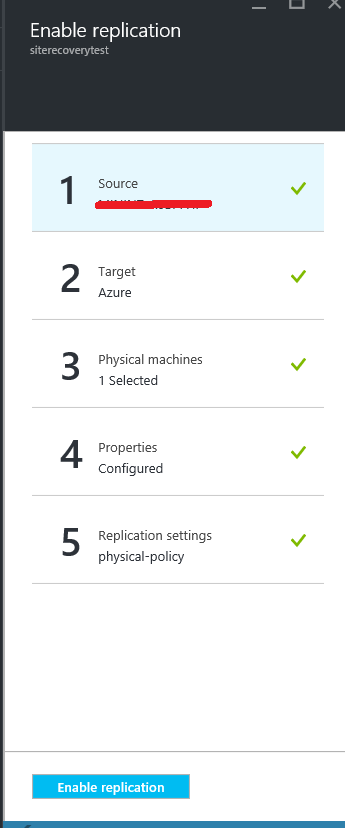
You can click on notifications to see progress of the task. You can also go to <site recovery vault>->Jobs->"Site Recovery Jobs"-> and select the "Enable protection" job to see the status
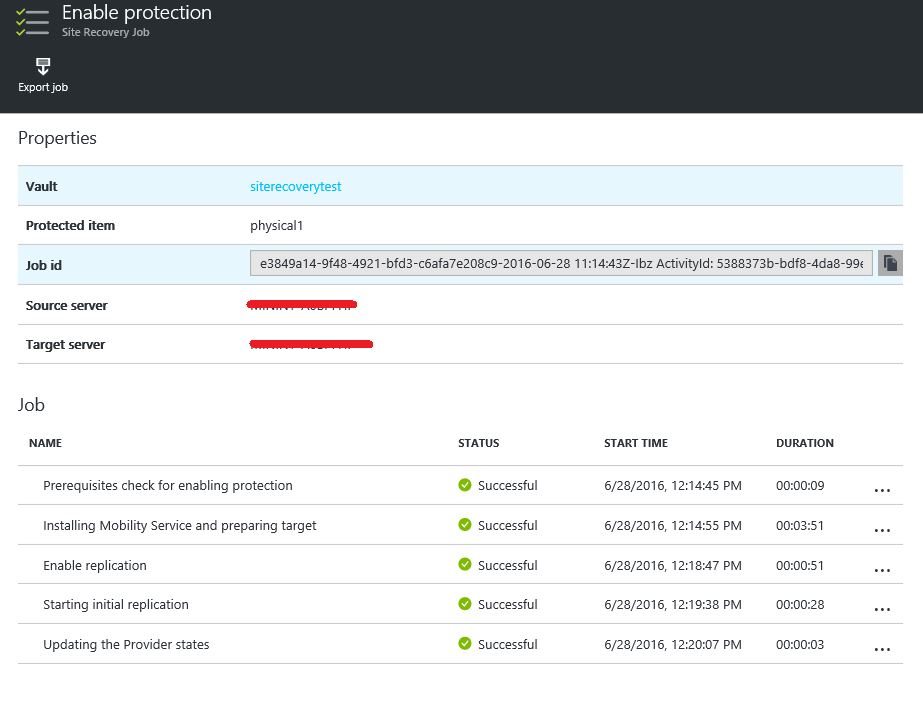
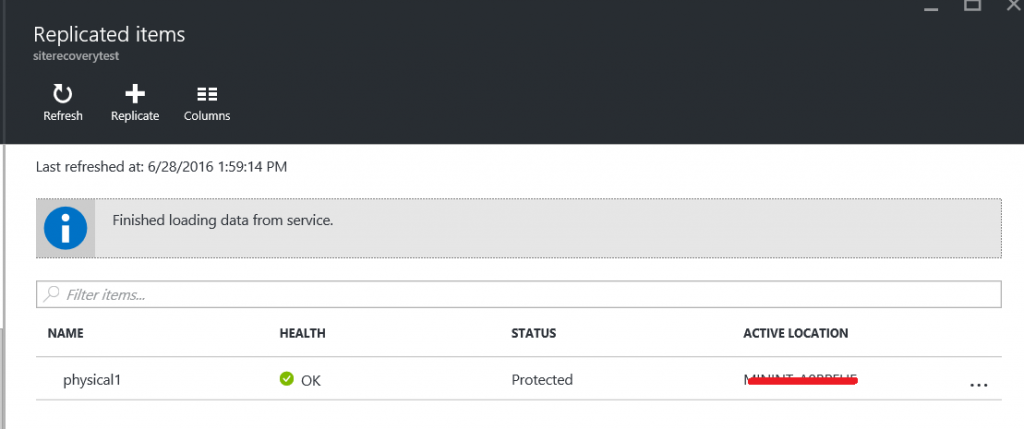
If you see all green ticks, your machine protection is enabled . You can see the status of replication from site recovery vault>->Replicated Items. Once the replication is completed, the status will be shown as protected