Like, what do you mean, there aren't any instructions?
<< Building the Lego Disney Wonder (Page 1)
This has nothing to do with work (well, OK, I used Windows 8 for some photos, planning, desktop publishing, printing and scanning, so I tested some of those scenarios, but other than that...)
[The Lego Wonder is currently (2012) in Building 85. She'll be at ECCC Emerald City Comicon this weekend March 1, 2013.]
Like, what do you mean, there aren't any instructions?
People want to know how I can make a model without any instructions? Honestly I'm a tad confused by the question because, like even "real" Lego models someone had to invent the instructions. And Lego prides itself on the fact that millions of kids happily build tons of creative stuff from its bricks!
But it is a bit tricky to make a replica of a real thing. There are lots of different techniques people use building Lego. Some just have an idea and put a bunch of bricks together. Others get a 3D scan or file somehow and then write a computer program to tell them where to put bricks so that they fit in that 3D model (I guess that gives you instructions of a sort). Others use some of the Lego software to build it on a computer, and then get the bricks needed to build that model.
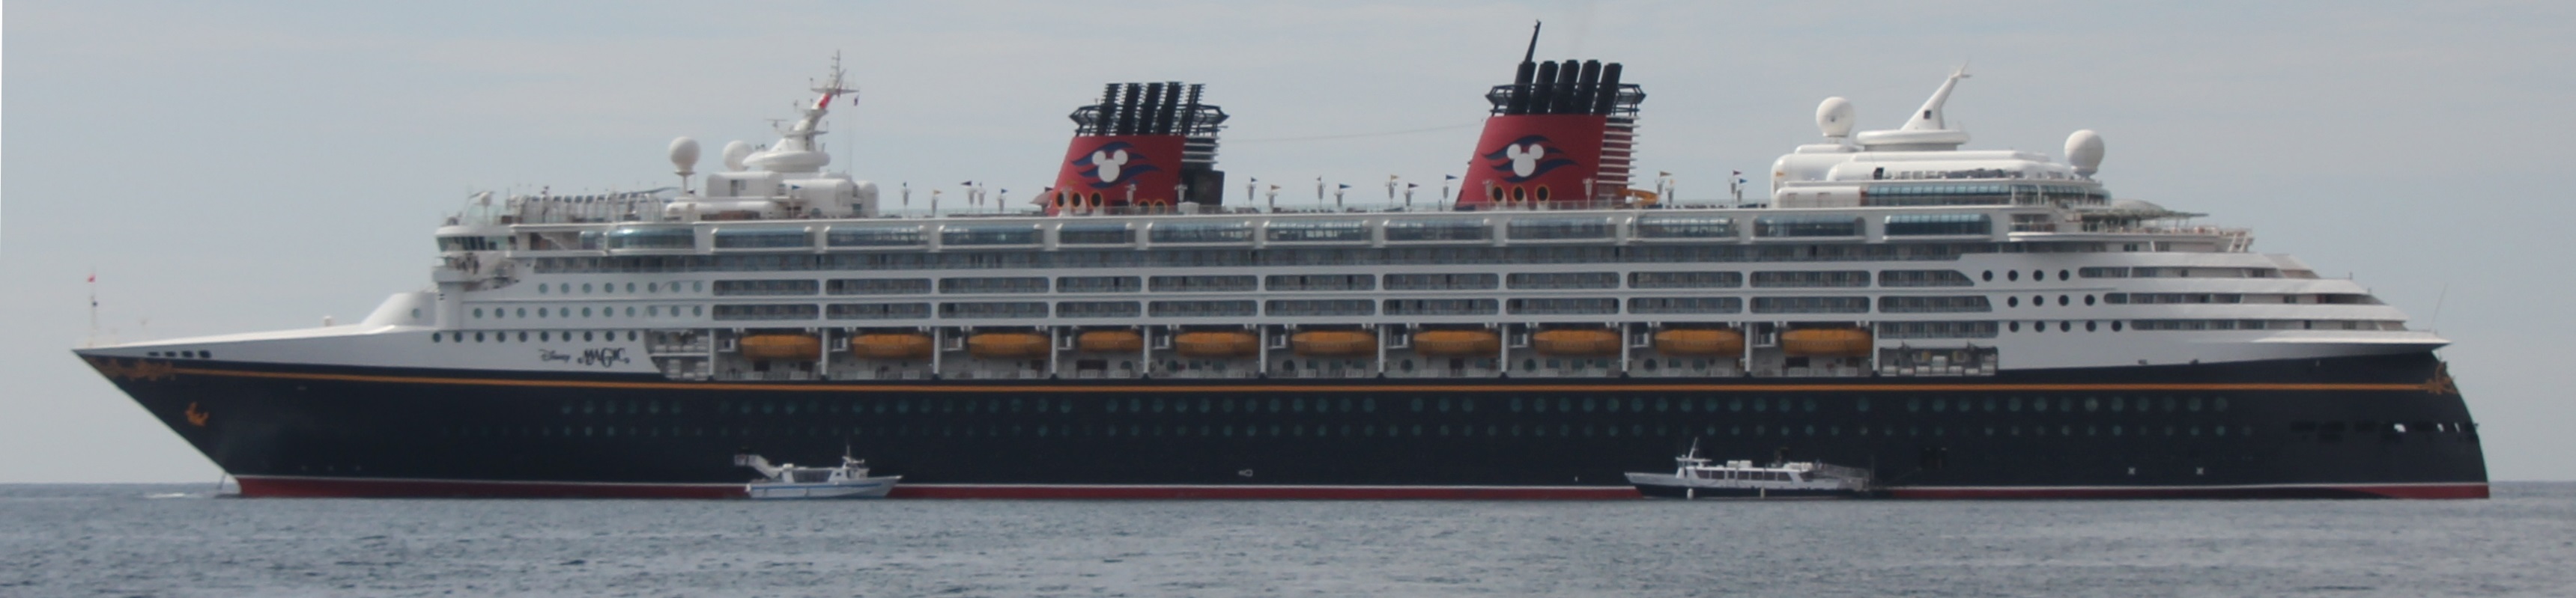
In my case, I have a bunch of pictures that I took of the Disney Magic, (we've been on the Magic before) and also I used Bing to hunt online for angles that I didn't have photos for. During that process I learned that there're some differences between the Magic and the Wonder, some of which I wasn't very familiar with. So I had to guess what parts I might need.
How Big?
Getting the dimensions accurate was something of a challenge. Bing helped me find out how long the real boat is (Length: 964 ft (294 m), Beam: 106 ft (32 m), Draft: 25.3 ft (7.7 m)), so some math helped me figure out if I wanted 16 studs wide how long she'd have to be. For the height, I measured the visible length on my photo and used that as a measurement to figure the height. I also have a photo of the cut-away model in Port Canaveral, but I discovered that depending on other models doesn't guarantee accuracy, there're some pretty inaccurate models and paintings out there :(.
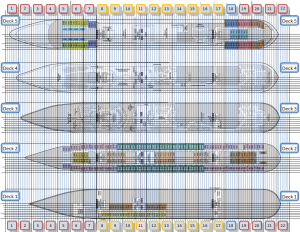
 The best thing that Bing helped me find was deck plans, like what travel agents use to show people where their cabins are. Of course those weren't designed for accuracy, but I was able to stick them into Microsoft Publisher and align them all (travel agents had a different need, so the decks weren't all aligned or the same scale). On top of that I drew a huge grid, with the major "frames" marked so I could tell where stuff goes. Later I found out that many of my frames aligned with the real frames.
With the frames marked, I labeled each of the spaces between them, color coding some so I wouldn't get "lost" going from the drawing to the model. Each section was numbered, and I translated those numbers to the actual model. (They had to be moved a few times to get the ship centered on the plates).
In key areas, I also drew grids for each stud. That allowed me to use something like "The Grid Method", which, in art, is a technique where you draw a grid on an picture. In that method you copy each square of the grid to a new drawing using the grid as a reference, often changing scale as you draw the new copy. Mine was something like a 3D grid method.
I also had to figure out how tall the decks were, as each deck isn't the same height.
The grid also helped figure out where the pools and other details on the top deck went.
The Tiny Details
 Even at my scale, lots of the details on the ship were too small to render in Lego. I was conflicted a bit, but decided to create some stickers (in lieu of decals). Lego does it in their kits, so I guess stickers are fair game. Clearly I'd need those ahead of time, so I found pictures of the details, like the scrollwork on the bow and stern, and the ship's name on her side. Since I had an idea of the scale, I could measure those on my photo to figure out what size they were, and then print them out.
It was a bit annoying to edit the images and get rid of whatever background stuff was there, but eventually I had some images that I could import into Publisher, picking a paper template for my labels, and then print them. Some got printed on white labels, others on clear labels.
Time To Go
Eventually the parts came in the mail, got and got dumped into a big bag. I printed several copies of the photos and the publisher diagrams. Gathered the labels. Copied the photos for my study and the publisher files onto my Windows 8 tablet. Then it was time to get on the plane for California.
<< There's a Lego Cruise Ship in Building 85 (page 1)
Like, What Do You Mean There Aren't Any Instructions? (page 2)