Steps to configure Single Sign On for Office 365.
Most of the organizations who use Active Directory (AD) will like to us Single Sign-On with their corporate credentails in Office 365. This artcile takes you through the steps of achieving it.
First, do remember the following points if you are going ahead with Single Sign-On in Office 365.
- You need to have ADFS 2.0 on one server & Directory Synchronization (Dirsync) on another server in your onpremise environment.
- You need to make sure that ADFS server is ALWAYS up and running. If it crashes, because of any reason, federated users will not be able to Login to Office 365.
Keeping the above points in mind, let me start of by taking an example of a typical SMB environment
Environment Details (each on different server)
- Domain Controller
- ADFS 2.0
- DirSync
- Exchange 2007 (or 2010)
- SharePoint 2007 (or 2010)
Step 1 : Add Host record in your public DNS ( such as godaddy.com) for your ADFS 2.0 Server.
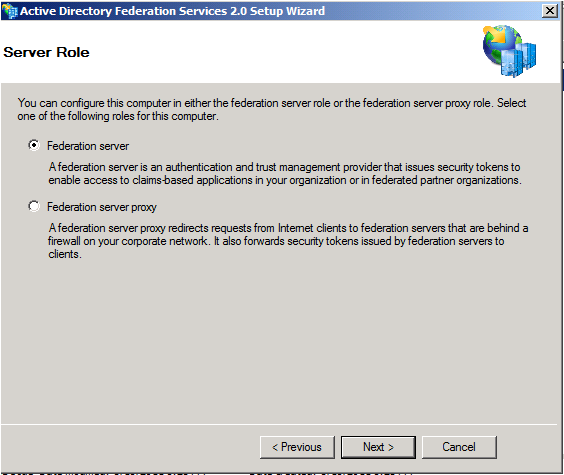
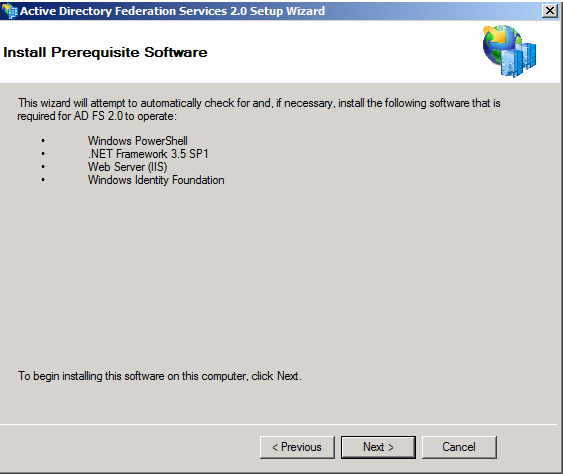
Step 2: Install ADFS 2.0 (Find the snapshots below)
- Download ADFS 2.0 on the ADFS Server
- Install IIS on ADFS Server
- Get a Enterprise CA Certificate and bind it to Default web site,port 443, in IIS on ADFS 2.0 server.
NOTE : Register and verification of the domain in Office 365 has to be done before you configure ADFS (not covered in this article)
Snapshots for ADFS installation and configuration
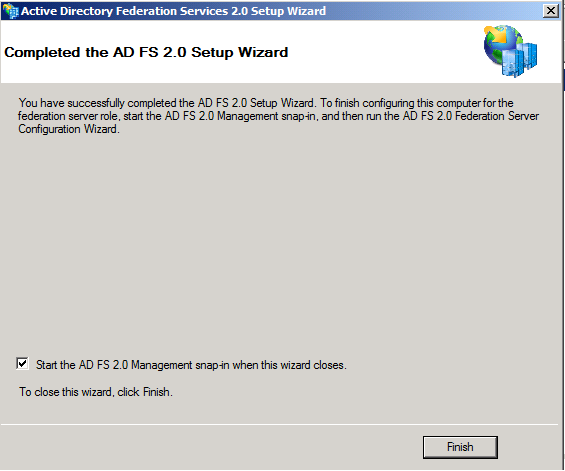
Leave the check mark as it is and this will start the configuration wizard automatically.

Click on ADFS 2.0 Federation Server Configuration Wizard.
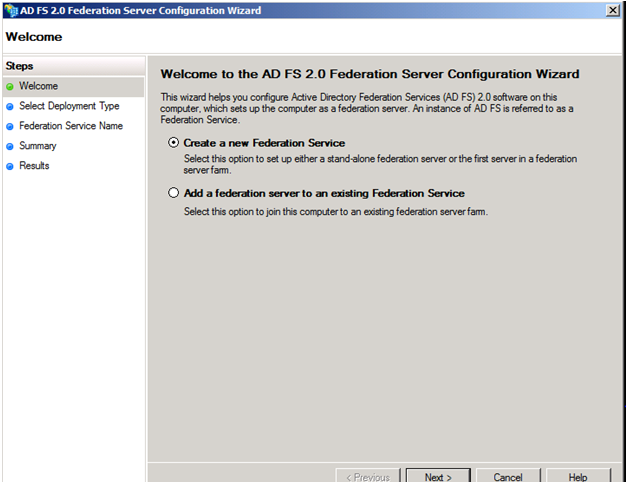
Choose New Federation Service as its the first ADFS 2.0 Server in the farm.
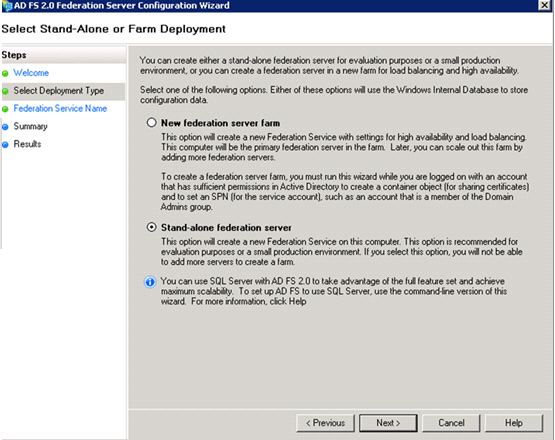
New Federation Server Farm : this is used when you have plans of having more than one ADFS server in your environment. With Offce 365, I recommend this option as I mentioned earlier in the post if ADFS 2.0 goes down, none of your fedearted users will be able to login to Office 365. So have more than one ADFS server & providing High Availability using Load balancing is recommended.
Stand-alone federation Server : Used in testing environment or small production environment. Cannot add more than servers to make it a server farm.
Click Next after choosing the appropriate option.
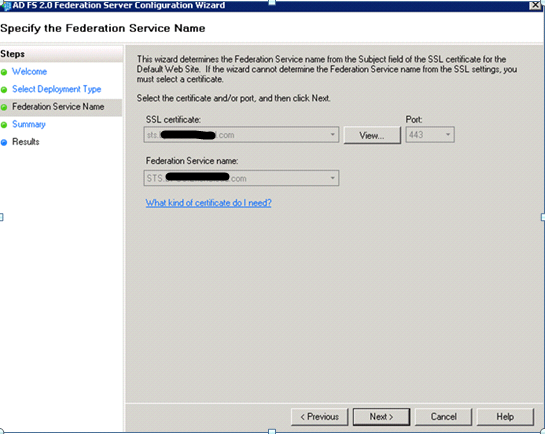
Verfiy if this stage shows the right certificate , port and federation service name.
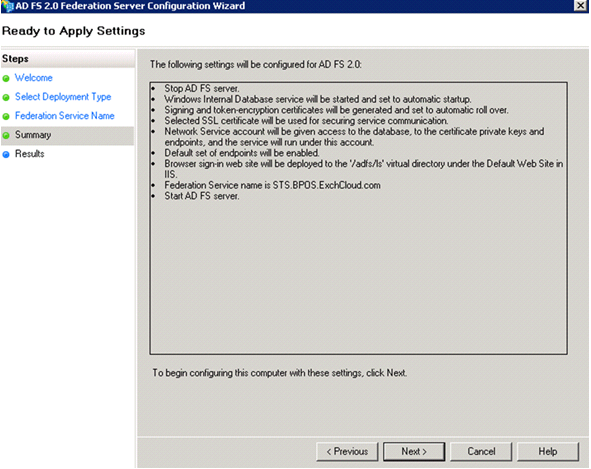
On the Summry screen click next and then click finish.
ADFS is now installed and configured.
Step 3: Download Microsoft Online Services Module for Windows PowerShell
- To download this tool, login to https://portal.microsoftonline.com, Click On Users under Management.
- At the right top of the screen, you will see " Single sign-on: Manage | Learn more" , click on Manage
- Third step wil say "Install the Microsoft Online Services Module for Windows PowerShell"
- Download and install it. Installtion is very simple.
Step 4: After the tool is installed, run the "Office Desktop Apps" wizard
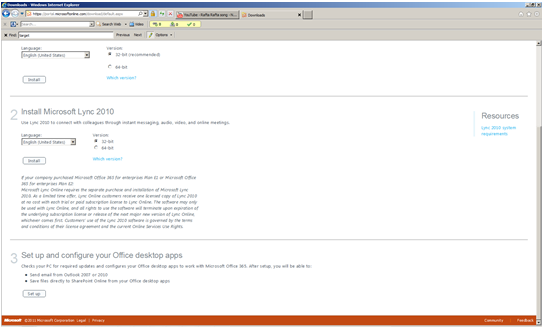
Click on "Set Up" -> Select the application and then click "I accept".
The wizard will configure your Rich Cients to work with Office 365. Once the installation is complete you will see the below screen
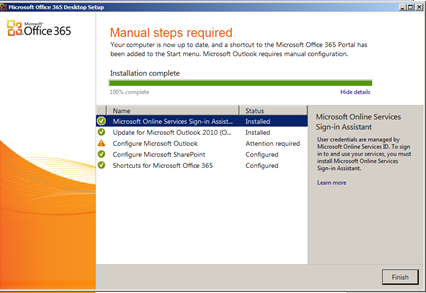
Almost done!!...
Only thing left is to make the domain federated. To make a domain as federated domain, you will have to first register and verify the domain. (Register and verification of domain in Office 365 has to be done before you configure ADFS)
Assuming that you have done the domain verification, double click on the shortcut of Microsoft Online Services Identity Federation Manangement Tool in desktop.
Run the following commands
-
- $cred = Get-Credential
You will get a prompt to enter credentials. Enter the Admin account of Office 365 (tenant admin account)
-
- Set-MSOLContextCredential -MSOLAdminCredentials $cred
Add-MSOLFederatedDomain -DomainName <DOMAIN NAME>
<DOMAIN NAME> = enter your verified domain name which you want to federate.
To verify that your domain is configured successfully, do the following:
- Log on to https://portal.microsoftonline.com using your admin credentials.
- Click on Domain under Management
- Click on the domain that you just federated
- Under the Domian Properties, you should see "Domain Type: Single sign-on: This domain is configured for single sign-on"
Thats it!!!...
Get the users on cloud using DirSync and start using Office 365 services VIA single sign-on.
Cheers!!....