App-V Auto Sequencing Part 3 - Auto Sequence Applications
In the previous post we prepared our host machine and VM, now we can start using this configuration to create some App-V packages
The high level process when using the AutoSequencer

First of all you will need a folder structure for execution and creation of the Autosequencer packages. In this example I created a folder AutoSequencer, with 2 subfolders: Installers and Packages
From the SDK that installed earlier (see previous post here), we copy the sample_config.xml from C:\Program Files (x86)\Windows Kits\10\Microsoft Application Virtualization\AutoSequencer to the AutoSequencer folder, and rename it to new.xml 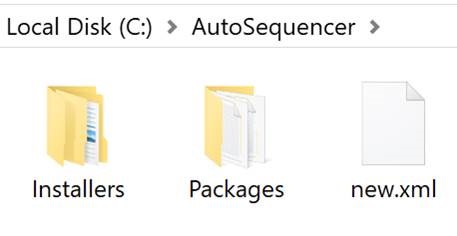
Below, the content of new.xml file.
Important Note , there is a typo in the example xml that needs correcting.
 <Name>…</Name> should read  <AppName>…</AppName>

<?xml version="1.0"?>
<Applications>
<!-- For sequencing a package -->
<Application>
<Name>sample_application_name</Name>
<InstallerFolder>c:\sample_app\</InstallerFolder>
<Installer>sample_app_installer.exe</Installer>
<InstallerOptions>/S /p</InstallerOptions>
<CustomScriptFolder>c:\sample_app\customscripts</CustomScriptFolder>
<TimeoutInMinutes>30</TimeoutInMinutes>
<Cmdlet>true</Cmdlet>
<Enabled>true</Enabled>
</Application>
<!-- For updating a package -->
<Application>
<Name>new_version_sample_application_name</Name>
<InstallerFolder>d:\new_version\</InstallerFolder>
<Installer>new_version_app_installer.exe</Installer>
<InstallerOptions>/quiet</InstallerOptions>
<Package>d:\UpdateMe\old_version.appv</Package>
<Cmdlet>false</Cmdlet>
<Enabled>true</Enabled>
</Application>
</Applications>
In the example file, we can see the xml schema as follows
- <AppName>
Contain the name of your package.
- <InstallerFolder>
Contains the full path of the folder containing the installer file(s).
- <Installer>
Contains the name of the installer file. This can be an exe ,msi, or a batch file.
- <InstallerOptions>
Contains the required command line parameters for the installer for example a silent installation, reboot suppression or others inputs needed for application install.
- <TimeoutInMinutes>
Contains the duration in minutes taken to sequence and create a package for this application.
- <Cmdlet>
Contains a true or false setting that determines if the application is sequenced using the PowerShell cmdlet, or the Sequencer interface. True for Powershell and False for Sequencing interface.
- <Enabled>
Contains a true or false setting that determines whether the application should be sequenced or not. True to sequence False to ignore. This is useful when there are multiple applications in a single file and you do not want to sequence them all at once.
Continuing with the example I am going to sequence two new packages, Remote Desktop Connection Manager and Silverlight.
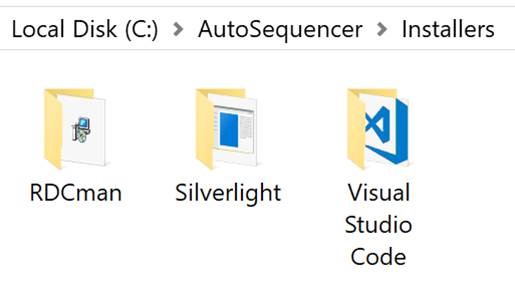
In the Installers folder created earlier, I've created a folder for each installer. A folder named Silverlight, a folder named RDCman, and a folder named Visual Studio Code.
| I've downloaded the latest Silverlight version, Saved the installer to the Silverlight Folder | 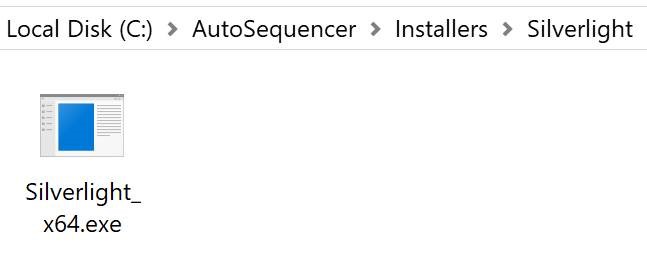 |
| I've done the same for the RDCman installer. |  |
| And last but not least, The Visual Studio Code installer | 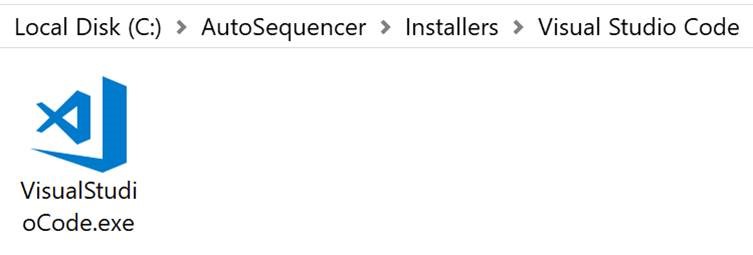 |
Now we're ready to modify the new.xml file with the folder names that we have created, the names of the installers, and the other fields
 <?xml version="1.0"?>
<Applications>
<!-- For sequencing a package -->
<Application>
<AppName>Remote Desktop Connection Manager 2.7</AppName>
<InstallerFolder>C:\AutoSequencing\Installers\RDCman</InstallerFolder>
<Installer>RDCman 2.7.1512.msi</Installer>
<InstallerOptions>/qn</InstallerOptions>
<TimeoutInMinutes>5</TimeoutInMinutes>
<Cmdlet>true</Cmdlet>
<Enabled>true</Enabled>
</Application>
<Application>
<AppName>Silverlight</AppName>
<InstallerFolder>C:\AutoSequencing\Installers\Silverlight</InstallerFolder>
<Installer>Silverlight_x64.exe</Installer>
<InstallerOptions>/q</InstallerOptions>
<TimeoutInMinutes>10</TimeoutInMinutes>
<Cmdlet>true</Cmdlet>
<Enabled>true</Enabled>
</Application>
<Application>
<AppName>Visual Studio Code</AppName>
<InstallerFolder>C:\AutoSequencing\Installers\Visual Studio code</InstallerFolder>
<Installer>VisualStudioCode.exe</Installer>
<InstallerOptions>/VERYSILENT /MERGETASKS=!runcode</InstallerOptions>
<TimeoutInMinutes>15</TimeoutInMinutes>
<Cmdlet>true</Cmdlet>
<Enabled>true</Enabled>
</Application>
</Applications>
Save the file, and all preparations have been made!
Now we're ready to execute the New-BatchAppVSequencerPackages cmdlet. Get-Help shows us
 PS C:\> get-help New-BatchAppVSequencerPackages

NAME

    New-BatchAppVSequencerPackages

SYNTAX

    New-BatchAppVSequencerPackages [-ConfigFile] <string> [-VMName] <string> [[-VMCheckpoint] <string>] [-OutputPath] <string>  [<CommonParameters>]
- ConfigFile
The path to the xml file. C:\AutoSequencer\new.xml in my case
- -VMName
The name of the virtual machine that I've prepared in the previous post. I've used AutoSeq as name for the VM
- -VMCheckpoint (optional)
per default the checkpoint name sequencer-base will be used, but if you've created a different checkpoint, you could specify that here
- -OutputPath
The location where the resulting App-V package should be copied to. C:\AutoSequencier\Packages in my example
Start PowerShell with Administrative privileges, and execute the command
New-BatchAppVSequencerPackages -ConfigFile "C:\AutoSequencer\new.xml" -VMName AutoSEQ -OutputPath "C:\AutoSequencer\Package"
The following process will now start off for each application specified in the XML
 #
#
In the event that the appv package isn't created on time, or anything else fails, a checkpoint will be created with the name of the application, the log file for which will be copied to the output folder. This can then later be used for troubleshooting and investigative purposes.

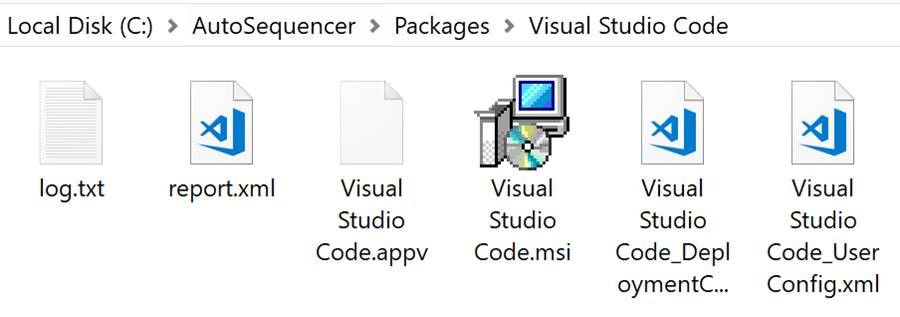
Once all installers have been processed, the packages can be found in the C:\AutoSequencer\Packages Folder
In the next post we'll automate this process further.
Ingmar Oosterhoff and Johannes Freundorfer